
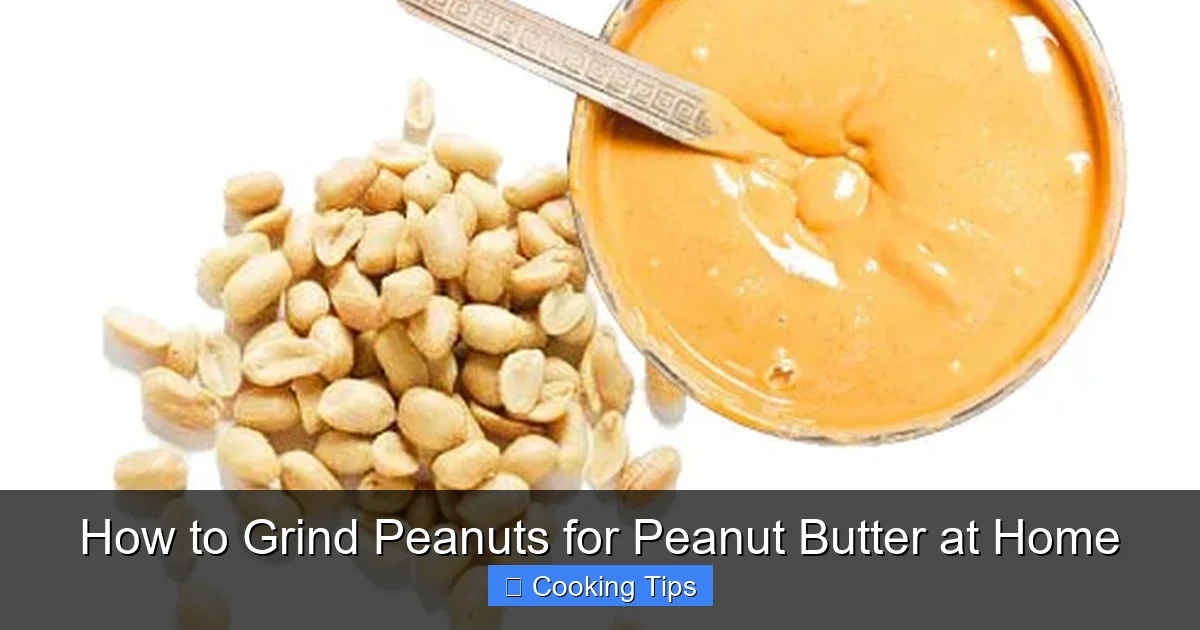
Ready to ditch store-bought peanut butter? This comprehensive guide will walk you through the simple process of grinding peanuts at home to create your own fresh, delicious peanut butter. Learn everything from choosing the right peanuts to achieving your perfect creamy or crunchy texture. It’s easier than you think and incredibly rewarding!
Are you craving the pure, unadulterated taste of peanut butter without all the added oils and sugars? Making your own peanut butter at home is surprisingly simple and incredibly rewarding. Forget the long ingredient lists on store-bought jars; you can achieve that rich, nutty flavor with just one main ingredient: peanuts! In this comprehensive guide, you’ll learn everything you need to know to grind peanuts for peanut butter right in your own kitchen. We’ll cover choosing the best peanuts, the crucial step of roasting (and why it’s worth it!), the grinding process itself, and how to customize your creation to perfection. Get ready to discover how easy it is to make delicious, wholesome peanut butter that’s tailored exactly to your taste.
Key Takeaways
- Choose the Right Peanuts: Opt for raw, unsalted, and unshelled peanuts for the best flavor and control over your ingredients.
- Roasting is Key (Optional but Recommended): Roasting peanuts deepens their flavor and makes them easier to grind into a smooth paste.
- The Right Equipment Matters: A food processor or a high-powered blender is essential for efficiently grinding peanuts.
- Patience is a Virtue: Grinding peanuts takes time, and you’ll need to pause and scrape down the sides of your processor or blender frequently.
- Customization is King: You can control the salt, sugar, and oil content, and even add other flavors to create your signature peanut butter.
- Texture Control: Blend longer for creamy peanut butter or stop earlier for a delightful crunch.
- Storage is Simple: Properly stored homemade peanut butter can last for several weeks in the refrigerator.
Why Make Your Own Peanut Butter?
The benefits of making peanut butter at home are numerous. Firstly, you have complete control over the ingredients. You can choose to go completely sugar-free and salt-free, or add them sparingly to suit your dietary needs and preferences. This is fantastic for anyone managing their sugar intake or looking for a healthier snack option. Secondly, the flavor is unparalleled. Freshly ground peanuts offer a vibrant, nutty taste that processed peanut butter often lacks. Finally, it’s a fun and satisfying kitchen project that yields a delicious and versatile result.
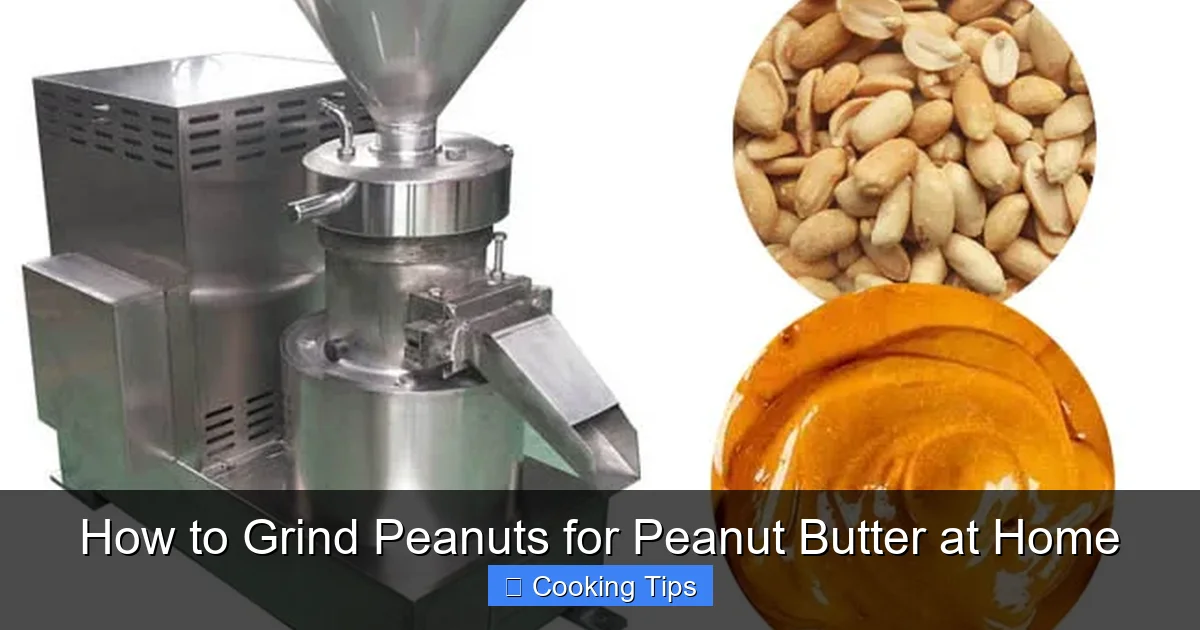
Choosing Your Peanuts
Visual guide about How to Grind Peanuts for Peanut Butter at Home
Image source: chinapeanutmachinery.com
The foundation of great homemade peanut butter is, of course, great peanuts. For the best results, look for:
Raw, Unsalted, and Unshelled Peanuts
Visual guide about How to Grind Peanuts for Peanut Butter at Home
Image source: chinapeanutmachinery.com
These are your ideal starting point. Raw peanuts haven’t been roasted or seasoned, giving you a blank canvas to work with. This means you can roast them yourself to develop their flavor and control any added salt or sugar. Avoid pre-roasted or salted peanuts, as they can lead to a less fresh taste and make it harder to achieve a smooth consistency. You can usually find raw peanuts in bulk bins at health food stores, farmer’s markets, or online.
Shelling and Sorting

Visual guide about How to Grind Peanuts for Peanut Butter at Home
Image source: canadianinnovationspace.ca
Once you have your unshelled peanuts, the first step is to shell them. This is a simple process of cracking the shells open and removing the peanuts inside. While you’re shelling, take a moment to sort through them. Discard any peanuts that look discolored, moldy, or have any signs of spoilage. You want to start with the freshest, cleanest peanuts possible.
The Roasting Process: Unlocking Flavor
While you *can* grind raw peanuts directly, roasting them is a game-changer for flavor and texture. Roasting brings out the natural oils in the peanuts, intensifying their nutty aroma and taste, and also makes them more pliable for grinding.
Preheat Your Oven
Preheat your oven to 350°F (175°C).
Spread the Peanuts
Spread a single layer of shelled peanuts onto a baking sheet. Don’t overcrowd the pan, as this can lead to uneven roasting. You want them to have a bit of space to breathe and toast evenly.
Roast to Perfection
Roast the peanuts for 10-15 minutes. Keep a close eye on them, as peanuts can go from perfectly roasted to burnt very quickly. You’re looking for a light golden-brown color and a fragrant, toasty aroma. Give the baking sheet a shake halfway through the roasting time to ensure even cooking.
Cool Down
Once roasted, remove the peanuts from the oven and let them cool completely on the baking sheet. This cooling period is important. Trying to grind warm peanuts can result in a gummy texture.
The Grinding Journey: From Whole Nuts to Creamy Bliss
This is where the magic happens! The key to grinding peanuts at home is using the right equipment and having a little patience.
Essential Equipment
The two most effective tools for grinding peanuts are:
Food Processor
A food processor is generally the most recommended appliance for making peanut butter. Its broad, flat blade and wide bowl are ideal for processing nuts into a paste. The more powerful your food processor, the faster and smoother your peanut butter will be.
High-Powered Blender
A high-powered blender (like a Vitamix or Blendtec) can also do the job. You’ll likely need to use the tamper to push the peanuts down towards the blades. Blenders can sometimes create more heat, which can affect the texture if you’re not careful.
Starting the Grind
Add the Roasted Peanuts
Place your cooled, roasted peanuts into the bowl of your food processor or blender.
Initial Pulse
Begin by pulsing the peanuts a few times. This will start to break them down into smaller pieces. You’ll notice they go from whole peanuts to coarse crumbs.
Continuous Processing and Scraping
Now, switch to a continuous setting. This is where patience comes in. The peanuts will go through several stages:
- Crumbs: They’ll start as a coarse meal.
- Paste: After a few minutes, the oils will begin to release, and the mixture will start to clump together, forming a thick, somewhat dry paste.
- Smooth Butter: Keep processing! The paste will gradually become smoother and more liquidy as the oils are fully released and the peanut particles break down further.
You will need to stop the machine every minute or so and scrape down the sides of the bowl with a spatula. This ensures that all the peanuts are being processed evenly and helps everything move towards the blades. Don’t be tempted to give up if it looks too dry or clumpy at first. Just keep going!
Achieving Your Desired Texture
The length of time you process will determine your peanut butter’s texture:
Creamy Peanut Butter
For smooth, creamy peanut butter, let the food processor or blender run for 5-10 minutes (or even longer, depending on your machine’s power). The mixture should become very smooth and pourable.
Crunchy Peanut Butter
If you prefer crunchy peanut butter, stop the processing earlier. Once the mixture has formed a thick paste and is mostly smooth but still has visible peanut pieces, it’s ready. You can even remove a few tablespoons of chopped peanuts before the final stage and stir them back in at the end for extra crunch.
Customization: Making It Your Own
Once your peanuts are ground to your desired consistency, it’s time to customize!
Adding Salt
Most people enjoy a bit of salt in their peanut butter. Add salt gradually, tasting as you go, until you reach your preferred saltiness. Sea salt or kosher salt works well.
Adding Sweetener
If you like your peanut butter a little sweeter, you can add a touch of sweetener. Options include:
- Honey
- Maple syrup
- Agave nectar
- A pinch of sugar (brown or white)
Start with a small amount and blend again to incorporate.
Adding Other Flavors
This is where you can get creative! Consider adding:
- A dash of cinnamon
- A sprinkle of cocoa powder for chocolate peanut butter
- A touch of vanilla extract
- A pinch of chili powder for a spicy kick
Blend these in during the final stages.
Adjusting Consistency with Oil (Optional)
If you find your peanut butter is too thick for your liking, even after sufficient processing, you can add a small amount of neutral-flavored oil. Peanut oil is a natural choice, but you can also use vegetable oil or coconut oil. Add it a tablespoon at a time and process until the desired consistency is reached. This is rarely necessary with a powerful food processor, as the peanuts’ own oils are usually sufficient.
Troubleshooting Common Issues
Even with the best intentions, you might run into a few snags. Here’s how to address them:
My peanut butter is too thick and won’t blend anymore.
This usually happens if your machine isn’t powerful enough or if you haven’t processed it long enough. If you’ve already processed for a good amount of time, try adding a tablespoon of oil at a time and continue processing. Ensure you are scraping down the sides regularly.
My peanut butter tastes bland.
This is often because the peanuts weren’t roasted enough, or you haven’t added enough salt. Ensure you’re using fresh, good-quality peanuts. Roasting them thoroughly (but not burning them!) is crucial for flavor development.
My peanut butter is gritty.
This means it hasn’t been processed long enough. Keep going! You need to break down the peanut particles into a very fine paste. A powerful machine will yield the smoothest results.
Storage and Enjoyment
Once your homemade peanut butter is ready, transfer it to an airtight container. Because it doesn’t contain preservatives, it’s best stored in the refrigerator. It should last for several weeks, though the oil may separate over time. If this happens, simply stir it well before using. Enjoy your delicious, homemade peanut butter on toast, in sandwiches, with fruit, or in your favorite recipes!
Conclusion
Making your own peanut butter at home is a simple, rewarding culinary adventure. By following these steps, from selecting the best peanuts to patiently grinding them to perfection, you can create a delicious, wholesome spread that beats store-bought any day. Experiment with different roasting times, textures, and flavor additions to discover your ultimate homemade peanut butter. So, gather your peanuts, fire up your food processor, and get ready to enjoy the pure, unadulterated taste of homemade goodness!