
Dealing with a leaking mixer grinder jar can be frustrating, but it’s usually a solvable problem. This guide will help you identify the root cause of leaks and provide step-by-step solutions to fix them. By understanding the common culprits and following our practical tips, you can restore your mixer grinder to its full, leak-free functionality.
Introduction
It’s a common kitchen nightmare: you’re blending your favorite smoothie or chutney, and suddenly, a stream of liquid starts seeping from the bottom or sides of your mixer grinder jar. This leaky jar situation is not only messy but can also be a safety hazard, potentially damaging your appliance. Fortunately, most mixer grinder jar leaks are preventable and fixable with a little knowledge and effort. This comprehensive guide will walk you through the common causes of jar leakage and provide clear, actionable steps to solve these issues, ensuring your mixer grinder operates smoothly and efficiently once again. We’ll cover everything from inspecting simple components to more involved checks, empowering you to tackle any leak that comes your way.
Key Takeaways
- Inspect the Gasket/Rubber Ring: The most common cause of leaks is a damaged, worn, or improperly seated gasket. Always check its condition and fit.
- Tighten Jar Securely: Ensure the jar is locked firmly onto the mixer grinder base. A loose jar will inevitably lead to leaks.
- Check for Jar Cracks: Even small cracks in the mixer grinder jar can cause liquid to escape. Thoroughly examine the jar for any damage.
- Examine Blade Assembly: Loose or damaged blade assemblies, including the seals around them, are frequent culprits for mixer grinder jar leaks.
- Clean Regularly: Proper cleaning of the jar, lid, and gasket prevents food particles from interfering with a good seal.
- Proper Usage is Key: Avoid overfilling the jar and ensure the lid is securely fastened before operating the mixer grinder.
Understanding the Causes of Jar Leakage
Before we dive into the solutions, it’s helpful to understand why your mixer grinder jar might be leaking in the first place. Several factors can contribute to this problem, ranging from simple user errors to worn-out parts. Identifying the specific cause is the first step towards a successful repair.
Common Culprits Explained
* Damaged or Worn Gasket/Rubber Ring: This is by far the most frequent reason for leaks. The gasket creates a watertight seal between the jar and the blade assembly. If it’s torn, brittle, flattened, or missing, leaks are almost guaranteed.
* Improperly Seated Gasket: Even a perfectly good gasket can cause leaks if it’s not placed correctly in its groove. It might be twisted, bunched up, or not pushed in all the way.
* Loose Jar Assembly: The jar needs to be securely locked onto the mixer grinder’s motor base. If it’s not twisted or clicked into place firmly, there will be a gap, allowing liquid to escape.
* Cracked or Damaged Jar: Over time, mixer grinder jars can develop hairline cracks or chips, especially if they’ve been dropped or subjected to extreme temperature changes. These imperfections can compromise the jar’s integrity and lead to leaks.
* Loose or Damaged Blade Assembly: The blades themselves are attached to a mechanism at the bottom of the jar. If the screws holding the blade assembly are loose, or if the seals around the blade spindle are worn out, liquid can seep through.
* Overfilling the Jar: Pushing the limits of your mixer grinder jar by filling it too high can put undue pressure on the lid and the seal, forcing liquid out, especially when blending at high speeds.
* Lid Not Secured Properly: Similar to the jar assembly, the lid must be firmly attached to the jar. If it’s loose or the locking mechanism isn’t engaged, leaks can occur from the top.
* Residue and Buildup: Small food particles or dried-up ingredients can get stuck around the gasket or the jar’s rim, preventing a proper seal.
Step-by-Step Solutions to Fix Jar Leaks
Now that we’ve identified the potential culprits, let’s get down to solving those annoying leaks. Follow these steps systematically to diagnose and fix the issue with your mixer grinder jar.
Step 1: Assess the Situation and Perform a Visual Inspection
Before you start disassembling anything, take a moment to observe where the leak is coming from.
H3: Pinpointing the Leak Source
- Observe Carefully: Note whether the leak is from the very bottom of the jar, near the blade assembly, from the sides, or around the lid.
- Dry the Jar: Wipe the jar completely dry. This will help you see precisely where new moisture appears when you test it.
- Gentle Test Run: With a small amount of water inside, run the mixer on a low setting for a few seconds. Watch closely for the source of the leak.
Step 2: Inspect and Address the Gasket/Rubber Ring
This is where most leaks begin and end. The gasket is your primary defense against spillage.
H3: Checking the Gasket’s Condition
- Remove the Gasket: Carefully detach the rubber ring from its groove at the bottom of the jar or around the blade assembly.
- Examine for Damage: Look for any signs of wear, such as tears, cuts, cracks, hardening, or flattening. If you see any damage, the gasket needs to be replaced.
- Clean the Gasket and Groove: Wash the gasket and the groove it sits in with warm, soapy water. Remove any food debris or residue.
- Ensure Proper Seating: Once clean and dry, carefully place the gasket back into its groove. Make sure it’s seated evenly all around, with no twists or bulges. It should fit snugly.
H3: Replacing a Worn Gasket
If your gasket is damaged, you’ll need a replacement. Most manufacturers offer spare parts. You can usually find them online or at authorized service centers. Ensure you get the correct gasket model for your specific mixer grinder.
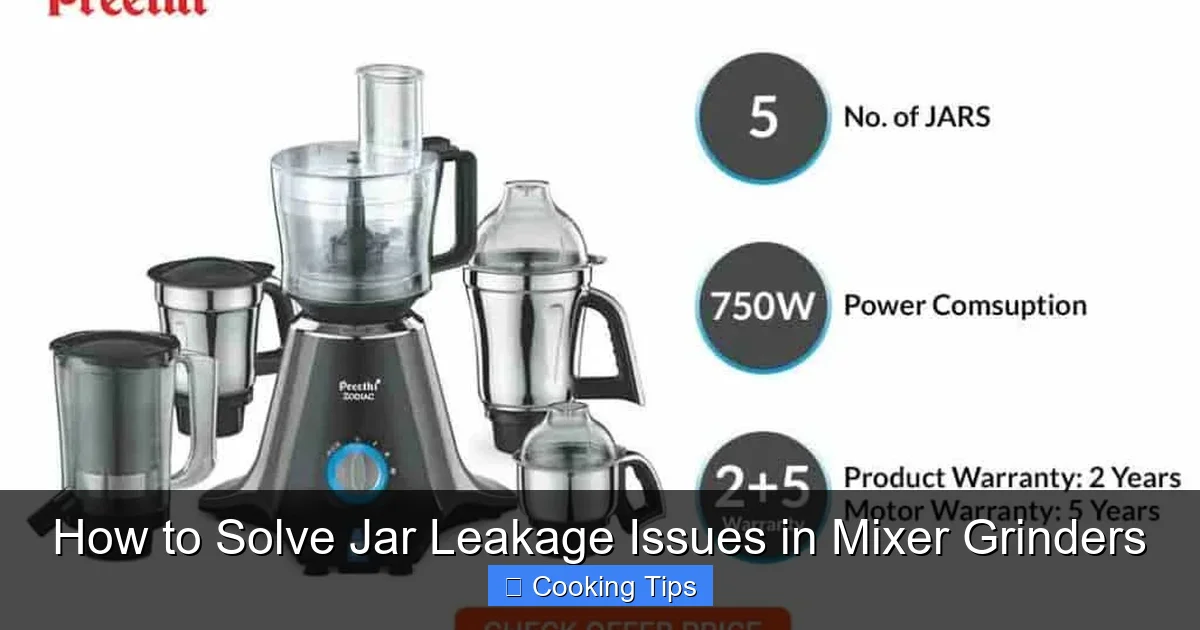
Visual guide about How to Solve Jar Leakage Issues in Mixer Grinders
Image source: homezene.com
Step 3: Verify the Jar is Securely Attached
A loose jar is a recipe for disaster. Ensure it’s locked down tight.
H3: Securing the Jar to the Base
- Align and Twist: Place the jar onto the mixer grinder base, aligning the jar’s base with the locking mechanism.
- Firmly Lock: Twist the jar until it clicks or locks securely into place. You should feel a firm connection. Try gently wiggling the jar; it shouldn’t move loosely.
- Check for Obstructions: Ensure there’s nothing preventing the jar from seating properly, like dried food or debris on the base.
Step 4: Examine the Jar for Cracks
Even a seemingly minor crack can compromise the jar.
H3: Inspecting the Jar Body
- Thorough Visual Check: Hold the jar up to a light source and inspect it carefully from all angles, both inside and out. Look for any fine lines or chips, especially around the base and where the blades are attached.
- Feel for Imperfections: Run your fingers along the inside and outside of the jar to feel for any rough spots or cracks that might not be immediately visible.
H3: What to Do if the Jar is Cracked
If you discover a crack in the mixer grinder jar, it’s best to replace the entire jar. Continuing to use a cracked jar can lead to leaks, potential breakage during operation, and can even damage the motor unit. Contact the manufacturer or a reputable appliance parts dealer for a replacement jar.
Step 5: Check the Blade Assembly and Seals
The blade assembly is a crucial part of the jar’s sealing mechanism.
H3: Inspecting the Blades and Spindle
- Tighten Blade Screws (If Accessible): Some blade assemblies have screws visible from the underside. If yours does, and you’re comfortable doing so (consult your manual), ensure they are snug. Caution: Do not overtighten, as this can damage the threads.
- Examine Blade Seals: The spindle of the blade assembly usually has rubber or plastic seals. Check these for any signs of wear, hardening, or degradation.
H3: Dealing with Blade Assembly Issues
If the blade assembly itself appears loose, or if the seals are visibly worn, you might need to replace the entire blade assembly unit. These are typically available as spare parts. If you’re unsure about disassembling the blade assembly, it’s best to consult your appliance’s manual or seek professional help.
Step 6: Practice Proper Usage and Maintenance
Preventing leaks also involves using your mixer grinder correctly and keeping it clean.
H3: Key Usage Tips
- Don’t Overfill: Always observe the ‘max fill’ line indicated on your mixer grinder jar. Overfilling can force liquids out.
- Secure the Lid: Ensure the lid is properly placed and locked before you start blending. Use the jar’s locking mechanism if it has one.
- Add Liquids First: For smoother blending and to reduce strain on the motor and seals, add liquids to the jar first, followed by solids.
- Start Slow: Begin blending at a lower speed and gradually increase as needed. This reduces initial pressure on the seals.
H3: Regular Cleaning for Longevity
- Clean Immediately After Use: Don’t let food residues dry and harden. Wash the jar, lid, and gasket thoroughly after each use.
- Deep Cleaning: Periodically, or if you notice any stubborn residue, use a soft brush to clean around the blade assembly and the gasket groove.
- Dry Thoroughly: Ensure all parts are completely dry before reassembling and storing them. This prevents mold growth and ensures a better seal next time.
Troubleshooting Persistent Leaks
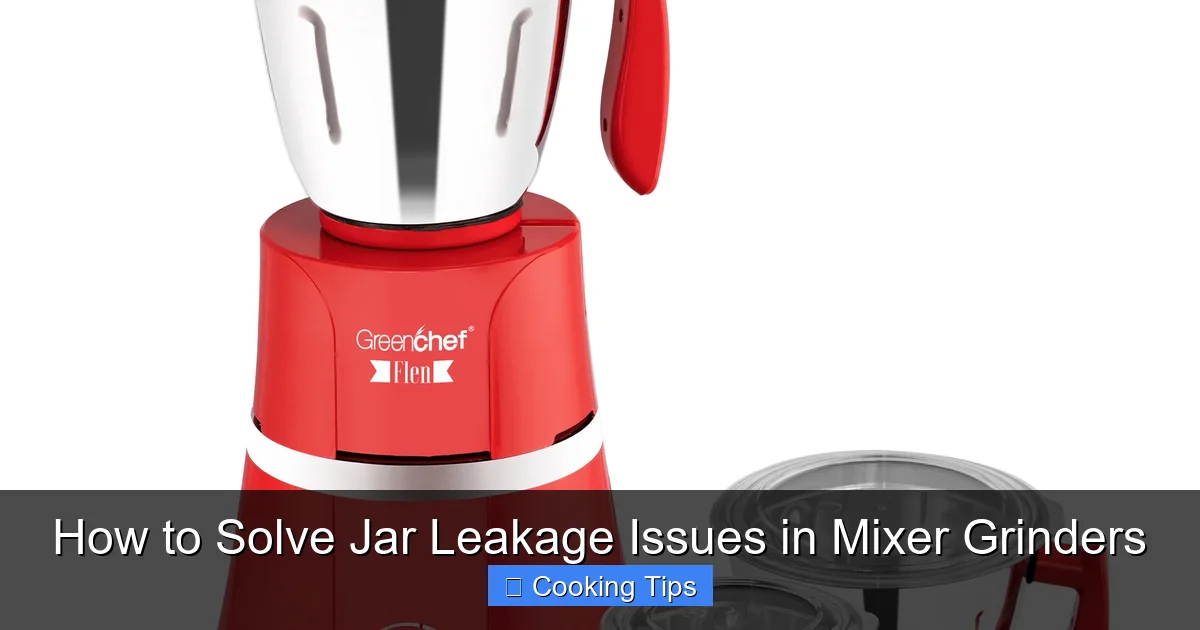
Visual guide about How to Solve Jar Leakage Issues in Mixer Grinders
Image source: greenchef.in
If you’ve gone through all the steps and your mixer grinder jar is still leaking, here are a few extra points to consider:
When to Seek Professional Help
* Motor Base Damage: If you suspect liquid has entered the motor base, stop using the appliance immediately and contact a qualified service technician. Water and electricity are a dangerous combination.
* Manufacturing Defect: In rare cases, a leak might be due to a manufacturing defect in the jar, lid, or motor housing.
* Uncertainty: If you’re uncomfortable with any of the steps, or if you can’t identify the cause, it’s always safer to consult your appliance’s manual or contact the manufacturer’s customer support for guidance or professional repair.
Conclusion
A leaking mixer grinder jar can be a nuisance, but as you’ve seen, it’s often a simple fix. By diligently inspecting your gasket, ensuring the jar is securely locked, checking for cracks, and maintaining good cleaning habits, you can keep your mixer grinder in top condition. Remember, regular care and attention to detail are your best allies in preventing and resolving jar leakage issues. With these steps, you can get back to effortlessly blending your favorite recipes, free from the worry of spills and messes. Happy blending!