
Properly cleaned jar gaskets are essential for reliable food preservation and extending the life of your stored goods. This guide will walk you through the simple yet crucial steps to clean your jar gaskets effectively, ensuring a tight, airtight seal that prevents spoilage and maintains freshness. Investing a little time in gasket maintenance will save you time and wasted food in the long run.
Key Takeaways
- Regular cleaning prevents residue buildup: Food particles, oils, and old canning liquids can harden on gaskets, compromising their flexibility and ability to create a seal.
- Gentle cleaning methods are best: Harsh chemicals or abrasive scrubbing can damage the gasket material, leading to premature wear and tear.
- Inspect for damage before and after cleaning: Tears, nicks, or brittleness can render a gasket ineffective, regardless of how clean it is.
- Proper drying is crucial: Storing gaskets wet can lead to mold growth and a musty smell.
- Storage impacts longevity: Keeping gaskets in a cool, dry place away from direct sunlight helps maintain their elasticity.
- Know when to replace: Even with diligent cleaning, gaskets have a lifespan and will eventually need replacing for continued safety and quality.
Clean the Jar Gasket to Maintain a Proper Seal
Welcome, home cooks and canning enthusiasts! Are you passionate about preserving the bounty of your garden, saving money on groceries, or simply enjoying delicious homemade treats year-round? If so, you know the importance of a good seal. A proper seal on your jars is the gatekeeper against spoilage, the guardian of freshness, and the assurance that your hard work in the kitchen pays off. But what happens when that seal starts to falter? Often, the culprit is overlooked: the humble jar gasket.
These flexible rings, whether they are part of a two-piece lid system or a reusable silicone gasket, are the unsung heroes of airtight storage. They compress between the jar rim and the lid, creating that vital barrier against air and moisture. However, over time and with repeated use, they can become coated with food residues, sticky sugars, oils, and even dried-on canning liquids. This buildup can prevent the gasket from conforming perfectly to the jar, leading to a weak or even failed seal.
Fortunately, maintaining a proper seal doesn’t require elaborate equipment or a chemistry degree. In this comprehensive guide, we’ll walk you through the simple, yet essential, steps to clean your jar gaskets effectively. You’ll learn how to identify potential issues, choose the right cleaning methods, and ensure your gaskets are in top condition for every canning project and for reliable food storage. Get ready to say goodbye to frustrating seal failures and hello to perfectly preserved foods!
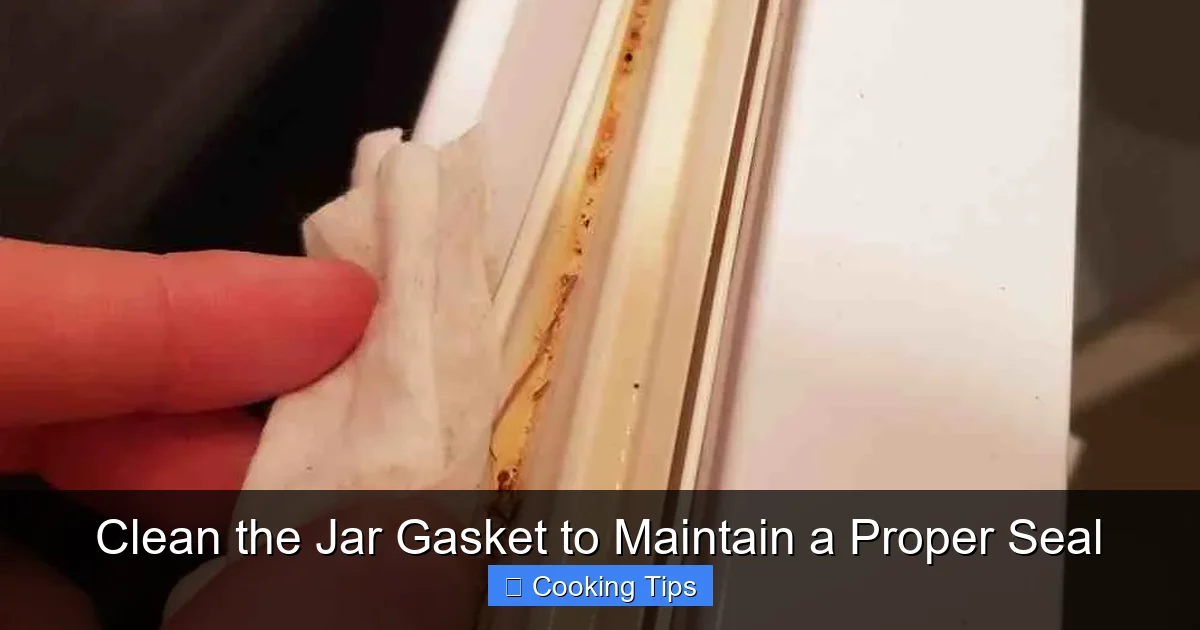
Why Cleaning Jar Gaskets Matters
Before we dive into the “how,” let’s understand the “why.” Think of your jar gasket like a tiny, flexible cushion. Its job is to create a smooth, unbroken surface that can compress evenly. When food particles, particularly sticky or oily ones like fruit preserves, tomato sauce, or pickle brine, get lodged in the gasket’s grooves or adhere to its surface, they create tiny bumps and unevenness. This prevents the gasket from making full contact with the jar rim and lid.

Visual guide about Clean the Jar Gasket to Maintain a Proper Seal
Image source: appliancetec.com
The consequences of a compromised gasket can range from inconvenient to downright disappointing. You might notice
- Signs of spoilage: Mold growth, cloudiness, or off-odors in your stored foods are clear indicators that air has entered the jar.
- Leaky lids: Liquid seeping out from under the lid is a tell-tale sign of an imperfect seal.
- Failed water bath canning: During the canning process, a weak seal can allow contaminants to enter the jar, rendering the food unsafe to consume.
- Reduced shelf life: Even if spoilage isn’t immediately apparent, a less-than-perfect seal can shorten the time your food remains fresh and safe to eat.
Regular cleaning and inspection of your jar gaskets are proactive steps that safeguard your food and your efforts. It’s a small investment of time that yields significant rewards in terms of food safety and preservation quality.
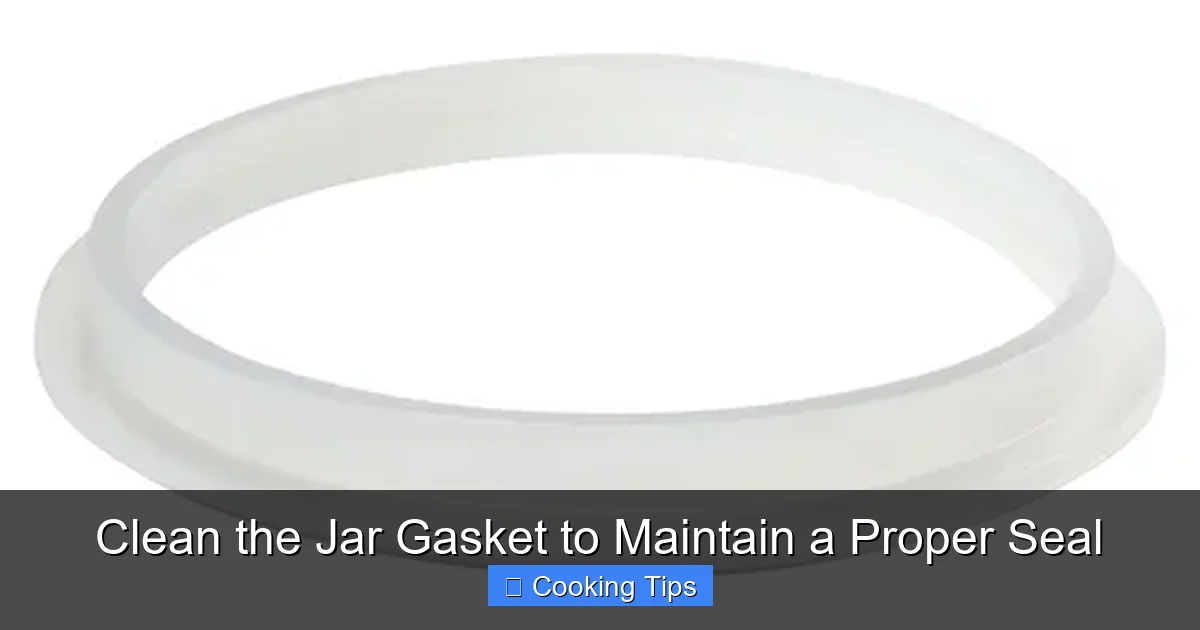
Step-by-Step Guide to Cleaning Jar Gaskets
Cleaning jar gaskets is a straightforward process. We’ll cover methods for both traditional two-piece lids with rubberized gaskets and reusable silicone gaskets. The key is to be gentle and thorough.
Visual guide about Clean the Jar Gasket to Maintain a Proper Seal
Image source: gasketguyuk.com
1. Disassemble and Inspect
This is your first opportunity to identify any issues. Once you’ve opened a jar, carefully remove the lid and examine the gasket. If it’s a two-piece lid, the rubberized gasket is usually adhered to the metal lid. If it’s a reusable silicone gasket, it will be a separate ring.
H3: For Two-Piece Lids
Gently run a fingernail or a soft, non-metallic tool around the edge of the rubber gasket to ensure it’s still attached to the metal lid. Look for any signs of damage such as:
- Tears or nicks: Even small perforations can break the seal.
- Brittleness: If the rubber feels stiff or cracks easily, it’s time for replacement.
- Stretching or distortion: The gasket should fit snugly and evenly around the lid.
H3: For Reusable Silicone Gaskets
Remove the silicone gasket from the jar. Inspect it for:
- Tears or cuts: Similar to the rubberized type, any damage is a red flag.
- Brittleness or hardening: Silicone should remain flexible.
- Staining or odors: While some staining is cosmetic, persistent odors can indicate it’s time for a refresh or replacement.
If you find any damage, it’s best to discard the lid or gasket and use a new one. A compromised gasket cannot create a reliable seal.
2. Gentle Washing
Once you’ve confirmed your gaskets are in good condition, it’s time to clean them. The goal is to remove all food residue without damaging the gasket material.
H3: For All Gasket Types
The best cleaning solution is simple:
- Warm, soapy water: Use a mild dish soap.
Fill a clean bowl or sink with warm water and add a few drops of dish soap. Submerge the gaskets (or lids with gaskets attached) in the soapy water.
3. Scrubbing Away Residue
This is where thoroughness comes in. You need to ensure every nook and cranny is free of food particles.
H3: Using a Soft Brush or Sponge
For both two-piece lids and reusable gaskets, a soft-bristled brush (like a bottle brush or an old toothbrush dedicated to cleaning) or a soft sponge is ideal. Gently scrub the entire surface of the gasket, paying close attention to any grooves or indentations where food might hide. If you’re cleaning two-piece lids, be careful not to bend the metal lid itself. For reusable silicone gaskets, you can gently flex them to get into all the folds.
Tip: For stubborn residue, let the gasket soak in the warm, soapy water for a few minutes before scrubbing. This will help soften dried-on food.
H3: Avoiding Harsh Materials
It’s crucial to avoid abrasive scrubbers like steel wool or rough sponges. These can scratch the gasket’s surface, creating micro-tears that can harbor bacteria and weaken the seal over time. Also, steer clear of harsh chemical cleaners, bleach, or scouring powders, as these can degrade the gasket material.
4. Thorough Rinsing
Once you’ve scrubbed, it’s time to rinse away all the soap and loosened debris.
H3: Rinsing Under Running Water
Rinse each gasket (or lid with gasket) under clean, running water. Ensure all soap suds are completely gone. You can gently squeeze or flex the gasket to help rinse out any trapped water or residue from its inner surfaces. A quick rinse might not be enough; take your time to be sure.
5. Proper Drying
This step is as critical as cleaning itself. Storing wet gaskets can lead to mold, mildew, and unpleasant odors, which can then transfer to your food.
H3: Air Drying is Best
The most effective drying method is to let the gaskets air dry completely. Place them on a clean dish rack, or lay them flat on a clean kitchen towel in a well-ventilated area. For two-piece lids, you can place them upside down to allow water to drain from the gasket.
Tip: If you’re in a hurry, you can gently pat them dry with a clean, lint-free towel, but ensure they are absolutely dry before storing.
6. Storage
How you store your clean gaskets can significantly impact their lifespan and effectiveness.
H3: Cool, Dry, and Dark
Store clean, dry gaskets in a cool, dry place away from direct sunlight and heat. Sunlight and heat can cause the rubber or silicone to degrade and become brittle over time. A kitchen cabinet or a storage container is ideal. For reusable silicone gaskets, you can store them either flat or rolled loosely.
Tip: If you’re storing them for a long period (e.g., the off-season for canning), consider storing them in a breathable container rather than a sealed plastic bag, which can sometimes trap residual moisture.
Troubleshooting Common Gasket Issues
Even with diligent cleaning, you might encounter some persistent problems.
Visual guide about Clean the Jar Gasket to Maintain a Proper Seal
Image source: size.siteimgs.com
My Gaskets Still Don’t Seal Properly. What Now?
If you’ve cleaned your gaskets thoroughly and they still don’t seem to be creating a reliable seal, it’s likely that the gasket itself is damaged or has reached the end of its lifespan. Inspect them again very closely for any subtle signs of wear that you might have missed. For rubberized gaskets on two-piece lids, these are designed for single use or a limited number of reuses. If they appear flattened, cracked, or have lost their elasticity, it’s time to purchase new lids.
For reusable silicone gaskets, while they are designed for many uses, they do eventually wear out. If you notice them becoming permanently distorted, losing their flexibility, or developing a persistent odor that cleaning won’t remove, it’s a sign to replace them. Always err on the side of caution when it comes to food safety and sealing.
Can I Use Vinegar or Other Cleaners?
While vinegar has its place in many cleaning tasks, it’s generally not recommended for regular jar gasket cleaning. The acidity can, over time, degrade the rubber or silicone. Stick to warm, soapy water. If you have a particularly stubborn, non-food-related stain or odor on a reusable silicone gasket, you can try a short soak (no more than 30 minutes) in a diluted vinegar solution (1 part vinegar to 4 parts water), followed by a very thorough rinse and complete drying. However, for everyday cleaning, mild dish soap is your best bet.
Conclusion
Maintaining the integrity of your jar gaskets is a simple yet profoundly important aspect of food preservation and storage. By incorporating a regular cleaning and inspection routine into your kitchen practices, you ensure that your jars are equipped to provide the airtight seal necessary for keeping your food safe, fresh, and delicious for longer.
Remember, a clean gasket is a happy gasket, and a happy gasket means a properly sealed jar. Don’t underestimate the power of this small, often overlooked component. A little bit of care now can save you from the disappointment of spoilage and the potential hazards of a failed seal. So, the next time you finish a jar, take a moment to give that gasket the attention it deserves. Your future self, enjoying perfectly preserved foods, will thank you for it!