
Learn how to create a delicious and incredibly easy one-pot chicken and rice meal directly in your rice cooker. This method minimizes cleanup and delivers consistently tender chicken and perfectly cooked rice, infused with flavor. Perfect for busy weeknights, this recipe is a game-changer for stress-free home cooking. Get ready for a foolproof way to enjoy a complete, satisfying meal with minimal effort.
One Pot Chicken and Rice in a Rice Cooker
Are you tired of spending hours in the kitchen after a long day? Do you dream of delicious, home-cooked meals that require minimal effort and even less cleanup? If so, you’ve come to the right place! Today, we’re diving into the magical world of one-pot cooking, specifically using your trusty rice cooker to create an unbelievably easy and flavorful chicken and rice dish.
This recipe is designed for simplicity and maximum flavor. We’ll show you how to throw everything into your rice cooker and let it do all the work. No more juggling multiple pots and pans, no more stovetop babysitting. Just perfectly cooked, tender chicken and fluffy rice infused with delicious seasonings. Get ready to transform your weeknight dinners!
Key Takeaways
- Effortless Preparation: This one-pot method simplifies cooking, requiring minimal chopping and just a few simple steps.
- Minimal Cleanup: Cooking everything in the rice cooker means only one pot to wash, saving you precious time.
- Versatile Flavor Base: The basic recipe is highly adaptable, allowing for customization with different vegetables, spices, and herbs.
- Perfectly Cooked Rice: Rice cookers are designed for perfect rice, ensuring it’s never mushy or undercooked when following this method.
- Tender, Juicy Chicken: The steaming action of the rice cooker gently cooks the chicken, keeping it incredibly moist and flavorful.
- Great for Meal Prep: This dish is ideal for making ahead, as leftovers reheat beautifully and are just as delicious the next day.
Why Use a Rice Cooker for One-Pot Meals?
Rice cookers are more than just appliances for plain white rice. They are fantastic for steaming and gently cooking, making them ideal for one-pot meals. The controlled heat and steam environment ensure that ingredients cook evenly. This means your chicken will be wonderfully tender, and your rice will be perfectly fluffy, never mushy. Plus, the cleanup is a breeze – just one pot to wash!
Gather Your Ingredients
The beauty of this recipe is its flexibility. You can adjust the ingredients to suit your preferences. Here’s a basic list to get you started.
For the Chicken and Rice:
- 1-1.5 cups uncooked rice (white rice like jasmine or basmati works best)
- 2 cups chicken broth (or water)
- 1-1.5 lbs boneless, skinless chicken thighs or breasts, cut into bite-sized pieces
- 1-2 tablespoons olive oil or other cooking oil
- 1 medium onion, chopped
- 2-3 cloves garlic, minced
- 1-2 cups mixed vegetables (e.g., frozen peas, carrots, corn, chopped broccoli, bell peppers)
- Salt and black pepper to taste
For the Seasoning (Customizable!):
- 1 teaspoon paprika
- 1/2 teaspoon garlic powder
- 1/2 teaspoon onion powder
- 1/4 teaspoon dried thyme (optional)
- A pinch of cayenne pepper (for a little heat, optional)
Step-by-Step Instructions
Let’s get cooking! This process is incredibly straightforward.
Step 1: Prepare Your Rice
The first step is to prepare your rice. You want to rinse it thoroughly to remove excess starch. This will help prevent the rice from becoming gummy.
Rinsing the Rice
- Place the uncooked rice in a fine-mesh sieve.
- Rinse the rice under cold running water until the water runs clear.
- Drain the rice very well.
Step 2: Sauté Aromatics (Optional but Recommended)
While many rice cooker recipes skip sautéing, taking this extra step will add a significant depth of flavor to your dish. If your rice cooker has a sauté function, this is where you’ll use it. If not, you can do this step in a separate pan and then transfer everything to the rice cooker.
Using the Sauté Function
- Add the olive oil to the rice cooker pot.
- Select the “Sauté” or “Brown” function on your rice cooker, if available.
- Once the oil is hot, add the chopped onion. Sauté for 3-5 minutes until softened and translucent.
- Add the minced garlic and sauté for another minute until fragrant. Be careful not to burn the garlic.
If You Don’t Have a Sauté Function
- Heat the olive oil in a skillet over medium heat.
- Add the chopped onion and sauté until softened, about 3-5 minutes.
- Add the minced garlic and sauté for 1 minute more until fragrant.
- Transfer the sautéed onion and garlic to the rice cooker pot.
Step 3: Layer Your Ingredients
Now it’s time to assemble your one-pot meal. Layering is key to ensuring everything cooks properly.
Adding the Rice and Liquids
- Add the rinsed and drained rice to the rice cooker pot (on top of the sautéed aromatics, if you did that step).
- Pour in the chicken broth (or water).
- Add your chosen seasonings: paprika, garlic powder, onion powder, thyme (if using), and cayenne pepper (if using).
- Season with salt and black pepper. Start with about 1/2 teaspoon of salt and a 1/4 teaspoon of pepper, and you can adjust more later.
Adding the Chicken and Vegetables
- Arrange the chicken pieces evenly on top of the rice and liquid mixture. Try not to overcrowd the pot.
- Scatter your mixed vegetables over the chicken. If using frozen vegetables, you can add them directly.
Step 4: Cook Your Chicken and Rice
This is where the magic happens! Your rice cooker will do all the hard work.
Setting the Rice Cooker
- Close the lid of your rice cooker securely.
- Select the “White Rice” or “Cook” setting.
- Let the rice cooker do its thing. It will automatically switch to “Keep Warm” when the cooking cycle is complete.
Cooking Time
The cooking time will vary depending on your rice cooker model, but it typically takes about 20-40 minutes for the cooking cycle. Once it switches to “Keep Warm,” let it rest for about 10 minutes before opening the lid.
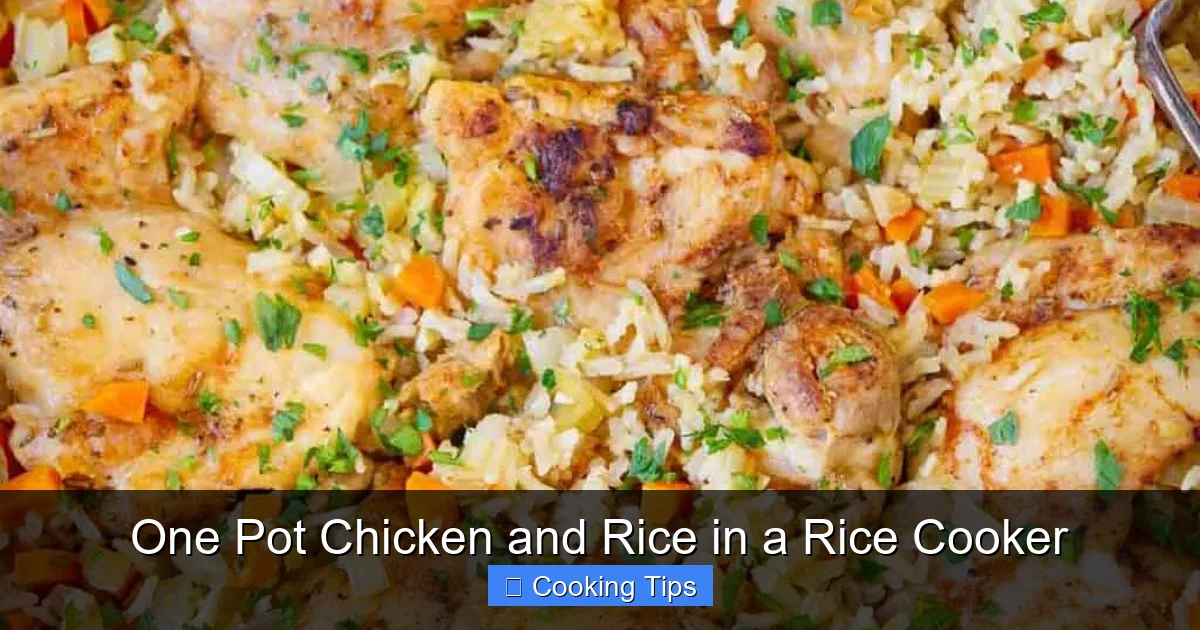
Visual guide about One Pot Chicken and Rice in a Rice Cooker
Image source: cookincanuck.com
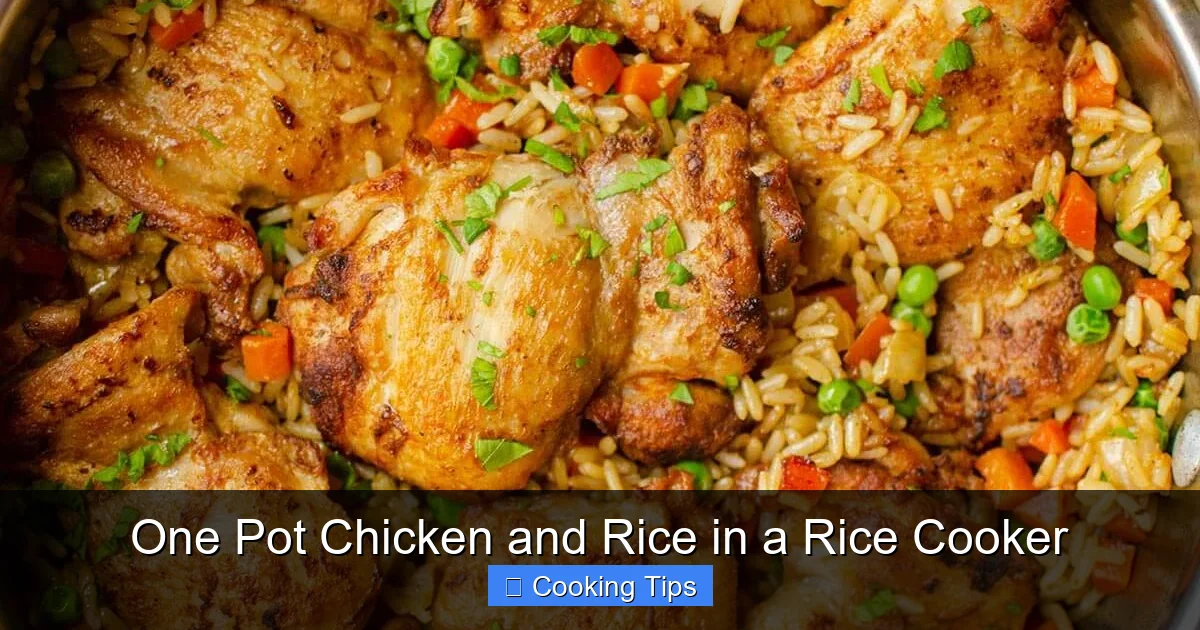
Visual guide about One Pot Chicken and Rice in a Rice Cooker
Image source: livinglou.com
Step 5: Rest and Fluff
Once the rice cooker has finished, resist the urge to open it immediately! Letting it rest allows the steam to distribute evenly and the flavors to meld.
Resting and Fluffing
- After the cooking cycle is complete and the rice cooker has switched to “Keep Warm,” let it sit undisturbed for 10 minutes.
- Open the lid carefully (watch out for steam!).
- Use a fork or a rice paddle to gently fluff the rice and chicken mixture. This will help separate the grains of rice and ensure everything is well-mixed.
Step 6: Serve and Enjoy!
Your delicious, fuss-free one-pot chicken and rice is ready to be served!
Serving Suggestions
- Serve hot, directly from the rice cooker pot.
- Garnish with fresh chopped parsley or cilantro, if desired.
- A squeeze of lemon juice can add a bright, fresh finish.
- You can also serve with a side of your favorite sauce, like soy sauce, sriracha, or a dollop of plain yogurt.
Tips for Success
Here are some extra tips to make your one-pot chicken and rice even better:
- Rice Type: While white rice is recommended for its consistent cooking, you can experiment with brown rice, but it may require a bit more liquid and a longer cooking time. Check your rice cooker’s manual for specific instructions on brown rice.
- Chicken Cut: Chicken thighs are generally more forgiving and stay juicier than chicken breasts. If using breasts, be careful not to overcook them.
- Vegetable Variety: Feel free to use any vegetables you have on hand. Root vegetables like carrots and potatoes might need to be cut smaller to ensure they cook through.
- Spice It Up: Don’t be afraid to adjust the seasonings. Add a pinch of chili flakes for more heat, or a bay leaf for extra aroma. Curry powder is also a delicious addition.
- Liquid Ratio: The standard rice-to-liquid ratio is usually 1:2 (e.g., 1 cup rice to 2 cups liquid). However, always refer to your rice cooker’s manual, as some models have specific recommendations. The addition of vegetables and chicken might slightly alter the liquid absorption, so this ratio is a good starting point.
- Don’t Overfill: Ensure you don’t fill the rice cooker beyond its maximum fill line, especially when cooking ingredients that expand.
Troubleshooting Common Issues
Even with a simple recipe, things can sometimes go awry. Here are solutions to common problems:
My Rice is Mushy or Watery
This often happens if you used too much liquid or didn’t rinse the rice properly. Next time, try using slightly less liquid, or ensure your rice is thoroughly rinsed and drained. If it’s already cooked and watery, you can try leaving the lid off the rice cooker on the “Warm” setting for a while to let some of the excess moisture evaporate. You can also gently spread the rice on a baking sheet and bake it in a low oven for a few minutes.
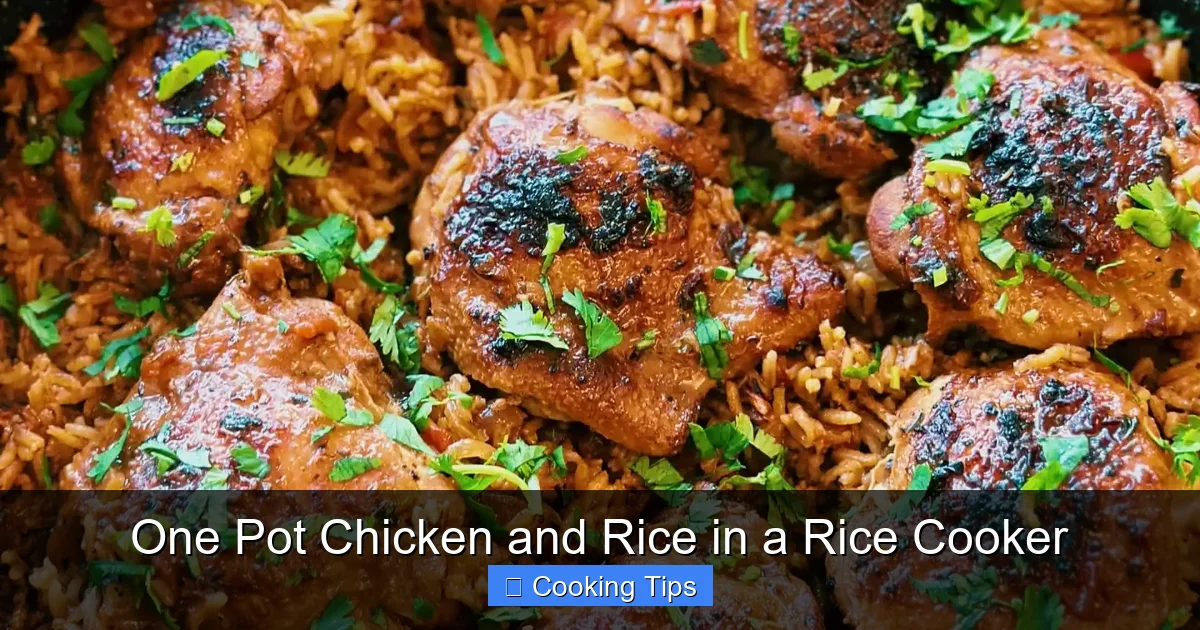
Visual guide about One Pot Chicken and Rice in a Rice Cooker
Image source: happymuncher.com
My Rice is Dry or Undercooked
This could be due to not enough liquid or a malfunctioning rice cooker. If your rice cooker is working correctly, try adding a little more liquid (about 1/4 cup at a time), cover, and run the “Cook” cycle again. If it’s a recurring issue with your appliance, it might be time for a new rice cooker.
My Chicken is Dry or Overcooked
Chicken breasts can dry out easily. If using breasts, consider cutting them into slightly larger pieces or ensure they are fully submerged in the liquid and rice. Chicken thighs are less prone to drying out. Make sure you are not overcooking the meal; once the rice cooker switches to warm, the chicken is likely cooked through. Next time, try cutting chicken breasts into slightly smaller, uniform pieces so they cook faster and evenly.
The Bottom of My Rice is Burnt
This can happen if the heat is too high or if there wasn’t enough liquid at the bottom. Ensure you are using the correct liquid ratio and that the sauté function (if used) wasn’t too intense. If it’s slightly burnt, you can try to scrape off the burnt parts and serve the rest. For future attempts, a bit more liquid can help prevent sticking and burning.
Conclusion
And there you have it – a complete guide to making incredibly easy and satisfying one-pot chicken and rice in your rice cooker! This recipe is a testament to how simple ingredients and smart appliances can combine to create delicious, stress-free meals. Whether you’re a busy parent, a student, or just someone who loves a good, easy dinner, this method is sure to become a staple in your kitchen.
Embrace the simplicity, enjoy the minimal cleanup, and savor every flavorful bite. Happy cooking!