
Reheating chicken tenders in an air fryer is a fantastic way to revive their crispy texture. This guide provides everything you need to know, from optimal temperatures to precise cooking times, ensuring your leftovers are as delicious as the first time. You’ll learn how to achieve perfectly heated, crispy chicken tenders with minimal effort, making them a go-to for quick meals.
How Long to Reheat Chicken Tenders in Air Fryer
There’s nothing quite like the satisfying crunch of perfectly cooked chicken tenders. But what happens when you have leftovers? Sticking them in the microwave can lead to a soggy, unappealing mess. Fortunately, your air fryer is here to save the day! Reheating chicken tenders in an air fryer is a game-changer, transforming limp leftovers into crispy delights. This comprehensive guide will walk you through the process, so you can enjoy delicious, hot chicken tenders every time.
You’ll learn the ideal temperatures and times, discover practical tips for achieving maximum crispiness, and even find out how to troubleshoot common issues. Get ready to say goodbye to sad, reheated chicken and hello to air fryer perfection.
Key Takeaways
- Preheating is Crucial: Always preheat your air fryer to ensure even cooking and maximum crispiness for your chicken tenders.
- Temperature Matters: A common and effective temperature for reheating chicken tenders is 375°F (190°C).
- Time Varies by Size: The exact reheating time depends on the size and thickness of your chicken tenders, typically ranging from 4 to 8 minutes.
- Single Layer for Best Results: Avoid overcrowding the air fryer basket; arrange tenders in a single layer for optimal air circulation and uniform crisping.
- Shake for Evenness: Shaking the basket halfway through the cooking time helps ensure all sides of the tenders get equally crispy.
- Check for Doneness: Always check the internal temperature to ensure chicken tenders are heated through to a safe 165°F (74°C).
- Adjust Based on Your Air Fryer: Familiarize yourself with your specific air fryer model, as cooking times can vary slightly.
Why Use an Air Fryer for Reheating Chicken Tenders?
Before we dive into the how-to, let’s quickly touch on *why* the air fryer is superior for reheating chicken tenders. Unlike conventional ovens that can take a long time to heat up and often dry out food, or microwaves that steam and soften, the air fryer uses circulating hot air to mimic deep-frying without the excess oil. This means it can effectively crisp up the exterior of your chicken tenders, bringing them back to life with a satisfying crunch. It’s fast, efficient, and delivers fantastic results for many types of leftovers, especially those that were originally fried or breaded.
The Golden Rules for Reheating Chicken Tenders in Your Air Fryer
Mastering the art of reheating chicken tenders in the air fryer boils down to a few key principles. These are the foundation for getting them perfectly crispy and hot.
1. Preheating is Your Friend
This is perhaps the most crucial step. Just like when you’re cooking from scratch, preheating your air fryer ensures that the hot air is already circulating at the correct temperature when your chicken tenders go in. This immediate blast of heat helps the breading crisp up quickly and evenly, preventing them from becoming rubbery.
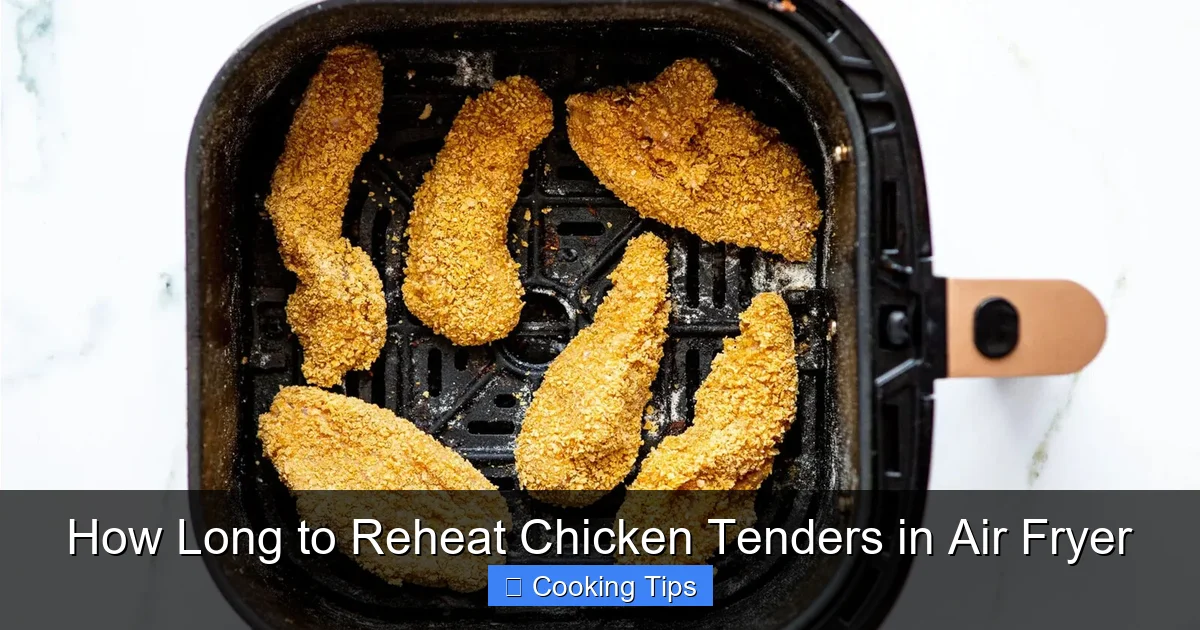
Visual guide about How Long to Reheat Chicken Tenders in Air Fryer
Image source: storables.com
How to preheat:
- Set your air fryer to the desired temperature (we’ll discuss this more below).
- Let it run for about 3-5 minutes. You don’t need a long preheat, but a few minutes makes a big difference.
2. Choose the Right Temperature
For reheating most cooked chicken, including tenders, a temperature of 375°F (190°C) is generally the sweet spot. This temperature is hot enough to reheat the chicken thoroughly without burning the breading. Some air fryer models might run hotter or cooler, so you might need to make slight adjustments over time.
Why this temperature?
- It’s high enough to quickly re-crisp the breading.
- It effectively heats the chicken through to a safe internal temperature.
- It minimizes the risk of drying out the chicken.
3. Timing is Everything (But It Varies!)
This is where the question of “how long” comes into play. The truth is, there’s no single answer that fits every situation. The reheating time for chicken tenders in an air fryer typically ranges from 4 to 8 minutes. Several factors influence this:
- Size and Thickness: Thicker, larger tenders will naturally take longer than smaller, thinner ones.
- How Cold They Are: Tenders straight from the refrigerator will take longer than those that have been sitting out for a few minutes.
- Your Air Fryer Model: As mentioned, different air fryers have varying efficiencies.
- How Crispy You Like Them: Some people prefer a very light crisp, while others like them extra crunchy.
It’s always better to start with a shorter time and add more if needed. You can always cook them longer, but you can’t un-cook them!
Step-by-Step: Reheating Chicken Tenders in Your Air Fryer
Now that you understand the fundamentals, let’s walk through the process step-by-step. This is straightforward and should become second nature after a couple of tries.
Step 1: Prepare Your Tenders
Take your leftover chicken tenders out of their original packaging or storage container. If they are stuck together, gently separate them. This is also a good time to discard any stray pieces of paper or plastic wrap they might have been stored with.
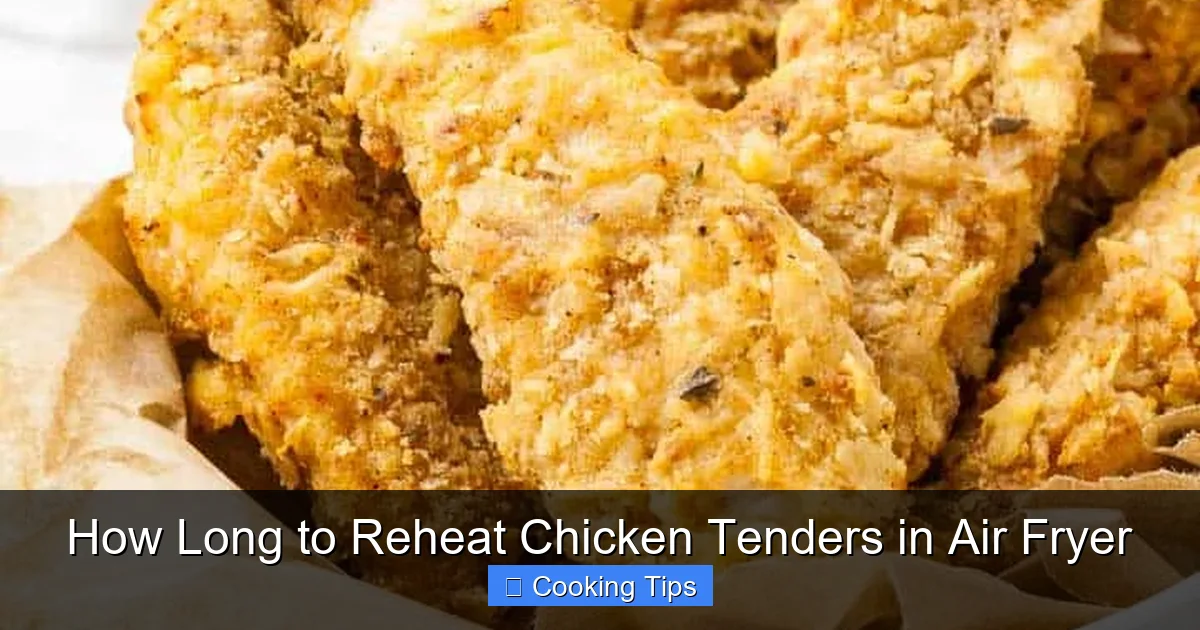
Visual guide about How Long to Reheat Chicken Tenders in Air Fryer
Image source: platedcravings.com
Step 2: Arrange in the Air Fryer Basket
This is a critical step for achieving even crispiness. Place your chicken tenders in a single layer in the air fryer basket. Do not stack them or overcrowd the basket. Overcrowding prevents the hot air from circulating effectively, leading to some tenders being crispy and others being soft and unevenly heated.
Pro Tip: If you have a lot of tenders, you might need to reheat them in batches. It’s worth the extra few minutes to get perfectly reheated tenders.
Step 3: Set the Temperature and Time
Preheat your air fryer to 375°F (190°C) for 3-5 minutes.
Once preheated, place the basket with the chicken tenders inside. Set the timer for 4 minutes. This is your starting point.
Step 4: Shake and Check Halfway
After about 2 minutes, open the air fryer and give the basket a good shake. This helps to move the tenders around, ensuring all sides are exposed to the hot air. This is also a good time to check on their progress. Are they starting to crisp up?
Step 5: Continue Cooking and Check for Doneness
Close the air fryer and let the tenders continue to cook. After the initial 4 minutes are up, check them. Are they hot and crispy to your liking? If not, continue cooking in 1-2 minute increments, checking after each interval.
How to tell if they are done:
- Visual Cue: They should look golden brown and feel firm to the touch.
- Internal Temperature: For food safety, the internal temperature of reheated chicken should reach 165°F (74°C). Use an instant-read thermometer inserted into the thickest part of a tender to check.
Step 6: Serve Immediately
Once your chicken tenders are perfectly reheated and hot, carefully remove them from the air fryer. Serve them immediately while they are at their crispy best! They pair wonderfully with your favorite dipping sauces.
Practical Tips for Air Fryer Chicken Tender Reheating Success
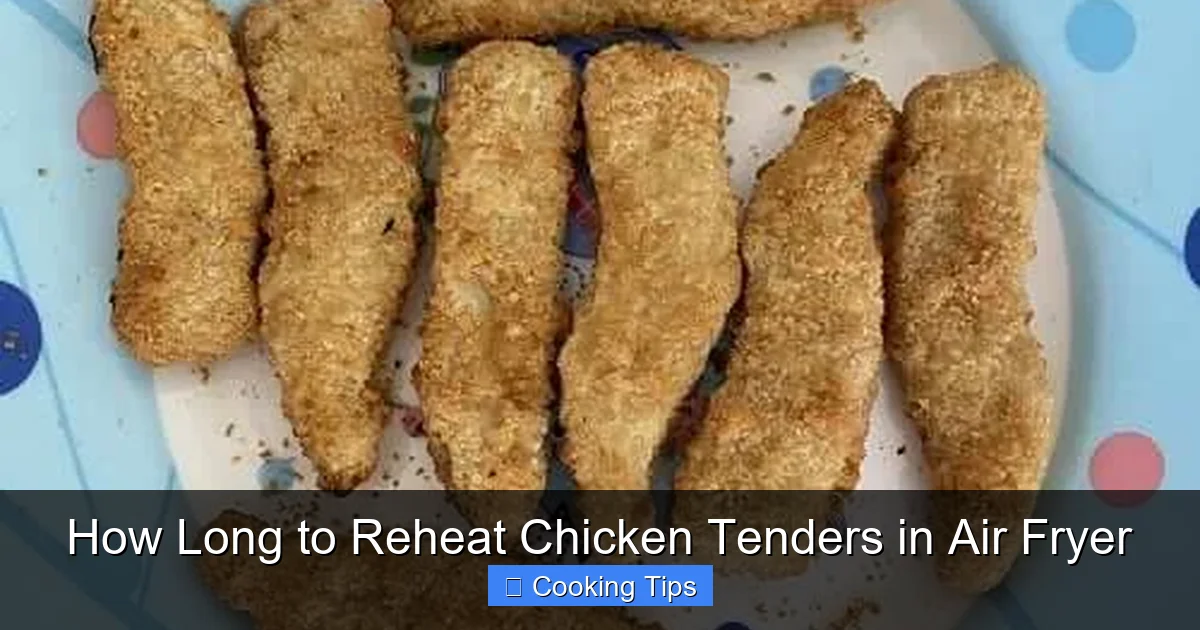
Visual guide about How Long to Reheat Chicken Tenders in Air Fryer
Image source: recipethis.com
Beyond the basic steps, a few extra tips can elevate your reheating game.
- Don’t Overcrowd: We’ve said it before, but it’s worth repeating. A single layer is key.
- Adjust for Air Fryer Size: Smaller personal air fryers might cook faster than larger basket-style ones. Get to know your appliance.
- Consider the Breadcrumbs: If your tenders have a very delicate breading, you might want to use a slightly lower temperature or shorter time to avoid burning.
- Add a Light Spray of Oil (Optional): For an extra boost of crispiness, especially if your tenders seem a bit dry, you can lightly mist them with cooking spray before reheating. This is not always necessary but can help.
- What About Frozen Tenders? If you’re reheating tenders that were previously frozen *after* being cooked (e.g., store-bought frozen tenders), you can generally follow the same steps but might need to add a few extra minutes to the cooking time. Always check the packaging for specific instructions.
Troubleshooting Common Reheating Issues
Even with the best instructions, you might encounter a few hiccups. Here’s how to fix them:
- Soggy Tenders: This usually means the air fryer wasn’t hot enough, or the tenders were overcrowded. Ensure you preheat and use a single layer.
- Burnt Breading, Cold Inside: The temperature might be too high, or you cooked them for too long without checking. Try a slightly lower temperature and watch them closely.
- Uneven Heating: This is almost always due to overcrowding. Make sure the air circulates freely. Shaking the basket halfway is also vital.
- Dry Tenders: This can happen if they are reheated for too long. Keep an eye on them and remove them as soon as they are heated through and crispy. A light spray of oil can sometimes help rehydrate them before reheating.
Conclusion
Reheating chicken tenders in an air fryer is a simple yet incredibly effective way to enjoy leftovers. By following these guidelines – preheating, using the right temperature (375°F/190°C), arranging them in a single layer, and checking for doneness – you can consistently achieve perfectly crispy and hot chicken tenders. Remember that times can vary slightly based on your specific air fryer and the tenders themselves, so always start with a shorter duration and add more time as needed. Say goodbye to microwave mush and hello to air fryer deliciousness!