
Don’t let dull kitchen scissors frustrate you! This guide shows you how to sharpen kitchen scissors using a common knife sharpener. With simple, step-by-step instructions, you’ll learn to restore the cutting power of your kitchen shears, making tasks like chopping herbs and opening packages a breeze. Get ready to experience effortless cutting with your newly sharpened scissors!
Are your kitchen scissors struggling to slice through herbs? Do they mangle packaging instead of opening it cleanly? It’s a common kitchen problem, but one with a simple solution: sharpening! You don’t need specialized tools; in fact, you can often use the same knife sharpener you keep in your kitchen drawer. This guide, updated for 2026, will walk you through exactly how to sharpen kitchen scissors with a knife sharpener, transforming your dull shears back into precision cutting tools.
Why bother sharpening your kitchen scissors? Dull scissors are not only frustrating to use, but they can also be dangerous. They require more force to cut, increasing the chance of slipping. Sharp scissors make kitchen tasks faster, more efficient, and much safer. From snipping herbs and trimming meat to cutting open stubborn packaging, sharp kitchen scissors are invaluable. Let’s get them back in top shape!
Key Takeaways
- Easy Restoration: You can easily restore dull kitchen scissors to a sharp, functional state using a standard knife sharpener.
- Safety First: Always prioritize safety by securing the sharpener and maintaining a firm grip on the scissors.
- Proper Angle is Crucial: The key to effective sharpening is maintaining the correct angle against the sharpener’s slot.
- Gentle Strokes for Best Results: Use smooth, consistent strokes, applying just enough pressure to allow the sharpener to do its work.
- Cleanliness Matters: After sharpening, thoroughly clean your scissors and sharpener to remove any metal shavings.
- Blade Edge Focus: Concentrate the sharpening process on the very edge of the scissor blade for optimal results.
- Regular Maintenance: Periodically sharpening your kitchen scissors will prevent them from becoming excessively dull.
Understanding Your Kitchen Scissors and Knife Sharpener
Before we begin, let’s quickly identify the parts of your kitchen scissors and the type of knife sharpener that will work best. Kitchen scissors, also known as kitchen shears, typically have two blades that pivot. We’ll be sharpening the cutting edge of these blades.
Most modern kitchen scissors are made of stainless steel, which is relatively easy to sharpen. Your knife sharpener might be manual, electric, or a sharpening steel. For this guide, we’ll focus on manual pull-through knife sharpeners, as these are the most common and user-friendly for this task. These sharpeners usually have multiple slots, often marked for different stages of sharpening (e.g., coarse, fine). We’ll primarily use the fine-grit slot for a good edge.
Step-by-Step Guide to Sharpening Kitchen Scissors
Visual guide about How to Sharpen Kitchen Scissors with a Knife Sharpener
Image source: natureleafkitchen.com
Get ready to bring your kitchen scissors back to life! Follow these steps carefully for safe and effective sharpening.
Step 1: Gather Your Supplies
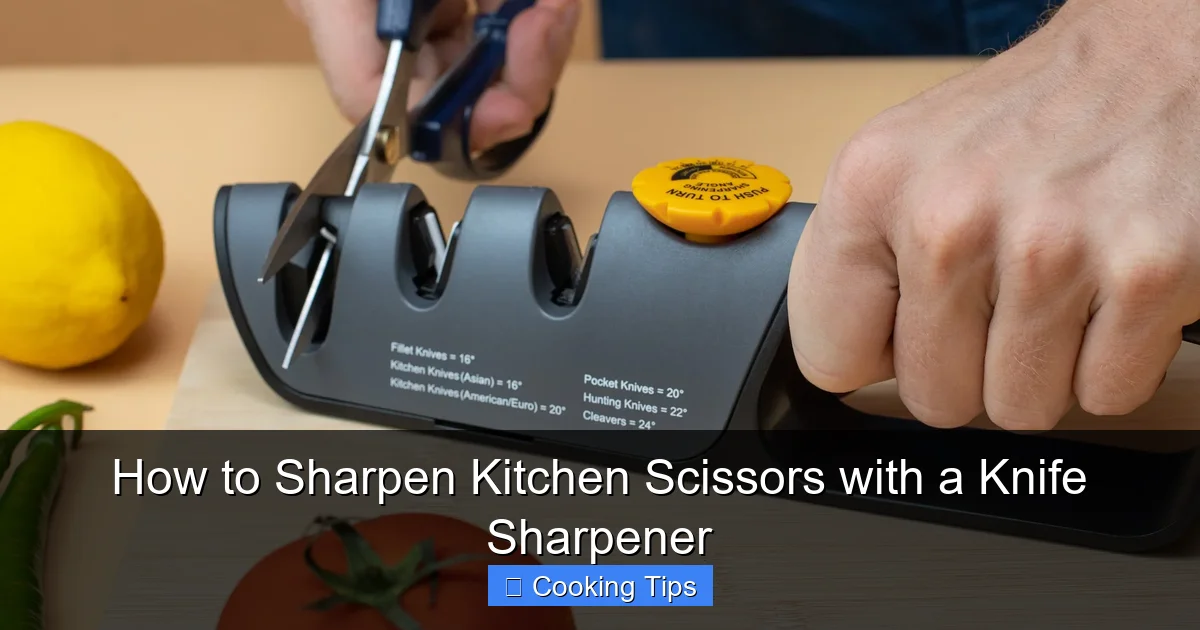
Visual guide about How to Sharpen Kitchen Scissors with a Knife Sharpener
Image source: razorsharpofficial.com
You don’t need much! Here’s what to have on hand:
- Your dull kitchen scissors
- A manual pull-through knife sharpener (with a fine-grit slot)
- A clean, dry cloth or paper towel
- Optional: A cutting board or non-slip mat for stability
Step 2: Prepare Your Workspace
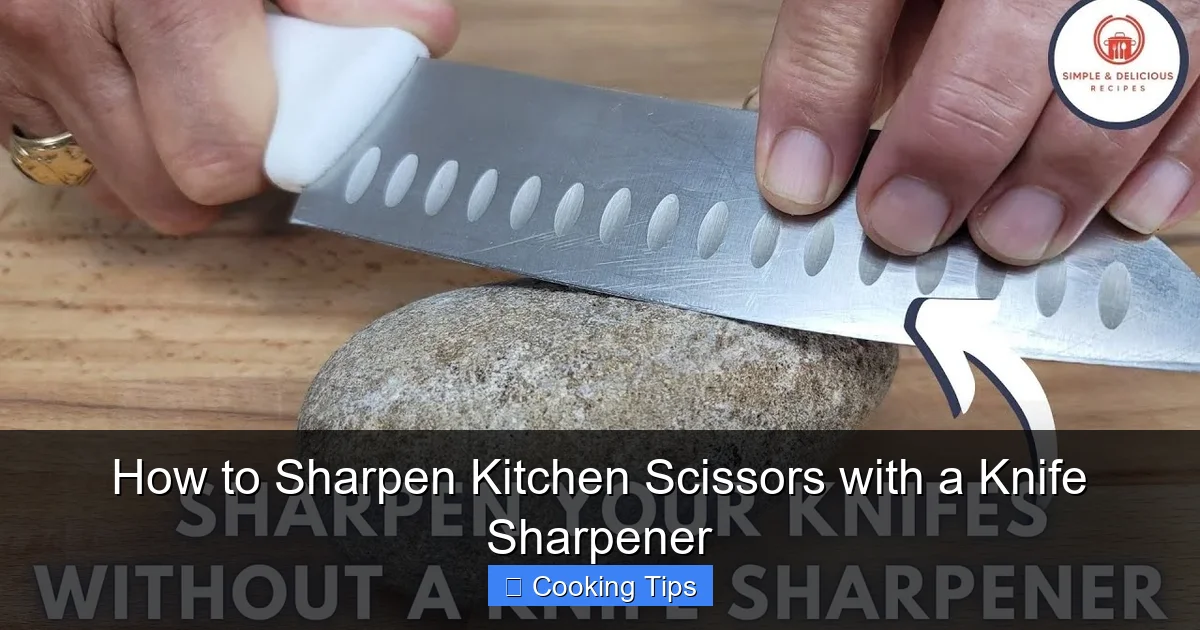
Visual guide about How to Sharpen Kitchen Scissors with a Knife Sharpener
Image source: i.ytimg.com
Find a stable, well-lit surface. If you’re worried about the sharpener slipping, place a cutting board or a non-slip mat underneath it. This is crucial for safety. Ensure you have a clear path around your workspace so you can concentrate.
Step 3: Secure the Knife Sharpener
Place the knife sharpener on your stable surface. If it has a suction cup base, press it down firmly. If not, hold it steady with one hand, ensuring it won’t move during the sharpening process.
Step 4: Identify the Correct Slot on Your Sharpener
Most manual knife sharpeners have different slots. You’ll want to use the slot designed for finer sharpening. This is usually a shallower groove. If your sharpener has a “fine” or “honing” setting, use that. Avoid the coarse grit unless your scissors are severely damaged and need significant repair – for routine sharpening, fine grit is best.
Step 5: Position the First Scissor Blade
Open your kitchen scissors fully so the blades are at a wide angle. Take one blade and place its cutting edge into the fine-grit slot of your sharpener. The angle at which the blade meets the sharpener is important. Aim for an angle that matches the natural bevel of the blade. Most kitchen scissors have a relatively shallow bevel, so try to insert the blade at about a 20-degree angle to the sharpener. It’s often easier to let the sharpener guide this angle – just slot the blade in.
H3: The Importance of the Cutting Edge
Remember, you are sharpening the very edge of the blade, the part that actually does the cutting. Don’t force the entire blade into the sharpener.
Step 6: Begin Sharpening with Gentle Strokes
Now, gently pull the scissor blade through the sharpener slot towards you. Use a smooth, steady motion. Imagine you are trying to slice a very thin layer off the sharpener with the scissor blade. Apply just enough pressure to feel the sharpener engaging the blade, but don’t force it. Too much pressure can damage the blade or the sharpener.
H3: The Angle and Pressure
* Angle: Maintain a consistent angle. Let the sharpener’s design help you find it.
* Pressure: Light to moderate pressure is ideal. Listen to the sound; a smooth, consistent drag is good. A grating sound might mean too much pressure.
Step 7: Repeat the Stroke
Repeat this pulling motion several times. A good starting point is 5-10 strokes per blade. Consistency is key. Try to pull the blade through the same path each time.
Step 8: Sharpen the Second Scissor Blade
Now, take the other scissor blade and repeat steps 5, 6, and 7. Place its cutting edge into the same fine-grit slot and perform the same number of gentle, consistent strokes. Ensure both blades receive equal attention for balanced sharpness.
Step 9: Test the Sharpness
You’ll want to test your work! Carefully close the scissors and try cutting a piece of paper. If they slice through cleanly and without resistance, you’ve done a great job! If they still snag or tear the paper, repeat steps 5-8, perhaps adding a few more strokes.
H3: Paper Test Tips
* Use a standard piece of printer paper.
* Cut from the base of the blade to the tip for a full test.
* A clean, crisp cut indicates sharpness.
Step 10: Clean Up
This is a very important step! After sharpening, there will be tiny metal shavings on your scissors and in the sharpener. Use your clean, dry cloth or paper towel to thoroughly wipe down both blades of the scissors. Wipe out the slots of your knife sharpener to remove any residual metal dust. This ensures your scissors are clean and safe for their next use, and it also prolongs the life of your sharpener.
Practical Tips for Best Results
* Know Your Sharpener: If you have an electric sharpener, follow its specific instructions. They often have different stages and can sharpen more aggressively, so be extra careful.
* Don’t Over-Sharpen: Sharpening too much can wear down your blades faster. A few passes are usually enough to maintain a good edge.
* Sharpen Regularly: It’s easier to maintain sharpness than to restore a completely dull blade. Try to sharpen your kitchen scissors every few months, or whenever you notice a decline in their cutting ability.
* Consider the Type of Scissors: Heavy-duty kitchen shears or those with serrated edges might require slightly different techniques or specialized sharpeners. For most standard kitchen scissors, this method works wonders.
* Listen and Feel: Pay attention to the sound and feel of the sharpening process. A smooth, consistent drag is what you’re looking for.
Troubleshooting Common Issues
**My scissors are still not cutting well after sharpening.**
* **Check the angle:** Ensure you’re holding the blade at the correct angle against the sharpener. If unsure, try to mimic the original angle of the blade’s edge.
* **More strokes:** You might need a few more passes. Try another 5-10 strokes on each blade.
* **Different slot:** If your sharpener has a coarser slot (and your scissors are truly very dull), you could try a few passes on the coarse slot followed by the fine slot. Be very gentle with the coarse slot.
* **Worn blades:** In rare cases, scissors might be so worn down that they cannot be effectively sharpened with a standard knife sharpener.
**My sharpener seems to be damaging my scissors.**
* **Too much pressure:** You are likely pressing too hard. Ease up significantly.
* **Wrong slot:** Ensure you are using the fine-grit slot.
* **Sharpener quality:** A very old or low-quality sharpener might not be ideal.
**The blades are cutting unevenly.**
* **Uneven strokes:** Make sure you are applying the same number of strokes to each blade and pulling them through consistently.
* **Uneven sharpening:** It’s possible one blade received more attention than the other.
Conclusion
Keeping your kitchen scissors sharp is a simple yet highly effective way to improve your kitchen efficiency and safety. By following these straightforward steps, you can easily transform dull, frustrating scissors into sharp, reliable cutting tools using just a common knife sharpener. Remember to prioritize safety, maintain a consistent angle, and clean your tools afterward. With a little practice, you’ll become a pro at sharpening your kitchen shears, making every slice a clean and satisfying one. Happy cutting!