
Learn how to cook rice step by step with this beginner-friendly guide. In just 5 easy steps, you’ll master the art of preparing perfectly fluffy, delicious rice for any meal. Follow our simple instructions and enjoy consistently great rice every time.
How to Cook Rice Step by Step 5 Steps
Welcome to your ultimate guide on how to cook rice! If you’ve ever found yourself with mushy, burnt, or sticky rice, you’re not alone. Cooking rice can seem simple, but getting it perfectly fluffy and delicious every time requires a little know-how. In this comprehensive guide, we’ll break down the process into 5 easy-to-follow steps. By the end, you’ll be a rice-cooking pro, ready to serve perfect rice with any meal. We’ll cover everything from measuring your ingredients to the crucial resting period, ensuring your rice is always a triumph. Let’s get started on your journey to perfectly cooked rice!
Cooking rice is a fundamental skill for any home cook. It’s the perfect accompaniment to stir-fries, curries, grilled meats, and so much more. Mastering this simple dish opens up a world of culinary possibilities. This guide is designed for everyone, from absolute beginners to those looking to refine their technique. We’ll use common kitchen tools and straightforward instructions. So, grab your favorite type of rice and let’s cook!
Key Takeaways
- Measure Accurately: Using the correct rice-to-water ratio is crucial for fluffy, well-cooked rice.
- Rinse for Fluffiness: Rinsing removes excess starch, preventing clumping and ensuring separate grains.
- Proper Liquid-to-Rice Ratio: The standard is often 2:1 water to rice, but this can vary by rice type.
- Gentle Simmer is Key: Avoid vigorous boiling; a gentle simmer allows the rice to absorb water evenly.
- Resting is Essential: Letting the rice rest off the heat lets steam redistribute, resulting in fluffier grains.
- Fluff with a Fork: Gently separating the cooked rice grains with a fork prevents breakage and ensures a light texture.
Step 1: Measure Your Rice and Water Accurately
The foundation of perfectly cooked rice lies in the right measurements. This is arguably the most important step. Too much water, and you’ll get a watery, mushy mess. Too little, and your rice might be dry and undercooked.
How to Measure Rice
Start by deciding how much rice you need. A general guideline is about half a cup of uncooked rice per person as a side dish. Use a dry measuring cup for this. Level off the top of the cup with a straight edge, like the back of a knife, to ensure an accurate measure. For example, if you’re cooking for two, you might measure 1 cup of rice.
The Rice-to-Water Ratio
The standard ratio for most long-grain white rice is 1 cup of rice to 2 cups of water. This is a good starting point. However, this ratio can vary depending on the type of rice you are using:
- Long-grain white rice: Typically 1 cup rice to 2 cups water.
- Medium-grain white rice: Often 1 cup rice to 1.5 or 1.75 cups water.
- Short-grain white rice: Similar to medium-grain, around 1 cup rice to 1.5 or 1.75 cups water.
- Brown rice: Requires more water and a longer cooking time. A common ratio is 1 cup brown rice to 2.5 cups water.
- Basmati and Jasmine rice: These aromatic rice varieties often do well with a slightly lower water ratio, like 1 cup rice to 1.5 cups water, for a fluffier result.
Tip: Always check the package instructions for your specific type of rice, as they often provide the recommended water ratio. For this guide, we will assume you are using long-grain white rice and the 1:2 ratio.
Choosing the Right Pot
Select a pot with a tight-fitting lid. A heavy-bottomed pot is ideal as it distributes heat more evenly, preventing scorching. Make sure the pot is large enough to accommodate the rice and water, as it will expand as it cooks.
Step 2: Rinse Your Rice
This step is often overlooked, but it’s crucial for achieving fluffy, non-sticky rice. Rinsing removes excess starch from the surface of the rice grains. Without rinsing, the starch can make the rice clump together and have a gummy texture.
How to Rinse Rice
Place the measured rice into a fine-mesh sieve or a bowl. If using a bowl, you’ll add water and then drain it. Running water through the rice is the most effective method.
- Using a Sieve: Place the sieve over the sink. Add the measured rice to the sieve. Run cool tap water over the rice, gently swirling it with your fingers. Continue rinsing until the water runs mostly clear. This usually takes about 30 seconds to a minute.
- Using a Bowl: Place the measured rice in a bowl. Add enough cool water to cover the rice completely. Swirl the rice with your hand. The water will turn cloudy due to the starch. Carefully pour off the cloudy water, holding the rice back with your hand or a sieve. Repeat this process 3-5 times, or until the water is nearly clear.
After rinsing, let the rice drain thoroughly in the sieve for a few minutes. This ensures you don’t add extra water to the pot, which can disrupt your carefully measured ratio.
Step 3: Cook the Rice
Now for the cooking process! This is where the magic happens. We’ll focus on bringing the water and rice together and allowing them to cook gently.
Combine Ingredients
Transfer the rinsed and drained rice into your chosen pot. Add the measured water (or other cooking liquid, like broth for extra flavor). If you like, you can add a pinch of salt at this stage. For extra flavor, you can also add a pat of butter or a tablespoon of olive oil.
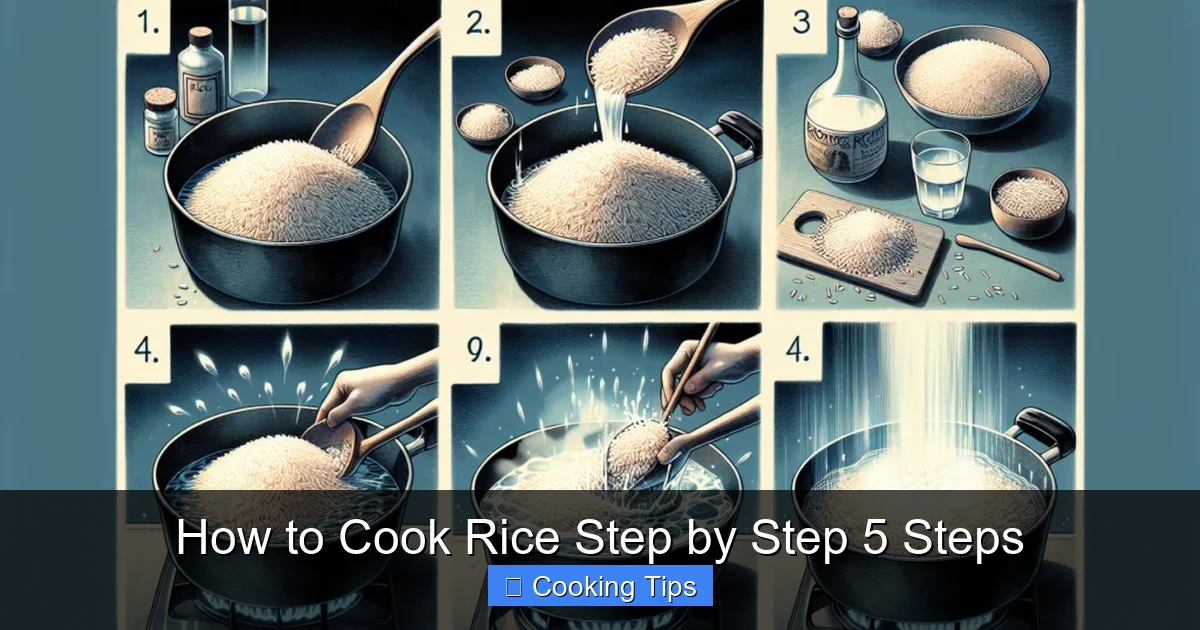
Visual guide about How to Cook Rice Step by Step 5 Steps
Image source: ricecookerreviewcentral.com
Bring to a Boil and Simmer
Place the pot over medium-high heat. Bring the water to a rolling boil. As soon as it starts to boil, immediately reduce the heat to the lowest possible setting. This is crucial! You want a very gentle simmer, not a vigorous boil. A gentle simmer allows the rice to absorb the water slowly and cook evenly.
Cover and Simmer
As soon as you’ve reduced the heat, cover the pot tightly with its lid. Make sure the lid fits well to trap the steam inside. The steam is what helps the rice cook perfectly. Do NOT lift the lid while the rice is cooking. Resist the temptation!
The cooking time will vary depending on the type of rice:
- White rice: Typically 15-20 minutes.
- Brown rice: Typically 40-50 minutes.
The goal is for all the liquid to be absorbed and the rice to be tender.
Step 4: Let the Rice Rest
This is another non-negotiable step for achieving fluffy rice. Once the cooking time is up and the liquid has been absorbed, don’t immediately uncover and serve. Letting the rice rest allows the moisture to distribute evenly and the grains to firm up.
Resting Period
Once the simmering time is complete, remove the pot from the heat. Leave the lid on! Let the rice sit undisturbed for at least 5-10 minutes. For brown rice, you might extend this resting time to 15 minutes.
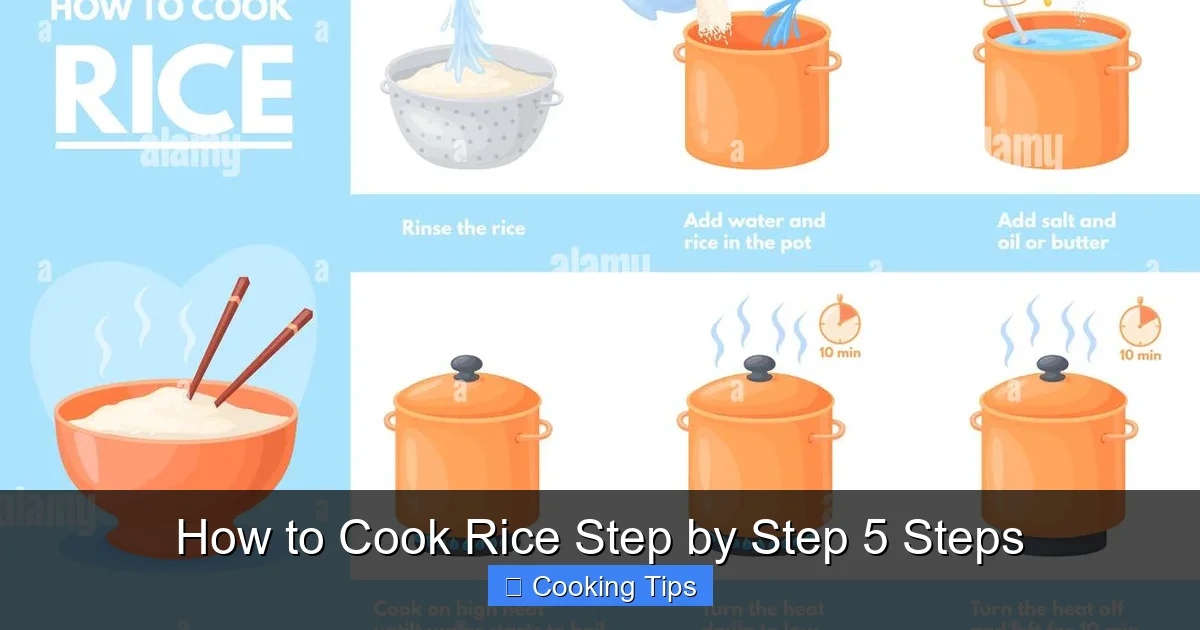
Visual guide about How to Cook Rice Step by Step 5 Steps
Image source: c8.alamy.com
During this resting period, the residual steam within the pot continues to cook the rice gently and allows the grains to absorb any remaining moisture. This prevents the outside of the grains from being mushy while the inside is still hard.
Step 5: Fluff and Serve
The final step is to reveal your perfectly cooked rice and prepare it for serving.
Fluffing the Rice
After the resting period, carefully remove the lid. You should see fluffy, perfectly cooked rice. Use a fork to gently fluff the rice. A fork is ideal because it can separate the grains without mashing them, which can happen if you use a spoon.
Gently run the tines of the fork through the rice from bottom to top, lifting and separating the grains. Do this for a minute or two until all the rice is light and fluffy.
Serving Your Rice
Your rice is now ready to be served! It should be light, fluffy, and each grain should be distinct. Serve it alongside your favorite dishes. Enjoy the fruits of your perfectly executed rice-cooking efforts!
Troubleshooting Common Rice Cooking Problems
Even with the best instructions, sometimes things don’t go as planned. Here are a few common issues and how to fix them:
My Rice is Mushy/Gummy:
This usually means too much water was used, or the heat was too high, causing it to boil too vigorously and break down the starches. If it’s only slightly mushy, the resting step might help firm it up a bit. For future attempts, reduce the water slightly or ensure a very gentle simmer.
My Rice is Dry/Undercooked:
This indicates not enough water was used, or the lid wasn’t sealed properly, allowing steam to escape. If it’s only slightly undercooked, you can try adding a tablespoon or two of hot water, covering it again, and letting it steam for another 5 minutes on very low heat. For next time, increase the water slightly or check your lid for a good seal.
My Rice is Burnt on the Bottom:
This is usually caused by heat that is too high, especially at the beginning, or not using a heavy-bottomed pot. If it’s just slightly burnt, you can try to carefully scrape away the burnt bits and serve the rest. For future cooking, ensure you use a lower heat and a pot that distributes heat well. A thick-bottomed pot is your friend here.
Conclusion
Congratulations! You have now learned how to cook rice step by step in 5 easy stages. From accurate measuring and essential rinsing to a gentle simmer, a crucial resting period, and finally, fluffing, each step plays a vital role in achieving that perfect fluffy texture. Remember, practice makes perfect, but by following these guidelines, you’re well on your way to becoming a rice-cooking master. Don’t be discouraged if your first attempt isn’t absolutely flawless; learning takes time. Soon, you’ll be able to cook delicious rice with confidence, impressing yourself and anyone you share your meals with. Happy cooking!