
Craving that classic fried chicken crunch without the guilt or mess? Learn how to make unbelievably crispy and juicy fried chicken in your air fryer. This comprehensive guide walks you through every step, from seasoning to achieving that perfect golden-brown exterior. Get ready to enjoy healthier, delicious fried chicken that’s perfect for any meal.
How to Make Fried Chicken in Air Fryer
Love the satisfying crunch and savory flavor of fried chicken, but not the endless oil, mess, and extra calories? You’re in luck! In 2026, our air fryers are more capable than ever, making it easier than ever to get that delicious fried chicken taste with less fuss. This guide will show you exactly how to make perfect fried chicken in your air fryer. Get ready to impress yourself and your family with incredibly crispy, juicy chicken that’s surprisingly simple to make.
We’ll cover everything you need to know, from choosing the right chicken and preparing your flavorful coating to mastering the air frying process for that ideal golden-brown finish.
Key Takeaways
- Achieve a Crispy Exterior: Proper breading techniques, including double-dipping and using a seasoned flour mix, are crucial for air fryer fried chicken that mimics traditional deep-fried crunch.
- Ensure Juicy Interior: Marinating chicken in buttermilk or a similar acidic liquid helps tenderize the meat and keeps it incredibly moist during the air frying process.
- Master the Temperature and Time: Air frying typically requires a moderate temperature (around 375-400°F or 190-200°C) and specific cooking times based on the size of the chicken pieces to ensure they are cooked through without drying out.
- Don’t Overcrowd the Basket: Allowing adequate space between chicken pieces in the air fryer basket is vital for hot air circulation, leading to even cooking and maximum crispiness.
- Flip for Even Browning: Turning the chicken halfway through the cooking time ensures that all sides get evenly exposed to the hot air, resulting in a uniformly golden-brown and crispy finish.
- Resting is Key: Letting the air-fried chicken rest for a few minutes after cooking allows the juices to redistribute, resulting in more tender and flavorful chicken.
Why Air Fryer Fried Chicken?
The magic of the air fryer lies in its ability to circulate hot air rapidly around your food. This convection cooking mimics the effect of deep frying, creating a crispy exterior without submerging the chicken in oil. This means you get that sought-after crunch with significantly less fat and without the splattering mess of a deep fryer. It’s a healthier, cleaner, and often quicker way to enjoy your favorite comfort food. Air fryer fried chicken is a game-changer for weeknight dinners and weekend gatherings alike.
Choosing Your Chicken
The type and cut of chicken you choose will impact your cooking time and the final result.
Best Cuts for Air Frying
Bone-in, skin-on pieces like thighs, drumsticks, and wings are fantastic for air fryer fried chicken. The bone helps the meat cook more evenly and the skin crisps up beautifully. Boneless, skinless chicken breasts and tenders can also work, but they tend to cook faster and can dry out more easily. If using boneless, skinless chicken, consider pounding them to an even thickness.
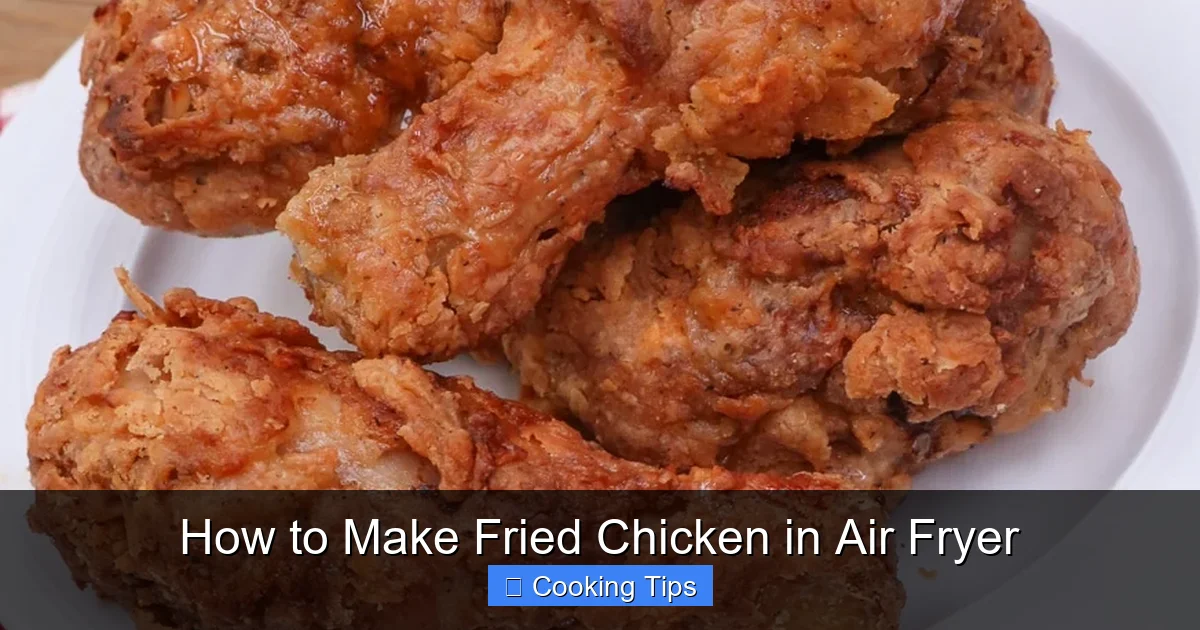
Visual guide about How to Make Fried Chicken in Air Fryer
Image source: divascancook.com
Preparation: Cutting and Trimming
If you’re starting with a whole chicken, you’ll want to cut it into pieces. Aim for roughly even sizes so they cook at the same rate. Trim off any excess fat or sinew. For even cooking, especially with larger pieces like breasts, you can butterfly them or pound them to a more uniform thickness.
The Flavor Foundation: Marinade and Brine
This is a crucial step for tender and juicy chicken. A good marinade or brine not only adds flavor but also tenderizes the meat, ensuring it stays moist during the high-heat air frying.
Buttermilk Marinade (The Classic Choice)
Ingredients:
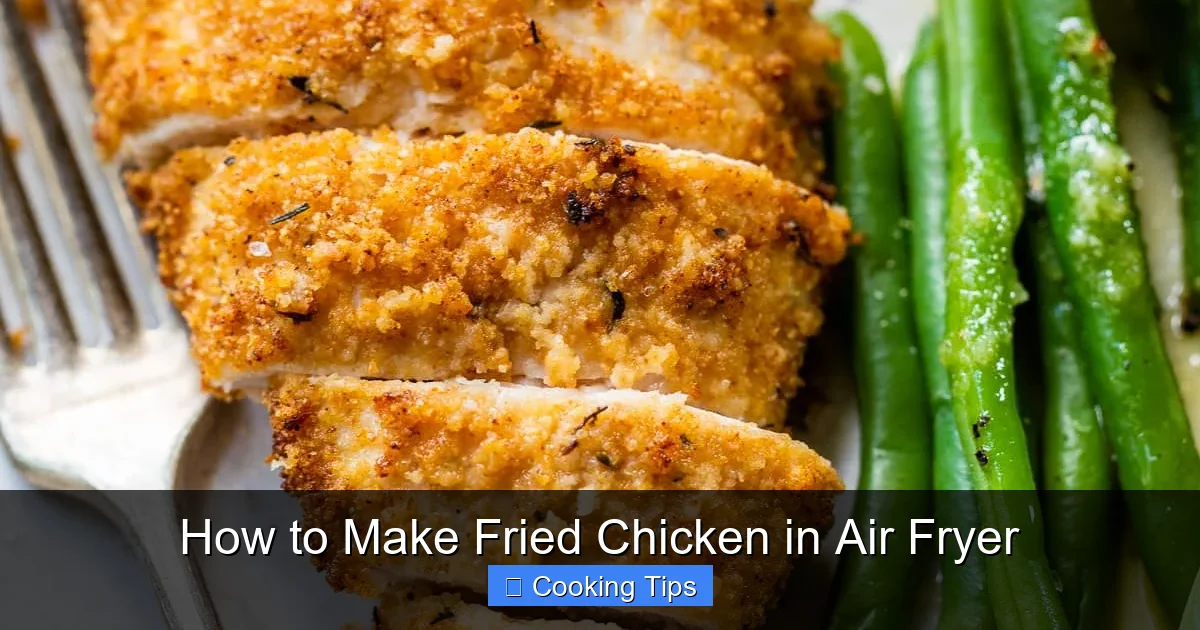
Visual guide about How to Make Fried Chicken in Air Fryer
Image source: wellplated.com
- 2 cups buttermilk
- 1 teaspoon salt
- 1/2 teaspoon black pepper
- Optional: 1 tablespoon hot sauce, 1 teaspoon garlic powder, 1 teaspoon onion powder
Instructions:
- In a bowl or a resealable plastic bag, whisk together the buttermilk and seasonings.
- Add your chicken pieces, ensuring they are fully submerged.
- Marinate in the refrigerator for at least 4 hours, or preferably overnight for maximum flavor and tenderness.
Simple Brine Option
If you don’t have buttermilk, a simple salt and water brine can also work wonders.
- 4 cups water
- 1/4 cup kosher salt
- 1 tablespoon sugar
Submerge chicken in brine for 1-4 hours. Rinse and pat dry thoroughly before proceeding to coating.
The Crispy Coating: Breading Station Setup
A good breading is key to that irresistible crunch. We’ll use a three-step process for optimal adhesion and crispiness.
Step 1: The Flour Dredge
This first layer helps the egg wash adhere better and provides a base for the seasoned flour.
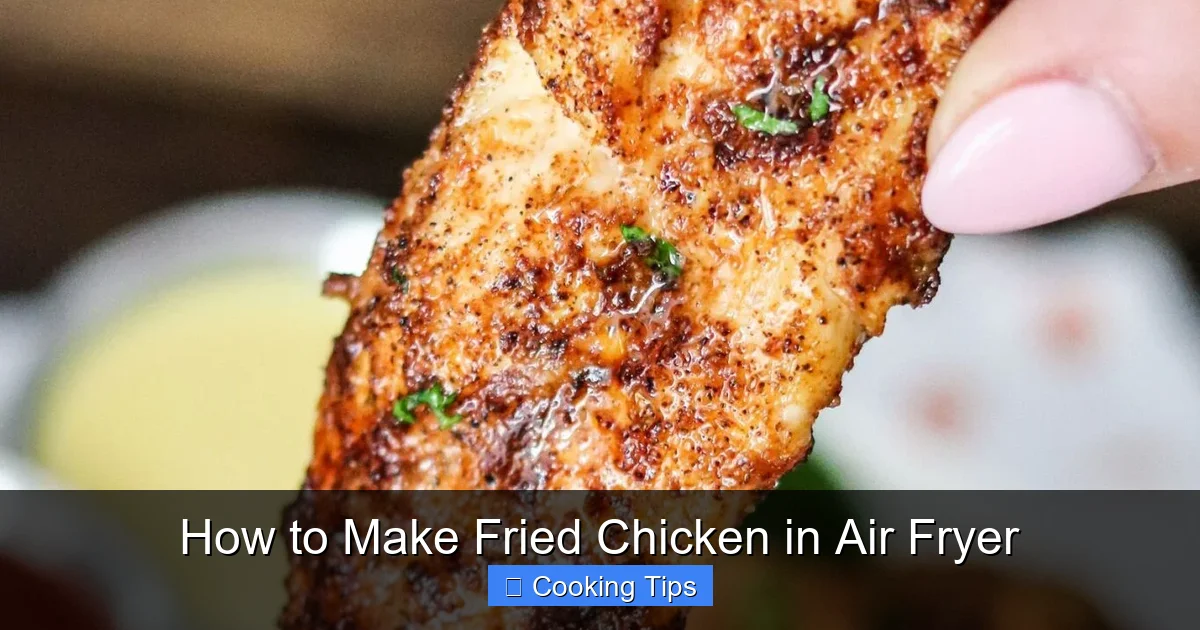
Visual guide about How to Make Fried Chicken in Air Fryer
Image source: domesticsuperhero.com
- 2 cups all-purpose flour
- 2 tablespoons cornstarch (for extra crispiness!)
- 1-2 teaspoons salt
- 1 teaspoon black pepper
- 1 teaspoon paprika (for color and flavor)
- 1/2 teaspoon garlic powder
- 1/2 teaspoon onion powder
In a shallow dish or pie plate, whisk together all the dry ingredients for the flour dredge. Ensure it’s well combined.
Step 2: The Egg Wash
This acts as the glue that holds the breading to the chicken.
- 2 large eggs
- 1/4 cup milk or water
In a separate shallow dish, whisk together the eggs and milk or water until well combined and slightly frothy.
Step 3: The Seasoned Flour Coating
This is where the main flavor and texture comes from.
- 2 cups all-purpose flour
- 1 teaspoon salt
- 1 teaspoon black pepper
- 1 teaspoon paprika
- 1 teaspoon garlic powder
- 1 teaspoon onion powder
- 1/2 teaspoon cayenne pepper (optional, for a little heat)
In a third shallow dish, whisk together all the ingredients for the seasoned flour coating. Make sure everything is thoroughly mixed. Some people like to add a pinch of baking powder to this mixture for an even lighter, crispier coating.
Assembling the Fried Chicken
Now it’s time to get your chicken ready for the air fryer.
The Breading Process
- Remove chicken from the marinade, letting excess drip off. Do NOT rinse.
- Dredge each piece of chicken in the first seasoned flour mixture, ensuring it’s fully coated. Shake off any excess.
- Dip the floured chicken into the egg wash, letting any excess drip back into the dish.
- Transfer the chicken to the seasoned flour coating, pressing the flour onto the chicken to ensure a thick, even coat. You can even do a second dip for extra crunch: dip back into the egg wash, then back into the seasoned flour.
- Place the breaded chicken on a wire rack set over a baking sheet. Let it rest for about 10-15 minutes. This helps the coating adhere and prevents it from falling off during cooking.
Air Frying Your Chicken to Perfection
This is where the magic happens. Follow these steps for perfectly cooked air fryer fried chicken.
Preheating Your Air Fryer
Preheating is crucial for even cooking and achieving that crispy exterior right from the start. Most air fryers recommend preheating at the temperature you’ll be cooking at for about 3-5 minutes.
Arranging the Chicken in the Basket
This is a critical step for achieving crispiness. Do not overcrowd the air fryer basket. Hot air needs to circulate freely around each piece of chicken. If you have too many pieces, they will steam instead of fry, and you won’t get that desired crunch. Cook in batches if necessary.
Cooking Time and Temperature
The exact time will vary depending on your air fryer model and the size of your chicken pieces. A good starting point is:
- Temperature: 375°F (190°C)
- Time:
- Bone-in pieces (thighs, drumsticks): 20-25 minutes
- Boneless, skinless breasts/tenders: 15-18 minutes
Important: You’ll need to flip the chicken pieces halfway through the cooking time to ensure even browning and cooking on all sides.
Checking for Doneness
The most important way to ensure your chicken is cooked is by using a meat thermometer. The internal temperature should reach 165°F (74°C) in the thickest part of the meat, away from the bone.
Visually, the chicken should be golden brown and the juices should run clear when pierced.
Tips for Extra Crispy Air Fryer Fried Chicken
Want to elevate your air fryer fried chicken game? Try these tips:
- Use a Wire Rack: After breading, let the chicken rest on a wire rack. This prevents the bottom from getting soggy.
- Add Panko Breadcrumbs: For an extra-crispy coating, mix some panko breadcrumbs into your seasoned flour mixture or use them as a final coating layer.
- Lightly Spray with Oil: A light mist of cooking spray or oil can help the breading crisp up even more. Focus on the thicker parts of the breading.
- Don’t Skip the Rest: Once cooked, let the chicken rest for 5-10 minutes before serving. This allows the juices to settle, making the chicken more tender and flavorful.
- Experiment with Seasonings: Don’t be afraid to get creative with your spice blends! Smoked paprika, chili powder, Italian herbs, or even a dash of curry powder can add unique twists.
Troubleshooting Common Issues
Even with the best intentions, sometimes things don’t go perfectly. Here are some common issues and how to fix them:
Issue: Soggy Chicken
Cause: Overcrowding the basket, not preheating, or not letting the breading set properly.
Solution: Cook in smaller batches, ensure your air fryer is preheated, and let the breaded chicken rest for at least 10-15 minutes before air frying.
Issue: Breading Falling Off
Cause: Chicken not properly dried after marinating, or breading applied too loosely.
Solution: Pat chicken very dry after removing from marinade. Press the breading firmly onto the chicken, and consider a double-dip breading process (flour-egg-flour-egg-flour) for extra security.
Issue: Uneven Cooking
Cause: Pieces are too large or too small, or the basket was overcrowded.
Solution: Try to cut chicken pieces to a more uniform size. Always give chicken plenty of space in the air fryer basket and flip halfway through.
Conclusion
Making delicious, crispy, and juicy fried chicken in your air fryer is entirely achievable. By following these steps – from marinating your chicken and perfecting your breading to managing the air frying process with care – you’ll be enjoying a healthier, less messy version of this beloved classic in no time. So, dust off your air fryer, gather your ingredients, and get ready to experience air fryer fried chicken at its finest. Happy cooking in 2026!