
This comprehensive guide will teach you everything you need to know about using a grinder for nuts and seeds. Whether you’re a seasoned home cook or just starting, you’ll learn how to achieve the perfect grind for any recipe, from finely powdered almonds to coarsely chopped walnuts. Discover the benefits of grinding your own for fresher flavor and cost savings.
Using a Grinder for Grinding Nuts and Seeds
In the culinary world of 2026, homemade goodness is more valued than ever. Grinding your own nuts and seeds at home is a fantastic way to elevate your cooking and baking. Freshly ground nuts and seeds offer an unparalleled depth of flavor and aroma that pre-packaged versions simply can’t match. Plus, it’s often more economical! But how do you get that perfect grind, whether you need a fine powder for a delicate pastry or a coarse chop for a hearty salad topping? This guide will walk you through everything you need to know about using a grinder for grinding nuts and seeds.
Key Takeaways
- Choose the Right Grinder: Not all grinders are created equal; understand the differences between blade grinders, burr grinders, and manual options for the best results.
- Preparation is Key: Properly preparing your nuts and seeds, including toasting for enhanced flavor and ensuring they are dry, significantly impacts the grinding process.
- Grind in Batches: Avoid overloading your grinder to prevent overheating and ensure an even, consistent grind. Small batches are your friend.
- Know Your Grind Size: Different recipes require different textures. Learn how to achieve fine powders, coarse crumbles, and everything in between.
- Maintain Your Grinder: Regular cleaning and proper storage will extend the life of your grinder and ensure optimal performance for future grinding tasks.
- Embrace the Freshness: Grinding your own nuts and seeds at home results in superior flavor and aroma compared to pre-ground options.
Why Grind Your Own Nuts and Seeds?
Before we dive into the “how,” let’s talk about the “why.” Grinding your own nuts and seeds offers several compelling advantages:
- Superior Flavor: The natural oils in nuts and seeds are volatile and begin to degrade once exposed to air after grinding. Grinding them fresh right before use locks in maximum flavor and aroma.
- Cost Savings: Whole nuts and seeds are often cheaper per pound than their pre-ground counterparts. The savings add up, especially if you bake or cook frequently.
- Control Over Texture: You can achieve any consistency you desire, from ultra-fine flour to hearty crumbles, catering to the specific needs of your recipes.
- Fresher Ingredients: You know exactly when your nuts and seeds were ground, ensuring you’re using the freshest possible ingredients.
- Reduced Additives: Many pre-ground products contain anti-caking agents or preservatives. Grinding your own means you control exactly what goes into your food.
Choosing the Right Grinder for the Job
The type of grinder you use can significantly impact your results. Here are the most common options:
Blade Grinders
These are the most common type of electric grinders, often found as coffee grinders. They use a spinning blade at the bottom to chop and pulverize ingredients.
Pros: Affordable, versatile for quick jobs, good for making nut flours or coarse chops.
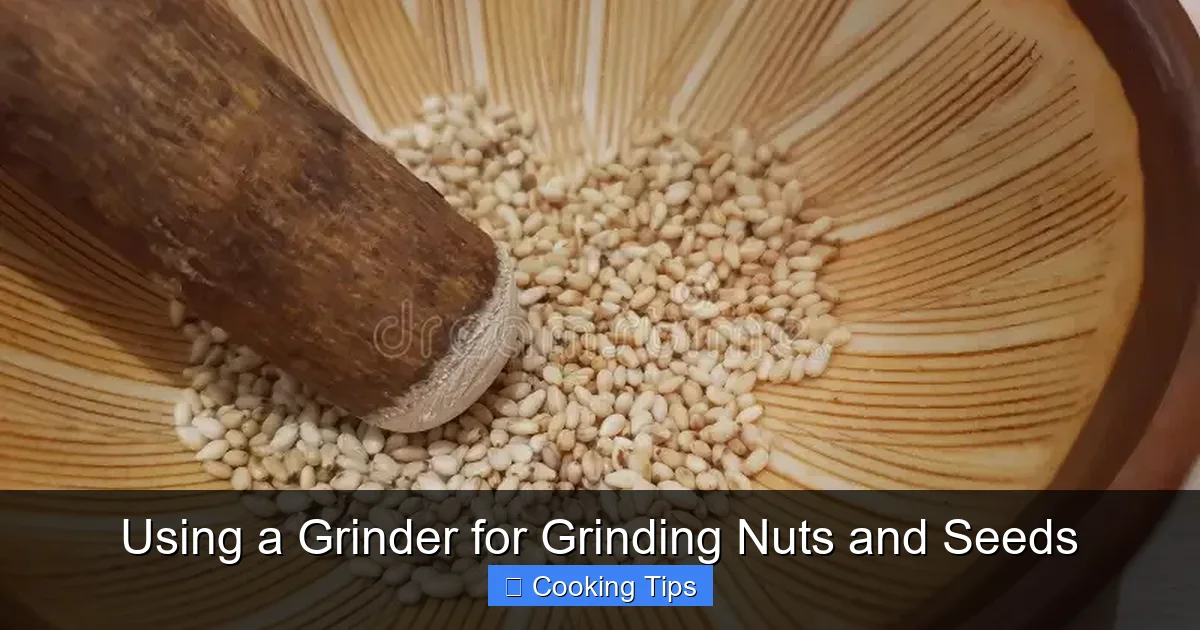
Visual guide about Using a Grinder for Grinding Nuts and Seeds
Image source: thumbs.dreamstime.com
Cons: Can easily overheat nuts, leading to a paste or butter instead of a grind. The blades can also be uneven, resulting in a mix of fine powder and larger chunks.
Burr Grinders
These grinders use two abrasive surfaces (burrs) that crush the nuts or seeds between them. They offer more control over the grind size.
Pros: Provide a more consistent and uniform grind. Less likely to overheat the nuts compared to blade grinders.
Cons: Can be more expensive. Some models are specifically designed for coffee and may not be ideal for nuts and seeds if the burrs are too fine.
Food Processors
For larger quantities, a food processor with a blade attachment can be effective.
Pros: Can handle larger batches. Good for chopping nuts for toppings or incorporating into doughs.
Cons: More difficult to achieve a fine, flour-like consistency. Over-processing can quickly turn nuts into butter.
Manual Grinders/Spice Grinders
These are typically smaller, hand-cranked devices.
Pros: Great for small amounts, offer good control, and don’t require electricity.
Cons: Labor-intensive for larger quantities. Consistency can vary depending on your cranking speed and effort.
Step-by-Step Guide to Grinding Nuts and Seeds
Now that you’ve chosen your grinder, let’s get grinding!
Step 1: Select and Prepare Your Nuts and Seeds
The quality of your raw ingredients directly impacts the final grind.
H3: Choosing Your Nuts and Seeds
Nearly any nut or seed can be ground, but some are more common than others:
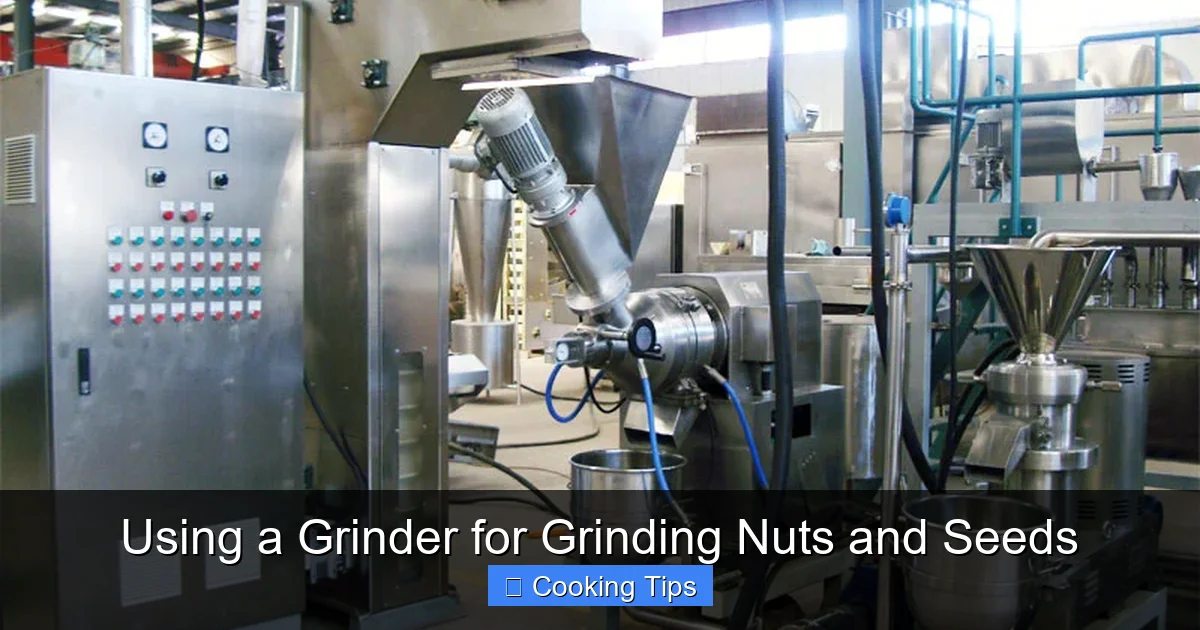
Visual guide about Using a Grinder for Grinding Nuts and Seeds
Image source: goldenmachineries.com
Visual guide about Using a Grinder for Grinding Nuts and Seeds
Image source: thumbs.dreamstime.com
- Nuts: Almonds, walnuts, pecans, hazelnuts, cashews, macadamia nuts, peanuts.
- Seeds: Sunflower seeds, pumpkin seeds, flax seeds, chia seeds, sesame seeds, hemp seeds.
Ensure your nuts and seeds are fresh and free from mold or rancidity. If they’ve been stored for a long time, consider smelling them to check for freshness. Rancid nuts or seeds will produce a bitter taste.
H3: Toasting for Enhanced Flavor (Optional but Recommended)
Toasting brings out the natural oils and intensifies the flavor of nuts and seeds. This is especially true for nuts like walnuts, pecans, and hazelnuts. For seeds like sunflower and pumpkin seeds, toasting adds a delightful crunch and nuttiness.
How to Toast:
- Preheat your oven to 300-325°F (150-160°C).
- Spread your nuts or seeds in a single layer on a baking sheet.
- Toast for 5-15 minutes, depending on the type and size of the ingredient. Keep a close eye on them as they can burn quickly.
- Stir or shake the pan halfway through to ensure even toasting.
- They are ready when they become fragrant and may lightly brown.
- Crucially: Let them cool completely before grinding. Warm nuts or seeds will release too much oil and can lead to a pasty consistency, especially in a blade grinder.
H3: Ensuring Ingredients are Dry
Moisture is the enemy of grinding, especially if you’re aiming for a dry powder. Make sure your nuts and seeds are completely dry. If you’ve just washed them, spread them on a clean kitchen towel and let them air dry or pat them thoroughly.
Step 2: Measure and Load Your Grinder
This is where technique matters for consistent results.
H3: Measure Accurately
Use a dry measuring cup to get the correct amount of nuts or seeds. Avoid overfilling your grinder, as this can lead to uneven grinding and potential overheating.
H3: Load the Grinder
Add the cooled, dry nuts or seeds to your grinder. For blade grinders, don’t fill more than halfway.
Step 3: The Grinding Process
This is where the magic happens.
H3: For Blade Grinders
Pulse, don’t just hold down the button. This is the golden rule for blade grinders. Short bursts of power allow you to control the grind size and prevent the nuts from becoming a butter.
- Secure the lid of your grinder.
- Pulse for a few seconds at a time (e.g., 5-10 seconds).
- Open the lid and check the consistency.
- If needed, give the grinder a gentle shake or tap to redistribute the contents, especially if you notice larger pieces at the top.
- Repeat the pulsing and checking process until you reach your desired texture.
Example: For almond flour, you’ll pulse until it’s a fine powder. For chopped walnuts, you’ll stop when you see coarse pieces.
H3: For Burr Grinders
Burr grinders are more forgiving. You can typically let them run for longer periods, but still, keep an eye on the texture.
- Secure the lid.
- Turn on the grinder.
- Listen to the sound. It will change as the nuts or seeds break down.
- Check the consistency periodically.
- Stop when you achieve your desired grind.
H3: For Food Processors
Use the pulse function similarly to a blade grinder, but on a larger scale. Start with short pulses and increase the duration as needed.
Step 4: Check Consistency and Adjust
The beauty of grinding your own is the ability to customize.
H3: Assess Your Grind
Take a small amount from the grinder and examine it. Is it too fine? Too coarse? Just right?
H3: How to Adjust
- Too Coarse: If the grind is too coarse, simply continue pulsing or grinding until it reaches your desired consistency.
- Too Fine (turned into butter/paste): Unfortunately, if your nuts have turned into butter, there’s no going back to a dry grind. You can use them as nut butter or add them to recipes that call for nut butter. This is a common pitfall with blade grinders if you hold the button too long or don’t pulse enough.
Step 5: Store Your Ground Nuts and Seeds
Proper storage is crucial for maintaining freshness.
H3: Airtight Containers are Essential
Once ground, transfer your nuts and seeds to an airtight container. This prevents them from absorbing moisture and odors from the air.
H3: Refrigeration or Freezing for Longevity
Ground nuts and seeds have a shorter shelf life than whole ones because their oils are more exposed. For best results and longer storage:
- Refrigerate: Ground nuts and seeds will typically last for 1-3 months in the refrigerator when stored properly.
- Freeze: For longer storage (up to 6 months), place the airtight container in the freezer.
Label your containers with the date and type of nut/seed. This helps you keep track of freshness.
Troubleshooting Common Grinding Issues
Even with the best intentions, you might encounter a few hiccups.
Issue: My nuts turned into butter!
Reason: Over-processing, especially with blade grinders. The friction and heat generated by the blades can liquefy the oils in nuts quickly.
Solution: Use the pulse method religiously with blade grinders. Stop grinding as soon as you reach your desired texture, even if it seems a little coarse. You can always grind more, but you can’t un-grind butter!
Issue: My grind is inconsistent (big chunks and fine powder).
Reason: Overloading the grinder, not redistributing the contents, or the blade design itself.
Solution: Grind in smaller batches. After pulsing, stop the grinder, remove the lid, and shake or stir the contents to ensure even grinding. If using a blade grinder, ensure the lid is securely fastened before pulsing.
Issue: My grinder smells burnt or is overheating.
Reason: Grinding for too long without breaks, or grinding too large a quantity.
Solution: Give your grinder a break! Allow it to cool down between batches. For blade grinders, short pulses are essential to prevent motor burnout and nut overheating.
Conclusion
Grinding your own nuts and seeds is a simple yet powerful way to enhance your culinary creations. By understanding your grinder, preparing your ingredients properly, and using the right techniques, you can achieve perfect textures for all your recipes. Embrace the freshness, the flavor, and the satisfaction of creating something wonderful from scratch. So, dust off that grinder and get ready to unlock a world of delicious possibilities in your kitchen! Happy grinding!