
Unlock fresher flavors and control ingredients by learning to grind your own grains and cereals at home. This guide details various methods, from manual options to electric grinders, suitable for 2026 kitchens. Discover the benefits of freshly ground flours, including enhanced nutrition and culinary possibilities for everything from bread to breakfast bowls.
Key Takeaways
- Versatile Grinding: Understand how to grind a wide variety of grains, from wheat and oats to rice and corn, for diverse culinary uses.
- Method Selection: Explore different grinding methods, including manual options like mortar and pestle, and efficient electric grinders, to suit your needs and budget.
- Equipment Essentials: Learn about the key equipment required for home grain grinding, including specific types of grinders and storage solutions.
- Grinding Techniques: Master the techniques for achieving different flour fineness and meal textures, from fine pastry flour to coarse cornmeal.
- Nutritional Benefits: Appreciate the superior nutritional value of freshly ground grains compared to commercially processed options.
- Freshness and Flavor: Experience the unparalleled taste and aroma of homemade flour and cereal meals, elevating your cooking and baking.
- Storage Savvy: Discover the best practices for storing freshly ground grains to maintain their quality and prevent spoilage.
How to Grind Grains and Cereals at Home
In today’s world, where freshness and control over our food are increasingly valued, grinding your own grains and cereals at home is a rewarding skill. Whether you’re an avid baker, a health-conscious cook, or simply someone who appreciates the finest ingredients, this guide will walk you through everything you need to know to transform whole grains into delicious flours, meals, and powders. By the end, you’ll be equipped to grind a wide array of grains, from common wheat to exotic ancient grains, unlocking a new level of culinary creativity and nutritional benefit. Let’s dive into the satisfying process of grinding grains and cereals at home in 2026!
Why Grind Your Own Grains?
Before we get started, let’s talk about why this is such a fantastic idea. Commercially ground flours and meals often lose vital nutrients and flavor during processing and extended storage. Grinding grains at home means you capture all the goodness – the fiber, vitamins, minerals, and essential oils – right before you use them. This translates to:
- Superior Nutrition: Whole grains are packed with nutrients. Once ground, especially commercially, these can degrade quickly. Grinding fresh preserves these nutrients.
- Unbeatable Flavor: Freshly ground flour has a vibrant, nutty, and complex flavor that simply can’t be matched by store-bought alternatives. This makes a huge difference in baked goods and everyday meals.
- Cost-Effectiveness: Buying whole grains is often cheaper than buying pre-ground flours. Grinding them yourself can save you money in the long run.
- Ingredient Control: You know exactly what’s in your flour – no additives, preservatives, or bleaching agents. This is a huge plus for those with dietary sensitivities or who prefer a cleaner diet.
- Culinary Versatility: With your own grinder, you can create custom flour blends, different textures of meal, and even gluten-free flours from a vast array of grains.
Choosing Your Grains and Cereals
The world of grains is vast and exciting! Here are some popular options perfect for home grinding:
- Wheat: From hard red and white wheat for bread to soft white wheat for cakes and pastries.
- Oats: Rolled oats can be ground into oat flour for pancakes, muffins, and thickening sauces.
- Rice: Brown rice for whole grain rice flour, white rice for a finer texture, and even glutinous rice for specific Asian dishes.
- Corn: Dent corn or flint corn for cornmeal (from coarse to fine) and corn flour.
- Rye: For hearty rye breads and unique flavor profiles.
- Barley: Can be ground into barley flour for soups and baked goods.
- Spelt, Kamut, Einkorn: Ancient grains offering distinct flavors and nutritional benefits.
- Buckwheat: Technically a pseudocereal, it makes delicious, earthy flour.
- Quinoa: Another pseudocereal, yielding a nutritious, slightly nutty flour.
Always ensure your grains are clean and dry. You can rinse them and spread them out to air dry completely if needed.
Grinding Methods: From Simple to Sophisticated
The method you choose depends on your budget, the volume of grinding you plan to do, and the fineness you require.
1. Manual Grinding: The Traditional Approach
For small batches and a truly authentic experience, manual methods are excellent.
Mortar and Pestle
This is the oldest grinding tool known to humanity.
How to do it:
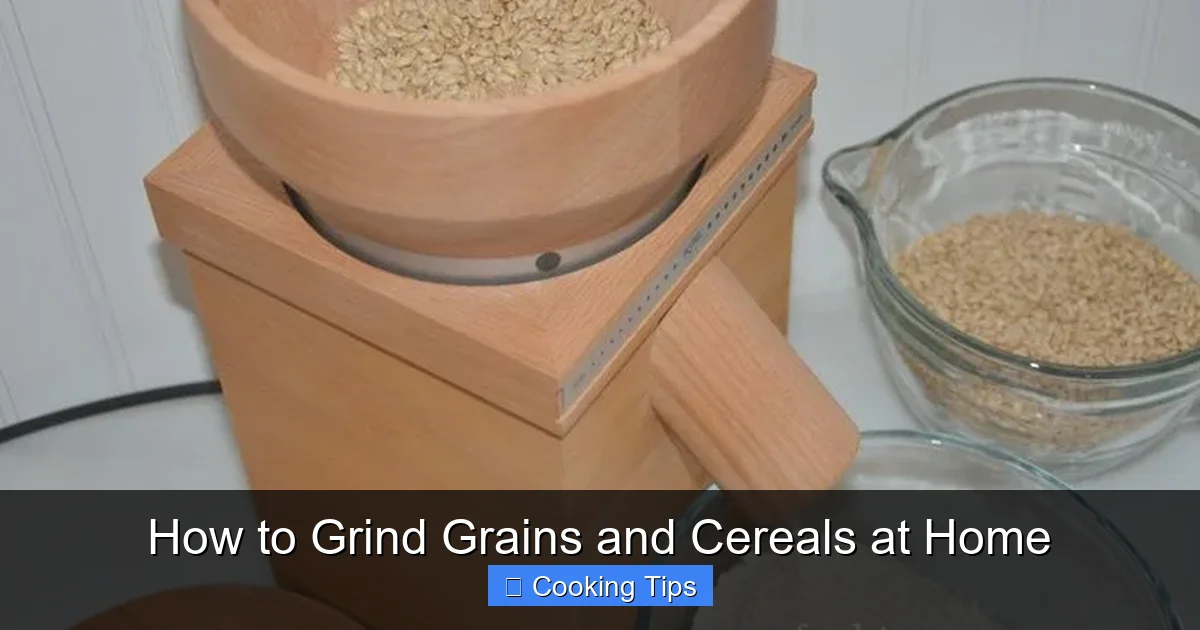
Visual guide about How to Grind Grains and Cereals at Home
Image source: foodstoragemoms.com
- Place a small amount of cleaned, dry grain into the mortar (the bowl).
- Use the pestle (the grinding tool) in a circular or pounding motion to crush the grains against the sides and bottom of the mortar.
- Continue until you achieve your desired consistency. This method yields coarse meals or flours depending on your effort and the grain type.
Best for: Small amounts of spices, herbs, and small seeds, or for achieving a very coarse grain meal. It’s labor-intensive for larger grain quantities.
Hand-Crank Grain Mills
These are manual mills with adjustable burrs, designed specifically for grinding grains.
How to do it:
- Securely clamp the mill to a stable surface (like a countertop or table).
- Fill the hopper with your cleaned, dry grains.
- Adjust the burrs to your desired fineness. Start with a coarser setting and re-grind for finer flour.
- Turn the crank handle to feed the grains through the burrs. Collect the ground product below.
Best for: Larger batches than a mortar and pestle, and for achieving a range of flour fineness. They require physical effort but are reliable and don’t require electricity.
2. Electric Grinders: Speed and Efficiency
For those who grind regularly or need finer flours quickly, electric grinders are the way to go.
Blenders and Food Processors
While not ideal for all grains or for achieving ultra-fine flour, high-powered blenders and food processors can work for some tasks.
How to do it:
- Ensure your blender or food processor has a powerful motor.
- Add a small amount of cleaned, dry grains to the dry container attachment (if using a blender).
- Pulse initially, then blend in short bursts, checking consistency frequently. Over-blending can overheat the motor or create a gummy texture.
- This method is best for coarser meals or oat flour. For finer flours, you may need to sift multiple times.
Best for: Small to medium batches of oat flour, cornmeal, or very coarse flours. Not suitable for very hard grains or for professional-level fine flour.
Dedicated Electric Grain Mills
These are specifically designed for grinding grains and offer the best results for versatility and fineness. There are two main types:
- Burr Grinders: Similar to coffee grinders, these use two abrasive surfaces (burrs) to mill grains. They offer excellent control over fineness and produce a consistent flour. Many are adjustable.
- Impact Grinders: These use high-speed rotating blades to pulverize grains. They are very fast but can produce more heat, which can affect the nutrients and flavor of very fine flours. They are generally less adjustable for fineness.
How to do it (General Electric Mill):
- Read your grinder’s manual carefully.
- Ensure the grinding chamber is clean and dry.
- Add the specified amount of cleaned, dry grains to the hopper or chamber. Do not overfill.
- Select your desired fineness setting (if adjustable). For very fine flours, you may need to run the grain through the mill twice, or sift after the first pass.
- Turn on the grinder and let it run until the grains are fully processed.
- Collect the ground flour or meal.
Best for: Regular grinding of all types of grains, achieving various fineness levels, and for consistent, high-quality results. This is the best option for serious home bakers and health enthusiasts.
Step-by-Step Grinding Process
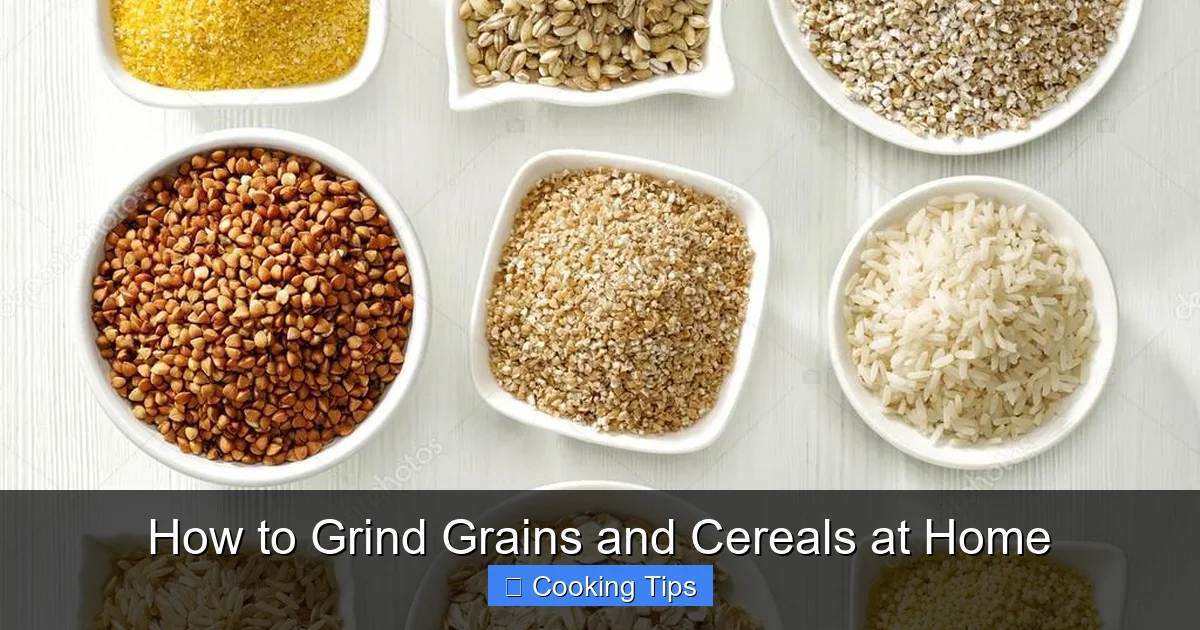
Visual guide about How to Grind Grains and Cereals at Home
Image source: theorganicsupermart.com
Regardless of the tool you choose, a general process applies.
Step 1: Select and Prepare Your Grains
Choose your grain and ensure it’s clean and dry. Remove any debris or foreign objects. If grains seem dusty, you can gently rinse them under cool water and then spread them on a clean towel or baking sheet to air dry completely. Moisture is the enemy of grinding and storage.
Step 2: Choose Your Grinding Tool and Method
Decide if you’re using a mortar and pestle, a hand-crank mill, a blender, or a dedicated electric grain mill. Consider the quantity you need and the texture you’re aiming for.
Step 3: Adjust Your Grinder (if applicable)
If using a burr grinder or hand-crank mill, set the burrs to your desired fineness. It’s often best to start with a coarser setting and re-grind if you want a finer flour. This reduces strain on the equipment and minimizes heat.
Step 4: Grind the Grains
* Manual Mills: Fill the hopper and crank steadily.
* Electric Mills: Add grains and turn on.
* Blenders/Food Processors: Use pulsing and short bursts.
* Mortar and Pestle: Work in small batches with steady grinding motions.
Step 5: Collect and Sift (Optional but Recommended)
Once ground, collect your flour or meal. For a finer consistency, especially with harder grains, sift the ground product through a fine-mesh sieve. You can then re-grind the larger particles that remain in the sieve to achieve an even finer flour. This process can be repeated for optimal results.
Step 6: Storage
Freshly ground flour is alive with oils and nutrients, making it perishable. Store it in an airtight container in the refrigerator or freezer. For best flavor and nutritional quality, use within 2-3 months when refrigerated, or 6-12 months when frozen. Label your containers with the grain type and date.
Troubleshooting Common Grinding Issues
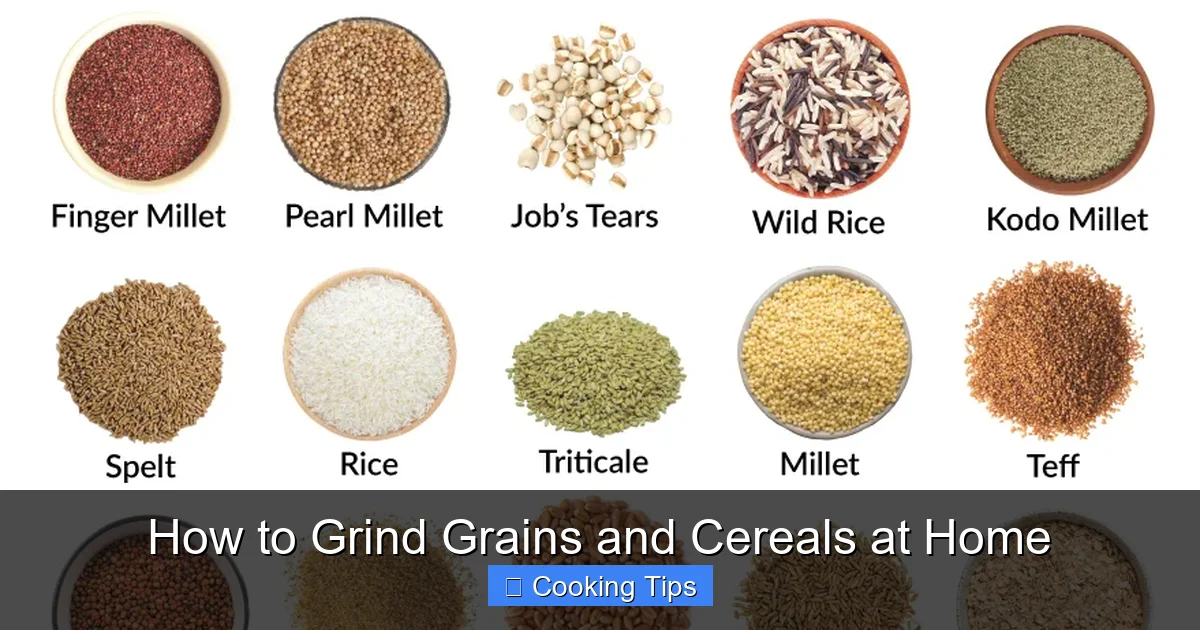
Visual guide about How to Grind Grains and Cereals at Home
Image source: onlyfoods.net
* Too Coarse? Re-grind the flour, or sift and re-grind the larger particles. Ensure your burrs are set to a finer setting.
* Gummy Flour? You might have over-processed the grains, or they may have had too much moisture. Ensure grains are completely dry before grinding. For blenders, avoid prolonged blending.
* Overheating? For electric mills, grind in smaller batches and allow the machine to cool between uses. For blenders, use short bursts. Overheating can damage nutrients and flavor.
* Grinder Jamming? Ensure you’re not overfilling the hopper. Harder grains may require grinding in batches or with a coarser setting initially. Clean any stuck particles.
The Future of Home Milling
As we move further into the 2020s and beyond, home grain milling is becoming more accessible and popular. With advancements in technology, electric grain mills are becoming more efficient, quieter, and offer even more precise control over grind fineness. The emphasis on whole, unprocessed foods continues to grow, making the ability to grind your own grains a valuable skill for any modern kitchen. Experimenting with different grains and flour blends will open up a world of delicious and healthy possibilities for your cooking and baking.
Conclusion
Grinding grains and cereals at home is a straightforward yet incredibly rewarding practice. It empowers you to elevate the quality, nutrition, and flavor of everything you cook and bake. Whether you’re starting with a simple mortar and pestle or investing in a state-of-the-art electric mill, the benefits are immense. So, go ahead, explore the world of whole grains, and enjoy the satisfaction of creating your own fresh, wholesome flours and meals right in your own kitchen. Happy grinding!