
Is your grinder blade rotating too slowly? This comprehensive guide will help you diagnose and fix the issue, ensuring your grinder performs at its best. We’ll cover common causes like dull blades, motor strain, and debris buildup, offering practical solutions to restore optimal speed and efficiency. With these steps, you’ll be back to grinding smoothly in no time!
How to Fix a Slow Rotating Grinder Blade
It’s a frustrating moment. You’re ready to whip up a fresh batch of your favorite spice blend, grind some coffee beans for that perfect morning brew, or prepare meat for a delicious meal, but your grinder is struggling. The blade turns sluggishly, threatening to stall altogether. A slow rotating grinder blade isn’t just an inconvenience; it can lead to uneven grinding, reduced efficiency, and even damage to your appliance. But don’t worry! In 2026, with a few simple checks and some common sense, you can often bring your grinder back to its full, speedy potential.
This guide will walk you through the common reasons why your grinder blade might be spinning slowly and provide clear, step-by-step instructions on how to fix it. We’ll cover everything from blade maintenance to motor checks, empowering you to tackle most common grinder issues with confidence.
Key Takeaways
- Inspect and Sharpen Blades: Dull or damaged blades are a primary culprit for slow rotation. Learn how to safely inspect and sharpen your grinder’s blades.
- Check for Obstructions: Debris, food particles, or foreign objects can impede blade movement. We’ll show you how to safely clear these blockages.
- Examine the Motor and Gearbox: Issues with the motor or gearbox can significantly slow down blade rotation. This section covers common motor-related problems and potential fixes.
- Understand Power Supply Issues: An inadequate power source can prevent the grinder from reaching optimal speed. Learn how to assess your power supply.
- Proper Maintenance is Key: Regular cleaning and maintenance are crucial for preventing slow rotation in the first place. Discover best practices for grinder upkeep.
- When to Seek Professional Help: Not all problems are DIY fixes. Know when it’s time to consult a professional to avoid further damage.
Understanding Why Your Grinder Blade is Slow
Before we dive into the fixes, it’s helpful to understand the most frequent culprits behind a sluggish grinder blade. Pinpointing the cause is the first step towards an effective solution. The most common reasons include:
- Dull or Damaged Blades: This is the most frequent offender. Blades that are no longer sharp require more force and power to cut through ingredients, leading to a slower rotation.
- Obstructions and Debris: Food particles, foreign objects, or even dried-on residue can get lodged around the blade assembly, hindering its free movement.
- Motor Strain: The motor might be struggling due to an overload of ingredients, overheating, or internal issues.
- Gearbox Problems: Many grinders use gears to transfer power from the motor to the blade. Worn or damaged gears can cause a significant slowdown.
- Power Supply Issues: An insufficient or unstable power supply can prevent the motor from operating at its optimal speed.
- Lack of Lubrication: In some grinder types, moving parts might require lubrication, and a lack of it can create friction and slow things down.
Now, let’s get your grinder back in action!
Step 1: Safety First! Unplug Your Grinder
Visual guide about How to Fix a Slow Rotating Grinder Blade
Image source: wonderblade.com
This is non-negotiable. Before you touch any part of your grinder, always disconnect it from the power source. For corded appliances, unplug it from the wall outlet. For battery-powered grinders, remove the battery pack. This simple step prevents accidental starts and potential injuries.
Step 2: Inspect and Clean the Grinder Components
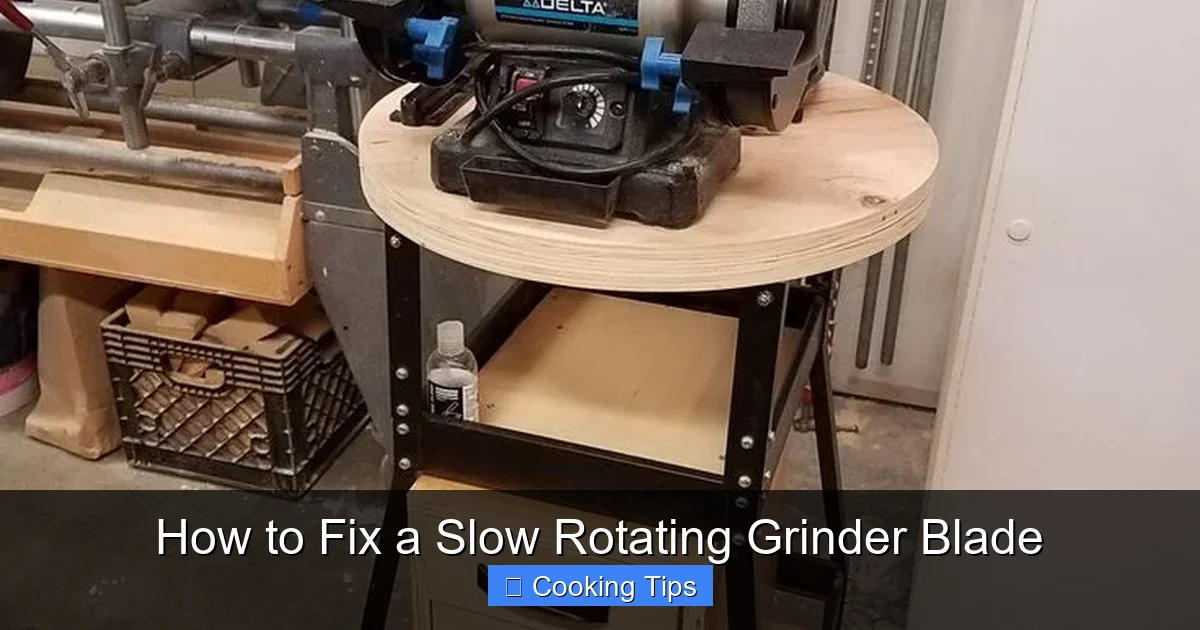
Visual guide about How to Fix a Slow Rotating Grinder Blade
Image source: i.pinimg.com
Often, the solution is as simple as a good cleaning. Food debris, dried ingredients, or foreign objects can accumulate and interfere with the blade’s rotation.
Cleaning the Blade Assembly
- Carefully remove the grinding chamber or hopper, if applicable.
- Gently detach the blade assembly. Depending on your grinder model, this might involve unscrewing it or simply lifting it out. Refer to your owner’s manual if you’re unsure.
- Use a soft brush (like an old toothbrush) or a damp cloth to carefully clean the blades and the area around them. Be extremely cautious when handling sharp blades.
- Ensure all food particles and residue are removed. For stubborn residue, you might use a mild dish soap and warm water, but always dry thoroughly afterward.
Checking for Obstructions
- While the blade assembly is out, visually inspect the grinding chamber and the motor shaft (where the blade attaches).
- Look for any foreign objects like small stones, pieces of plastic, or hardened food that might be lodged in the mechanism.
- If you find any obstructions, carefully remove them using tweezers or a small tool.
Step 3: Assess the Blades for Dullness or Damage
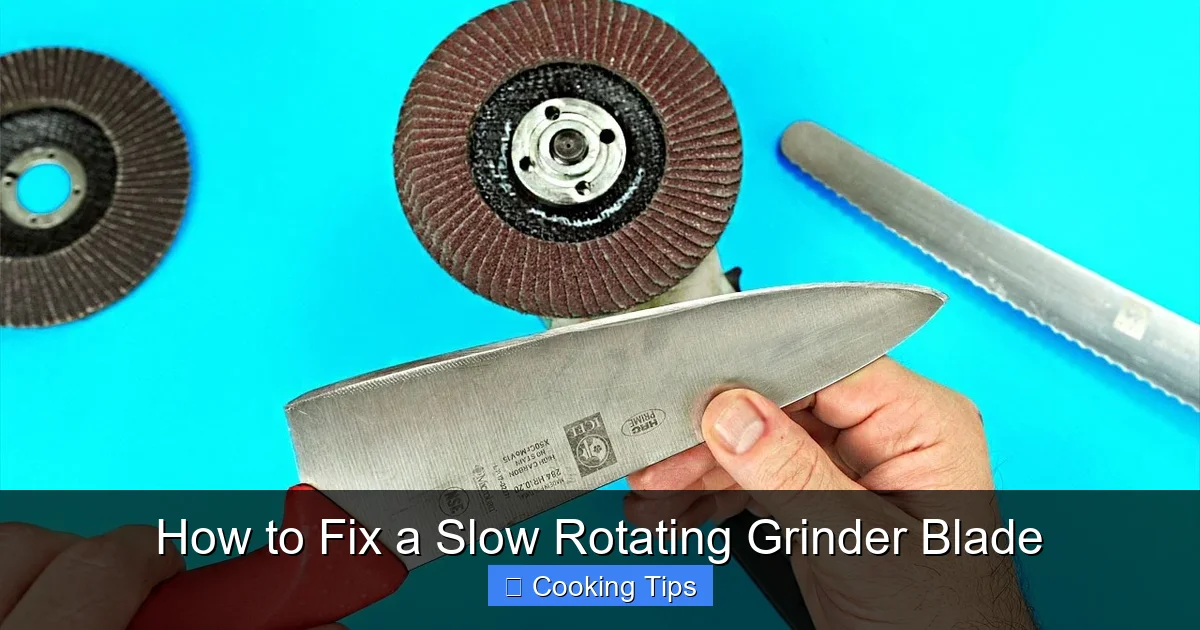
Visual guide about How to Fix a Slow Rotating Grinder Blade
Image source: i.ytimg.com
Sharp blades are essential for efficient grinding. Dull blades require more effort from the motor, causing it to slow down.
How to Check Blade Sharpness
- Visually inspect the edges of the blades. Are they nicked, bent, or noticeably dull?
- You can perform a simple test with a piece of paper. If the blades can easily slice through a sheet of paper, they are likely sharp enough. If they tear or snag, they need sharpening or replacement.
Sharpening or Replacing Blades
- Sharpening: For some grinder models, especially those with removable blade assemblies, you might be able to sharpen the blades. This often involves using a fine-grit sharpening stone or a specialized blade sharpener. Follow the manufacturer’s instructions carefully to avoid damaging the blades. Note: Not all grinder blades are designed to be sharpened.
- Replacement: If your blades are significantly damaged, bent, or beyond sharpening, the best course of action is to replace the entire blade assembly. Check your grinder’s manual or the manufacturer’s website for part numbers and ordering information. Many manufacturers offer replacement parts for their appliances.
Step 4: Examine the Motor and Gearbox
If cleaning and blade inspection haven’t solved the problem, the issue might lie with the grinder’s motor or gearbox. This is where things can get a bit more technical.
Listen to the Motor
- With the grinder assembled but unplugged, try to manually turn the blade assembly. Does it spin freely? If it feels stiff or gritty, there might be an issue with the bearings or internal mechanism.
- When you plug the grinder in and attempt to use it (briefly, with no ingredients), listen carefully to the motor. Does it make unusual grinding, whining, or humming noises? These sounds can indicate motor strain or gearbox problems.
Overheating Protection
- Many modern grinders have built-in overheat protection. If the motor has been working hard or running for too long, it might temporarily shut down or reduce its power to prevent damage.
- Allow the grinder to cool down completely for at least 15-30 minutes before trying to use it again. Ensure the ventilation slots are clear of dust and debris.
Gearbox Issues
- For grinders with a gearbox, a slow rotation can signify worn or damaged gears. This often manifests as a grinding or clicking sound when the motor is running.
- Repairing a gearbox is usually beyond a simple DIY fix for most home users. If you suspect gearbox damage, it’s often more practical and safer to consider replacing the grinder or seeking professional repair if the cost is justified.
Step 5: Check the Power Supply
An inadequate power supply can hobble even the most robust grinder.
Using the Correct Outlet
- Ensure your grinder is plugged into a properly functioning electrical outlet. Try plugging another appliance into the same outlet to confirm it’s working.
- If you’re using an extension cord, make sure it’s rated for the power draw of your grinder. An undersized extension cord can restrict the flow of electricity, causing the motor to run slower.
Battery Life (for cordless grinders)
- For battery-powered grinders, a slow blade rotation can simply mean the battery is low. Ensure the battery is fully charged according to the manufacturer’s instructions.
- If the battery is old or has been used extensively, it might no longer hold a sufficient charge to power the motor at optimal speed. In such cases, you may need to replace the battery pack.
Step 6: Reassemble and Test
Once you’ve performed your checks and cleaning, carefully reassemble your grinder, ensuring all parts are securely in place. Then, plug it in (or insert the battery) and test it with a small amount of a suitable ingredient.
Testing with Ingredients
- Start with a small amount of dry ingredients, like a few coffee beans or a small portion of dried herbs.
- Observe how the blade rotates. Is it spinning with more vigor? Is the speed closer to what you’re used to?
- If it’s still slow, repeat the inspection process, paying close attention to any areas you might have missed.
Troubleshooting: What If It’s Still Slow?
If you’ve gone through all these steps and your grinder blade is still rotating slowly, it’s time to consider more serious issues or professional intervention.
- Motor Failure: The motor itself might be failing. This is often indicated by unusual noises, a burning smell, or the motor not starting at all. Motor repairs are typically complex and expensive.
- Internal Wiring Problems: Loose or damaged internal wiring can also affect motor performance. This is a safety hazard and should only be addressed by a qualified technician.
- Wear and Tear: Like any appliance, grinders have a lifespan. If your grinder is old and has been used heavily, it might simply be succumbing to general wear and tear.
When to Seek Professional Help or Consider Replacement
For most common issues like debris or dull blades, you can likely fix your grinder yourself. However, if you suspect:
- Severe motor damage
- Gearbox failure (indicated by loud grinding or clicking noises)
- Electrical faults or burning smells
It’s time to either contact the manufacturer for authorized repair services or consider purchasing a new grinder. Attempting complex internal repairs without the necessary expertise can be dangerous and may void any remaining warranty.
Conclusion
A slow rotating grinder blade can be a puzzling problem, but by systematically working through these diagnostic and troubleshooting steps, you can often identify and resolve the issue. From ensuring your blades are sharp and free of debris to checking the motor and power supply, this guide provides a comprehensive approach to restoring your grinder’s performance. Remember that regular maintenance, including cleaning after each use and periodic deeper cleans, is the best way to prevent these problems from arising in the first place. With a little effort, you can keep your grinder running smoothly and efficiently for years to come.