
Is your grinding jar refusing to seat correctly on your blender or food processor? Don’t let a misaligned jar stop your culinary creations. This comprehensive guide will walk you through the simple steps to diagnose and adjust your grinding jar, ensuring a snug and safe fit. We’ll cover common causes, inspection techniques, and practical solutions, empowering you to get back to grinding with confidence.
Grinding Jar Not Fitting Properly: How to Adjust
It’s a frustrating moment: you’re ready to whip up a fresh batch of pesto, grind some coffee beans, or pulverize spices, but your grinding jar just won’t sit right on your blender or food processor. You twist, you push, you wiggle, but that satisfying ‘click’ of a secure fit eludes you. Don’t despair! A grinding jar that’s not fitting properly is a common issue, and in most cases, it’s easily fixable with a little know-how and a few simple steps. This guide will help you diagnose the problem and make the necessary adjustments so you can get back to your delicious endeavors.
In this guide, we’ll cover everything from the most common culprits to more intricate solutions. You’ll learn how to systematically inspect your grinding jar and its accompanying appliance, identify what’s causing the misalignment, and perform simple adjustments to restore a perfect fit. We aim to equip you with the confidence to tackle this issue yourself, saving you time and potentially the cost of a new part.
Key Takeaways
- Inspect for Obstructions: Small debris or food particles can prevent a proper fit. Always check the jar rim and the blender base.
- Examine the Seal: A damaged or warped rubber seal can cause alignment issues and leaks.
- Check the Jar Threads/Grooves: Look for any bends, cracks, or debris in the jar’s threading or interlocking grooves.
- Verify the Blender Base: Ensure the locking mechanism or motor base itself is clean and free of damage.
- Gentle Wiggling and Alignment: Sometimes, a slight jiggle or careful rotation is all that’s needed to find the correct seating position.
- Consider Minor Warping: In rare cases, slight warping of the plastic can occur. We’ll explore subtle adjustments for this.
- Know When to Replace: If damage is significant, replacement might be the safest and most effective solution.
Step 1: Assess the Situation – What’s Really Happening?
Before you start fiddling, take a moment to observe exactly what’s going wrong. Is the jar completely refusing to go on? Does it seem crooked? Does it wobble excessively once it’s on (or you think it’s on)? Understanding the specific symptom will point you toward the most likely cause.
Observe the Jar’s Seating Angle
Try placing the grinding jar onto the motor base without forcing it. Does it seem to naturally want to go on at a particular angle? Does it feel like something is blocking it from seating flush?
Listen for Any Sounds
Sometimes, you might hear a faint scraping sound or a dull thud if something is indeed obstructing the fit. This can be a clue.
Feel for Resistance
Where do you feel the resistance? Is it at the front, the back, or all around? This tactile feedback is crucial.
Step 2: The Thorough Inspection – Your First Line of Defense
Most of the time, a grinding jar not fitting properly is due to something simple and often fixable with a quick clean or a gentle adjustment. This stage is all about being meticulous.
Visual guide about Grinding Jar Not Fitting Properly How to Adjust
Image source: robots.net
H3: Cleanliness is Key: Jar and Base
This is the most frequent reason for a poor fit. Food residue, dried-on liquids, or even small crumbs can create a surprisingly effective barrier.
- Inspect the Jar Rim: Carefully examine the rim of your grinding jar. Look for any dried food particles, sticky residue, or anything that looks out of place. Use a damp cloth to wipe it down thoroughly. Pay attention to the interlocking grooves or threads where the jar connects to the base.
- Inspect the Blender Motor Base: Now, turn your attention to the part of the blender or food processor where the jar attaches. Look for any debris lodged in the slots, around the blades (if the blades are part of the base unit), or in the locking mechanism. A soft brush or an old toothbrush can be excellent for dislodging stubborn bits. Wipe the base down with a damp cloth.
H3: Examine the Rubber Seal (Gasket)
Many grinding jars have a rubber seal or gasket that helps create a watertight connection and ensures stability. This seal is critical for a proper fit.
- Check for Damage: Is the rubber seal cracked, torn, warped, or missing? A damaged seal won’t compress properly, leading to alignment issues.
- Check for Debris: Sometimes, food particles can get stuck *underneath* the seal, preventing it from lying flat. Gently lift the seal if possible and clean underneath it.
- Ensure Proper Seating: Make sure the seal is correctly seated within its groove on the jar. If it’s slightly out of place, try to push it back in firmly.
H3: Scrutinize the Jar’s Threads or Locking Grooves
Depending on your appliance, the jar will either screw on or have specific grooves that lock into the base.
- For Screw-On Jars: Inspect the threads on the jar and the corresponding threads on the blender base. Are there any bent threads on the jar? Sometimes, a drop can cause a slight bend that prevents smooth threading. Look for any foreign objects or dried-on material.
- For Twist-Lock Jars: Examine the plastic or metal lugs (the tabs or protrusions) on the jar that fit into the slots on the base. Are any of these lugs chipped, cracked, or bent? Are the corresponding slots on the base clean and free of debris?
H3: Inspect the Blender Motor Base’s Locking Mechanism
The part of the motor base that receives the jar is just as important.
- Check the Slots: If it’s a twist-lock system, ensure the slots are clear of debris and not damaged.
- Check for Deformity: In rare cases, the plastic around the locking mechanism on the base could be slightly warped or damaged.
Step 3: Gentle Adjustments and Realignment
Once you’ve performed your thorough inspection and cleaned everything, it’s time for some gentle coaxing.

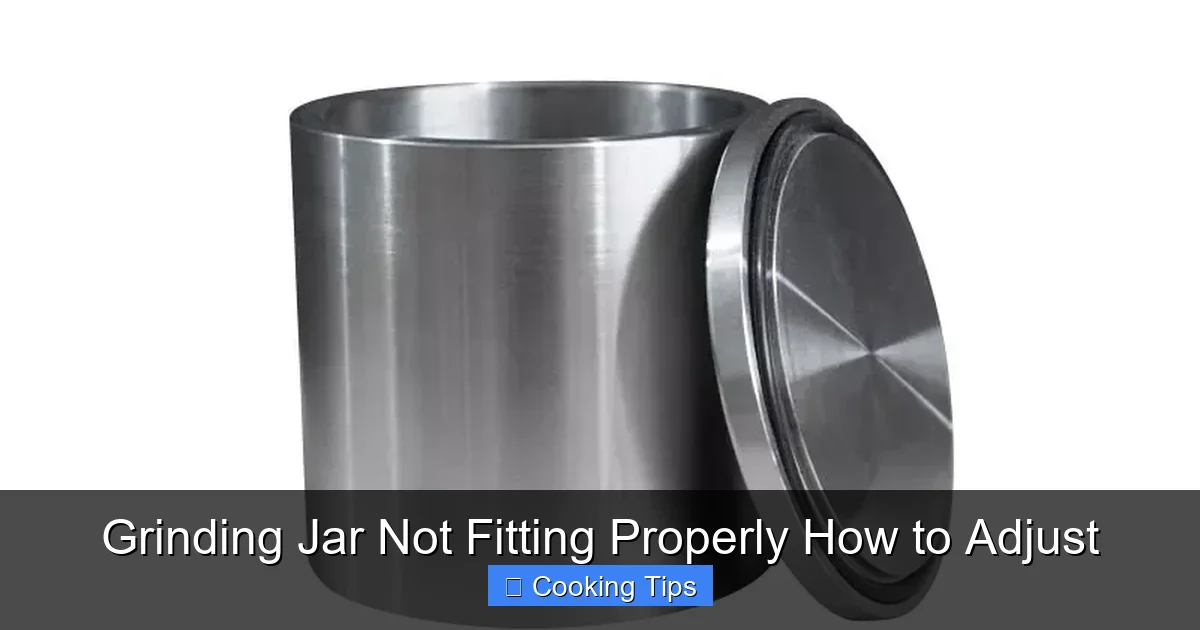
Visual guide about Grinding Jar Not Fitting Properly How to Adjust
Image source: smartairfilters.com
H3: The Art of the Gentle Wiggle
Sometimes, the jar just needs a little encouragement to find its sweet spot.
How-To: Place the jar onto the base and try to seat it. Instead of forcing it, gently wiggle it side-to-side and up-and-down. Sometimes, a slight rotation back and forth can help the lugs or threads align correctly. Don’t use excessive force, as this could lead to damage.
H3: Realigning the Seal
If you suspect the seal is the culprit, ensure it’s perfectly flush.
How-To: With the jar upside down (or at an angle), gently press the rubber seal into its groove all the way around. Make sure there are no bulges or loose sections. Then, try seating the jar again.
H3: Minor Thread Straightening (Use Extreme Caution!)
If you’ve identified a very *minor* bend in a plastic thread on the jar, you might be able to very carefully attempt to straighten it. This is a delicate operation and can easily cause more harm than good if not done properly.
How-To: Use the tip of a plastic utensil (like a spatula or a dull butter knife) to *gently* try and nudge the bent section of the thread back into place. Do NOT use metal tools, and do NOT apply significant force. If it doesn’t move easily, stop. You risk snapping the plastic.
Step 4: Troubleshooting Persistent Issues
If you’ve gone through the steps above and your grinding jar still isn’t fitting properly, it might be time to consider other possibilities or more advanced solutions.
Visual guide about Grinding Jar Not Fitting Properly How to Adjust
Image source: irrorwxhjqlnjk5p-static.micyjz.com
H3: Is It the Right Jar?
It sounds obvious, but double-check that you are using the correct grinding jar for your specific blender or food processor model. Different models, even from the same brand, can have slightly different jar designs or locking mechanisms.
H3: Warped Plastic (Rare but Possible)
Extreme heat (like leaving it in a hot car or washing in excessively hot water and leaving it to air dry in direct sun) can, in rare cases, cause the plastic of the jar to warp slightly. If you suspect this:
- Inspect for Visible Warping: Hold the jar upside down and look at the rim. Does it appear uneven or distorted?
- Gentle Temperature Adjustment: Sometimes, allowing the jar to cool down completely at room temperature (if it was recently washed in hot water) can help it return to its original shape. Conversely, if it’s been in a cold place, warming it slightly (again, room temperature is usually sufficient) might help. Never use a hairdryer or direct heat, as this will worsen the problem.
- Slight Pressure During Seating: If the warping is minimal, you might find that by applying even pressure and rotating gently, you can coax it into place.
H3: Check for Component Looseness
On some blender models, the blade assembly can be removed from the grinding jar. Ensure that the blade assembly is securely attached to the jar. A loose blade assembly can affect how the jar seats.
Step 5: When to Consider Replacement
While most problems are fixable, there comes a point where further attempts could be futile or even unsafe.
- Significant Cracks or Breaks: If the jar, its threads, or the locking lugs are cracked or broken, it’s time for a replacement. A compromised jar can leak, fail during operation, or even shatter.
- Severely Warped Jar: If the plastic is noticeably warped and cannot be persuaded to fit, a replacement is necessary.
- Damaged Motor Base: If the issue appears to be with the motor base itself (e.g., bent slots, broken locking tabs), you might need to contact the manufacturer for repair or replacement of the base unit.
- Persistent Leaks: Even if the jar fits, if it leaks around the seal, the seal itself might be irredeemably damaged or the jar’s rim might be warped.
If you need to replace your grinding jar, check your appliance manufacturer’s website or reputable online retailers for compatible parts. Always ensure you are purchasing an official replacement part to guarantee safety and performance.
Conclusion
Dealing with a grinding jar that isn’t fitting properly can be a minor annoyance, but as you’ve seen, it’s usually a straightforward fix. By following a systematic approach of inspection, cleaning, and gentle adjustment, you can often resolve the issue and restore your appliance to full working order. Remember to always prioritize safety; never force a jar that doesn’t fit, and if there’s significant damage, a replacement is the best course of action. Now, go forth and grind with confidence!