
A cracked grinder jar base can be a frustrating problem, but don’t panic. This guide will walk you through the essential steps to assess the damage, understand the risks, and make an informed decision about the next course of action. We’ll cover everything from identifying the type of crack to exploring repair options and when it’s best to invest in a replacement for continued safety and optimal performance.
Grinder Jar Base Cracked: What to Do Next
It’s a sound many home cooks dread: the unmistakable clink or crack followed by a visual inspection revealing a fractured grinder jar base. Whether you’re grinding coffee beans for your morning brew, spices for a flavorful meal, or nuts for a baking project, a cracked grinder jar base can bring your culinary endeavors to a grinding halt. But before you toss the entire appliance, it’s important to understand what to do next. This comprehensive guide will equip you with the knowledge to assess the damage, understand the risks, and make an informed decision about repairing or replacing your beloved grinder.
Key Takeaways
- Identify the Crack Type: Distinguish between minor surface cracks and significant structural damage to understand the potential risks.
- Safety First: Always unplug your grinder before inspecting any damage to avoid accidental activation and injury.
- Assess Material and Location: The material of the jar (glass, plastic) and the crack’s position greatly influence repair feasibility and safety.
- Consider Repair Options: Explore potential temporary fixes or professional repairs, but understand their limitations and safety implications.
- Weigh Replacement Costs: Compare the cost of a new jar or complete grinder against the potential expense and risks of repairing a cracked base.
- Prioritize Safety and Performance: Ultimately, the decision should prioritize your safety and the grinder’s effective and safe operation.
Step 1: Safety First – Unplug and Assess
The absolute first step when you discover a cracked grinder jar base is to ensure your safety.
Disconnect Power
Immediately unplug the grinder from the electrical outlet. This is non-negotiable. Even a seemingly minor crack could compromise the integrity of the jar, and you don’t want to risk accidental activation while you’re inspecting it.
Visual Inspection
Once the power is off, carefully examine the cracked grinder jar base. Get a good light source and look for the following:
- Type of Crack: Is it a hairline fracture, a spiderweb crack, or a more significant break where pieces might be missing?
- Location of Crack: Is the crack on the very bottom of the base, along the side, or near the connection point to the motor unit?
- Material of the Jar: Is the jar made of glass, durable plastic, or stainless steel? This will impact repair options and potential risks.
- Presence of Leaks: Are there any signs of moisture or powder leaking from the crack?
Step 2: Understand the Risks Associated with a Cracked Grinder Jar Base
A cracked grinder jar base isn’t just an aesthetic issue; it can pose significant risks to your safety and the performance of your appliance.
Potential for Blade Detachment
The base of the grinder jar often houses the blade assembly. If the crack is near this area, it could compromise the secure attachment of the blades. This could lead to the blades becoming loose or even detaching during operation, which is incredibly dangerous and can cause severe injury or damage to the grinder itself.

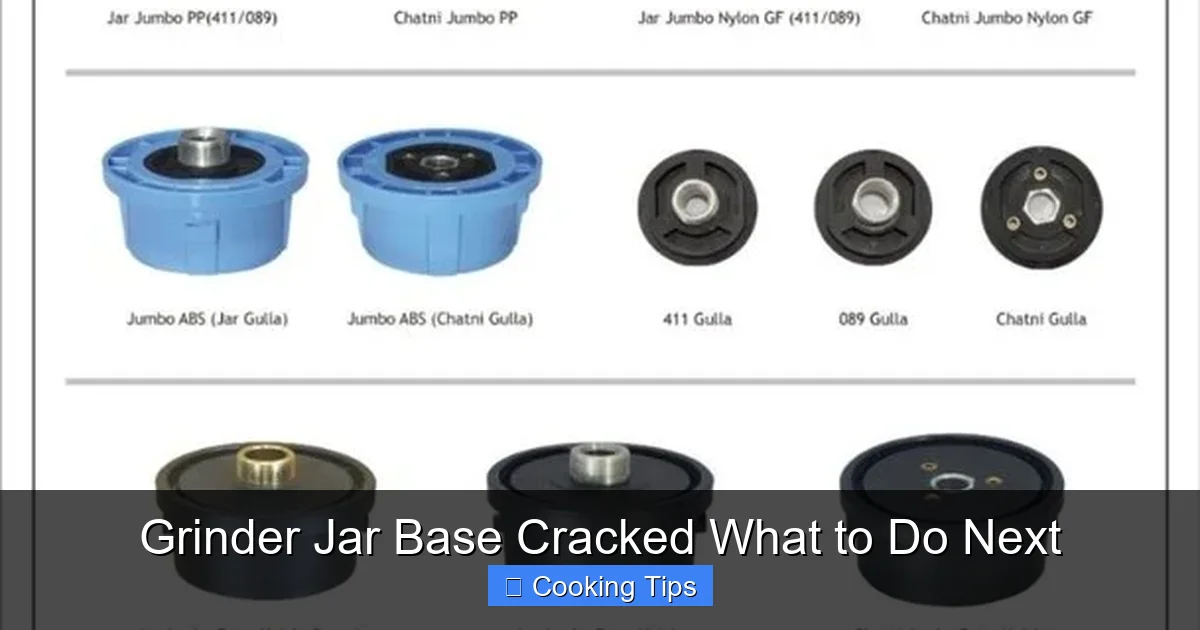
Visual guide about Grinder Jar Base Cracked What to Do Next
Image source: img.drz.lazcdn.com
Contamination and Purity Concerns
Cracks can create tiny crevices where food particles, dust, or cleaning residue can accumulate. This makes proper cleaning difficult and can lead to bacterial growth, compromising the purity of the ingredients you’re grinding. For items like coffee beans, this can also affect flavor.
Leaking and Messes
Even small cracks can allow finely ground ingredients to escape, creating a mess around your grinder and on your countertops. For wet ingredients or oils, a crack can lead to leaks that can drip onto the motor unit, potentially causing electrical issues or damage.
Compromised Suction and Seal
Many grinder bases are designed to create a seal with the motor unit. A crack can disrupt this seal, leading to reduced suction power, inefficient grinding, and potential dust or particle escape.
Glass Fracture Risk (for Glass Jars)
If your grinder jar is made of glass, a crack significantly increases the risk of the entire jar shattering during operation, especially under the pressure and vibrations of grinding. This can send shards of glass flying, posing a serious safety hazard.
Step 3: Exploring Repair Options (with Caution)
In some very limited circumstances, a minor crack might seem repairable. However, it’s crucial to approach this with extreme caution and a strong emphasis on safety.
Temporary “Fixes” – Generally Not Recommended
You might see advice online about using strong adhesives or epoxies. However, for grinder jars, especially those that come into contact with food and undergo significant stress and vibration, these temporary fixes are almost always ill-advised.
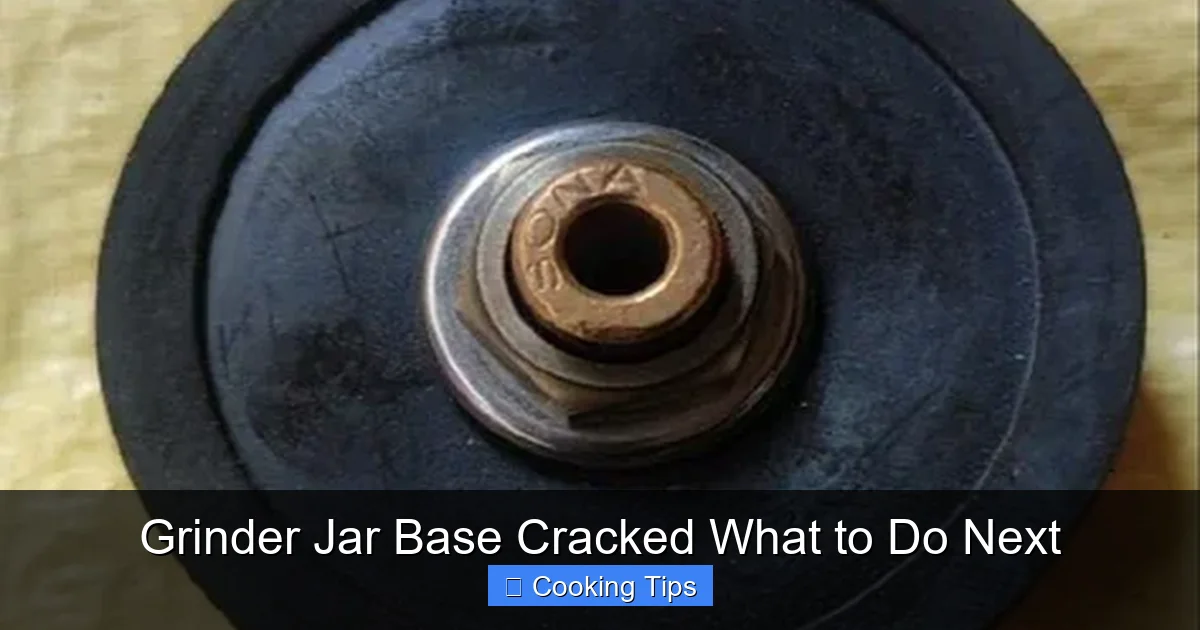
Visual guide about Grinder Jar Base Cracked What to Do Next
Image source: 5.imimg.com
- Food Safety: Many adhesives are not food-safe and can leach harmful chemicals into your ingredients.
- Durability: The vibrations and forces involved in grinding are substantial. Most DIY repairs will not withstand this stress and will likely fail, potentially leading to the very problems you were trying to avoid.
- Structural Integrity: Adhesives cannot restore the original structural integrity of the jar.
Therefore, we strongly advise against attempting to repair a cracked grinder jar base with adhesives or sealants for food-related applications.
When is Professional Repair an Option?
For grinder jars, professional repair of a cracked base is rarely a practical or safe option. Unlike some larger appliances, grinder jars are typically sealed units, and the materials used often cannot be effectively or safely repaired by third-party services. If the manufacturer offers replacement parts, that’s a different story. But seeking out a general repair shop for a cracked grinder jar is likely to be a fruitless and potentially unsafe endeavor.
Step 4: When Replacement is the Only (and Best) Option
In the vast majority of cases, a cracked grinder jar base signals that it’s time for a replacement. Prioritizing safety and optimal performance means accepting that some components have a lifespan, and damage like this marks the end of that component’s usability.
Identify Your Grinder Model
The first step in replacement is to identify the exact make and model of your grinder. This information is usually found on the base of the motor unit or on the original packaging.
Visual guide about Grinder Jar Base Cracked What to Do Next
Image source: 5.imimg.com
Check for Replacement Jars
Many manufacturers sell replacement grinder jars as separate parts. This is often the most cost-effective solution if the motor unit of your grinder is still in good working order.
- Manufacturer’s Website: Visit the official website of your grinder’s brand. Look for a “Parts & Accessories” or “Replacement Parts” section.
- Online Retailers: Major online retailers that sell kitchen appliances often carry a wide range of replacement parts. Use your grinder’s model number to search for compatible jars.
- Specialty Appliance Parts Stores: There are online and brick-and-mortar stores that specialize in appliance replacement parts.
Be sure to verify the compatibility of the replacement jar with your specific grinder model before purchasing.
When to Replace the Entire Grinder
There are a few scenarios where replacing the entire grinder might be the wiser choice:
- No Replacement Jars Available: If you cannot find a compatible replacement jar for your model, and the grinder is relatively old or inexpensive, a new unit might be more practical.
- Damage to the Motor Unit: If you notice any other damage to the motor unit itself (frayed cords, unusual noises, smells, or other cracks), it’s safer to replace the entire appliance.
- Cost of Replacement Jar is High: Sometimes, the cost of a replacement jar can be close to, or even exceed, the price of a brand new, comparable grinder. Do a quick comparison before committing to a replacement part.
- Age of the Grinder: If your grinder is several years old, a new model might offer improved features, efficiency, and better energy ratings.
Step 5: Proper Disposal of the Damaged Grinder Jar
Once you’ve decided to replace the jar or the entire grinder, it’s important to dispose of the damaged part responsibly.
Glass Jars
If the jar is glass and broken, handle it with extreme care. Wrap the broken pieces securely in newspaper or thick cardboard before placing them in a sturdy bag. Clearly label the bag “BROKEN GLASS” to alert waste handlers to the hazard.
Plastic or Stainless Steel Jars
These can usually be disposed of in your regular household waste, unless your local recycling program has specific guidelines for small appliance parts.
Electronics (if replacing the whole grinder)
The motor unit contains electronic components. Many areas have designated electronic waste recycling programs. Check with your local municipality or waste management service for drop-off locations or collection events.
Conclusion: Prioritizing Safety in Your Kitchen
A cracked grinder jar base is a clear signal that it’s time to act. While the immediate reaction might be frustration, by following these steps, you can confidently assess the situation and make the best decision for your kitchen and your safety. Remember, food safety and preventing injuries are paramount. In most cases, replacing the damaged grinder jar is the safest and most effective solution. By investing in a new jar or a new grinder, you can continue to enjoy your favorite recipes with peace of mind, knowing your equipment is functioning reliably and safely. So, take a deep breath, assess the damage, and get back to grinding with confidence!