
Tired of discovering sticky messes in your pantry or fridge? This guide offers practical advice on how to ensure your jar lids are always closed tightly. By following simple steps and understanding common pitfalls, you can prevent frustrating spills, save food from contamination, and extend the shelf life of your ingredients. Mastering this basic kitchen skill will save you time, money, and clean-up effort.
Welcome to your ultimate guide on keeping jar lids closed tightly to prevent spills! In the bustling kitchens of 2026, where efficiency and food preservation are more important than ever, a simple but crucial skill can save you a lot of trouble: ensuring your jars are sealed properly. We’ve all been there – reaching for a jar of pickles, jam, or preserves, only to find a sticky mess coating the inside of your pantry or refrigerator. These spills not only create a frustrating clean-up job but can also lead to food spoilage and waste. This guide will equip you with the knowledge and practical techniques to master the art of sealing jars, ensuring your precious ingredients stay put and remain fresh.
By the end of this article, you’ll understand why tight seals are vital, how to achieve them consistently, and what to do when things don’t go as planned. Let’s dive in and transform your kitchen from a potential spill zone to a bastion of organized, spill-free food storage!
Key Takeaways
- Proper Sealing Technique: Ensure the jar rim is clean and dry before sealing to achieve a strong, airtight closure.
- Lid Condition Matters: Inspect lids for damage like dents or rust, as these can compromise the seal and lead to spills.
- Twist with Confidence: Apply firm, even pressure when twisting the lid to engage the threads fully and secure the seal.
- Listen for the “Pop”: A successful seal often produces an audible “pop” as air is expelled, indicating a tight closure.
- Regular Inspection: Periodically check sealed jars, especially those stored for longer periods, for signs of leakage or loosening.
- Child and Pet Safety: Keeping lids tightly closed is crucial to prevent accidental access to contents by children or pets, safeguarding them from potential harm.
Why Keeping Jar Lids Closed Tightly is Essential
Before we get into the “how,” let’s quickly touch upon the “why.” Keeping jar lids tightly closed serves several critical purposes in your kitchen:
- Preventing Spills and Messes: This is the most obvious benefit. A loose lid means liquid can escape, creating sticky residues that attract pests and make cleaning a chore.
- Preserving Food Freshness: An airtight seal prevents air from entering the jar. This is crucial for slowing down oxidation, which causes food to degrade and lose its flavor and nutritional value.
- Preventing Contamination: An open or loosely sealed jar can be an invitation for bacteria, mold, and other contaminants to enter, rendering your food unsafe to eat.
- Protecting Against Pests: Insects and rodents are attracted to exposed food. A tightly sealed jar acts as a barrier, keeping unwanted visitors out.
- Maximizing Shelf Life: Proper sealing directly contributes to a longer shelf life for your preserved goods, whether they are homemade jams or store-bought sauces.
- Ensuring Safety: For homes with children or pets, tightly secured lids are a critical safety measure, preventing accidental ingestion of potentially harmful substances.
The Art of the Perfect Seal: Step-by-Step
Visual guide about Keep Jar Lids Closed Tightly to Prevent Spills
Image source: c8.alamy.com
Achieving a tight seal is a simple process once you know the key steps. These apply whether you are using a newly opened store-bought jar or re-sealing one you’ve used.
Step 1: Inspect the Jar and Lid
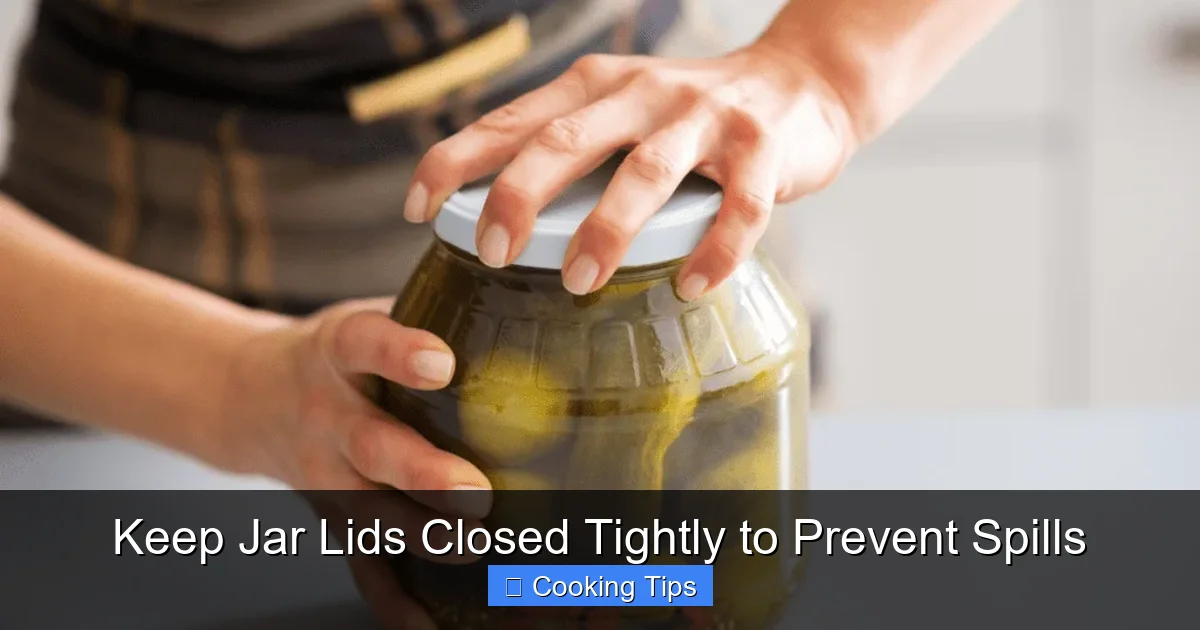
Visual guide about Keep Jar Lids Closed Tightly to Prevent Spills
Image source: manmadediy.com
This initial step is often overlooked, but it’s foundational to a good seal.
Check the Jar Rim
- Run your finger along the rim of the jar. It should be perfectly smooth and free of any nicks, chips, or dried-on food particles. Even a tiny imperfection can prevent a lid from sealing properly.
- If you find any debris, wash the rim with warm, soapy water and dry it thoroughly with a clean towel. For stubborn residue, a damp cloth or sponge will work.
Examine the Lid
- For reusable lids (like those on some spice jars or glass containers), check for any warping, dents, or rust. These can affect the lid’s ability to create an airtight seal.
- For single-use lids (like those on many preserve jars), ensure the rubber seal or gasket around the edge is intact and not torn or compromised.
Step 2: Ensure the Contents are Cool (If Applicable)
Visual guide about Keep Jar Lids Closed Tightly to Prevent Spills
Image source: thumbs.dreamstime.com
This is particularly important when re-sealing jars that contained hot liquids or foods that have been recently cooked or processed.
- Allow the contents of the jar to cool down to room temperature. Sealing a hot jar can create excessive pressure as the contents expand, potentially leading to a weak seal or even a burst lid.
- For items like hot sauces or homemade pickles, let them cool completely after processing before attempting to seal the lid.
Step 3: Position the Lid Correctly
Alignment is key to engaging the threads and creating a secure closure.
- Place the lid squarely on top of the jar. Ensure it is centered and not at an angle.
- If the jar has a screw-top lid, begin by turning it counter-clockwise a short distance until you feel it “catch” the threads. This is often referred to as “finding the start” of the thread.
Step 4: Twist with Confidence and Firmness
This is where the magic happens – securing the lid.
- Once you’ve found the thread, begin twisting the lid clockwise.
- Apply firm, steady pressure. You don’t need to strain yourself, but you should feel a definite resistance as the lid tightens.
- Continue twisting until you feel significant resistance. This usually means the lid is fully engaged with the jar’s threads.
- For many jars, a good guideline is to twist until you feel firm resistance, then give it about an eighth to a quarter turn more.
Step 5: Listen for the “Pop” (for Canning and Preserving)
While not applicable to all jar types, this is a vital indicator for commercially canned goods and home-canned items.
- When a jar is processed using heat (like canning), the “pop” you hear as the lid cools is the sound of the vacuum seal forming.
- As the jar and its contents cool, the air inside contracts, creating a vacuum that pulls the lid down, creating an airtight seal.
- If you don’t hear a pop, the seal may not be as strong or may have failed.
Step 6: Perform a Final Check
A quick visual and physical check can give you peace of mind.
- Gently try to lift the lid. If it’s sealed properly, it should not budge.
- Wipe down the outside of the jar, especially around the lid, to catch any potential minor seepage and to ensure a clean surface for storage.
Practical Tips for Spill Prevention
Beyond the basic sealing steps, a few extra tips can enhance your spill-prevention strategy.
- Use the Right Lids for the Job: Always use the lid that came with the jar or a compatible replacement. Mismatched lids are a recipe for disaster.
- Don’t Overfill Jars: Leaving adequate headspace (the gap between the food and the lid) is crucial, especially for hot-filled items. This allows for expansion and contraction without forcing food out or compromising the seal.
- Store Jars Upright: While this sounds obvious, sometimes in a crowded fridge or pantry, jars can get jostled into sideways positions. Always aim for upright storage to minimize the risk of leaks.
- Consider Jar Organizers: For pantries, consider using drawer inserts or tiered shelves that keep jars stable and prevent them from rolling around. In the refrigerator, dedicated jar organizers can keep things tidy.
- For Very Oily or Sticky Contents: After sealing, you might want to wrap the lid area with a piece of plastic wrap before screwing on the lid. This provides an extra layer of protection against minor seepage, especially for items like olive oil or honey.
- When Transporting Jars: If you’re carrying jars of food (e.g., bringing a homemade jam to a friend), ensure the lids are sealed tightly, and consider placing them in a sturdy container or bag to prevent tipping.
Troubleshooting Common Jar Sealing Issues
Even with the best intentions, sometimes a lid might not seal perfectly, or you might encounter a problem. Here’s how to address common issues:
My Lid Won’t Tighten Properly
- Cause: Damaged threads on the jar or lid, debris on the threads, or the lid not being aligned correctly.
- Solution: Inspect both the jar and lid threads for damage or debris. Clean them thoroughly. Realign the lid and try tightening again, ensuring you feel the threads “catch.” If the threads are damaged, you may need to discard the lid or the jar.
I Hear a “Hissing” Sound After Sealing
- Cause: The seal may not be completely airtight, and air is still escaping, or it could be a sign of spoilage if the food is fermenting.
- Solution: For newly sealed jars, try tightening the lid a bit more. If the hissing continues or you notice other signs of spoilage (bubbles, off-smell), it’s best to discard the contents.
I’ve Opened a Jar, and Now the Lid Won’t Seal Tightly Anymore
- Cause: The original seal on single-use lids is often compromised after the first opening. Reusable lids might be worn or warped.
- Solution: For single-use lids, you will likely need to use a new lid. If you don’t have one, consider transferring the contents to another airtight container. For reusable lids, check their condition. If they are old or damaged, it’s time for replacements. You can also buy specialized reusable rubber rings for many types of jars.
I Found a Leak in My Pantry/Fridge
- Cause: A lid wasn’t tightened sufficiently, the seal failed over time, or the jar was stored improperly.
- Solution: Immediately clean up the spill. Inspect the jar and its contents. If the contents are compromised or show signs of spoilage, discard them. If the contents are fine, wash and dry the jar thoroughly. You may want to transfer the contents to a new, properly sealed container or jar.
Conclusion: A Tighter Lid, a Happier Kitchen
Mastering the simple act of keeping jar lids closed tightly is a small habit that yields significant rewards. It’s about more than just preventing a sticky mess; it’s about preserving the quality and safety of your food, reducing waste, and bringing a sense of order and calm to your kitchen. By following the steps outlined in this guide – from inspecting your jars and lids to applying the right amount of pressure – you can confidently seal your jars every time. Remember, a well-sealed jar is a sign of a well-managed kitchen. So, the next time you reach for a jar, take that extra moment to ensure its lid is perfectly snug. Your future self, and your spotless pantry, will thank you for it!