
Is your rice cooker consistently burning rice? Don’t toss it yet! This comprehensive guide will help you diagnose and fix the problem, ensuring perfectly cooked, fluffy rice. We’ll cover common causes like incorrect water ratios, dirty components, and faulty settings, offering practical, easy-to-follow solutions so you can enjoy delicious rice without the burnt bottom. Get ready to reclaim your rice cooker and your sanity!
How to Fix Rice Cooker That Burns Rice
There’s nothing quite as disappointing as pulling open your rice cooker to find that perfectly good batch of rice scorched on the bottom. That acrid smell, the frustrating scraping – it’s a common kitchen woe. But before you declare your trusty rice cooker a lost cause, take heart! Most of the time, a burnt-rice situation is easily fixable with a little troubleshooting and some simple adjustments. This guide will walk you through exactly what to do when your rice cooker burns rice, helping you achieve fluffy, delicious results every single time.
We’ll dive into the most frequent culprits behind burnt rice and provide you with actionable steps to resolve them. Whether you’re dealing with a brand-new appliance or a seasoned veteran, these tips will empower you to understand why your rice is burning and, more importantly, how to stop it.
Key Takeaways
- Measure Rice and Water Accurately: The most common reason for burnt rice is an incorrect water-to-rice ratio. Always follow the manufacturer’s guidelines or a reliable recipe.
- Clean Your Rice Cooker Thoroughly: A build-up of starch and residue on the inner pot or heating element can cause uneven heating and burning. Regular cleaning is crucial.
- Use the Correct Rice Type: Different rice varieties (e.g., white, brown, jasmine) have varying cooking times and water absorption rates, which can affect cooking results if not managed.
- Check the Inner Pot and Lid Seal: Dents, scratches, or a worn lid seal can lead to steam escaping, resulting in insufficient moisture and burnt rice.
- Inspect the Heating Element: Ensure the heating element is clean and free from debris. Damage or persistent dirt here is a prime culprit for burning.
- Consider Rice Cooker Age and Model: Older or less sophisticated models might have less precise temperature control, making them more prone to burning. Newer models often have advanced features to prevent this.
Understanding Why Rice Burns in a Rice Cooker
Before we fix the problem, it’s essential to understand what’s causing it. Rice cookers work by heating water to boiling, which then steams the rice until it’s cooked. When rice burns, it typically means one of two things has gone wrong: either the rice has been exposed to excessive heat for too long, or there wasn’t enough moisture to cook it properly, leading to scorching.
Several factors can contribute to these issues. The good news is, most of them are entirely within your control and easily rectifiable.
Step 1: The Water-to-Rice Ratio – The Golden Rule
This is, by far, the most common reason for burnt rice. If you use too little water, the rice will cook too quickly, and the bottom layer will scorch before the rest of the rice has a chance to absorb moisture and cook evenly. Too much water can also cause issues, though burning is less common in that scenario – it usually results in mushy rice.
Visual guide about How to Fix Rice Cooker That Burns Rice
Image source: ricearray.org
How to Fix It:
-
Consult Your Rice Cooker’s Manual:
Every rice cooker is different. Your appliance’s manual will have specific recommendations for the amount of water to use for different types of rice. Start here!
-
Use Measuring Cups Correctly:
Always use the measuring cup that came with your rice cooker, or a standard dry measuring cup. Don’t use liquid measuring cups for dry rice. Ensure you level off the rice in the cup; don’t pack it down.
-
Follow Recipe Guidelines:
If you’re using a specific recipe, pay close attention to its recommended water-to-rice ratio. For general white rice, a 1:1.5 or 1:2 ratio (rice:water) is common, but this can vary.
-
Rinse Your Rice:
For most white rice varieties, rinsing the rice under cold water until the water runs clear removes excess starch. This can help prevent sticking and clumping, which can contribute to uneven cooking and burning. Be aware that some rice types, like Arborio for risotto, are not meant to be rinsed.
Step 2: Cleanliness is Next to Fluffiness
A dirty rice cooker is a recipe for disaster – and not the delicious kind. Starchy residue from previous cooking cycles can build up on the inner pot, the heating element, and even the lid. This buildup can create hot spots and prevent even heat distribution, leading to burning.
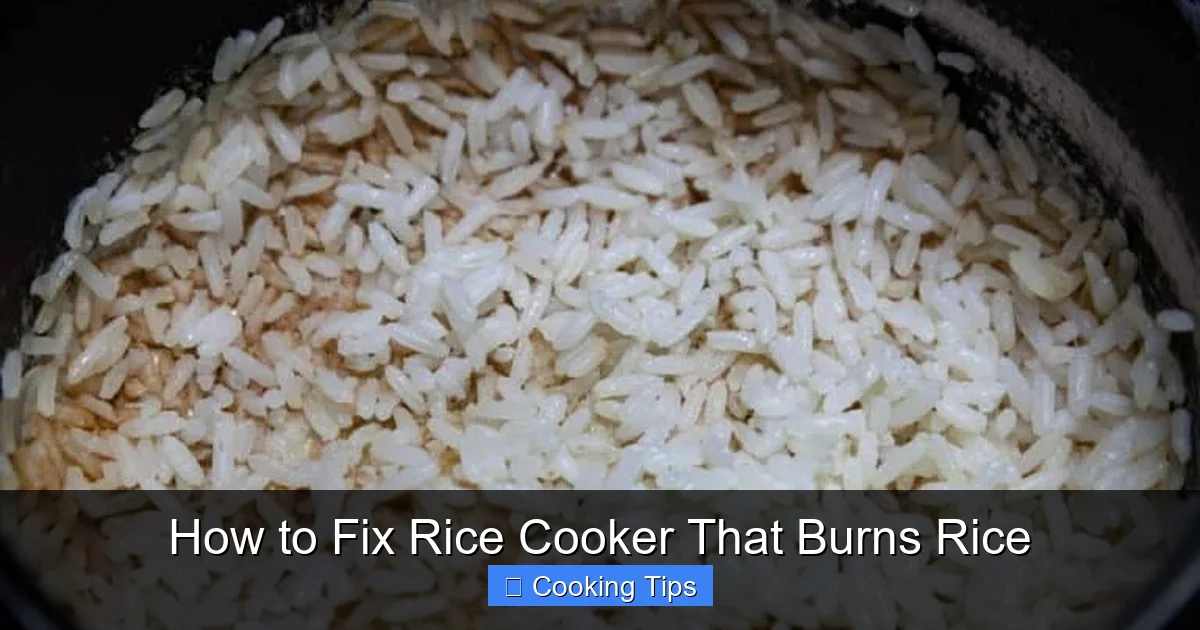
Visual guide about How to Fix Rice Cooker That Burns Rice
Image source: missvickie.com
How to Fix It:
-
Empty and Cool Down:
Always allow your rice cooker to cool down completely before cleaning.
-
Remove the Inner Pot:
Most modern rice cookers have a removable inner pot. Wash this pot thoroughly with warm, soapy water. Use a non-abrasive sponge or cloth to avoid scratching the non-stick coating.
-
Clean the Heating Element:
This is crucial and often overlooked. Locate the heating element at the bottom of the cooker’s base. Gently wipe it clean with a damp cloth. Make sure it’s completely dry before using the cooker again.
-
Wash the Lid and Accessories:
Wash the inner lid (if removable), condensation collector, and any other accessories with warm, soapy water. Ensure all parts are dry before reassembling.
-
Address Stubborn Residue:
For rice that has stubbornly stuck to the pot, soak the pot in warm water for a few hours or overnight before scrubbing. You can also add a tablespoon of baking soda to the water for a gentle abrasive effect.
Step 3: The Right Rice for the Job
Not all rice is created equal, and different types require different cooking methods. Using the wrong type of rice or not adjusting your water ratio for it can lead to problems.
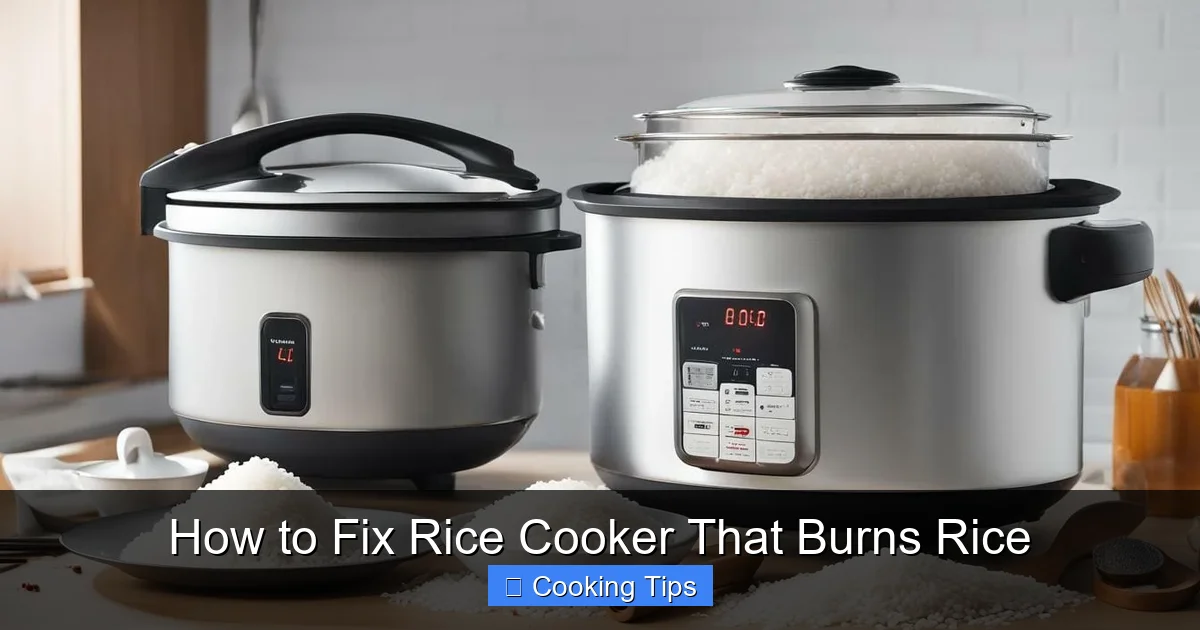
Visual guide about How to Fix Rice Cooker That Burns Rice
Image source: ricearray.org
How to Fix It:
-
Understand Your Rice Type:
White Rice (Jasmine, Basmati, Calrose): Generally forgiving, but still needs precise water ratios.
Brown Rice: Requires more water and a longer cooking time due to its bran layer. Follow specific brown rice settings or recipes.
Wild Rice: Often needs a significantly higher water-to-rice ratio and longer cooking time.
Other Grains: Quinoa, farro, and other grains have their own specific cooking needs. Check your rice cooker’s manual for multi-grain settings or consult reliable cooking resources. -
Adjust Water for Different Rice:
If you’re using brown rice in a cooker designed primarily for white rice, you might need to increase the water by 1/4 to 1/2 cup per cup of rice and potentially use the “brown rice” setting if available, which typically cooks at a lower temperature for a longer duration.
Step 4: Inspecting Your Rice Cooker’s Components
Sometimes, the issue isn’t with your technique but with the appliance itself. Wear and tear or minor damage can affect performance.
How to Fix It:
-
Check the Inner Pot:
Look for deep scratches, dents, or peeling non-stick coating. A damaged inner pot can lead to uneven heating and sticking, causing burning. If the coating is significantly damaged, it might be time to replace the inner pot or consider a new rice cooker.
-
Examine the Lid Seal:
A good seal is vital for trapping steam. Check the rubber or silicone gasket around the lid. If it’s cracked, brittle, or loose, steam can escape, leading to insufficient moisture and burning. You might be able to replace just the lid or gasket for some models.
-
Ensure the Outer Pot is Clean:
While the inner pot is the primary cooking vessel, ensure the outside of the inner pot and the inside of the cooker’s outer shell are free from debris. This ensures proper contact with the heating element.
Step 5: Troubleshooting Specific Rice Cooker Issues
Even after following the steps above, you might encounter persistent problems. Here are some more advanced troubleshooting tips.
Common Issues and Solutions:
-
Rice Burns Only on the Very Bottom:
This usually points to a water ratio that’s slightly too low or a dirty heating element. Double-check your water measurement and ensure the heating element is spotless.
-
Rice Burns Even with Correct Water Ratio:
This could indicate a malfunctioning thermostat or heating element in the rice cooker. If your cooker is old or has been heavily used, it might be losing its ability to regulate temperature accurately. In this case, replacement might be the only solution.
-
“Keep Warm” Function Burns Rice:
The “keep warm” function is designed to maintain a low temperature. If your rice is burning while on this setting, it suggests the “keep warm” element is too hot or the rice was left on this setting for too long. Try transferring cooked rice to a separate container once done, or ensure your cooker has a truly low “keep warm” temperature.
-
New Rice Cooker Burns Rice:
If your rice cooker is new, it’s almost certainly an issue with the water-to-rice ratio or the type of rice you’re using. Consult the manual and experiment with slightly more water until you find the sweet spot.
Practical Tips for Perfect Rice Every Time
Beyond fixing the burning issue, here are some general tips for achieving rice perfection:
- Let it Rest: Once the rice cooker finishes its cooking cycle, let the rice sit undisturbed for 10-15 minutes before fluffing. This allows the steam to redistribute and the grains to firm up.
- Fluff Gently: Use a rice paddle or a fork to gently fluff the rice, separating the grains without breaking them.
- Experiment: Don’t be afraid to make small adjustments to your water ratios based on your observations and preferences.
- Invest in Quality: If you frequently cook rice, consider investing in a good quality rice cooker with multiple settings. Advanced models offer better temperature control and prevent burning more effectively.
Conclusion: Reclaim Your Rice!
Burning rice in your rice cooker is a frustrating but often solvable problem. By systematically working through the steps outlined in this guide – from ensuring the correct water-to-rice ratio and maintaining meticulous cleanliness to understanding your rice type and inspecting your appliance – you can effectively banish burnt rice from your kitchen. Remember, patience and precision are key. With a little effort, you’ll soon be enjoying perfectly fluffy, delicious rice with every use of your rice cooker.