
Experiencing a rice cooker with no steam escaping its vent can be frustrating, but don’t worry. This guide will help you understand the common reasons behind this problem and provide clear, step-by-step solutions. We’ll cover everything from simple checks to more involved troubleshooting, ensuring you can get your rice cooker working perfectly again and enjoy delicious, fluffy rice without any hassle.
Key Takeaways
- Blocked Vent Causes: The most common reason for no steam is a clogged vent, often due to starch buildup or food particles.
- Incorrect Lid Placement: An improperly sealed lid can prevent steam from escaping through the designated vent.
- Water Level Issues: Too little water can lead to insufficient steam production, while too much might overflow and clog the vent.
- Sensor Malfunction: Less common, but a faulty temperature sensor could prevent the cooker from reaching the steaming stage.
- Cleaning is Crucial: Regular cleaning of the vent, lid, and inner pot is essential for preventing future steam issues.
- Consult Your Manual: Always refer to your rice cooker’s user manual for specific troubleshooting steps related to your model.
Steam Not Coming Out of Rice Cooker Vent
There’s nothing quite like the aroma of perfectly cooked rice. But what happens when your trusty rice cooker decides to go silent, with no tell-tale wisps of steam emerging from its vent? It can be a perplexing situation, leaving you wondering if your rice will ever be cooked properly. Don’t panic! In this comprehensive guide, we’ll demystify why your rice cooker might not be steaming and walk you through easy-to-follow steps to get it back to its steaming, rice-cooking glory. By the end of this guide, you’ll be equipped to diagnose and resolve most common steam-related issues with your rice cooker, ensuring consistently delicious results for all your rice dishes.
Understanding How Your Rice Cooker Steams
Before we dive into troubleshooting, it’s helpful to understand the basic science behind how your rice cooker works. Most modern rice cookers operate on a simple principle: they heat water to boiling point, and that steam is what cooks the rice. The vent, often a small opening on the lid, plays a crucial role. It allows excess steam to escape, preventing pressure buildup inside the cooker. This controlled release of steam is vital for achieving the perfect texture. If this vent is blocked or not functioning correctly, it can affect the cooking process and lead to undercooked rice or even safety concerns.
Common Reasons for No Steam and How to Fix Them
Let’s explore the most frequent culprits behind a silent rice cooker vent and how to address them.
1. The Blocked Vent: The Most Likely Suspect
This is, by far, the most common reason your rice cooker isn’t steaming. Over time, starchy residue from rice, small food particles, or even mineral deposits from water can accumulate in the vent. This buildup creates a blockage, preventing steam from escaping.
Checking and Cleaning the Vent
This is a straightforward process that requires a little patience.
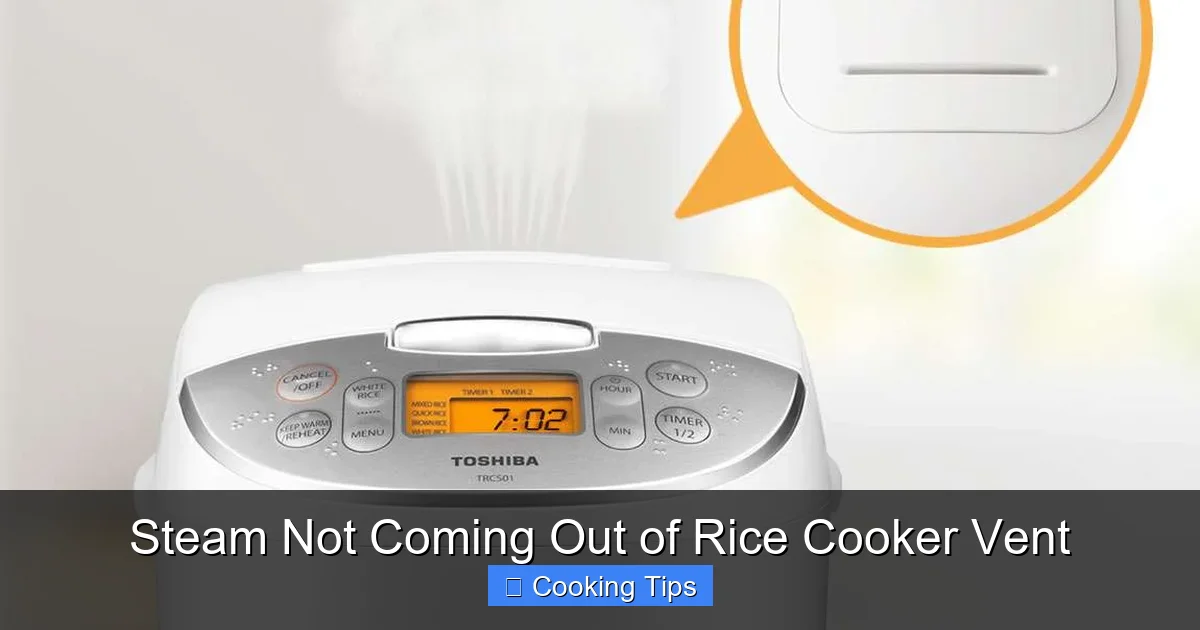
Visual guide about Steam Not Coming Out of Rice Cooker Vent
Image source: d1pjg4o0tbonat.cloudfront.net
- Step 1: Safety First! Always unplug your rice cooker and ensure it’s completely cool before attempting any cleaning.
- Step 2: Remove the Lid. Take off the rice cooker lid. Examine the vent area closely. You’ll usually find a small, removable cap or a built-in opening.
- Step 3: Inspect for Obstructions. Look for any visible debris, dried-on starch, or food particles inside the vent opening or in any removable vent cap.
- Step 4: Gentle Cleaning. If you see blockages, use a soft, damp cloth or a cotton swab to gently dislodge them. For stubborn residue, you can use a toothpick or a small, soft brush (like an old toothbrush that’s been thoroughly cleaned). Be careful not to damage the vent mechanism.
- Step 5: Detachable Vent Caps. Many modern rice cookers have detachable vent caps. If yours does, carefully remove it according to your manual’s instructions. Clean it thoroughly with warm, soapy water, rinse it well, and ensure it’s completely dry before reattaching.
- Step 6: Reassemble and Test. Once you’re confident the vent is clear, reattach any removable parts and plug your rice cooker back in. Add water and rice according to your usual method and start a cooking cycle to see if steam is now escaping.
Practical Tip: Make cleaning the vent a part of your regular rice cooker maintenance routine, perhaps after every few uses or after cooking particularly starchy grains like arborio rice.
2. The Lid Isn’t Sealed Properly
A secure lid is essential for trapping heat and directing steam towards the vent. If the lid isn’t properly seated, steam can escape from the edges, and the pressure required for effective steaming might not build up correctly.
Ensuring a Proper Lid Seal
- Step 1: Inspect the Lid and Rim. Check the rim of the rice cooker pot and the corresponding part of the lid for any damage, warping, or leftover food debris that might prevent a tight seal.
- Step 2: Position the Lid Correctly. Ensure the lid is placed squarely on top of the cooker. Listen for a slight click or feel a firm connection if your model has a locking mechanism.
- Step 3: Check for Gaskets. Some lids have a rubber or silicone gasket. Make sure this gasket is clean, intact, and properly seated within its groove. A damaged or missing gasket can cause leaks.
- Step 4: Secure Latches (If Applicable). If your rice cooker has latches or clips to secure the lid, make sure they are fastened correctly and tightly.
Example: Imagine trying to boil water in a pot with the lid slightly ajar. It will take much longer to boil, and less steam will be visible. The same principle applies to your rice cooker.
3. Incorrect Water Levels
The amount of water you add to your rice cooker is critical for the steaming process. Too little water means there won’t be enough to create sufficient steam. Conversely, too much water can cause the steam to escape prematurely or even lead to an overflow that can clog the vent.
Adjusting Your Water Measurement
- Step 1: Consult Your Manual. The most accurate way to determine the correct water-to-rice ratio is by referring to your rice cooker’s user manual. Different types of rice (white, brown, basmati, jasmine) often require slightly different amounts of water.
- Step 2: Use the Measuring Cup Provided. Rice cooker manufacturers usually include a specific measuring cup. Use this cup for both the rice and the water to ensure consistency.
- Step 3: Common Ratios. A general guideline for white rice is often a 1:1 or 1:1.5 ratio (rice to water), but always verify with your manual. Brown rice typically requires more water.
- Step 4: Observe Water Level After Cooking. After a cooking cycle, if the rice is still hard and there was no steam, you likely need more water. If the rice is mushy or the cooker overflowed, you might have used too much water.
Tip: If you’re using a new type of rice, start with the recommended water level from the rice package or your cooker’s manual, and then adjust slightly for future cooks based on the results.
4. The Cooker Isn’t Reaching Steam Temperature
Sometimes, the issue might not be a blockage but rather the cooker itself not reaching the necessary temperature to produce steam. This can be due to various reasons, including an electrical problem or a malfunctioning sensor.
Troubleshooting Temperature Issues
- Step 1: Check Power Supply. Ensure the rice cooker is securely plugged into a working electrical outlet. Try plugging another appliance into the same outlet to confirm it’s functional.
- Step 2: Verify Cooker Settings. Double-check that you’ve selected the correct cooking setting (e.g., “Cook” or “White Rice”) and that the cooker is not still in “Keep Warm” mode.
- Step 3: Listen for Heating Element. When you start a cooking cycle, you should hear a faint hum or notice the cooker warming up. If there’s no sign of heating, there might be an internal issue.
- Step 4: Inspect the Heating Plate. If your cooker has an accessible heating plate at the bottom of the inner pot, ensure it’s clean and free from debris.
When to Seek Professional Help: If you’ve tried all the above steps, the cooker isn’t heating up, and you’ve confirmed it’s receiving power, it’s possible that a thermostat or heating element has failed. In this case, it’s best to consult your owner’s manual for warranty information or contact the manufacturer for repair services.
5. Using the Wrong Inner Pot
While it might seem obvious, using the wrong inner pot or not having it seated correctly can affect the cooker’s ability to heat and steam properly.
Ensuring Correct Pot Placement
- Step 1: Identify Your Pot. Make sure you are using the inner pot that came with your specific rice cooker model. They are designed to fit precisely.
- Step 2: Clean the Pot and Heating Element. Ensure the bottom of the inner pot and the heating element in the cooker base are clean and free of any debris.
- Step 3: Seat the Pot Correctly. Place the inner pot firmly into the base of the rice cooker. It should sit level and make good contact with the heating element.
Preventative Maintenance for a Steaming Rice Cooker
The best way to avoid steam issues is through consistent care and maintenance.
Regular Cleaning Practices
- After Each Use: Wash the inner pot and lid with warm, soapy water. Rinse and dry thoroughly.
- Vent Cleaning: As detailed earlier, regularly check and clean the steam vent. This should be a quick check after each cooking cycle and a more thorough clean periodically.
- Exterior Wipe-Down: Wipe down the exterior of the rice cooker with a damp cloth to keep it free of dust and spills.
- Check the Seal: Inspect the lid gasket (if applicable) for any signs of wear or damage.
By incorporating these simple cleaning habits, you’ll significantly reduce the likelihood of encountering a blocked vent or other minor issues that can stop your rice cooker from steaming.
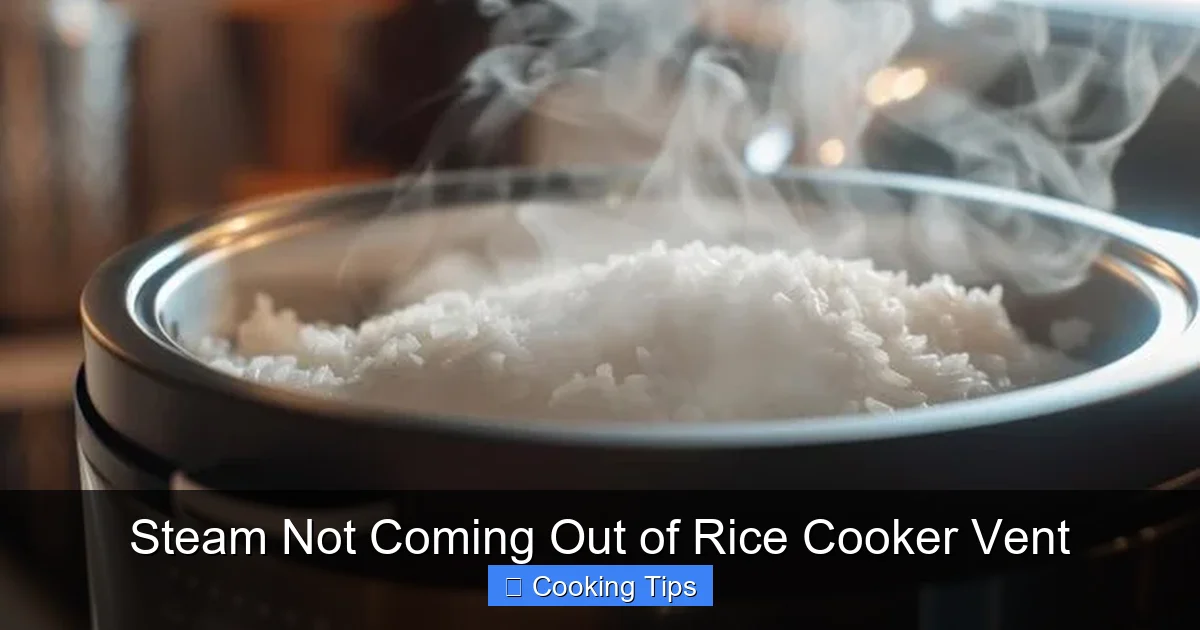
Visual guide about Steam Not Coming Out of Rice Cooker Vent
Image source: img.freepik.com
Conclusion
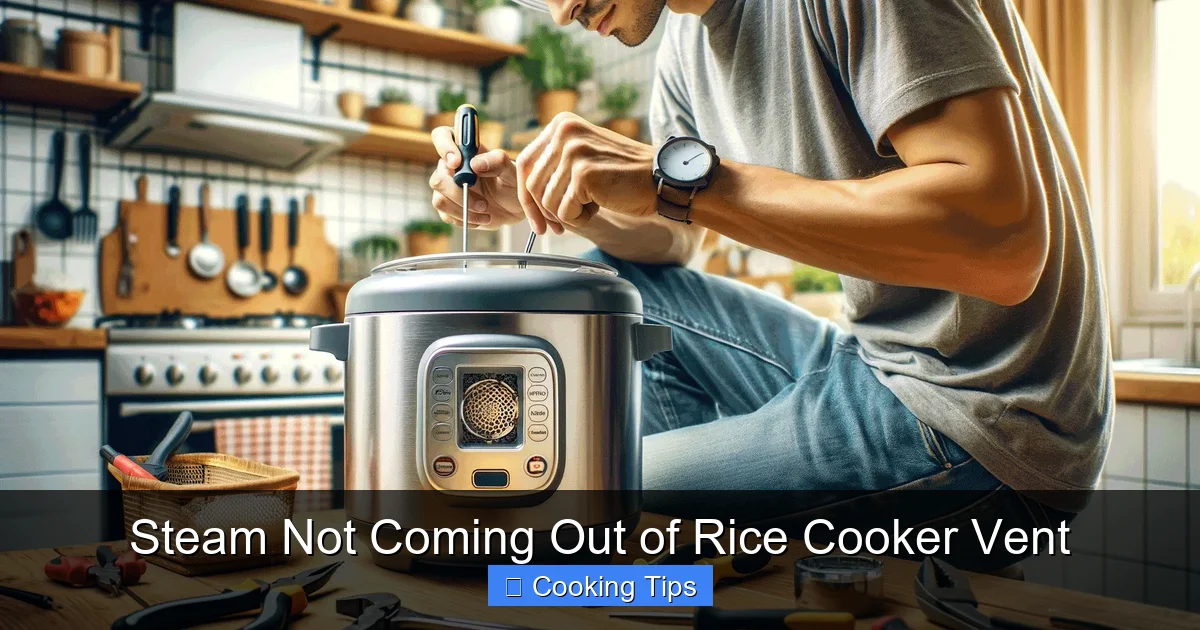
Visual guide about Steam Not Coming Out of Rice Cooker Vent
Image source: expertreviewsbestricecooker.com
A rice cooker that isn’t steaming can be a culinary conundrum, but it’s usually a problem with a simple solution. By systematically checking for blockages in the vent, ensuring a proper lid seal, verifying your water levels, and confirming the cooker is heating correctly, you can quickly get back to enjoying perfectly cooked rice. Remember that regular cleaning is your best defense against future steam-related troubles. With a little attention, your rice cooker will be whistling (or steaming!) again in no time, delivering delicious, fluffy grains for all your meals. Happy cooking in 2026!