
Tired of blender spills ruining your kitchen? This guide teaches you the art of perfectly filling your blender jar. Learn to estimate ingredient volumes, understand your blender’s limits, and discover techniques to prevent overflow. Mastering this simple skill saves you time on cleaning and ensures a smoother blending experience.
Welcome to the ultimate guide on mastering your blender and saying goodbye to messy spills! In 2026, we’re all about efficiency in the kitchen, and nothing disrupts that flow quite like a blender explosion. Overfilling the blender jar might seem like a minor annoyance, but it can lead to leaks, strain on your appliance, and a significant amount of cleanup. This guide will walk you through everything you need to know to avoid this common kitchen mishap, ensuring your smoothies are smooth and your sauces are seamless, without the sticky aftermath.
We’ll cover identifying your blender’s capacity, smart ingredient management, and practical blending techniques. By the end, you’ll be a pro at filling your blender jar correctly every single time. Let’s get blending without the mess!
Key Takeaways
- Understand Your Blender’s Maximum Fill Line: Most blender jars have a clear indicator. Never exceed this line to prevent leaks and strain on the motor.
- Pre-Measure Ingredients: Accurately measure dry and wet ingredients before adding them to the jar. This is crucial for consistent results and avoiding overfilling.
- Factor in Expansion: Ingredients, especially leafy greens and frozen items, expand when blended. Account for this extra volume when filling.
- Blend in Batches: For larger recipes, it’s always better to blend in smaller, manageable batches than to try and cram everything in at once.
- Layer Ingredients Strategically: Start with liquids, then add softer ingredients, and finally, harder or frozen items. This helps create a vortex and prevents air pockets.
- Listen to Your Blender: If your blender sounds strained or the motor struggles, stop immediately. It’s a sign you might have overfilled it or packed it too tightly.
Knowing Your Blender’s Limits
The first and most critical step to avoiding overfilling your blender jar is understanding its capacity. Every blender is designed with a specific maximum fill line for a reason. Exceeding this can lead to ingredients splashing out the top, leaking around the lid, and even damaging your blender’s motor.
Locate the Maximum Fill Line
Take a good look at your blender jar. Most modern blenders have a clear indicator, usually a series of lines etched into the plastic or glass, or a molded line. There’s often a “Max Fill” or a line indicating the maximum liquid capacity. This is your absolute limit. Some blenders might have separate lines for hot and cold ingredients, as hot liquids expand more. Always refer to your blender’s manual if you’re unsure about these markings.
Understand Volume vs. Weight
It’s easy to think in terms of how much food you have, but blenders work with volume. While a recipe might call for 500 grams of spinach, it’s the space that spinach takes up in the blender that matters. Leafy greens, in particular, can look like a lot but compress significantly once you start packing them in. Frozen fruits also take up more space when solid than they do once blended into a liquid.
Smart Ingredient Management for Spill-Free Blending
Effective preparation is key. Before you even think about turning on your blender, you need to manage your ingredients wisely. This means accurate measuring and understanding how different ingredients behave.
Pre-Measure Everything
This might sound obvious, but it’s the most effective way to prevent overfilling. Use measuring cups and spoons for all your ingredients. For dry goods like oats or nuts, use the “spoon and level” method. For liquids, use liquid measuring cups. If a recipe calls for a lot of a particular ingredient, like a whole bunch of kale, try to visualize how much that will actually occupy in the blender jar.
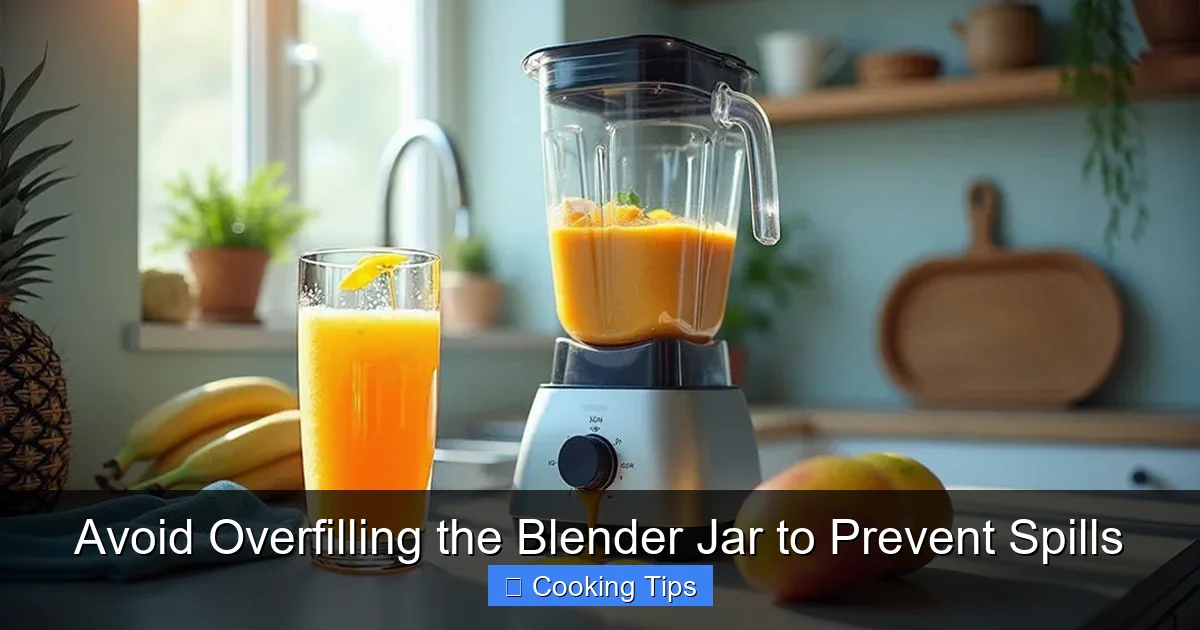
Visual guide about Avoid Overfilling the Blender Jar to Prevent Spills
Image source: lifeboostcoffee.com
Consider Ingredient Expansion
This is where many people go wrong. Ingredients don’t stay the same size once they start blending. Leafy greens wilt and compress. Ice and frozen fruits break down and can create more volume as they mix with liquids. Think about the final state of your ingredients. If you’re making a smoothie with a lot of frozen fruit and a small amount of liquid, the fruit will expand as it’s crushed. Aim to fill the blender jar only about two-thirds of the way full, especially with ingredients that tend to expand.
Dry vs. Wet Ingredients: A Crucial Distinction
The order in which you add ingredients significantly impacts blending efficiency and helps prevent spills. As a general rule, always start with your liquids. This creates a base for the blades to move freely and helps draw the solid ingredients down into the vortex. Adding liquids first also helps to prevent dry ingredients from sticking to the sides or bottom of the jar, which can create air pockets and lead to uneven blending or blockages.
Step-by-Step Blending Process to Avoid Overfilling
Now that you understand your blender’s limits and how to manage your ingredients, let’s walk through the actual blending process. Following these steps will minimize your risk of spills.
Step 1: Add Liquids First
Pour your water, milk, juice, yogurt, or any other liquid base into the blender jar first. This is your foundation. If you’re using hot liquids, be mindful of the fill line, as they can expand more and create steam. Never fill a blender past the maximum line, especially with hot ingredients.
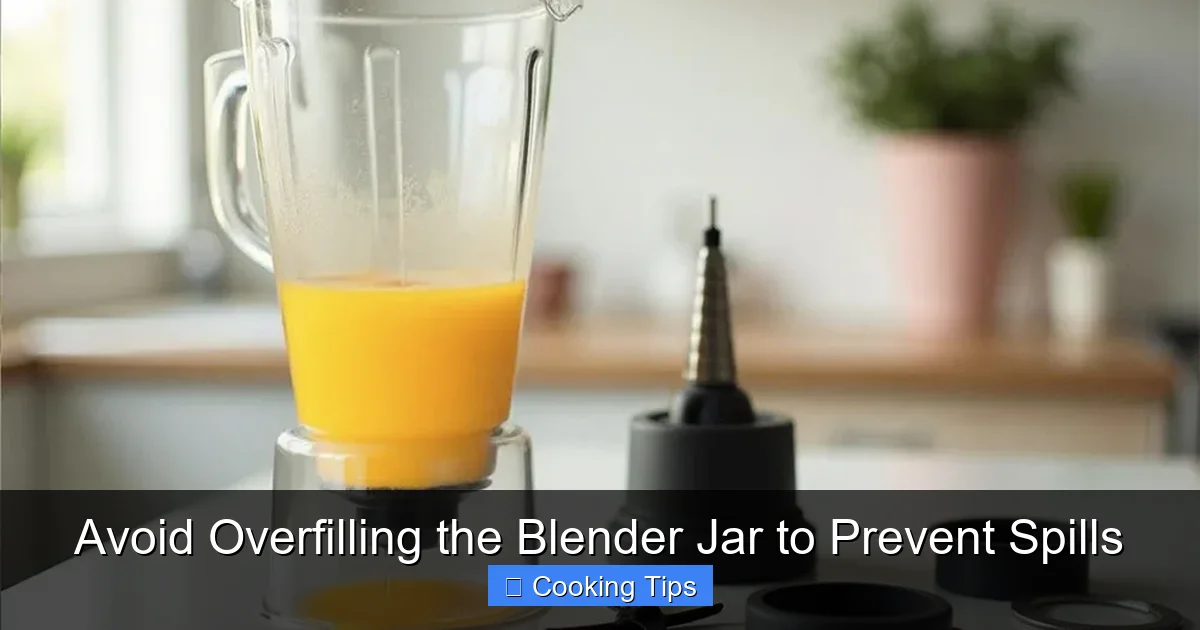
Visual guide about Avoid Overfilling the Blender Jar to Prevent Spills
Image source: cdn.shopify.com
Step 2: Add Softer Ingredients
Next, add softer ingredients like fresh fruits (bananas, berries), vegetables (spinach, avocado), protein powders, seeds, and sweeteners. These items will be easily incorporated into the liquid base.
Step 3: Add Harder or Frozen Ingredients
Finally, add your harder ingredients like ice cubes, frozen fruits, nuts, or tougher vegetables. These should be placed on top. This layering helps the blender’s blades work efficiently, pulling everything down into the vortex created by the liquid. You’ll notice that when you add ingredients this way, you can often fit more in without causing a jam or a spill.
Step 4: Secure the Lid Properly
This might seem incredibly basic, but a loose lid is a recipe for disaster. Ensure the lid is firmly in place. Many blender lids have a small cap or plug in the center. Make sure this is also securely fastened. If you’re blending hot liquids, sometimes the steam can build up pressure and pop a poorly fitted lid. Always double-check!
Step 5: Start Blending on a Low Speed
Begin blending on the lowest speed setting. This allows the ingredients to start moving and incorporate without immediately creating a large amount of air or pressure. Gradually increase the speed as needed. Listen to your blender. If it sounds like it’s struggling or making unusual noises, stop immediately.
Step 6: Blend in Batches if Necessary
If you’re making a large quantity, don’t force it. It’s far better to blend your recipe in two or more batches than to risk a spill or overworking your blender. Pour the first batch into a pitcher or serving container, rinse the blender jar, and then proceed with the next batch. You’ll save yourself a lot of cleanup time and effort.
Practical Tips and Examples
Let’s put these principles into practice with some common blending scenarios.
Smoothie Savvy
A typical smoothie recipe might include 1 cup of liquid, 1 cup of yogurt, 2 cups of spinach, and 1.5 cups of frozen fruit. If you add all these ingredients to a blender with a 48-ounce capacity, it might fill up close to the maximum line. However, once blended, the spinach will compress, and the frozen fruit will break down. A good rule of thumb for smoothies is to never fill the blender jar beyond the two-thirds mark before blending. This gives ample room for expansion and vortex creation.
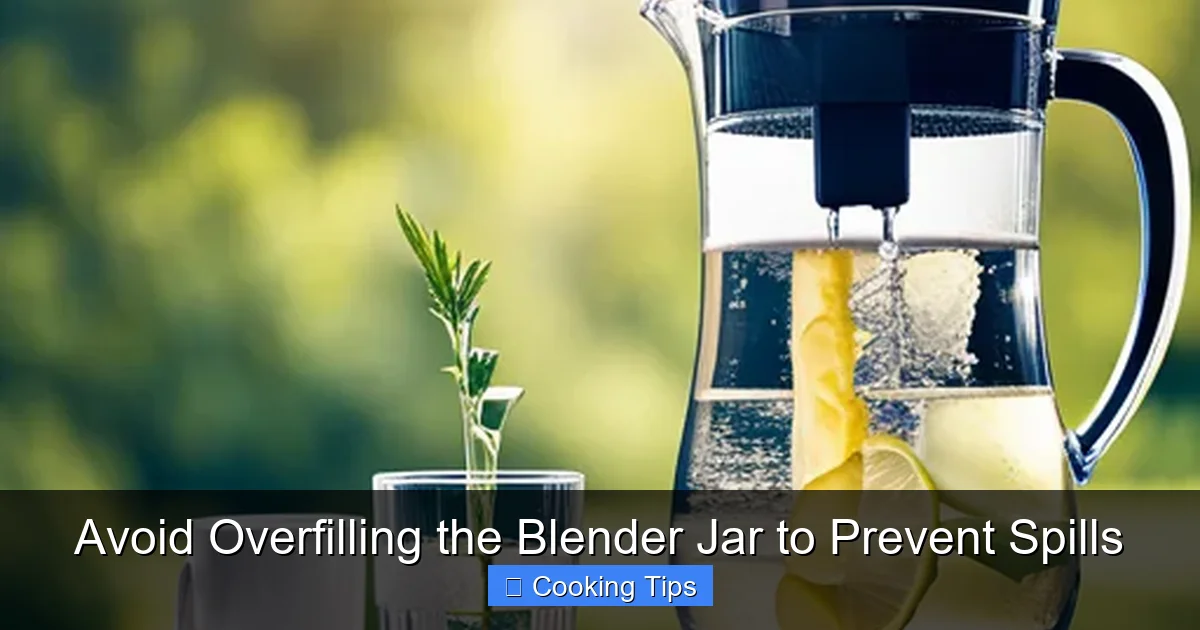
Visual guide about Avoid Overfilling the Blender Jar to Prevent Spills
Image source: hydrojourney.com
Soup Secrets
When blending hot soups, be extremely cautious. Hot liquids expand significantly and can create dangerous pressure. Always fill the blender jar no more than halfway when blending hot ingredients. You might need to blend in multiple small batches. Remove the center cap of the lid and cover the opening with a folded kitchen towel, allowing steam to escape. This is a crucial safety tip that also prevents spills caused by pressure buildup.
Nut Butter Breakthroughs
Making your own nut butter often involves a lot of nuts, which are dense. Start with a smaller quantity than you think. As the nuts are ground down, they release oils and can become quite voluminous. If your blender starts to seize up or the nuts aren’t moving, it’s a sign you might have too much, or the mixture is too thick. Add a tablespoon of oil at a time to help it move.
Troubleshooting Common Blender Spill Issues
Even with the best intentions, spills can happen. Here’s how to deal with them.
My blender is leaking from the lid.
Cause: The lid wasn’t secured properly, the gasket is worn or damaged, or you’ve overfilled the jar.
Solution: Ensure the lid is tightly sealed. Check the rubber gasket for wear and tear; replace it if necessary. If you were close to the max fill line, this is likely the culprit. For hot liquids, check that steam is escaping safely.
Ingredients are splashing out the top.
Cause: You’ve overfilled the jar, especially with ingredients that expand. The blending speed might be too high initially.
Solution: Stop the blender immediately. Remove some ingredients. Start blending on a lower speed. Ensure you’re following the layering principle (liquids first). Make sure the lid is fully secured.
The blender motor sounds like it’s struggling.
Cause: The blender jar is packed too tightly, overfilled, or there’s not enough liquid to help things move.
Solution: Turn off the blender. If it’s packed too tightly, remove some ingredients. If there’s not enough liquid, add a bit more. If you’ve been blending for a while, give the motor a break to prevent overheating.
Conclusion
Avoiding overfilling your blender jar is a simple yet powerful habit that will transform your blending experience. By understanding your blender’s capacity, meticulously measuring your ingredients, accounting for their expansion, and following a strategic blending process, you can say goodbye to frustrating spills and messy cleanups. Remember to always prioritize safety, especially when blending hot liquids, and don’t hesitate to blend in batches. A little planning and awareness go a long way in keeping your kitchen clean and your blending sessions smooth and enjoyable. Happy blending in 2026!