
Learn to create the ultimate milkshake in your blender with this comprehensive 2026 guide. We cover everything from selecting the right ingredients for a creamy texture to mastering the blending process for a perfectly smooth consistency. Get ready to whip up delicious, personalized milkshakes with ease!
Making a delicious milkshake at home in 2026 is easier than you might think! With just a few simple ingredients and your trusty blender, you can craft creamy, dreamy concoctions that rival those from your favorite ice cream parlor. Forget those bland, watery versions; this guide will walk you through everything you need to know to create the perfect milkshake, every single time. We’ll explore the essential ingredients, the step-by-step process, and even some tips for taking your milkshake game to the next level. Get ready to become a milkshake master!
Key Takeaways
- The Foundation of a Great Milkshake: Start with high-quality, cold ingredients, especially your ice cream and milk, for the best texture and flavor.
- Balancing Your Ingredients: Aim for the right ratio of ice cream to milk to achieve a thick but drinkable consistency. Too much milk makes it watery, too little makes it too hard to blend.
- The Power of the Blender: Utilize your blender’s capabilities by starting on a low speed and gradually increasing to prevent ingredient splashing and ensure a smooth blend.
- Flavor Exploration: Don’t be afraid to experiment with various ice cream flavors, add-ins like cookies or fruit, and toppings for unique milkshake creations.
- Troubleshooting Common Issues: Learn how to fix common milkshake problems like being too thin, too thick, or not blending smoothly.
- Presentation Matters: Elevate your milkshake experience with fun glasses, whipped cream, and garnishes for that extra special touch.
Gathering Your Essential Milkshake Ingredients
The secret to a fantastic milkshake lies in the quality of your ingredients. Think of these as the building blocks of your delicious creation.
The Star: Ice Cream
Ice cream is the heart and soul of any good milkshake. For the creamiest results, opt for a good quality, full-fat ice cream. Vanilla ice cream is a classic base that works with almost any flavor addition. However, don’t limit yourself! Chocolate, strawberry, mint chocolate chip, or even more adventurous flavors like salted caramel can form the foundation of incredibly tasty milkshakes. Aim for ice cream that’s been softened slightly at room temperature for about 5-10 minutes before blending. This makes it easier for your blender to handle and results in a smoother texture.
The Liquid: Milk
Milk provides the liquid needed to achieve that perfect drinkable consistency. Whole milk is generally recommended for its fat content, which contributes to a richer, creamier milkshake. However, you can absolutely use other types of milk. Skim milk will result in a lighter milkshake, while 2% milk offers a good balance. For dairy-free options, almond milk, oat milk, or soy milk are excellent choices. Just be aware that different non-dairy milks have varying flavor profiles and creaminess, so you might need to adjust the amount slightly.
Sweeteners and Flavor Enhancers (Optional but Recommended!)
While ice cream is already sweet, you might want to add a touch more sweetness or enhance the flavor. A tablespoon or two of sugar, honey, maple syrup, or even sweetened condensed milk can boost the sweetness and richness. If you’re going for a chocolate milkshake, a spoonful of cocoa powder can intensify the chocolate flavor. Vanilla extract is another great addition to enhance the overall sweetness and aroma.
The Fun Stuff: Add-ins and Toppings
This is where you can get creative! Think about what you love in an ice cream sundae and translate it into your milkshake. Fresh or frozen fruit (like berries, bananas, or mangoes), chocolate chips, cookie crumbles (Oreos are a popular choice!), caramel sauce, peanut butter, or even coffee can all be blended right into your milkshake. For toppings, consider whipped cream, sprinkles, maraschino cherries, chocolate shavings, or a drizzle of your favorite sauce.
Step-by-Step: Blending Your Perfect Milkshake
Now that you have your ingredients, let’s get blending! Follow these simple steps for a foolproof milkshake.
Step 1: Prepare Your Blender
Ensure your blender is clean and ready to go. For the best results, use a blender with a powerful motor. If your blender has different speed settings, that’s ideal.
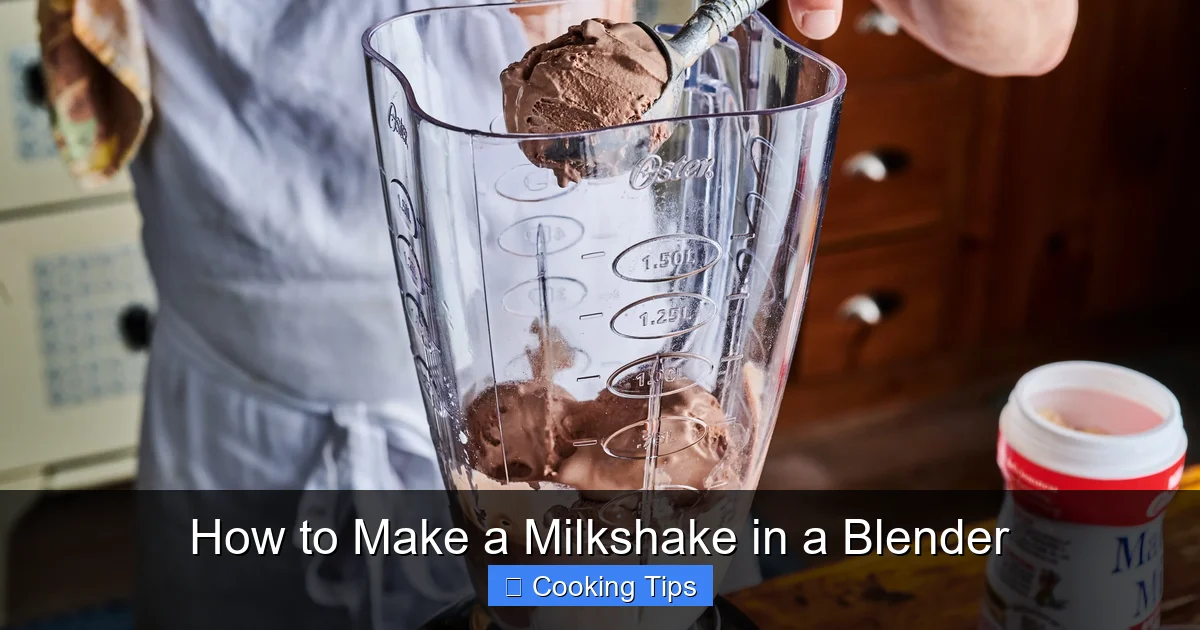
Visual guide about How to Make a Milkshake in a Blender
Image source: storables.com
Step 2: Add the Ice Cream
Scoop your slightly softened ice cream into the blender jar. For a standard milkshake, about 2-3 scoops of ice cream per serving is a good starting point. Don’t overfill the blender; you want enough space for the other ingredients to move around.
Step 3: Pour in the Milk
Now, add your milk. Start with a smaller amount than you think you’ll need, perhaps about 1/2 cup for every 2-3 scoops of ice cream. You can always add more milk later if the milkshake is too thick. It’s much easier to thin out a milkshake than to thicken one!
Step 4: Add Sweeteners and Flavorings (If Using)
If you’re adding any extra sweeteners like sugar or syrup, or flavorings like cocoa powder or vanilla extract, now is the time to add them to the blender jar.
Step 5: Introduce Your Add-ins
If you’re incorporating any solid add-ins like fruit, cookie pieces, or chocolate chips, toss them into the blender now. For larger pieces, it’s sometimes best to break them up a bit before adding them.
Step 6: Blend Until Smooth
Secure the lid on your blender. Start blending on the lowest speed setting. This helps to break down the ice cream and other ingredients without splashing. Gradually increase the speed to medium or high. Blend until the mixture is smooth and creamy, with no large chunks of ice cream remaining. This usually takes about 30 seconds to 1 minute, depending on your blender’s power.
Step 7: Check Consistency and Adjust
Once blended, open the lid and check the consistency. If it’s too thick to pour or blend easily, add another splash of milk (start with a tablespoon or two) and blend again briefly. If it’s too thin, you can add another scoop of ice cream and blend again. The goal is a thick, yet pourable, consistency.
Step 8: Serve and Enjoy!
Pour your perfectly blended milkshake into a chilled glass. Garnish with whipped cream, sprinkles, a cherry, or any other toppings you desire. Serve immediately and savor your homemade creation!
Tips for the Ultimate Milkshake Experience
Elevate your milkshake game with these pro tips from 2026:
- Chill Your Glasses: For an extra special touch and to keep your milkshake colder for longer, pop your serving glasses in the freezer for at least 15-20 minutes before serving.
- Don’t Over-Blend: Blending for too long can actually melt the ice cream and result in a thinner, frothy milkshake. Blend just until smooth.
- Experiment with Frozen Fruit: Using frozen fruit instead of ice cream can create a lighter, sorbet-like milkshake. It also adds natural sweetness and vibrant color.
- Coffee Power: For a coffee lover’s dream, add a shot of cold espresso or strong brewed coffee to your vanilla or chocolate milkshake.
- Salted Caramel Dream: A simple yet delicious combination: vanilla ice cream, milk, and a generous swirl of salted caramel sauce. Top with a pinch of sea salt.
- Boozy Milkshakes (For Adults!): A splash of your favorite liqueur can transform a classic milkshake into an adult treat. Think Irish cream with chocolate, or Kahlua with coffee ice cream.
- Clean as You Go: Rinse your blender jar immediately after pouring your milkshake. It’s much easier to clean when the residue is still wet!
Troubleshooting Common Milkshake Mishaps
Even the best home cooks run into occasional issues. Here’s how to fix common milkshake problems:
My Milkshake is Too Thin!
This usually means there’s too much milk or not enough ice cream. To fix it, add another scoop or two of ice cream and blend again. You can also add a few ice cubes, but be careful not to add too many, as this can dilute the flavor.
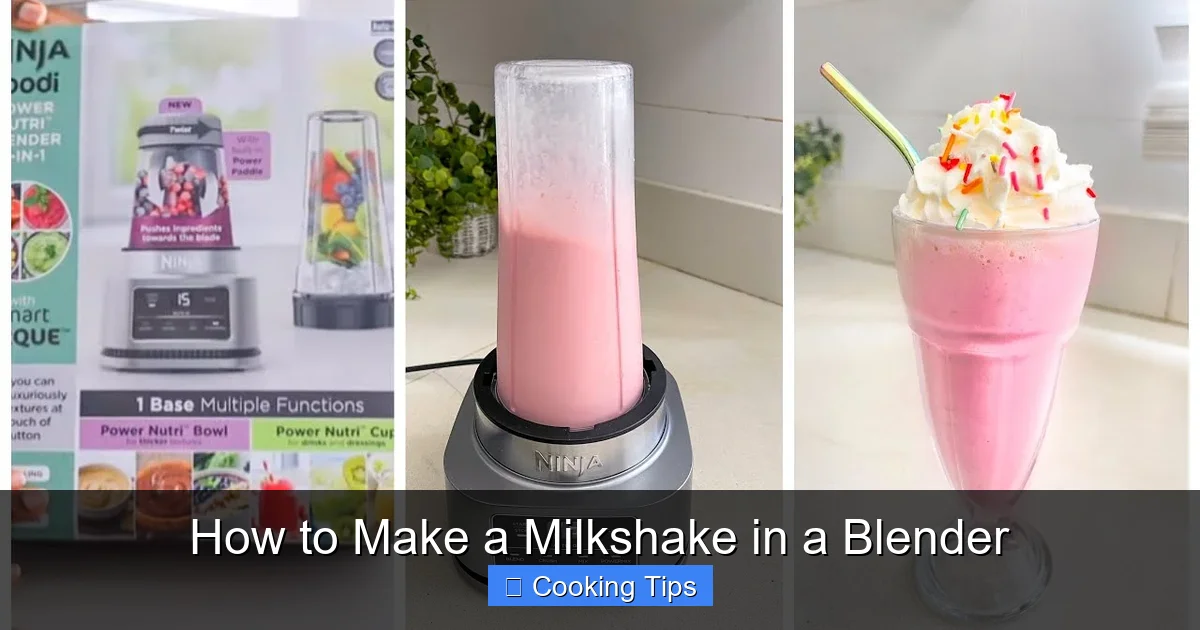
Visual guide about How to Make a Milkshake in a Blender
Image source: i.ytimg.com
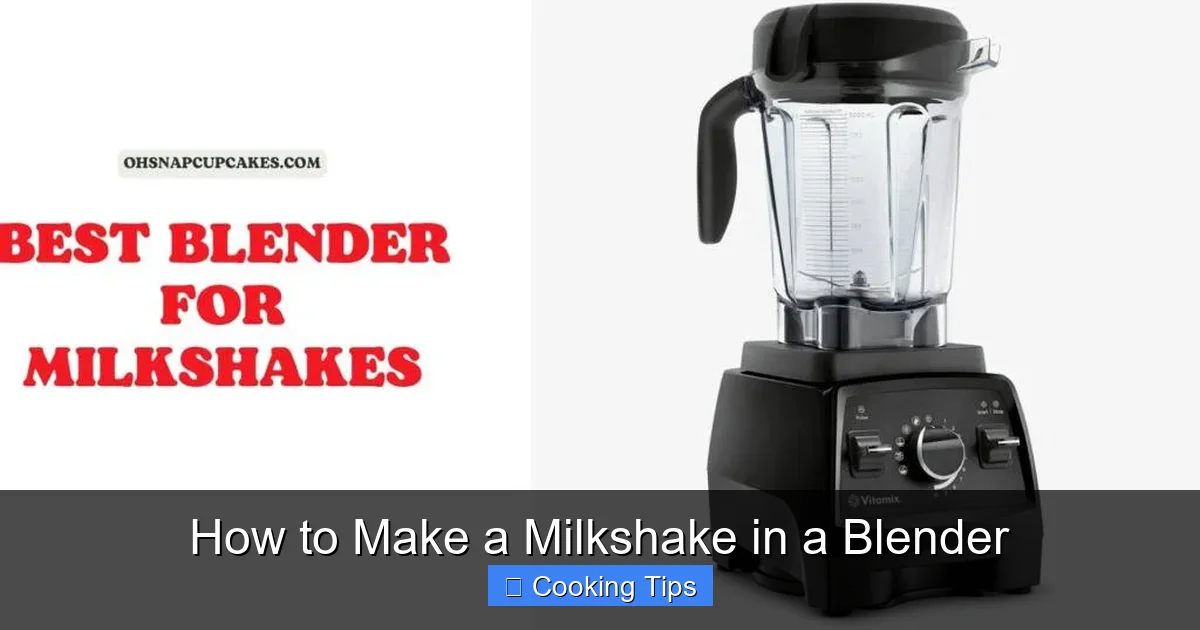
Visual guide about How to Make a Milkshake in a Blender
Image source: ohsnapcupcakes.com
My Milkshake is Too Thick and Won’t Blend!
This is the opposite problem, usually caused by too much ice cream or not enough milk. Add a little more milk, starting with a tablespoon at a time, and blend again. You might need to stop the blender, scrape down the sides, and restart to help the ingredients move.
My Milkshake is Chunky and Not Smooth!
Your ice cream might have been too hard, or you may not have blended long enough. Try blending for a few more seconds on a higher speed. If your blender has a pulse function, use it to help break up any stubborn chunks. You can also let the ice cream soften a bit more before blending.
My Milkshake is Foamy, Not Creamy!
Over-blending is usually the culprit here. It incorporates too much air into the mixture, making it frothy. Try to blend only until the ingredients are combined and smooth. If it’s already foamy, chilling it in the freezer for about 15-20 minutes can help it firm up and reduce the foaminess.
Conclusion
There you have it! Making a delicious, creamy milkshake in your blender is a straightforward process that opens up a world of flavor possibilities. By focusing on quality ingredients, following these simple steps, and not being afraid to experiment, you can create personalized milkshakes that are a joy to make and even better to drink. Whether you’re craving a classic vanilla, a decadent chocolate, or a fruity delight, your blender is your gateway to homemade milkshake bliss. So, grab your ingredients, fire up that blender, and get ready to enjoy the ultimate treat!