
Making ice cream in a blender is surprisingly simple and incredibly rewarding. This guide will show you how to create creamy, delicious frozen treats with just a few common ingredients and your trusty blender. You’ll learn the basic method, explore flavor variations, and discover tips for perfect results every time. Get ready to impress yourself and your friends with your blender-made ice cream creations!
How to Make Ice Cream in a Blender
Are you craving a sweet, creamy, and refreshing treat but don’t have an ice cream maker? Don’t worry! In 2026, we’re all about making life easier and more delicious. Making ice cream in a blender is a game-changer. It’s quick, incredibly simple, and uses ingredients you probably already have in your kitchen. Forget complicated steps and expensive equipment; this method proves that homemade ice cream can be accessible to everyone.
This guide will walk you through everything you need to know to whip up fantastic blender ice cream. We’ll cover the basic technique, explore fun flavor combinations, and share some handy tips to ensure your ice cream turns out perfectly smooth and decadent every single time. Get ready to discover your new favorite way to satisfy your sweet tooth!
Key Takeaways
- The Blender Method is Fast: You can go from ingredients to delicious ice cream in under 10 minutes for basic recipes.
- Simple Ingredients are Key: Most recipes rely on a base of frozen fruit, condensed milk, and sometimes a splash of cream or milk.
- Frozen Fruit is Your Friend: Using pre-frozen fruit eliminates the need for an ice cream maker and provides natural sweetness and texture.
- Experiment with Flavors: Don’t be afraid to get creative with different fruits, add-ins like chocolate chips or nuts, and extracts like vanilla or almond.
- Texture Control is Possible: Adjusting the amount of liquid and the blending time allows you to achieve your desired ice cream consistency.
- Clean Up is a Breeze: Most blender ice cream recipes involve minimal dishes, making cleanup quick and easy.
The Magic Behind Blender Ice Cream
The beauty of making ice cream in a blender lies in its simplicity. Instead of churning and freezing a liquid base over time, this method utilizes the power of your blender to break down frozen ingredients and incorporate air, creating a creamy texture almost instantly. The most common and easiest approach involves blending frozen fruit with a sweetener and a bit of liquid.
Think of it as a super-powered smoothie that transforms into ice cream. The frozen fruit acts as both the frozen element and the flavor base. The sweetener balances the tartness of the fruit and adds to the creamy mouthfeel, while a small amount of liquid helps the blender do its job without overworking the motor. It’s a recipe for instant gratification!
Essential Ingredients for Blender Ice Cream
The beauty of blender ice cream is its versatility, but most recipes start with a few core components:
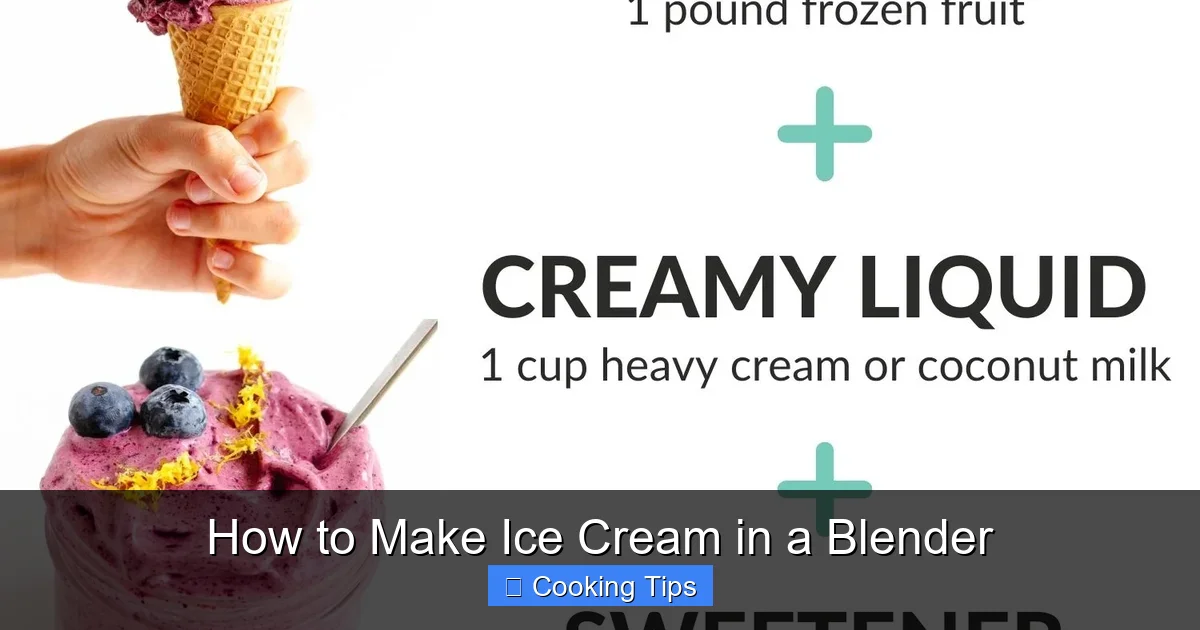
Visual guide about How to Make Ice Cream in a Blender
Image source: mapleandmango.com
- Frozen Fruit: This is your star ingredient! Bananas are incredibly popular because they create a naturally creamy and sweet base. Other great options include berries (strawberries, blueberries, raspberries), mangoes, peaches, and pineapple. Ensure your fruit is frozen solid for the best texture.
- Sweetener: Depending on the sweetness of your fruit and your personal preference, you might need a sweetener. Options include sweetened condensed milk (which also adds creaminess), maple syrup, honey, agave nectar, or even a touch of granulated sugar.
- Liquid: A small amount of liquid helps the blender process the frozen fruit. Milk (dairy or non-dairy like almond, soy, or oat milk), cream, or even a bit of yogurt can be used. Start with a small amount and add more only if needed.
- Flavor Boosters (Optional): This is where you can get creative! Vanilla extract, cocoa powder, cinnamon, nut butters, chocolate chips, or fresh mint can elevate your ice cream to a whole new level.
Step-by-Step Guide to Blender Ice Cream
Let’s get blending! Here’s how to make your first batch of delicious blender ice cream.
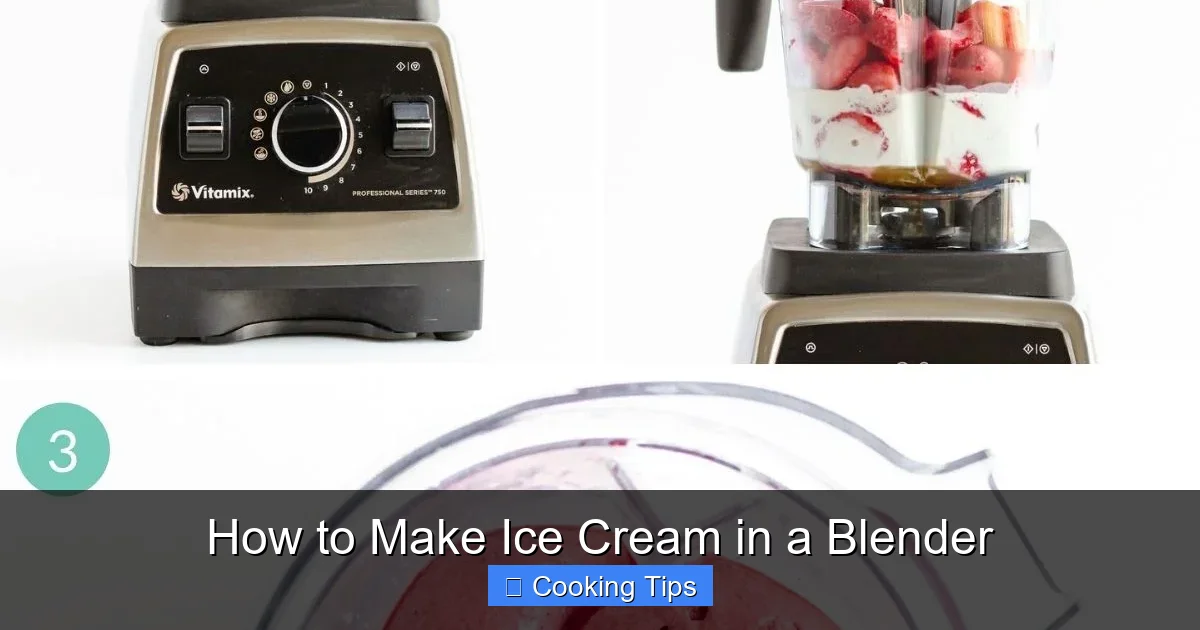
Visual guide about How to Make Ice Cream in a Blender
Image source: mapleandmango.com
Step 1: Prepare Your Frozen Fruit
This is the most crucial step for achieving the right texture. If you’re using fresh fruit, chop it into bite-sized pieces and freeze it on a baking sheet lined with parchment paper for at least 4-6 hours, or until completely solid. For bananas, peel them, break them into chunks, and freeze them in a single layer on a baking sheet before transferring them to a freezer bag.
Visual guide about How to Make Ice Cream in a Blender
Image source: down-my.img.susercontent.com
Tip: Freezing fruit in single layers prevents it from clumping together, making it easier to measure and blend.
Step 2: Add Ingredients to the Blender
Place your frozen fruit into your blender. If you’re using bananas, start with about 2-3 frozen bananas. Then, add your chosen sweetener. For a sweet and creamy base with bananas, start with about 1/4 cup of sweetened condensed milk or 2-3 tablespoons of maple syrup. Add any flavor boosters at this stage, such as a teaspoon of vanilla extract or a tablespoon of cocoa powder.
Finally, add your liquid. Start with a very small amount, about 1-2 tablespoons. It’s easier to add more liquid than to remove it if your mixture becomes too thin.
Step 3: Blend Until Smooth and Creamy
Secure the lid on your blender. Start blending on a low speed and gradually increase to a higher speed. You might need to stop the blender a few times to scrape down the sides with a spatula or tamper, especially in the initial stages. Be patient!
The mixture will go through stages: it will look crumbly, then chunky, and finally, it will transform into a smooth, creamy, soft-serve consistency. This usually takes about 3-5 minutes, depending on your blender’s power.
Troubleshooting Tip: If your blender is struggling, add another tablespoon of liquid. If the mixture is too thin and not freezing, you may need to add a few more pieces of frozen fruit.
Step 4: Serve Immediately or Freeze for a Firmer Texture
Once you’ve achieved a smooth, ice cream-like consistency, you have two options:
- Soft-Serve: Serve the ice cream directly from the blender. It will have a delicious soft-serve texture, perfect for enjoying right away.
- Firmer Ice Cream: If you prefer a firmer, scoopable ice cream, transfer the mixture to a freezer-safe container, press plastic wrap directly onto the surface to prevent ice crystals, and freeze for at least 2-4 hours.
Tip for Firmer Ice Cream: If you freeze your ice cream and it becomes too hard to scoop, let it sit at room temperature for about 10-15 minutes to soften slightly.
Delicious Blender Ice Cream Flavor Combinations
The possibilities are endless! Here are some popular and easy flavor ideas to get you started:
- Classic Vanilla Banana: 2-3 frozen bananas, 1/4 cup sweetened condensed milk, 1 tsp vanilla extract.
- Strawberry Dream: 2 cups frozen strawberries, 1/4 cup sweetened condensed milk (or 2-3 tbsp maple syrup), 1-2 tbsp milk.
- Chocolate Peanut Butter: 2-3 frozen bananas, 2 tbsp cocoa powder, 2 tbsp peanut butter, 1/4 cup sweetened condensed milk (or milk of choice), 1 tbsp milk.
- Mango Tango: 2 cups frozen mango chunks, 1/4 cup sweetened condensed milk, 1 tbsp lime juice (optional, for a zing).
- Berry Blast: 2 cups mixed frozen berries (strawberries, blueberries, raspberries), 1/4 cup sweetened condensed milk, 1-2 tbsp milk.
Feel free to add mix-ins like chocolate chips, cookie pieces, or chopped nuts in the last 30 seconds of blending for a chunkier texture.
Tips for Perfect Blender Ice Cream
To ensure your homemade ice cream is a hit, keep these tips in mind:
- Use a Powerful Blender: While many blenders can handle this, a high-powered blender will make the process faster and result in a smoother texture.
- Don’t Over-Blend: Blending for too long can melt the mixture, especially if your blender generates heat. Aim for just enough time to achieve a creamy consistency.
- Adjust Sweetness: Taste your mixture before freezing and adjust the sweetener if needed. Some fruits are naturally sweeter than others.
- Start with Less Liquid: It’s always better to add liquid gradually. Too much liquid will result in a icier or slushier texture rather than creamy ice cream.
- Freeze in Batches: If you have a lot of fruit to freeze, do it in batches to ensure it’s all frozen solid.
- Embrace the “Nice Cream” Term: This healthy, fruit-based ice cream is often referred to as “nice cream” due to its banana base and healthier profile compared to traditional ice cream.
Troubleshooting Common Blender Ice Cream Issues
Even with a simple recipe, things can sometimes go awry. Here are some common problems and how to fix them:
- Problem: My blender is stuck and not blending the frozen fruit.
Solution: Stop the blender and add another tablespoon of liquid (milk, cream, or even a little water). You might also need to scrape down the sides. If the fruit is very hard, letting it thaw for 5 minutes might help. - Problem: The ice cream is too icy or grainy.
Solution: This usually means there wasn’t enough fat or sugar, or the fruit wasn’t blended long enough to incorporate air. Try adding a tablespoon of heavy cream or sweetened condensed milk next time, or blend for a bit longer. Ensure your fruit is frozen solid. - Problem: The ice cream is too thin or melts too quickly.
Solution: You likely added too much liquid or didn’t use enough frozen fruit. For immediate serving, this is fine, but for firmer ice cream, you’ll need to freeze it longer. If it consistently melts too fast, try using less liquid in future batches or add a bit more frozen fruit. - Problem: The flavor is bland.
Solution: Taste your mixture before freezing and add more sweetener or flavorings. A pinch of salt can also enhance sweetness and overall flavor.
Conclusion
Making ice cream in a blender is a fantastic way to enjoy delicious, homemade frozen desserts with minimal effort and no special equipment. From simple banana “nice cream” to vibrant berry blends and decadent chocolate creations, the possibilities are truly endless. You’ve learned the essential steps, explored flavor ideas, and picked up tips to conquer any blending challenges.
So, the next time a craving strikes, bypass the grocery store freezer aisle and reach for your blender. You’ll be amazed at how quickly and easily you can create a satisfying, healthy, and incredibly tasty treat. Happy blending and enjoy your delightful homemade ice cream!