
Keep your kitchen knives performing at their best with proper honing. This guide explains how to sharpen a kitchen knife with a honing rod, a crucial maintenance step for maintaining a sharp edge between full sharpening sessions. Mastering this technique will significantly improve your cooking experience and safety in the kitchen. Regular honing is key to prolonging your knife’s life and ensuring effortless cuts.
How to Sharpen a Kitchen Knife with Rod
Welcome to your ultimate guide for mastering the art of knife maintenance! In the bustling kitchen of 2026, having a sharp knife isn’t just a convenience; it’s a necessity for safety, efficiency, and culinary enjoyment. We all love the glide of a perfectly sharp blade through a ripe tomato or a tender piece of meat. But over time, even the best knives can become dull. This is where your trusty honing rod comes into play. Many people confuse honing with sharpening, but they are distinct processes. Sharpening actually removes metal to create a new edge, while honing realigns the existing microscopic teeth of the blade. This guide will walk you through exactly how to sharpen a kitchen knife with a rod, ensuring your knives stay in peak condition.
Key Takeaways
- Understand the Difference Between Honing and Sharpening: A honing rod realigns the knife’s edge, it doesn’t remove metal like a sharpener.
- Choose the Right Honing Rod: Steel rods are common, but ceramic and diamond rods offer different levels of abrasive action.
- Proper Grip is Crucial: Holding the knife and rod securely prevents slips and ensures consistent angles.
- Maintain a Consistent Angle: Aim for a 15-20 degree angle for most Western kitchen knives.
- Hone Both Sides of the Blade: Alternate strokes to achieve a balanced and sharp edge.
- Practice Makes Perfect: Consistent practice will improve your speed and accuracy.
- Clean Up After Honing: Remove any metal debris for optimal performance and hygiene.
Understanding Honing vs. Sharpening
Before we dive in, let’s clarify the difference. Think of your knife’s edge like a microscopic saw. With use, these tiny teeth bend and get out of alignment. Sharpening grinds away metal to create fresh, sharp teeth. Honing, on the other hand, uses friction to gently bend those misaligned teeth back into place, essentially straightening the edge. A honing rod is designed to do this. It’s a maintenance tool for your knives, extending the time between actual sharpenings. Regular honing can make a noticeable difference in how your knife feels and performs.
Choosing Your Honing Rod
There are several types of honing rods, each with slightly different properties:
- Steel Rods: These are the most common and are good for routine honing. They are slightly abrasive and help to realign and lightly remove imperfections.
- Ceramic Rods: Ceramic rods are more abrasive than steel. They can both hone and lightly sharpen a blade, making them a good option if your knife is slightly dull.
- Diamond Rods: These are the most aggressive. The surface is coated with diamond particles, which are extremely hard. Diamond rods are excellent for very dull knives and can effectively sharpen them.
For most home cooks, a good quality steel rod is sufficient for regular maintenance. If your knives are significantly dull, consider a ceramic or diamond rod.
Preparation: Setting Up for Success
Safety and proper technique are paramount when honing. Let’s get you set up for success:
Gather Your Supplies
You’ll need your knife, your honing rod, and a stable surface. If you’re using a rod with a handle, ensure it’s comfortable to grip.
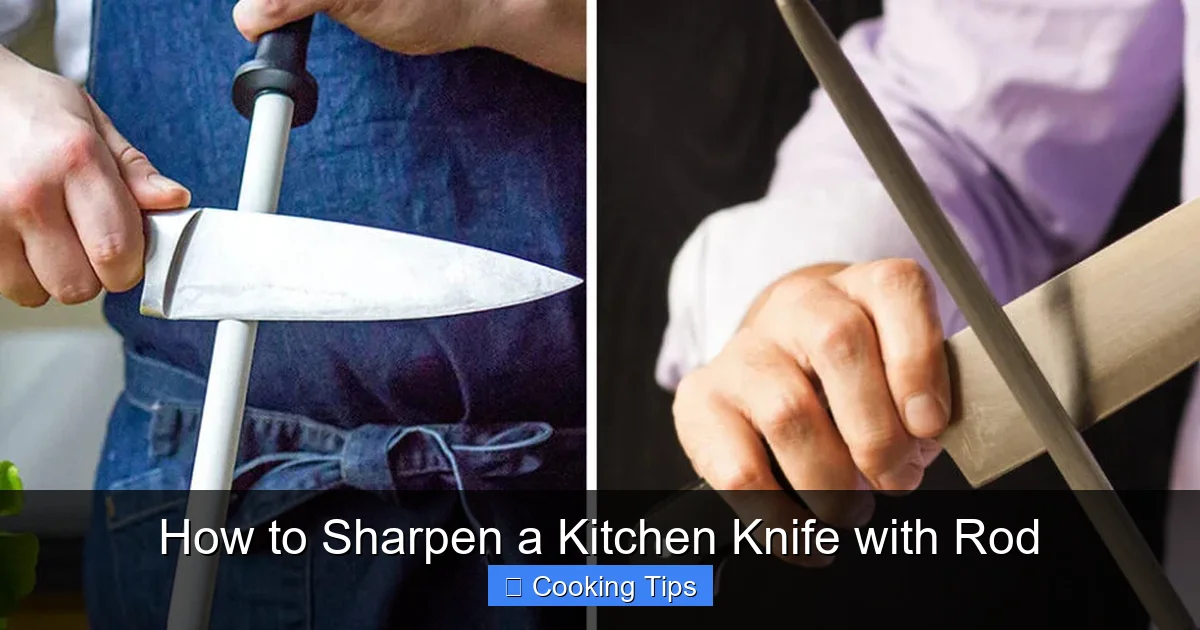
Visual guide about How to Sharpen a Kitchen Knife with Rod
Image source: thekitchenix.com
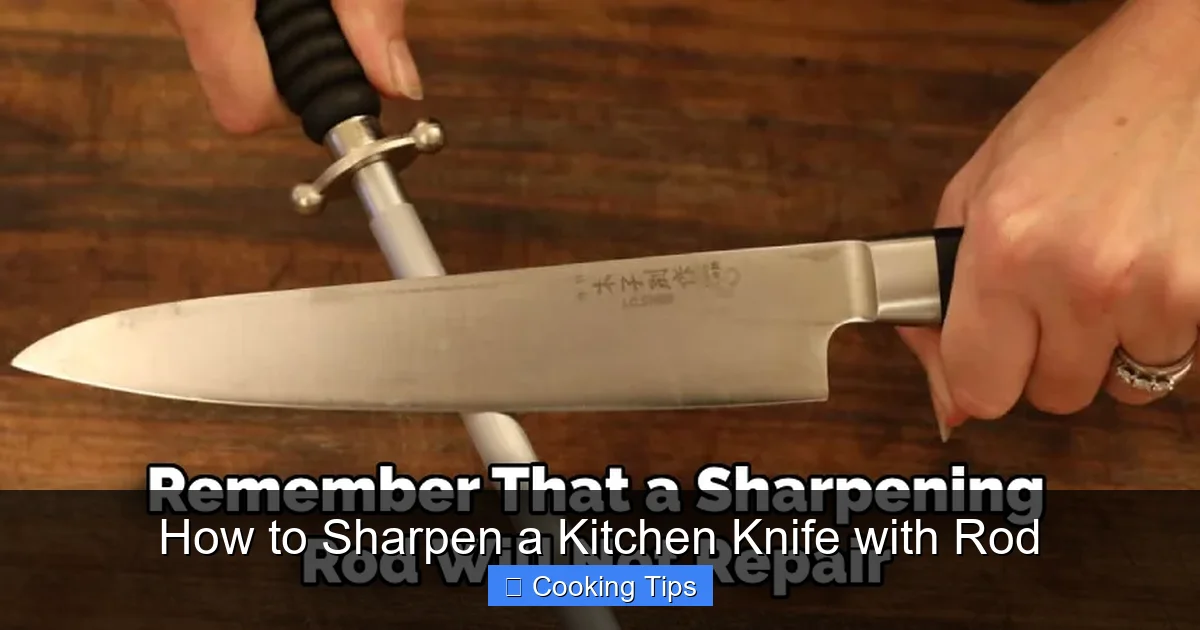
Visual guide about How to Sharpen a Kitchen Knife with Rod
Image source: thekitchenix.com
Find a Stable Surface
Place a damp cloth or paper towel on your countertop. This will prevent the honing rod (or the knife, if you’re holding the rod upright) from sliding around, ensuring safety.
Familiarize Yourself with the Rod
If your rod has a handle, hold it firmly. If it’s just a rod, ensure you have a good grip on the end that doesn’t have the sharpening surface. For rods that stand upright, secure the tip on your damp cloth.
The Honing Technique: Step-by-Step
Now, let’s get to the core of it. Follow these steps carefully for optimal results.
Step 1: Secure the Rod
Hold the honing rod firmly. If it has a handle, grip it. If not, hold the end of the rod securely. For maximum stability, especially if you’re new to this, you can place the tip of the rod on your damp cloth on the counter. This way, the rod is held at a consistent angle.
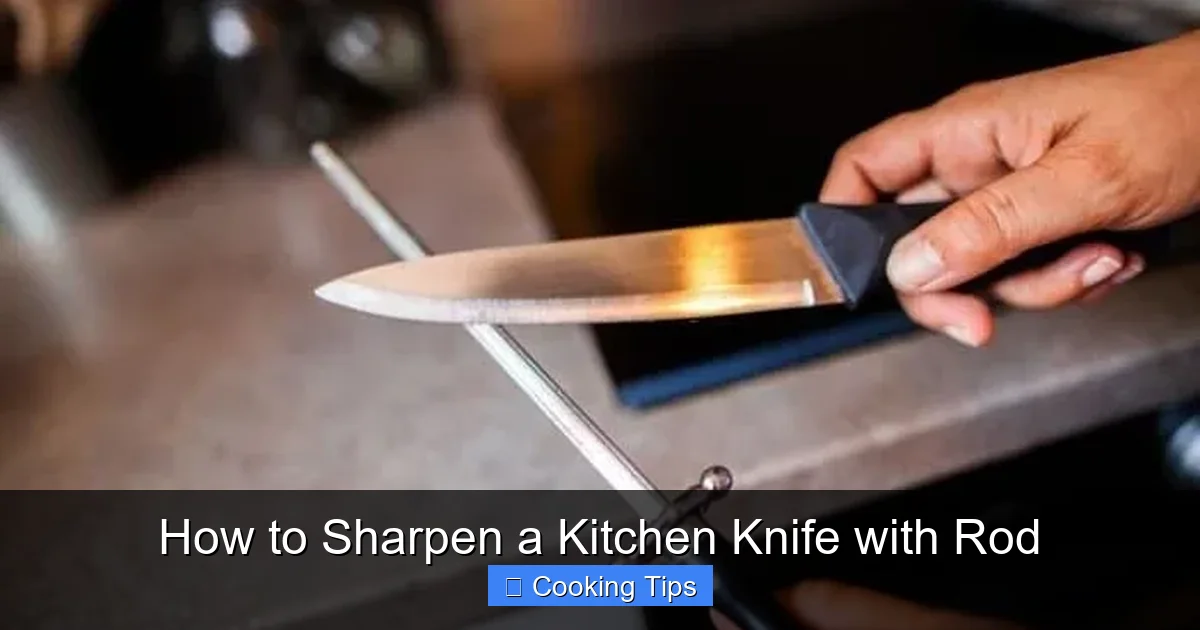
Visual guide about How to Sharpen a Kitchen Knife with Rod
Image source: kitchenrank.com
Step 2: Position the Knife
Hold your knife in your dominant hand. The heel of the blade (the part closest to the handle) should rest on the top of the honing rod, near the handle end. The tip of the knife should point away from you.
Step 3: Achieve the Correct Angle
This is arguably the most critical step. For most Western-style kitchen knives (like chef’s knives, Santoku knives, and utility knives), aim for an angle of about 15 to 20 degrees between the knife blade and the honing rod. A good way to visualize this is to think of the edge of a matchbook or a domino standing on its end. If you’re unsure, a common tip is to hold the knife so that the spine is roughly the thickness of your pinky finger away from the rod. The goal is consistency. Many honing rods have a protective guard that can help you maintain this angle.
Step 4: The Honing Stroke
Begin by gently drawing the knife down the rod, from heel to tip, maintaining that 15-20 degree angle. Apply light, consistent pressure. Imagine you are trying to slice a very thin layer off the rod. The motion should be smooth and deliberate.
Key tip: As you move down the rod, the blade will naturally trail off the end. This is exactly what you want; you’re honing the entire length of the edge.
Step 5: Hone the Other Side
Once you’ve completed a stroke on one side of the blade, you need to hone the other side. To do this, you have two options depending on how you’re holding the rod:
- If the rod is standing upright: Simply flip the knife over to the other side, keeping the heel of the blade on the rod and maintaining the same angle.
- If you are holding the rod horizontally: You’ll need to change your grip slightly. Either flip the knife over and repeat the stroke on the underside of the rod, or (and this is often easier) you can rotate the rod itself so the other side faces upwards, and then perform the stroke with the other side of the blade.
Repeat the same smooth, gliding motion from heel to tip, maintaining the angle and light pressure.
Step 6: Alternate Strokes
Alternate honing each side of the blade. A common recommendation is to perform 5 to 10 strokes on each side. You should hear a consistent, light “shhk” sound as the blade glides. If you hear scraping or catching, your angle might be off, or you’re applying too much pressure.
Step 7: Test the Sharpness (Carefully!)
After a few alternating strokes on each side, you can carefully test the sharpness. The safest way is to try slicing through a piece of paper. Hold the paper upright and try to slice through it with a gentle, pulling motion. A sharp knife should slice through cleanly without tearing. If it snags or tears, continue honing.
Step 8: Repeat if Necessary
If the knife still doesn’t feel sharp enough, repeat the alternating strokes (5-10 on each side) until you achieve the desired sharpness. Don’t overdo it; honing is about realigning, not aggressively removing metal.
Post-Honing Clean-Up
Once you’re satisfied with the sharpness of your knife, it’s important to clean up.
Wipe the Blade
Using a damp cloth, gently wipe down both sides of the knife blade to remove any microscopic metal particles that may have been dislodged during honing. This also helps to clean the honing rod itself.
Clean the Rod
Wipe down the honing rod with a clean cloth. For steel rods, a quick wipe is usually sufficient. For ceramic or diamond rods, you might occasionally need a bit of soap and water, but always dry them thoroughly.
Troubleshooting Common Issues
Even with the best intentions, you might encounter a few hiccups. Here’s how to address them:
Knife Still Feels Dull?
Problem: You’ve honed multiple times, but the knife doesn’t feel sharp.
Solution: This likely means your knife is genuinely dull and needs sharpening, not just honing. The microscopic teeth are too bent or worn down to be realigned by the rod. It’s time to use a proper sharpening stone or a professional sharpening service.
Inconsistent Angle
Problem: You hear scraping sounds or feel the blade catching.
Solution: Your angle is likely inconsistent. Focus on keeping the blade at a steady 15-20 degrees throughout the stroke. Using a honing guide or practicing with a fixed object (like the thickness of your pinky finger) can help. Take it slow!
Slipping Knife or Rod
Problem: The knife or rod moves unexpectedly.
Solution: This is a safety hazard. Always ensure your honing surface is stable and use a damp cloth underneath the rod if it tends to slide. Maintain a firm, but not overly tight, grip on your knife.
Uneven Sharpening
Problem: One side of the blade feels sharper than the other.
Solution: Ensure you’re giving equal attention to both sides. Count your strokes to make sure you’re doing the same number on each side. Sometimes, a slightly different pressure or angle on one side can cause this.
Conclusion
Learning how to sharpen a kitchen knife with a rod is a fundamental skill for any home cook. It’s a simple yet incredibly effective way to maintain the keen edge of your favorite blades, making your time in the kitchen safer, more efficient, and far more enjoyable. Remember, honing is about maintaining alignment, not replacing a dull edge. By incorporating regular honing into your knife care routine, you’ll extend the life of your knives and experience the true joy of cooking with tools that are always ready for the task. So grab your knife and your honing rod, and get ready to experience a whole new level of culinary precision. Happy cooking!