
This guide empowers you to create perfectly flaky pie crust entirely by hand, even without a food processor. We’ll walk you through the essential steps, from cutting in the fat to chilling the dough, ensuring your homemade pie crust is a resounding success. You’ll achieve bakery-quality results with simple tools and techniques.
How to Make Pie Crust Without Food Processor
There’s something incredibly satisfying about a homemade pie. The rich filling, the sweet aroma filling your kitchen – it’s a culinary hug. But often, the star of a great pie is its crust. A tender, flaky crust can elevate any dessert. Many home bakers believe that a food processor is essential for achieving this perfect texture. However, I’m here to tell you that you absolutely do not need one!
This guide will show you, step-by-step, how to make a delicious, flaky pie crust from scratch using only basic kitchen tools you likely already have. We’ll cover everything from choosing the right ingredients to shaping your dough. By the end, you’ll feel confident in your ability to create a beautiful and delicious pie crust, every single time.
Key Takeaways
- Mastering Fat Distribution: Understanding how to cut cold butter or shortening into the flour is crucial for creating flaky layers.
- The Importance of Cold Ingredients: Keeping your fat and water ice-cold is the secret to a tender and flaky crust.
- Gentle Handling is Key: Overworking the dough develops gluten, resulting in a tough crust. Gentle mixing and folding are paramount.
- Resting and Chilling: Allowing the dough to rest and chill relaxes the gluten and solidifies the fat, making it easier to handle and contributing to flakiness.
- Troubleshooting Common Issues: Learn how to fix common problems like crumbly dough or tough crusts.
- Achieving Even Baking: Tips on preventing a soggy bottom and ensuring your crust is golden brown and cooked through.
Understanding the Fundamentals of a Flaky Crust
What makes a pie crust flaky? It’s all about the fat! When you incorporate cold fat (like butter or shortening) into flour, it creates small pockets. As the pie bakes, these pockets of fat melt, leaving behind empty spaces. These spaces are what create the distinct, flaky layers we all love. If the fat melts too early or isn’t distributed properly, you’ll end up with a tough, dense crust.
The key is to keep that fat cold and in distinct pieces. We’re aiming for pieces the size of peas or small lima beans distributed throughout the flour. This ensures those lovely flaky layers form during baking. Overworking the dough will break down these fat pieces and develop the gluten in the flour, leading to a tough texture. So, gentle hands and cold ingredients are your best friends.
Gathering Your Ingredients and Tools
Before we begin, let’s make sure you have everything you need. Simplicity is key here!
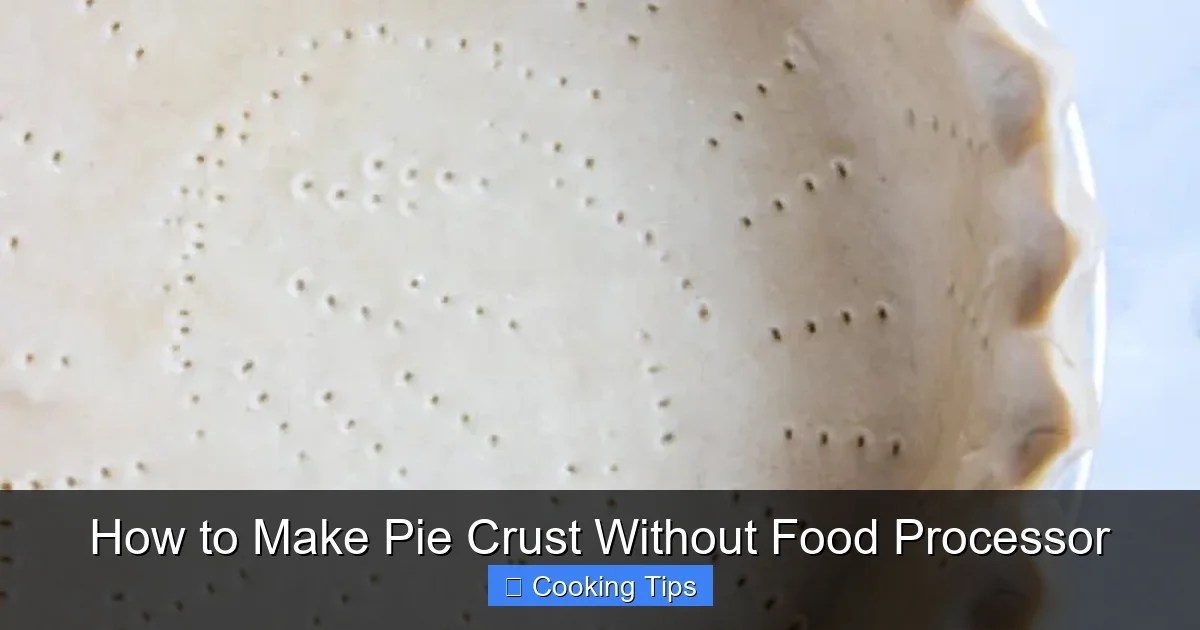
Visual guide about How to Make Pie Crust Without Food Processor
Image source: kennethtemple.com
Essential Ingredients:
- All-Purpose Flour: The foundation of your crust.
- Cold Fat: This can be unsalted butter, vegetable shortening, or a combination of both. Using very cold, cubed fat is crucial. Butter provides great flavor, while shortening offers superior flakiness and tenderness. A mix gives you the best of both worlds.
- Ice Water: This is not just any water; it needs to be ice cold. Keep a bowl of water with ice cubes in it while you work.
- Salt: Enhances the flavor of the crust.
Essential Tools:
- Large Mixing Bowl: For combining your ingredients.
- Pastry Blender, Fork, or Your Fingertips: This is where you’ll do the ‘cutting in’ of the fat. A pastry blender is ideal, but a fork or even clean hands work perfectly well.
- Measuring Cups and Spoons: For accurate ingredient amounts.
- Plastic Wrap: For chilling the dough.
- Rolling Pin: For rolling out the dough.
- Parchment Paper or Wax Paper: Optional, but can be helpful for rolling.
Step-by-Step Guide to Making Pie Crust
Let’s get baking! Follow these simple steps for a flawless pie crust.
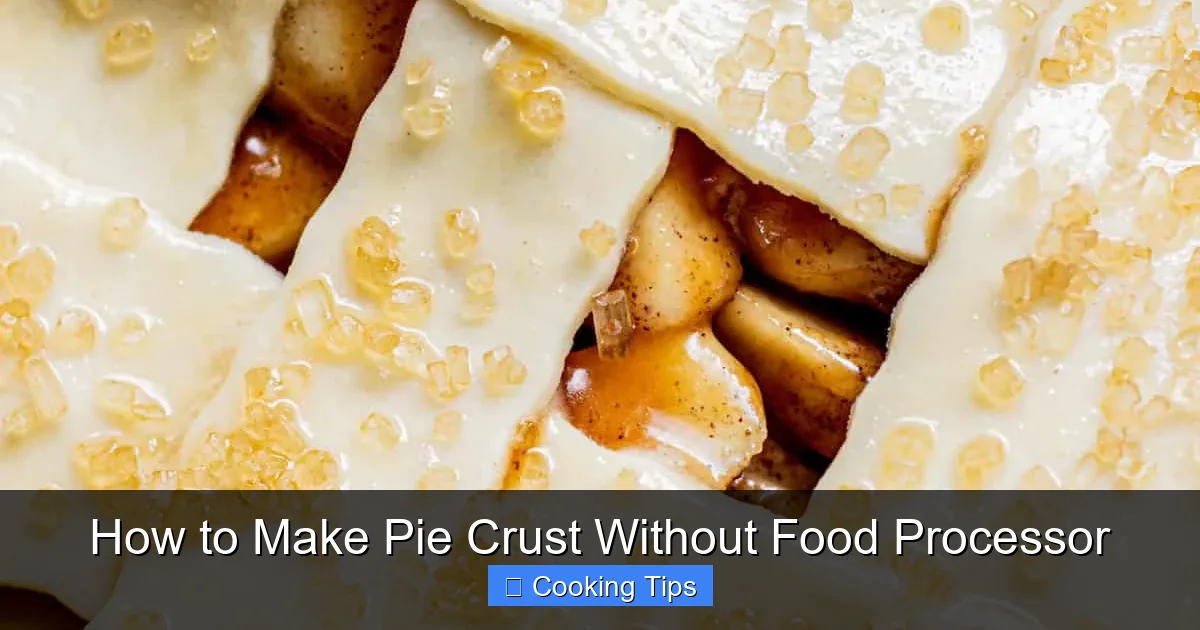
Visual guide about How to Make Pie Crust Without Food Processor
Image source: bakingwithbutter.com
Step 1: Combine Dry Ingredients
In your large mixing bowl, whisk together the all-purpose flour and salt. This ensures the salt is evenly distributed throughout the flour.
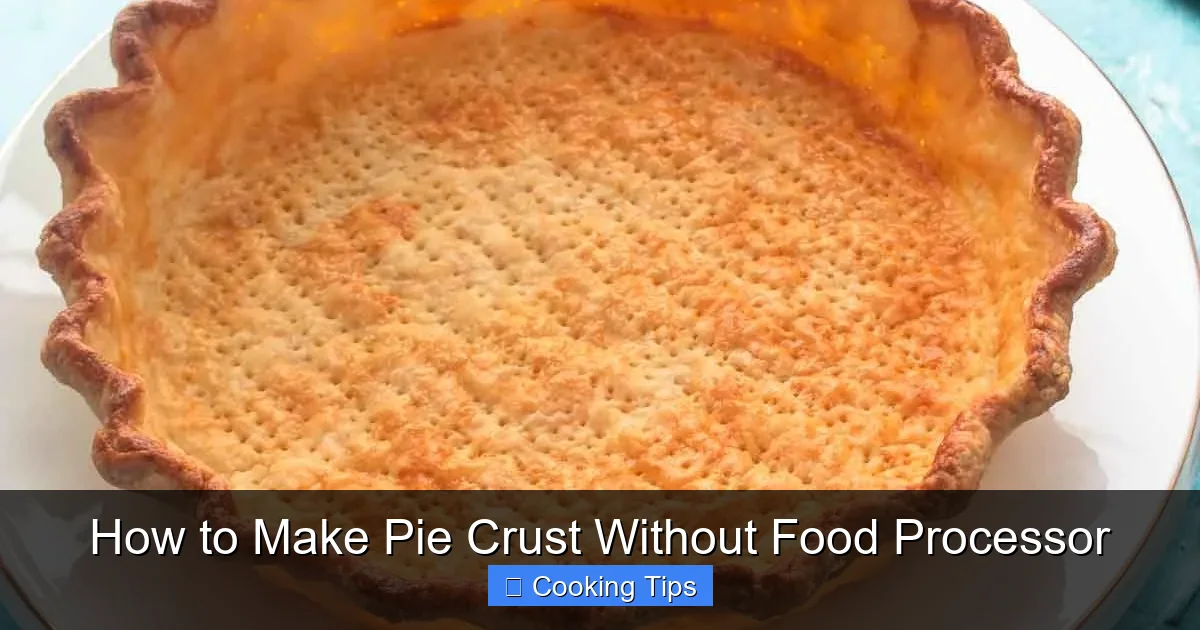
Visual guide about How to Make Pie Crust Without Food Processor
Image source: wheelofbaking.com
Step 2: Cut in the Cold Fat
This is the most critical step for flakiness. Add your very cold, cubed butter or shortening to the flour mixture.
Using a Pastry Blender:
If you have a pastry blender, use a rocking motion to press the fat into the flour. Continue this until the mixture resembles coarse meal with some larger, pea-sized pieces of fat remaining. These larger pieces are essential for flakiness.
Using a Fork:
You can achieve a similar result with two forks. Hold one fork stationary and use the other to quickly cut through the fat and flour. Continue until you reach the desired texture, remembering to leave those pea-sized lumps of fat.
Using Your Fingertips:
This is often the quickest method for many people. Use the tips of your fingers (not your palms, as they can transfer too much heat) to quickly rub the fat into the flour. Lift the mixture as you go to help aerate it. Again, stop when you have a coarse meal consistency with noticeable pieces of fat.
Tip: Work quickly during this stage to prevent the fat from warming up too much. If you notice the butter getting soft, pop the bowl back into the refrigerator for a few minutes.
Step 3: Gradually Add Ice Water
Now it’s time to bring the dough together. Sprinkle about half of your ice water over the flour and fat mixture. Use a fork or your hands to gently toss the ingredients together. Add more ice water, a tablespoon at a time, mixing until the dough just starts to come together. You want it to be moist enough to hold its shape when squeezed, but not sticky.
How much water? This can vary depending on the humidity and the flour. You might need anywhere from 4 to 8 tablespoons of water. The goal is to hydrate the flour without developing the gluten too much. Stop adding water as soon as the dough clumps together when squeezed in your hand.
Don’t overmix! This is a common mistake. A few dry spots are better than a sticky, overmixed dough. As you add water, gently gather the dough. You don’t want to knead it.
Step 4: Form the Dough into a Disc
Once the dough is mostly cohesive, gently gather it into a ball. Lightly flour your work surface and turn the dough out. Gently pat and press it into a flat disc, about 1 inch thick. This disc shape makes it much easier to roll out later.
Tip: If the dough feels too crumbly, you might need a tiny bit more water. If it’s too sticky, a very light dusting of flour will help. Avoid adding too much extra flour, as this can make the crust tough.
Step 5: Chill the Dough
This is a non-negotiable step for a tender and easy-to-handle crust. Wrap the dough disc tightly in plastic wrap. Refrigerate for at least 30 minutes, or up to 2 days. Chilling allows the gluten to relax and the fat to firm up, making it much easier to roll and preventing shrinkage during baking. Longer chilling times (up to 2 days) will generally result in a more tender crust.
Step 6: Roll Out the Dough
When you’re ready to bake, take the chilled dough out of the refrigerator. Let it sit at room temperature for about 5-10 minutes if it feels very stiff, making it easier to roll. Lightly flour your work surface and your rolling pin.
Rolling Technique:
Place the dough disc on the floured surface. Start rolling from the center of the disc outwards, giving the dough a quarter turn after each roll. This helps to create an even circle and prevents sticking.
Roll until the dough is about 1/8-inch thick and slightly larger than your pie plate (about 12 inches for a 9-inch pie plate). If the dough starts to crack, gently press it together. If it becomes too soft and sticky, pop it back in the fridge for 10-15 minutes.
Tip: If you find rolling difficult, you can place a piece of parchment paper on top of the dough before rolling. This can help prevent sticking and make it easier to transfer.
Step 7: Transfer the Dough to the Pie Plate
Carefully transfer the rolled-out dough to your pie plate. You can do this by gently rolling the dough around your rolling pin, then unrolling it over the plate. Alternatively, you can fold the dough in half, then in half again, to create a triangle, place the point in the center of the pie plate, and then unfold it.
Gently press the dough into the bottom and up the sides of the pie plate. Trim any excess dough, leaving about a 1-inch overhang. You can then crimp the edges decoratively.
Step 8: Prepare for Baking
Depending on your recipe, you’ll either blind bake the crust (bake it empty) or fill it with your pie filling and then bake. Follow your specific pie recipe’s instructions for this stage.
Preventing a Soggy Bottom: For pies with wet fillings, consider brushing the bottom of the unbaked crust with a thin layer of egg white and baking for a few minutes before adding the filling. This creates a barrier.
Troubleshooting Common Pie Crust Issues
Even experienced bakers encounter hiccups. Here are some solutions:
- Crumbly Dough: This usually means not enough water was added, or the fat wasn’t cut in enough. Try adding a tiny bit more ice water, a teaspoon at a time, and gently bring it together.
- Tough Crust: This is a sign of overworking the dough, which develops gluten. Ensure you are using cold ingredients and handling the dough minimally.
- Shrinking Crust: This happens when the gluten hasn’t had a chance to relax. Longer chilling times and not stretching the dough when lining the pie plate can help.
- Cracking During Rolling: Your dough might be too cold or too dry. Let it sit at room temperature for a few minutes, or add a tiny bit more water.
Conclusion
Making pie crust without a food processor is not only achievable but incredibly rewarding. By following these simple steps and paying attention to keeping your ingredients cold and your handling gentle, you can create a pie crust that is wonderfully flaky, tender, and delicious. The next time a pie craving strikes, don’t hesitate to make your own crust from scratch. You’ll be amazed at the results and the sense of accomplishment. Happy baking!