
Discover the simple secrets to creating your own oat flour using common kitchen tools, no food processor required! This guide offers a detailed, step-by-step approach to transforming rolled oats into a fine, versatile flour, perfect for all your baking needs. You’ll save money and ensure freshness with this accessible DIY method.
Key Takeaways
- Simple Ingredients: You only need rolled oats (old-fashioned or quick-cooking) and a high-powered blender or coffee grinder.
- Accessible Tools: This method bypasses the need for a specialized food processor, making homemade oat flour achievable for everyone.
- Time Efficient: The process is quick, typically taking just a few minutes to achieve a fine flour consistency.
- Versatile Use: Homemade oat flour is perfect for gluten-free baking, thickening sauces, and adding nutritional value to recipes.
- Freshness Guaranteed: Making your own ensures the freshest possible oat flour, free from unwanted additives.
- Cost-Effective: Grinding your own oats is significantly cheaper than buying pre-made oat flour.
How to Make Oat Flour Without Food Processor
Welcome to our comprehensive guide on making your own oat flour right in your own kitchen! In 2026, we’re all about efficiency, cost-savings, and knowing exactly what goes into our food. If you’ve ever wanted to bake with oat flour but don’t have a food processor, or if you simply want to make it fresh for your recipes, you’re in the right place. We’re going to show you how to transform simple rolled oats into a fine, powdery flour using tools you likely already own. Get ready to unlock a world of gluten-free baking possibilities and boost the nutritional profile of your favorite dishes.
Making oat flour at home is surprisingly easy and remarkably cost-effective. It’s a fantastic way to ensure you always have this versatile ingredient on hand for pancakes, muffins, cookies, and even as a binder in meatballs or a thickener for soups and stews. Let’s get started on this simple kitchen adventure!
Understanding Oat Flour
Before we dive into the “how-to,” let’s quickly touch on what oat flour is. Oat flour is simply oats that have been ground into a fine powder. It’s naturally gluten-free, assuming you use certified gluten-free oats, which is a big plus for those with celiac disease or gluten sensitivities. It has a slightly sweet, nutty flavor and a tender texture that can add a wonderful richness to baked goods. Unlike wheat flour, oat flour absorbs more liquid, so you might need to adjust your recipes slightly.
Why Make Your Own Oat Flour?
The benefits are numerous:
- Freshness: Commercially produced oat flour can sit on shelves for a while. Homemade is always fresh.
- Cost Savings: Grinding your own oats is significantly cheaper than buying pre-packaged oat flour.
- Ingredient Control: You know exactly what’s in it – just oats! No additives or preservatives.
- Convenience: No need to run to the store when you can whip up a batch in minutes.
- Customization: You can control the fineness of your flour.
Choosing Your Oats
The type of oats you use will slightly affect the texture of your flour. For the best results and a fine consistency, we recommend using:
- Rolled Oats (Old-Fashioned Oats): These are the most common and work wonderfully. They produce a slightly coarser flour, which is great for many recipes.
- Quick-Cooking Oats: These have been rolled thinner and cut, so they grind into a finer flour more easily.
Avoid using steel-cut oats, as they are too hard and won’t grind down into a flour easily without specialized equipment. Also, if you need to make gluten-free oat flour, ensure you purchase oats that are certified gluten-free. This is crucial for those with celiac disease.
The Essential Tools
You don’t need fancy equipment for this. Here’s what you’ll need:
- A Powerful Blender: A high-speed blender, like a Vitamix or Blendtec, is ideal. However, a regular sturdy blender can also do the job with a bit more patience.
- OR a Coffee Grinder: If you have a dedicated coffee grinder (one you don’t use for coffee beans, or if you don’t mind a slight oat aroma in your coffee!), this is an excellent alternative for smaller batches.
- Airtight Container: For storing your freshly made oat flour.
Step-by-Step: Making Oat Flour
This process is straightforward and takes just a few minutes.
Step 1: Measure Your Oats
Decide how much oat flour you need. A good starting point is to measure your rolled oats. For example, if you want about 1 cup of oat flour, start with approximately 1 to 1.25 cups of rolled oats. Oats expand slightly when ground. It’s better to have a little extra than not enough.
Example: For 1.5 cups of oat flour, measure out 2 cups of rolled oats.
Visual guide about How to Make Oat Flour Without Food Processor
Image source: cdn.loveandlemons.com

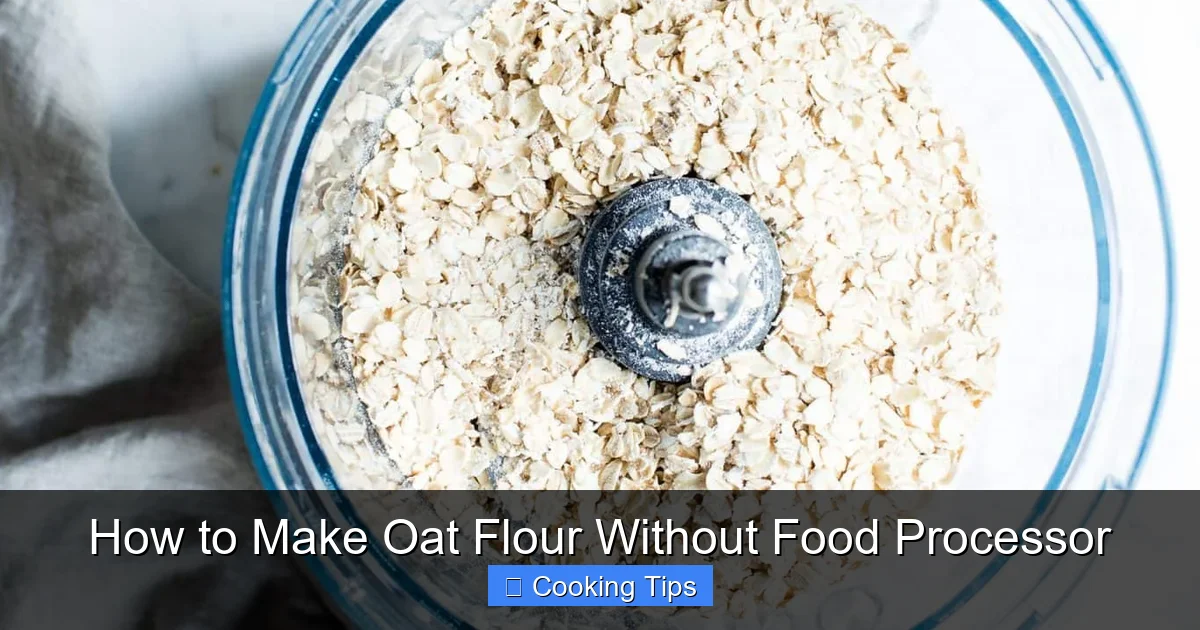
Visual guide about How to Make Oat Flour Without Food Processor
Image source: thesuburbansoapbox.com
Step 2: Add Oats to Your Grinding Device
* Using a Blender: Pour your measured rolled oats into the blender jar. Do not overfill the blender. It’s better to work in batches if you are making a large quantity. Ensure the lid is securely fastened.
* Using a Coffee Grinder: Add the rolled oats to the grinder. Again, avoid overfilling. A coffee grinder is best for smaller quantities, producing a finer grind.
Step 3: Grind the Oats
This is where the magic happens!
* For Blenders: Start the blender on a low speed and gradually increase to high. Blend for about 30 seconds to 1 minute, or until the oats are ground into a fine flour consistency. You want to see a powder, not chunks. You might need to pulse the blender a few times or stop and scrape down the sides with a spatula if some oats are not grinding evenly.
- Tip: For a finer flour, blend for a bit longer. Listen to the sound of the blender; it will change as the oats break down.
* For Coffee Grinders: Pulse the grinder in short bursts, about 10-15 seconds at a time. Shake the grinder gently between pulses to redistribute the oats. Continue pulsing and shaking until you achieve a fine, powdery consistency. This may take a few minutes.
- Caution: Be careful not to over-grind. If you grind for too long, especially in a coffee grinder, you can turn the oat flour into oat butter due to the natural oils in the oats.
Step 4: Check the Consistency
After grinding, check the texture of your “flour.” It should be powdery, similar to store-bought flour. If you see any larger oat pieces, return them to the blender or grinder and give them another quick pulse.
How to check: Rub a small amount between your fingers. It should feel like fine powder. If it feels gritty or you can clearly see individual oat flakes, it needs more grinding.
Step 5: Sift (Optional but Recommended)
For the finest oat flour, especially for delicate baked goods like cakes or macarons, you can sift the ground oats through a fine-mesh sieve. This will remove any larger, unground pieces, leaving you with a super-smooth flour. The larger pieces you remove can be set aside and re-ground in the next batch.
Step 6: Store Your Oat Flour
Once your oat flour is ground and sifted (if desired), transfer it to an airtight container. Store it in a cool, dry place like your pantry. Because oat flour contains natural oils, it can go rancid faster than all-purpose flour. For optimal freshness, it’s best to use it within a few weeks if stored at room temperature, or within a few months if stored in the refrigerator. You can even freeze it for longer storage.
Tip: Label your container with the date you made the flour so you can keep track of its freshness.
Troubleshooting Common Issues
Visual guide about How to Make Oat Flour Without Food Processor
Image source: vanillaandbean.com
* **My oat flour is too coarse:** This usually means it needs more blending or grinding. Ensure your blender or grinder is powerful enough and continue processing. Also, consider using quick-cooking oats for a finer result.
* **My oat flour turned into a paste or butter:** You likely over-processed the oats. This happens when the natural oils in the oats are released from over-grinding. If this happens, you can try to spread it thinly on a baking sheet and let it dry out a bit before trying to re-grind it (though results may vary). In the future, use shorter pulses and don’t over-blend.
* **My oat flour has a weird taste:** This could be due to storing it improperly, leading to rancidity, or it might be from a coffee grinder that wasn’t thoroughly cleaned after grinding coffee. Always use fresh, properly stored oats, and ensure your grinding tools are clean.
Creative Uses for Homemade Oat Flour
Now that you’ve mastered making your own oat flour, here are some delicious ways to use it:
* Gluten-Free Pancakes and Waffles: A classic! Oat flour creates wonderfully tender and slightly chewy results.
* Muffins and Quick Breads: It adds a lovely texture and nutty flavor.
* Cookies: Oat flour cookies are often a delightful balance of chewy and crisp.
* **Thickener: Use it to thicken gravies, sauces, or fruit fillings. It’s a great alternative to cornstarch or wheat flour.
* Binder: Mix it into your meatloaf, meatballs, or veggie burgers to help them hold their shape.
* Topping: Sprinkle on casseroles or crumbles for a crispy topping.
* Baby Food: For younger eaters, a small amount of well-cooked oat porridge made from your flour can be a nutritious start.
Conclusion
Congratulations! You’ve successfully learned how to make oat flour without a food processor, using just a blender or coffee grinder. This simple technique empowers you to have a fresh, wholesome, and cost-effective ingredient readily available for all your culinary adventures. Whether you’re baking up a storm, trying to eat healthier, or managing dietary restrictions, homemade oat flour is a game-changer. So, gather your oats, fire up your blender, and enjoy the delicious possibilities! Happy baking from our kitchen to yours!