
Learn how to make perfect cookie dough using your food processor in this comprehensive 2026 guide. We’ll walk you through the simple steps to achieve fluffy, delicious dough in minutes. Discover tips for success and how to troubleshoot common issues for consistently amazing cookies.
How to Make Cookie Dough with Food Processor
Welcome to the future of cookie baking, 2026! Are you tired of spending ages creaming butter and sugar by hand, or wrestling with an electric mixer that feels like it’s about to take flight? What if I told you there’s a faster, easier, and frankly, more fun way to get that perfect cookie dough ready for the oven? You’re in the right place! This guide will show you exactly how to make delicious cookie dough using your trusty food processor. Forget the flour explosions and sticky fingers; we’re about to revolutionize your baking routine.
Making cookie dough in a food processor isn’t just about speed; it’s about achieving a superior texture. The powerful blades and efficient blending action ensure that your ingredients are perfectly combined, leading to consistently delicious cookies every single time. Whether you’re a seasoned baker or just starting out, this method is incredibly forgiving and produces fantastic results. So, let’s get started on this exciting journey to effortless cookie dough creation!
Key Takeaways
- Effortless Mixing: A food processor significantly speeds up the cookie dough making process, reducing manual effort.
- Consistent Texture: Achieve a perfectly emulsified and uniform dough texture that’s difficult to replicate by hand.
- Smart Ingredient Incorporation: Learn the best order to add ingredients for optimal results and to prevent overmixing.
- Versatile Dough Base: This method is ideal for classic chocolate chip cookies and can be adapted for many other cookie varieties.
- Troubleshooting Common Issues: Understand how to fix common problems like dry or greasy dough for bakery-worthy results.
- Clean-Up Made Simple: Minimize mess and make post-baking cleanup a breeze by utilizing your food processor.
Why Use a Food Processor for Cookie Dough?
Before we dive into the “how,” let’s quickly touch on the “why.” Why bother with a food processor when the traditional methods work? Well, think about it:
- Speed: What used to take 10-15 minutes of beating can now be done in less than 5.
- Consistency: The food processor emulsifies the fats and sugars beautifully, creating a homogenous dough that bakes evenly.
- Less Mess: With fewer bowls and utensils, cleanup is a breeze.
- Easier for Beginners: It takes the guesswork out of creaming butter and sugar, a crucial step for many cookie recipes.
It’s a game-changer, plain and simple.
Gather Your Ingredients and Equipment
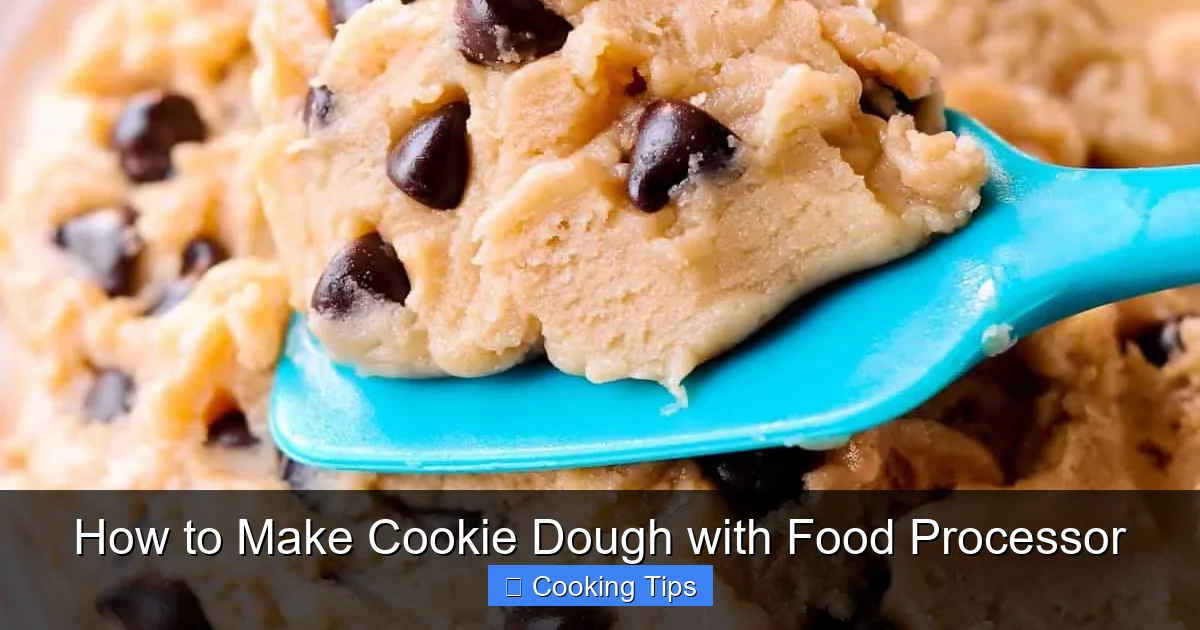
Visual guide about How to Make Cookie Dough with Food Processor
Image source: whatsinthepan.com
Just like any good recipe, starting with the right ingredients and equipment is key. Here’s what you’ll need for a classic chocolate chip cookie dough base, but remember, this method is adaptable for many cookie types!
Essential Ingredients:
- Butter: Unsalted, softened (but not melted!). This is crucial for texture. About 1 cup (2 sticks or 227g) is standard.
- Sugar: A mix of granulated sugar and brown sugar. For example, 3/4 cup (150g) granulated and 3/4 cup (165g) packed brown sugar.
- Eggs: Large eggs, at room temperature. Usually 2 eggs.
- Vanilla Extract: For that classic cookie flavor. 1-2 teaspoons.
- Flour: All-purpose flour. About 2 1/4 cups (280g).
- Leavening Agent: Baking soda is typical. 1 teaspoon.
- Salt: Enhances all the other flavors. 1/2 teaspoon.
- Optional Add-ins: Chocolate chips, nuts, dried fruit, etc. (about 1-2 cups).
Essential Equipment:
- Food Processor: With a sharp blade attachment. Ensure it’s clean and dry.
- Measuring Cups and Spoons: For accurate ingredient amounts.
- Spatula: For scraping down the sides of the food processor bowl.
- Baking Sheet: For baking your cookies (once the dough is ready!).
Step-by-Step Guide to Making Cookie Dough in a Food Processor
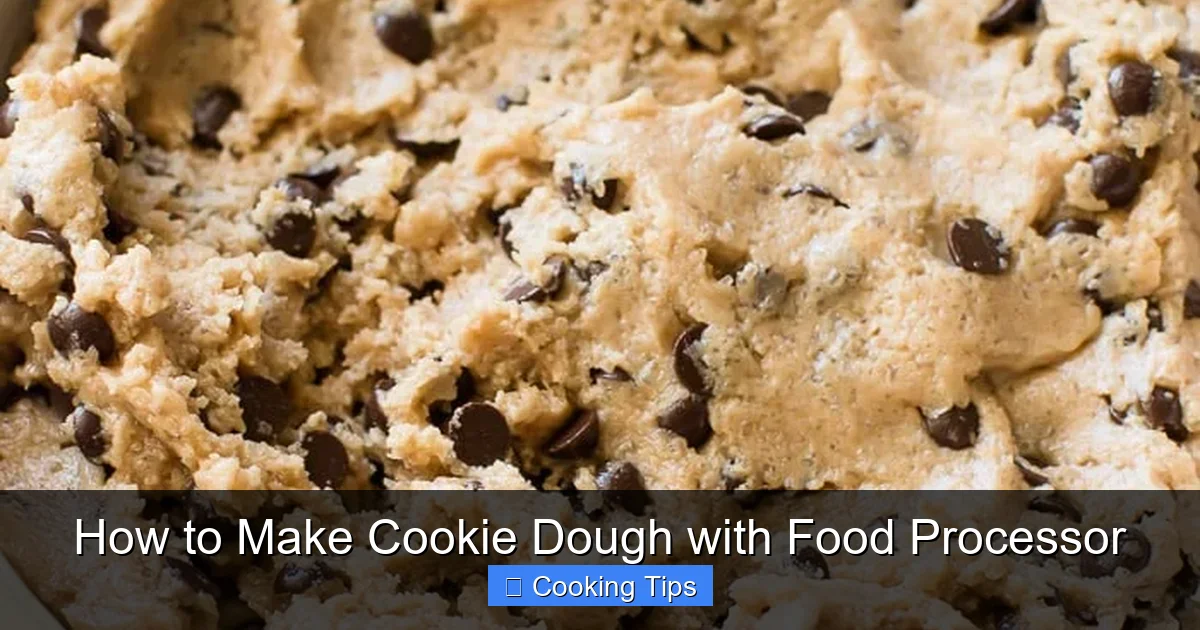
Visual guide about How to Make Cookie Dough with Food Processor
Image source: prettysimplesweet.com
Now for the fun part! Let’s break down the process into simple, manageable steps.
Step 1: Cream the Butter and Sugars

Visual guide about How to Make Cookie Dough with Food Processor
Image source: i.ytimg.com
This is where the magic begins. The food processor excels at this initial step.
Sub-step 1.1: Add Softened Butter
Place your softened butter cubes into the bowl of your food processor. Ensure your butter is soft enough that you can easily indent it with your finger, but not so soft that it’s melted and greasy. This ensures it creams properly with the sugar.
Sub-step 1.2: Add Sugars
Add both your granulated sugar and your packed brown sugar to the food processor.
Sub-step 1.3: Process Until Creamed
Secure the lid of your food processor. Pulse the mixture a few times to break up the butter. Then, run the processor continuously until the mixture is light, fluffy, and pale yellow. This usually takes about 1-2 minutes. Scrape down the sides of the bowl with your spatula as needed to ensure everything gets incorporated. You’re looking for a texture that resembles light, whipped cream.
Tip: The quality of your creaming directly impacts the texture of your cookies. If you skip this step or don’t cream enough, your cookies might spread too much or be too dense.
Step 2: Incorporate Eggs and Vanilla
Next, we’ll add the wet ingredients.
Sub-step 2.1: Add Eggs and Vanilla
Add your room-temperature eggs and vanilla extract to the food processor with the creamed butter and sugar mixture.
Sub-step 2.2: Process Until Combined
Process again until the eggs and vanilla are fully incorporated. Don’t over-process here; just enough to see the mixture become uniform and slightly thicker. You might want to pulse a few times and then run the processor for about 30 seconds. Scrape down the sides if necessary.
Tip: Using room-temperature eggs helps them emulsify better with the fats, leading to a smoother dough.
Step 3: Add Dry Ingredients
Now it’s time for the flour, leavening, and salt.
Sub-step 3.1: Add Flour, Baking Soda, and Salt
Add the all-purpose flour, baking soda, and salt to the food processor. It’s best to add the flour on top of the wet ingredients.
Sub-step 3.2: Process Briefly Until Just Combined
This is the most crucial step to avoid tough cookies: do NOT over-process the flour. Pulse the mixture just until the flour is incorporated and no dry streaks remain. This usually takes only 10-20 seconds of pulsing. The dough will start to come together. You should see it clumping around the blade.
Tip: Overmixing the flour develops gluten, which can make your cookies tough and chewy instead of tender. A few gentle pulses are all you need.
Step 4: Add Mix-ins (Optional)
If you’re adding chocolate chips, nuts, or other goodies, now’s the time!
Sub-step 4.1: Add Your Mix-ins
Pour your chocolate chips, chopped nuts, or other desired mix-ins into the food processor bowl on top of the dough.
Sub-step 4.2: Pulse to Distribute
Pulse the food processor a few times (just 2-3 short pulses) until the mix-ins are evenly distributed throughout the dough. Again, avoid overmixing. You want the chips to be spread out, not pulverized.
Step 5: Finish and Chill the Dough
Your cookie dough is almost ready!
Sub-step 5.1: Scrape and Briefly Mix (If Needed)
Sometimes, a little bit of flour might stick to the sides or bottom. Use your spatula to scrape it down and give it one or two final quick pulses to fully incorporate it. The dough should look cohesive and slightly shaggy, but it should all be sticking together.
Sub-step 5.2: Chill the Dough
While you *can* bake cookies immediately, chilling cookie dough is highly recommended. Transfer the dough to a bowl or directly onto parchment paper. Cover it tightly with plastic wrap or transfer it to an airtight container. Refrigerate for at least 30 minutes, but ideally 2-3 hours, or even overnight. This allows the flavors to meld and the fats to firm up, which prevents the cookies from spreading too much during baking and results in a chewier texture.
Troubleshooting Common Food Processor Cookie Dough Issues
Even with the best methods, sometimes things don’t go perfectly. Here are a few common issues and how to fix them:
My Dough is Too Dry and Crumbly:
This usually happens if you’ve over-floured or not creamed the butter and sugar enough initially.
* Solution: Add a tablespoon of milk or a little extra softened butter (1-2 tablespoons) to the food processor. Pulse briefly until the dough starts to come together. Be careful not to add too much liquid!
My Dough is Too Greasy/Oily:
This can happen if the butter was too soft or melted, or if you over-processed the wet ingredients.
* Solution: This is harder to fix completely. Try chilling the dough for an extra hour or two. If it’s still too greasy, you can try incorporating a tablespoon or two of extra flour, but be very careful not to make it tough. Next time, ensure your butter is softened but not melted.
The Food Processor Isn’t Combining the Dough:
Sometimes, the dough just doesn’t seem to come together in the processor.
* Solution: This often means you need to add a little more liquid. Try adding 1 tablespoon of milk or water and pulsing again. You can also try turning the dough out onto a clean surface and gently kneading it by hand a few times to help it come together.
Conclusion: Enjoy Your Effortless Cookies!
And there you have it! You’ve successfully made cookie dough using a food processor. See how simple and quick it was? This method is designed to make your baking life easier and more enjoyable. You’ve learned the importance of each step, from proper creaming to avoiding overmixing the flour, ensuring your cookies will be the stars of any gathering.
By using a food processor, you’re not just saving time; you’re achieving a consistency and texture that’s often hard to get with manual methods. This versatile base is perfect for your go-to chocolate chip recipe, but don’t be afraid to experiment with other flavors and add-ins. So go ahead, preheat that oven, scoop those cookies, and get ready to enjoy the delicious rewards of your efficient baking. Happy baking in 2026 and beyond!