
Learn how to make delicious bread dough effortlessly using your food processor. This guide provides a straightforward, step-by-step process, ensuring even novice bakers can achieve perfectly kneaded dough. We cover everything from ingredient preparation to troubleshooting common issues, empowering you to bake amazing homemade bread with minimal fuss.
- Effortless Kneading: A food processor significantly cuts down on the time and physical effort required for kneading bread dough, delivering consistently smooth and elastic results.
- Precise Ingredient Incorporation: The powerful blades ensure all ingredients are thoroughly mixed and hydrated, leading to a better gluten structure and a finer crumb.
- Speed and Convenience: This method is ideal for busy bakers, allowing you to prepare dough in mere minutes, making homemade bread more accessible than ever.
- Consistency is Key: Following the pulse and run times is crucial for developing the right gluten network without overworking the dough.
- Adaptable to Recipes: While this guide provides a general framework, understanding the food processor method allows you to adapt most bread recipes.
- Troubleshooting Made Easy: Common issues like sticky or dry dough are addressed, providing practical solutions to get your bread back on track.
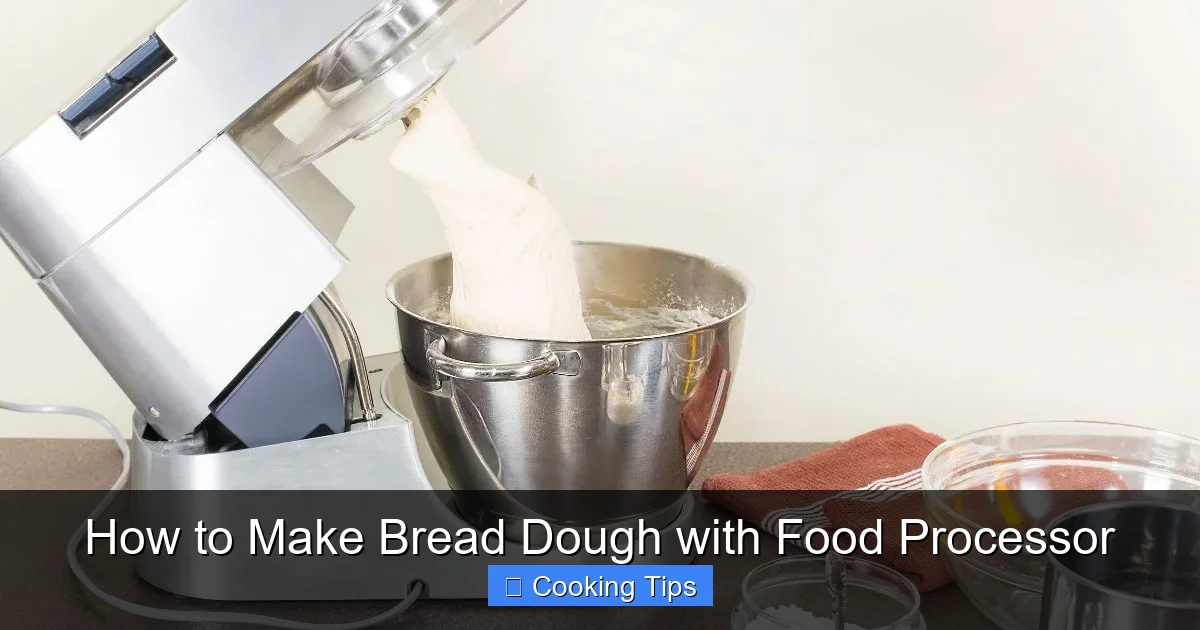
How to Make Bread Dough with Food Processor
Welcome, aspiring bakers of 2026! Are you looking to simplify your bread-making process without sacrificing quality? If you have a food processor gathering dust, it’s time to put it to work! Making bread dough with a food processor is a game-changer, transforming a typically labor-intensive task into a quick and surprisingly easy one. Forget spending ages kneading by hand; your trusty food processor can do the heavy lifting for you, producing beautifully kneaded dough ready for its rise.
In this comprehensive guide, you’ll learn exactly how to harness the power of your food processor to create perfect bread dough. We’ll walk you through each step, offer practical tips, and even address common challenges to ensure your homemade bread dreams become a delicious reality. Get ready to impress yourself and your loved ones with fresh, warm bread baked with newfound ease!
Understanding the Food Processor Method
The magic of using a food processor for bread dough lies in its ability to mimic and accelerate the kneading process. Kneading develops gluten, the protein network that gives bread its structure and chewy texture. Traditionally, this involves folding and stretching dough by hand or using a stand mixer. A food processor, with its sharp blades spinning at high speed, effectively “cuts” and “blends” the ingredients, rapidly developing gluten in a fraction of the time. This method is particularly effective for enriched doughs (those with eggs, milk, or butter) as well as leaner doughs.

Visual guide about How to Make Bread Dough with Food Processor
Image source: i.ytimg.com
Essential Ingredients and Equipment
Before we begin, ensure you have the following on hand:

Visual guide about How to Make Bread Dough with Food Processor
Image source: chefsbliss.com
- Your Food Processor: A mid-sized or large capacity food processor is ideal.
- Standard Bread Ingredients:
- Flour: All-purpose or bread flour works well. Bread flour has a higher protein content, which helps develop more gluten.
- Yeast: Active dry yeast or instant yeast. Ensure it’s fresh!
- Liquid: Water, milk, or a combination, typically lukewarm.
- Salt: Essential for flavor and controlling yeast activity.
- Sugar (Optional): A little sugar feeds the yeast and aids browning.
- Fat (Optional): Butter or oil for richness and a softer crumb.
- Measuring Cups and Spoons
- Spatula or Dough Scraper
Step-by-Step Guide to Making Bread Dough
Let’s get started! Follow these steps for perfectly kneaded dough:
Visual guide about How to Make Bread Dough with Food Processor
Image source: msbkitchen.com
Step 1: Prepare Your Ingredients
Accuracy is key in baking. Measure all your ingredients precisely before you start. Ensure your liquids are lukewarm (around 105-115°F or 40-46°C) if using active dry yeast, as this temperature activates it without killing it. If using instant yeast, you can often add it directly to the dry ingredients, but follow your recipe’s instructions.
Step 2: Combine Dry Ingredients
This is where the food processor comes into play. Make sure your food processor bowl and blade are clean and dry.
Add Dry Ingredients to the Bowl
Place the flour, salt, and sugar (if using) into the food processor bowl. If you are using instant yeast, you can add it here as well. Pulse a few times to combine these dry ingredients evenly. This ensures the salt and sugar are distributed throughout the flour.
Step 3: Add Wet Ingredients and Yeast (if separate)
Now it’s time to bring the dough to life. If you are using active dry yeast and haven’t proofed it separately, this is where you’d add it. You can also add any fat at this stage.
Incorporate the Liquids
With the food processor running on a low speed, or while it is off and about to be pulsed, gradually add the lukewarm liquid. If your recipe calls for melted butter or oil, you can stream it in slowly while the processor is running on low.
Tip: For active dry yeast, it’s often best to proof it first in the lukewarm liquid with a pinch of sugar for about 5-10 minutes until foamy. This confirms your yeast is active. Then, add this yeast mixture to the dry ingredients.
Step 4: Process the Dough
This is the crucial kneading stage. The goal is to develop gluten without overworking or overheating the dough.
Pulse and Process
Start by pulsing the mixture. You’ll see the ingredients start to come together, forming a shaggy mass. Once a shaggy dough forms, continue processing. The dough will start to transform. It will become smoother and more cohesive, pulling away from the sides of the bowl and forming a ball that spins around the blade.
How long? This usually takes about 45 seconds to 1 minute of continuous processing. You’re looking for the dough to form a smooth, elastic ball. It should be slightly sticky but not adhere to your fingers when you touch it.
Don’t overdo it! Over-processing can generate too much heat, which can kill the yeast and result in tough bread. It can also overwork the gluten, making it difficult to rise.
Step 5: Check Dough Consistency
Once the dough has formed a ball and is spinning with the blade, stop the processor and check its texture.
The Windowpane Test (Modified)
Gently remove the dough ball from the food processor. It should feel elastic and smooth. You can try the “windowpane test”: pinch off a small piece of dough and gently stretch it thin. If you can stretch it thin enough to see light through it without it tearing immediately, your gluten has developed well. If it tears easily, process for another 15-30 seconds and test again.
Step 6: First Rise (Bulk Fermentation)
Your dough is now perfectly kneaded and ready to rise. This is where it develops flavor and doubles in size.
Grease a Bowl and Cover
Lightly grease a clean bowl with oil or cooking spray. Place the kneaded dough ball into the bowl, turning it to coat all sides. Cover the bowl tightly with plastic wrap or a damp kitchen towel.
Find a Warm Spot
Place the bowl in a warm, draft-free place. The ideal temperature is around 75-80°F (24-27°C). This could be on top of a slightly warm (but not hot!) oven, in a proofing drawer, or simply on your counter if your kitchen is warm enough. Let the dough rise until it has doubled in size, which typically takes 1 to 1.5 hours, depending on the room temperature and yeast activity.
Step 7: Shaping and Second Rise
Once the dough has doubled, it’s time to shape it into your desired loaf or rolls.
Punch Down and Shape
Gently punch down the risen dough to release the air. Turn it out onto a lightly floured surface. Shape it according to your recipe – into a round boule, a loaf for a pan, or individual rolls. Once shaped, place it on a baking sheet lined with parchment paper or in your prepared baking pan.
Second Rise (Proofing)
Cover the shaped dough loosely and let it rise again in a warm place. This second rise is shorter, usually about 30-60 minutes, until the dough looks puffy and has increased significantly in size (but not necessarily doubled).
Step 8: Baking
Preheat your oven to the temperature specified in your bread recipe. Often, this is around 375-425°F (190-220°C). You might want to add steam to your oven for a crispier crust; place a shallow pan of water on the bottom rack while preheating.
Bake Until Golden
Bake the bread for the time indicated in your recipe. It’s usually done when it’s golden brown on top and sounds hollow when tapped on the bottom. An internal temperature of 190-210°F (88-99°C) is also a good indicator.
Troubleshooting Common Issues
Even with the help of a food processor, you might encounter a few snags. Here’s how to fix them:
My Dough is Too Sticky
Problem: The dough is wet and clinging excessively to the processor blade and your hands.
Solution: This usually means it has too much liquid or not enough flour. While the food processor is running, add flour, one tablespoon at a time, until the dough starts to pull away from the sides and forms a cohesive ball. Be careful not to add too much, or it will become tough.
My Dough is Too Dry and Crumbly
Problem: The dough isn’t coming together, or it looks dry and doesn’t form a ball.
Solution: It needs more liquid. While the food processor is running, add liquid (water or milk) very slowly, one teaspoon at a time, until the dough begins to clump and form a ball. Ensure your liquid is lukewarm, as cold liquid won’t activate the yeast effectively.
My Dough Isn’t Developing Gluten (Not Elastic)
Problem: After processing, the dough tears easily and doesn’t feel stretchy.
Solution: You might not have processed it long enough, or your yeast might be inactive. Try processing for another 15-30 seconds. If it still doesn’t develop, your yeast might be old. Consider restarting with fresh yeast. Also, ensure you’re using bread flour if your recipe calls for it, as it has more gluten-forming proteins.
Overworked Dough
Problem: The dough feels tough, or it doesn’t rise well after processing.
Solution: This happens when the dough is processed for too long, generating heat and overworking the gluten. Unfortunately, there’s not much you can do to “fix” overworked dough. It’s best to proceed with the recipe, but expect a denser loaf. In the future, be more mindful of processing times and stop as soon as the dough forms a smooth ball.
Conclusion
Congratulations! You’ve successfully learned how to make bread dough using your food processor. This method offers a remarkable blend of speed, convenience, and quality, making homemade bread more accessible than ever. By understanding the basic principles and following these steps, you’re well on your way to baking delicious loaves with confidence. So, fire up that food processor, embrace the ease, and enjoy the incredible aroma and taste of your freshly baked bread. Happy baking!