
Transform raw almonds into luscious, homemade almond butter using just your food processor. This straightforward guide walks you through each step, from selecting the best almonds to achieving the perfect creamy consistency. Enjoy a healthier, more customizable spread and discover the joy of DIY nut butter.
Welcome to the wonderful world of homemade almond butter! Are you tired of store-bought nut butters loaded with sugar and unpronounceable ingredients? Do you crave a natural, delicious spread that you can customize to your exact liking? If so, you’ve come to the right place. By the end of this guide, you’ll be a pro at making your very own almond butter using a common kitchen appliance: the food processor. We’ll walk you through the simple steps, offer helpful tips, and even cover common issues you might encounter. Get ready to elevate your snacks, breakfasts, and baked goods with this simple, rewarding DIY project.
Key Takeaways
- Start with Quality Almonds: Choose raw, unsalted almonds for the best flavor and texture in your homemade almond butter.
- Patience is Key: The food processor process can take time, often 10-20 minutes, so be patient as the almonds break down.
- Scrape Down the Sides: Regularly scraping down the sides of the food processor bowl is crucial for even processing.
- Embrace the Stages: Observe the transition from almond meal to a clumpy paste, then to smooth almond butter.
- Customize Your Flavor: Add sweeteners, salt, or spices after the initial processing to tailor your almond butter to your taste.
- Storage Matters: Properly store your homemade almond butter in an airtight container in the refrigerator for optimal freshness.
Why Make Your Own Almond Butter?
Making almond butter at home offers several fantastic benefits. First, it’s incredibly cost-effective, especially when you buy almonds in bulk. Second, you have complete control over the ingredients. You can ensure it’s free from added sugars, unhealthy oils, and preservatives. This makes it a healthier choice for you and your family. Plus, the satisfaction of creating something so delicious from scratch is truly rewarding. You can experiment with different flavor combinations, making it uniquely yours. Imagine a spicy almond butter for your toast or a chocolate-infused version for dipping fruit – the possibilities are endless!
What You’ll Need
Before we dive into the process, let’s gather our ingredients and equipment. You don’t need much, making this a super accessible recipe.
Visual guide about How to Make Almond Butter with Food Processor
Image source: primod.co.uk
- Raw Almonds: About 2-3 cups. You can use blanched almonds if you prefer a lighter color and smoother texture, but skin-on almonds add more fiber and nutrients.
- Food Processor: A good quality, powerful food processor is essential for this recipe.
- Spatula: For scraping down the sides of the food processor bowl.
- Optional Add-ins: Salt, honey, maple syrup, cinnamon, vanilla extract, or other spices.
Step-by-Step Guide to Making Almond Butter
Now, let’s get to the fun part! Follow these simple steps to create your almond butter.
Visual guide about How to Make Almond Butter with Food Processor
Image source: notenoughcinnamon.com
Step 1: Toast Your Almonds (Optional but Recommended)
While you can make almond butter with raw almonds, toasting them first significantly enhances the flavor and aroma. It also helps them break down more easily in the food processor. This step is entirely optional, but we highly recommend it for the best results.
Visual guide about How to Make Almond Butter with Food Processor
Image source: simshomekitchen.com
How to Toast Almonds
- Preheat your oven: Set your oven to 350°F (175°C).
- Spread almonds on a baking sheet: Arrange the raw almonds in a single layer on a baking sheet.
- Bake until fragrant: Toast for 8-12 minutes, watching them closely. They should be lightly golden and smell fragrant. Be careful not to burn them, as they can go from toasted to burnt very quickly!
- Cool completely: Remove the almonds from the oven and let them cool completely on the baking sheet. This is important; warm almonds can create steam and affect the texture of your butter.
Pro Tip: If you have a powerful food processor, you can skip toasting. However, toasting truly brings out a nutty depth of flavor that’s hard to beat.
Step 2: Process the Almonds
This is where the magic happens. It takes patience, but your food processor will do the work.
Initial Grinding
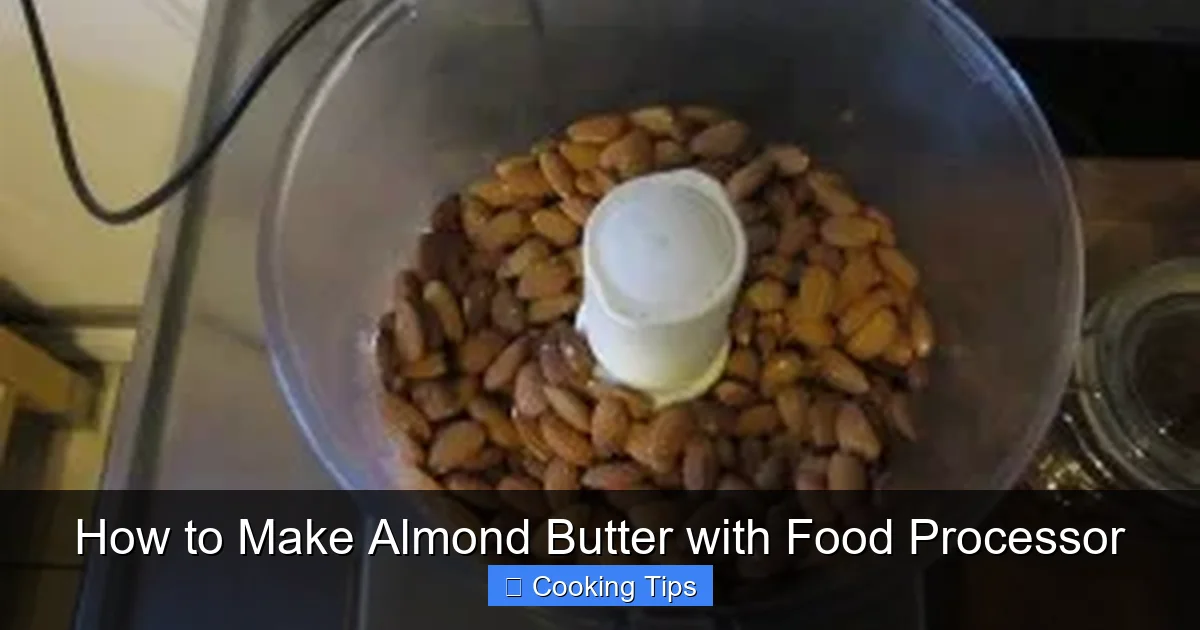
- Add almonds to the food processor: Place your cooled, toasted (or raw) almonds into the bowl of your food processor.
- Process for a few minutes: Start by pulsing the almonds a few times, then let the processor run. Initially, the almonds will break down into a coarse meal. This might take 1-2 minutes.
- Scrape down the sides: Stop the food processor and use your spatula to scrape down any almond dust clinging to the sides and bottom of the bowl. This ensures even processing.
The Clumping Stage
- Continue processing: Let the food processor run again. You’ll notice the almond meal starting to clump together. It will look like wet sand or small pebbles. This stage can take another 2-4 minutes.
- Scrape down again: Stop and scrape down the sides of the bowl once more. It’s crucial to get all the larger almond pieces incorporated.
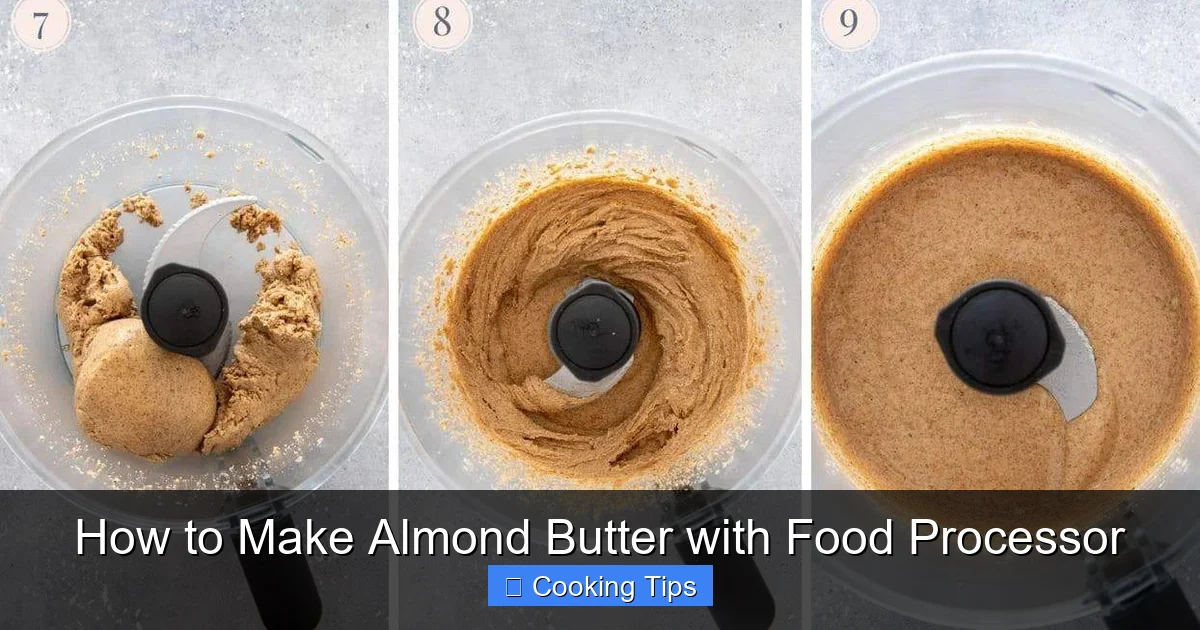
Reaching the Paste Stage
- Keep processing: Continue running the food processor. The clumpy mixture will start to form a thick paste. It might look dry and crumbly at first, but don’t give up!
- More scraping: You’ll likely need to stop and scrape down the sides several more times. This stage can take another 5-8 minutes. The friction from the blades starts to release the almonds’ natural oils.
The Smooth Almond Butter
- The transformation: At this point, you’ll see a significant change. The paste will become smoother, glossier, and more liquidy as more oils are released. This is the desired almond butter consistency.
- Final processing: Continue processing until you reach your desired smoothness. This could take another 5-10 minutes, or even longer, depending on your food processor’s power and how smooth you like your butter.
Troubleshooting Tip: If your food processor starts to overheat, give it a break. Turn it off for a few minutes to cool down before continuing. This is more common with older or less powerful models.
Step 3: Add Flavorings (Optional)
Once your almond butter has reached a smooth, creamy consistency, it’s time to customize it. This is the best part of making it yourself!
Sweeteners and Salt
- Add salt: For enhanced flavor, add about 1/4 to 1/2 teaspoon of salt. Start with less and add more to taste.
- Add sweetener: If you prefer sweet almond butter, add 1-2 tablespoons of honey, maple syrup, or your preferred sweetener.
- Other flavors: Consider adding a pinch of cinnamon, a dash of vanilla extract, or even a tablespoon of unsweetened cocoa powder for a chocolate almond butter.
Important: Add these flavorings after the almonds have released their oils and become smooth. Processing them from the beginning can lead to them sticking to the sides and not incorporating well.
Blend in the Flavors
- Pulse to combine: Add your chosen flavorings to the food processor.
- Process briefly: Pulse a few times, then let the processor run for another minute or two to thoroughly incorporate the additions.
- Taste and adjust: Give your almond butter a taste and add more salt or sweetener if needed. Process for another short burst to mix.
Step 4: Store Your Almond Butter
Proper storage ensures your delicious homemade almond butter stays fresh and enjoyable.
Storage Guidelines
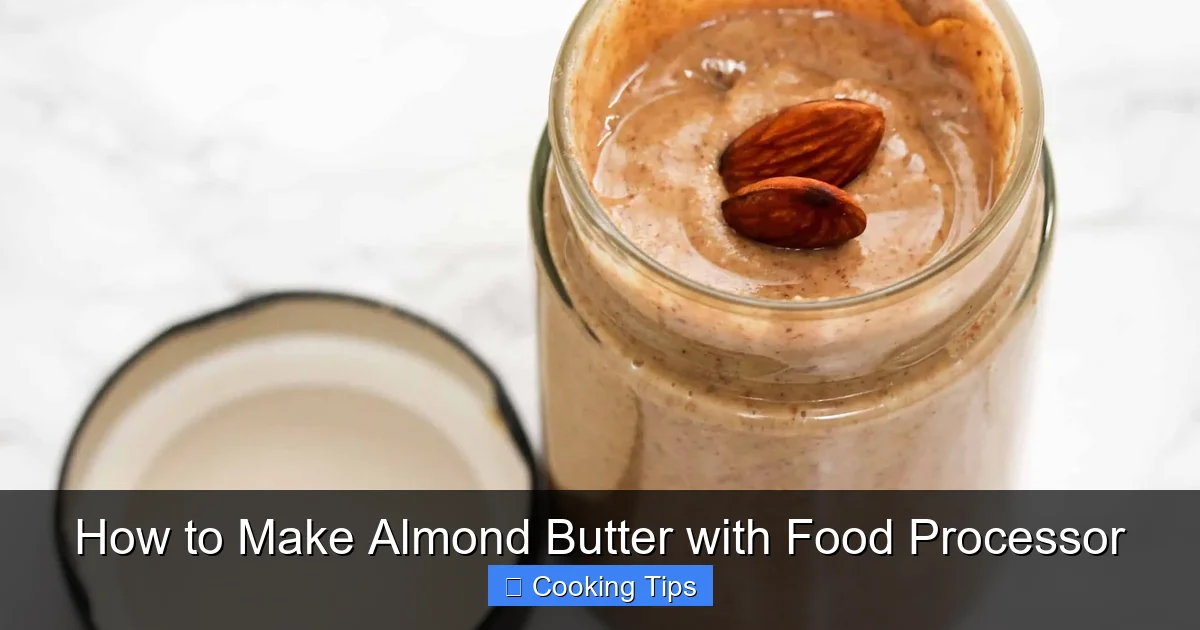
- Airtight container: Transfer the almond butter to a clean, airtight glass jar or container.
- Refrigerate: Homemade almond butter, especially without preservatives, is best stored in the refrigerator. This helps it stay fresh for longer and prevents the oils from separating too quickly.
- Shelf life: It will typically last for 2-3 weeks in the refrigerator.
Note on Oil Separation: It’s natural for the almond oil to separate and rise to the top. Simply stir it back in before serving. Storing it upside down can also help prevent this.
Troubleshooting Common Issues
Even with the best intentions, you might encounter a few hiccups. Here’s how to solve them.
Problem: The Almonds Aren’t Turning into Butter!
Solution: Patience! This is the most common “problem.” Ensure you’re processing for long enough. Keep scraping down the sides. If your food processor is struggling, give it a break to cool down. Ensure your almonds are not too old, as older nuts may have less oil.
Problem: The Almond Butter is Too Thick/Dry.
Solution: You might need to process for longer to release more oils. If it’s still too thick after extended processing, you can add a teaspoon of neutral oil (like almond oil or a very light olive oil) at a time until it reaches your desired consistency. Remember to add this after the initial stages of processing.
Problem: The Almond Butter is Too Thin/Oily.
Solution: This is less common. If it’s significantly too thin, you can try adding a tablespoon of almond flour or a small handful of additional almonds and processing again. However, a slightly thinner consistency is often still delicious and can be easily stirred.
Problem: My Food Processor is Overheating.
Solution: This is a sign that the motor is working hard. Turn off the food processor and let it cool for 5-10 minutes before resuming. Avoid overfilling the bowl, which can also strain the motor. Breaking the process into shorter bursts is key.
Conclusion
Congratulations! You’ve now learned how to make delicious, healthy almond butter right in your own kitchen. The process might seem a little long, but the payoff is immense. You get a superior-tasting, customizable spread that’s free from all the artificial stuff. Experiment with different nuts, spices, and sweeteners to create your signature blend. Enjoy your homemade almond butter on toast, in smoothies, as a dip for apples, or straight from the spoon!