
Slow, patient heat delivers gentle cooking, tender textures, and deep flavor every time.
I’ve spent years testing stovetop and oven techniques to master cooking on low heat tips. I teach simple ways to control heat, pick the right pans, and rescue a dish that’s too hot or too cool. Read on for practical, expert advice on cooking on low heat tips you can use tonight.
Why cook on low heat? Benefits explained
Cooking on low heat brings out flavor slowly. It breaks down tough fibers in meat. It keeps dairy and sauces from curdling. It helps sugars caramelize gently without burning.
Low heat is kinder to delicate foods like eggs and fish. It reduces the chance of overcooking. It also saves energy for long cooks. These cooking on low heat tips make meals more tender and more flavorful.
Essential tools and cookware for low heat
Good tools make low-heat cooking easier. Use heavy-bottomed pans to spread heat evenly. Cast iron and stainless steel are great for heat stability. A heavy pot or Dutch oven holds steady heat for braises.
Invest in a reliable thermometer. A stovetop diffuser or heat tamer is helpful for thin burners. Use lids that seal well to trap steam. Keep wooden or silicone spoons for stirring gently. These items support cooking on low heat tips and prevent hot spots.
Practical cooking on low heat tips: temperature control
Know your stove’s low setting. Every range is different, so test it with water. Bring water to a simmer and watch bubbles. If bubbles form slowly and steadily, that’s low heat. Adjust your burner to keep the simmer.
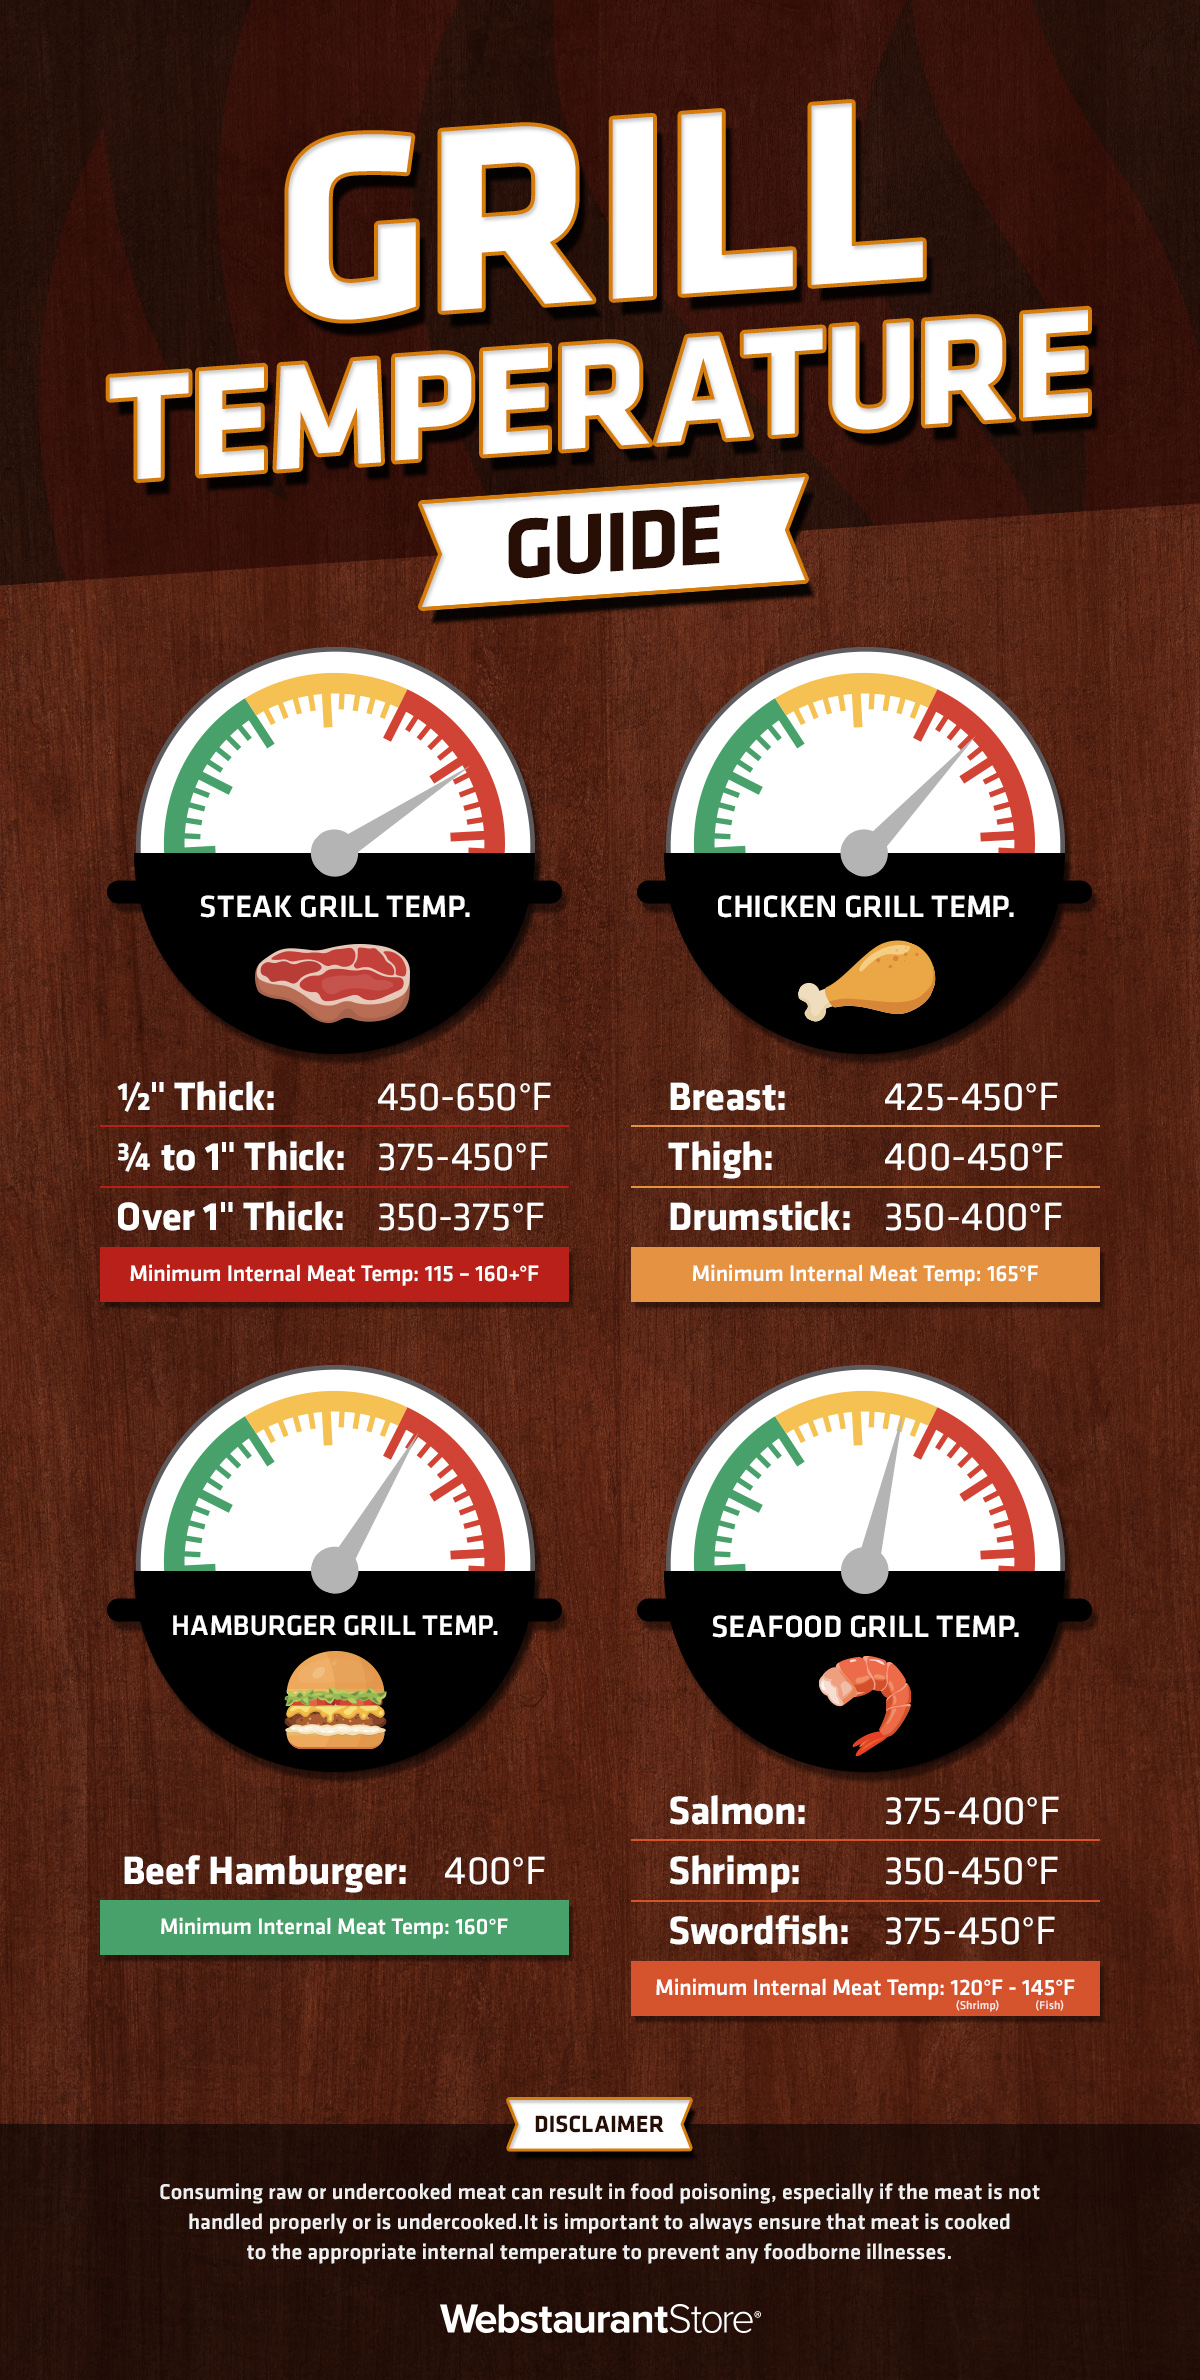
Use a thermometer for precision. Aim for 185–205°F for most low simmering. For sous-vide style slow cooks, follow the recipe temperature. Stir less often to avoid cooling the pot. When you need more heat, raise the lid briefly to check and then lower it.
These simple cooking on low heat tips help you hold steady temperatures for hours.

Techniques: simmering, braising, poaching, and steaming
Simmering
- Keep small, steady bubbles near the surface.
- Use a lid to keep moisture and flavor.
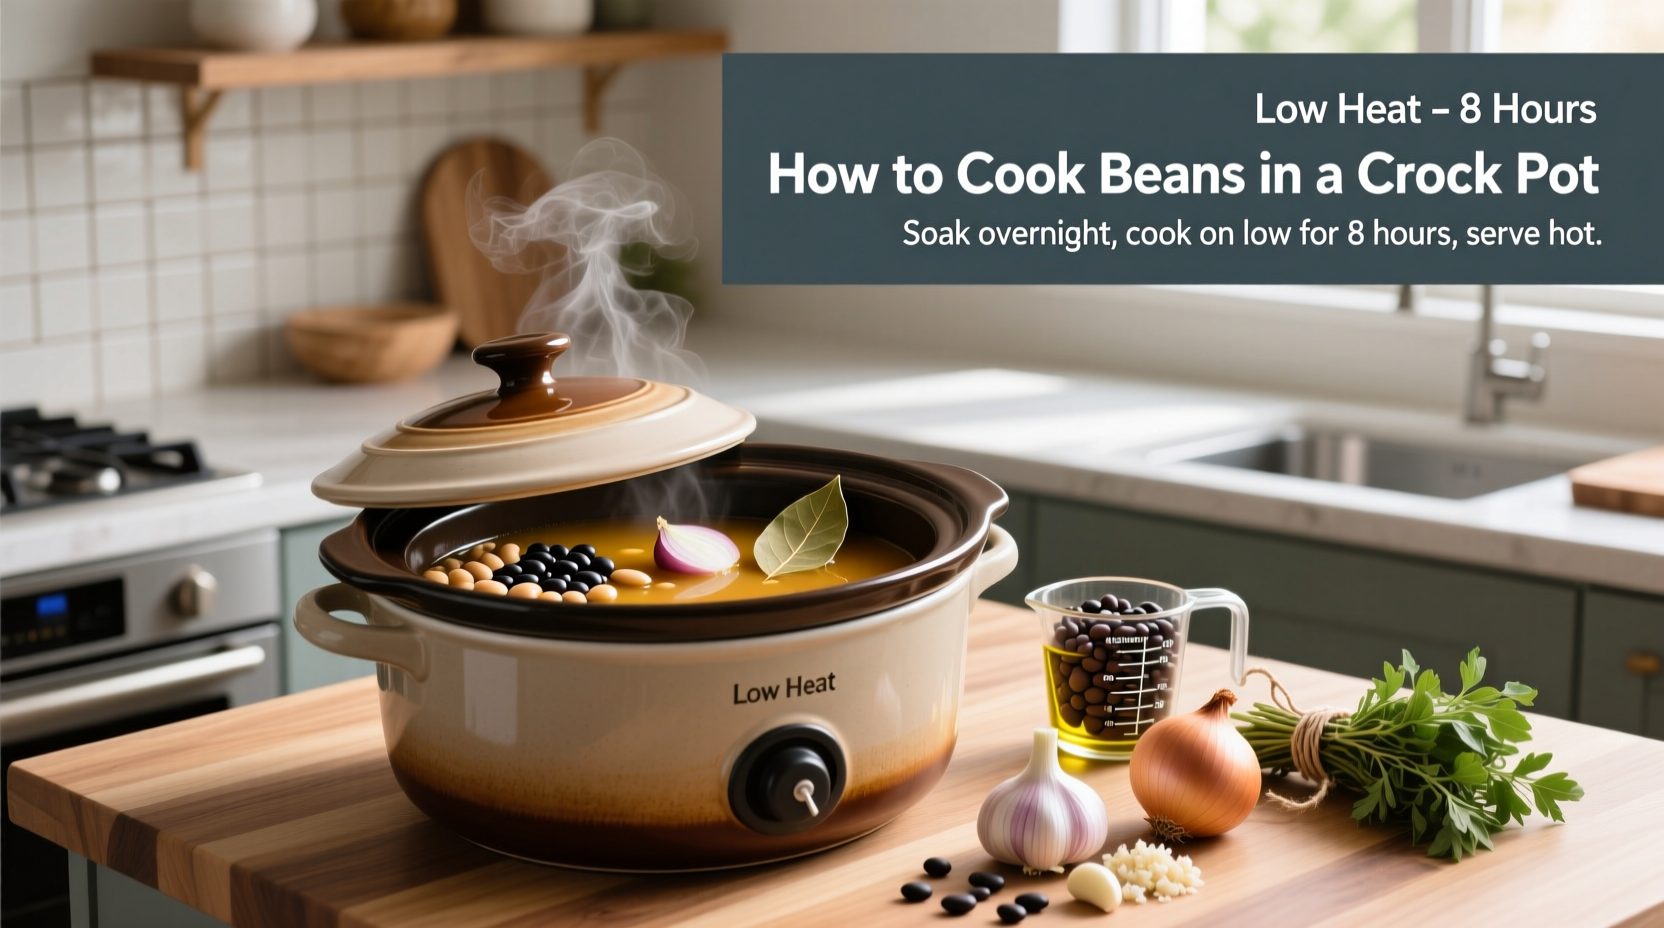
- Simmer stocks, beans, and sauces for depth.
Braising
- Sear on medium-high, then finish on low.
- Use a covered pot with some liquid.
- Cook low and slow until meat is fork-tender.
Poaching
- Keep liquid just below a simmer.
- Poach eggs, fish, and fruit gently for best texture.
- Use shallow pans for even heat.
Steaming
- Keep water at a low simmer under the steamer basket.
- Steam vegetables until crisp-tender.
- Avoid high heat that makes steam violent and uneven.
These cooking on low heat tips help you choose the right method for each ingredient.
Common mistakes and how to avoid them
Mistake: Heat too high right away.
- Tip: Start low and raise heat gradually during searing or sautéing.
Mistake: Using thin pans that warp.
- Tip: Use heavy-bottomed cookware to avoid hot spots.
Mistake: Lifting the lid too often.
- Tip: Check through a window or use a timer to avoid heat loss.
Mistake: Not seasoning early.
- Tip: Season in stages to build layered flavor while cooking on low heat.
Mistake: Confusing simmer and boil.
- Tip: Practice watching bubble size to tell them apart.
These common fixes will improve your results with cooking on low heat tips.

Sample recipes and timing examples
Slow-simmered tomato sauce
- Brown onions and garlic, then add tomatoes and herbs.
- Simmer on low for 45–90 minutes, stirring occasionally.
- Finish with salt, sugar if needed, and a splash of olive oil.
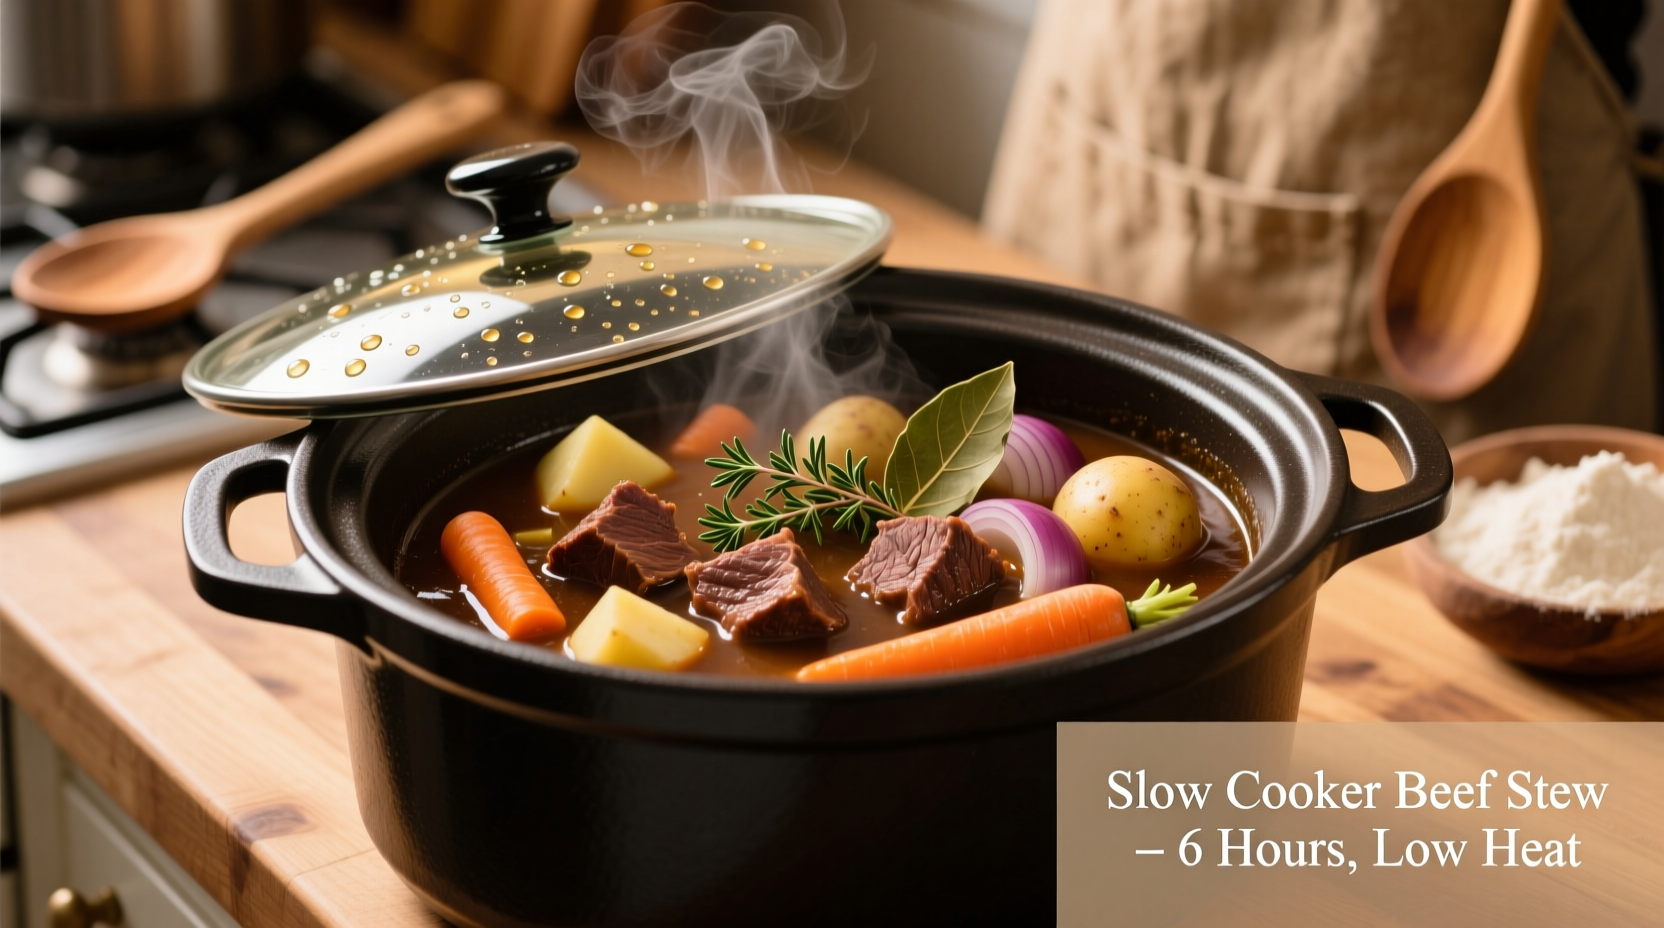
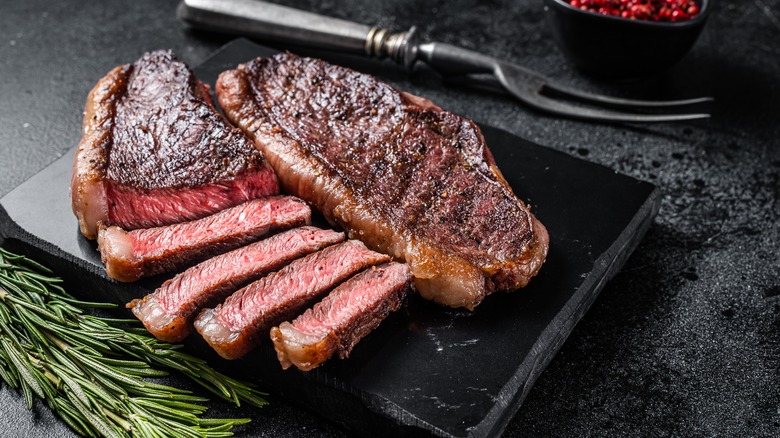
Braising short ribs
- Sear ribs, add aromatics and stock.
- Cook covered on low for 2.5–3 hours until tender.
- Rest in liquid to keep meat moist and flavorful.
Poached salmon
- Keep water at 180–190°F and poach 8–12 minutes depending on thickness.
- Remove gently with a slotted spatula to avoid flaking.
These timing examples show how cooking on low heat tips apply across recipes.
Troubleshooting and quick fixes
Sauce is grainy or split
- Slow the heat and whisk in a splash of warm liquid.
- Remove from direct heat and stir until smooth.
Braising liquid evaporates too fast
- Lower the heat and add a tight-fitting lid.
- Add a little extra stock if the level drops too low.
Food tastes flat after long cooking
- Brighten with acid like lemon or vinegar at the end.
- Add fresh herbs near the finish for a lift.
Dish is undercooked after long time
- Check heat level and thermometer placement.
- Increase to a slightly higher low setting and continue cooking.
These quick fixes are part of practical cooking on low heat tips I use daily.
Frequently Asked Questions of cooking on low heat tips
How do I know if my simmer is too low or too high?
A proper low simmer shows small, slow bubbles and gentle movement. If bubbles are racing, lower the heat; if there are no bubbles, increase slightly.
Can I cook everything on low heat?
Not everything benefits from low heat. Quick-sear dishes and stir-fries need high heat, while tough cuts and delicate foods do well with low heat.
Will low heat make meat dry?
Low heat helps break down connective tissue and keeps meat moist when there is enough liquid and fat. Overcooking on any heat can dry meat, so watch time and temperature.
How long should I simmer a sauce on low heat?
Most sauces need 30–90 minutes to develop flavor. Tomato sauces can be longer; lighter cream sauces need much less time to avoid breaking.
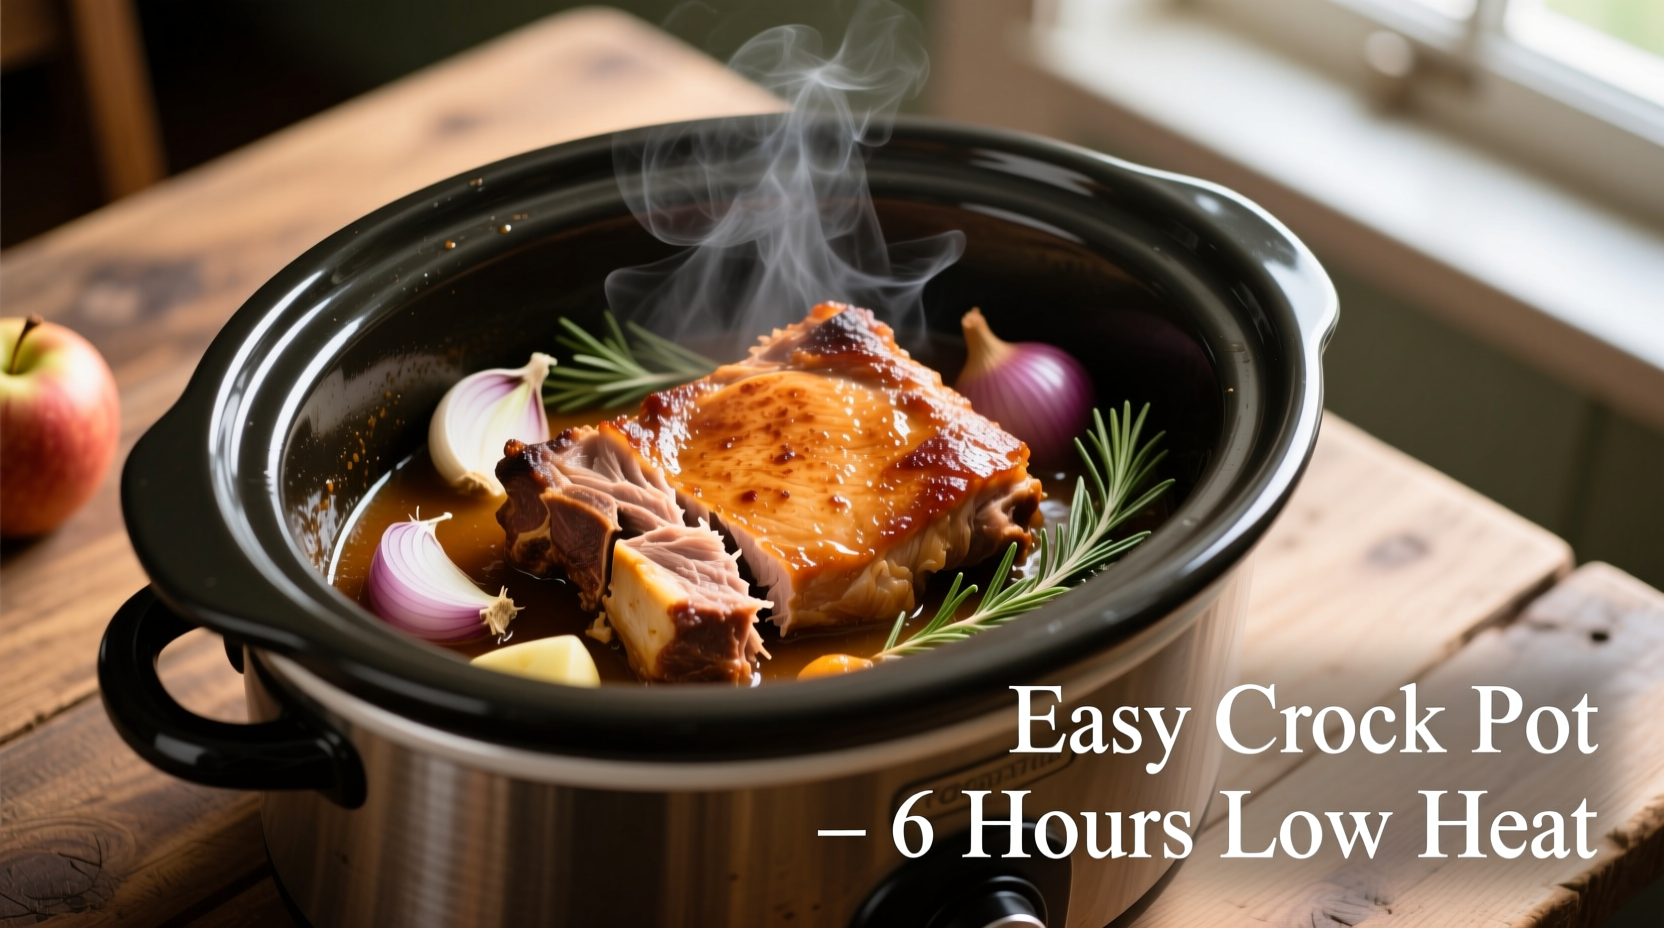
Is it safe to leave food cooking on low heat overnight?
It depends on the dish and appliance. Use a slow cooker designed for overnight use or follow safety guidelines. Never leave stovetop pots unattended for long periods.
Do I need a special thermometer for low-heat cooking?
A simple instant-read or probe thermometer works well to monitor internal and liquid temperatures. Reliable readings help maintain a steady low heat.
Conclusion
Cooking on low heat brings out deep flavor and tender textures while giving you more control. Use steady temperatures, heavy pans, reliable thermometers, and patience to get the best results. Try one new cooking on low heat tip tonight, like holding a gentle simmer or using a diffuser, and notice the difference in texture and taste.
Take action: practice these tips, leave a comment with your results, or subscribe for more simple, tested kitchen advice.