
Cleaning a wooden cutting board properly is crucial for food safety and maintaining its lifespan. This guide outlines the best methods for daily cleaning and deep conditioning. By following these simple steps, you’ll ensure your wooden cutting boards remain a hygienic and cherished tool in your kitchen for years to come.
Best Way to Clean a Wooden Cutting Board
Your wooden cutting board is more than just a kitchen surface; it’s a trusted companion in your culinary adventures. From chopping vegetables for a vibrant salad to carving a Sunday roast, it’s seen it all. But with all this action comes the responsibility of keeping it clean, hygienic, and beautiful. Unlike plastic boards, wooden boards require a little more care, but the rewards – a durable, antimicrobial surface that adds warmth to your kitchen – are well worth the effort.
This comprehensive guide will walk you through the best ways to clean your wooden cutting board, ensuring it remains a safe and reliable tool for years to come. We’ll cover everything from your daily cleaning routine to deep conditioning and troubleshooting common issues. Get ready to transform your cutting board care from a chore into a satisfying ritual.
Key Takeaways
- Regular Cleaning is Essential: Wash your wooden cutting board immediately after each use with hot water and mild soap.
- Avoid Soaking: Never submerge a wooden cutting board in water, as this can lead to warping and cracking.
- Sanitize Effectively: Use natural sanitizers like vinegar or hydrogen peroxide to kill bacteria and neutralize odors.
- Deep Conditioning Prevents Drying: Regularly oil your cutting board with food-grade mineral oil or beeswax to keep it moisturized and prevent drying.
- Address Stains and Odors: Lemon and salt are excellent natural tools for tackling stubborn stains and lingering smells.
- Proper Drying is Key: Always allow your cutting board to air dry completely in an upright position.
Understanding Your Wooden Cutting Board
Before we dive into cleaning methods, it’s helpful to understand why wooden cutting boards are special and what makes their care unique. Wood is a natural material, and like all natural materials, it reacts to its environment.
The Benefits of Wood
* **Antimicrobial Properties:** Believe it or not, wood has natural antimicrobial properties. When bacteria land on a wooden surface, they tend to get trapped in the pores and die off over time, especially if the board is properly maintained.
* **Gentle on Knives:** Wood is kinder to your knives’ edges than plastic or glass surfaces, helping them stay sharper for longer.
* **Aesthetic Appeal:** The natural grain and warmth of wood add a beautiful, rustic touch to any kitchen.
* **Durability:** With proper care, a good quality wooden cutting board can last a lifetime.
Why Special Care is Needed
* **Water Damage:** Wood expands and contracts with moisture. Prolonged exposure to water can cause your cutting board to warp, crack, or split. This is why we *never* put wooden cutting boards in the dishwasher.
* **Drying Out:** Just like your skin can get dry and chapped, wood can dry out and become brittle if not properly conditioned. This makes it more susceptible to damage.
* **Stains and Odors:** Wood can absorb colors and smells from the foods you cut.
Daily Cleaning: Keeping It Fresh After Every Use
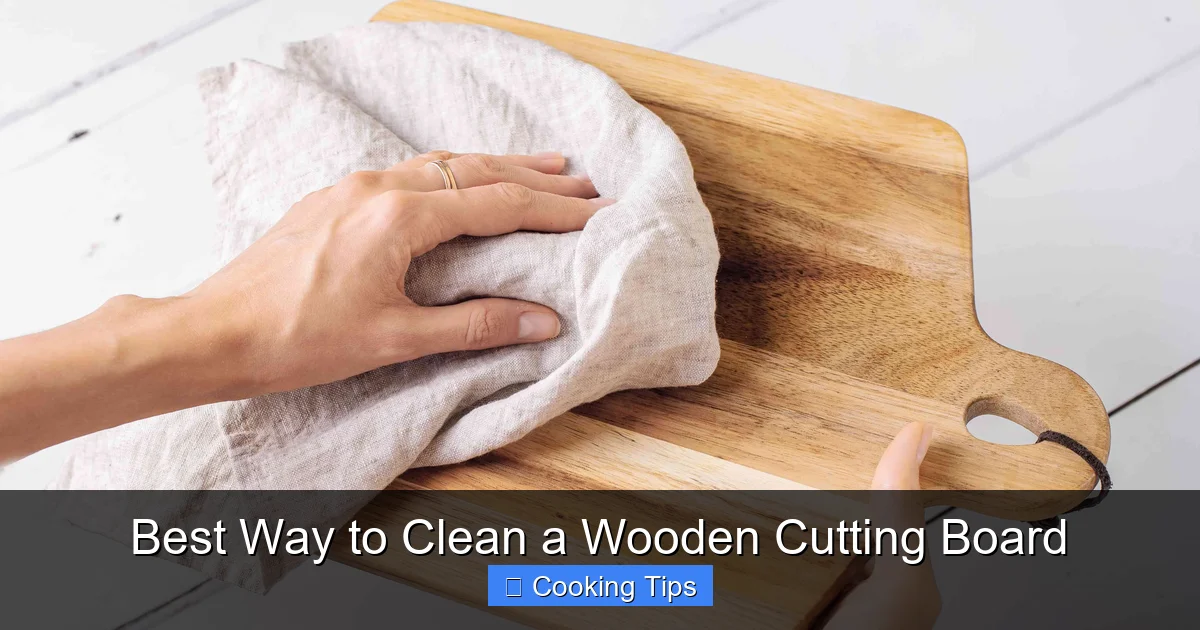
Visual guide about Best Way to Clean a Wooden Cutting Board
Image source: thespruce.com
The most crucial part of keeping your wooden cutting board clean and hygienic is a consistent daily cleaning routine. This prevents food particles from lingering and bacteria from multiplying.
Step 1: Immediate Post-Use Wash
As soon as you’re finished using your cutting board, it’s time for its bath. Don’t let it sit around with food residue.
* Clear the Board: Scrape off any large food particles with a bench scraper or the blunt edge of your knife.
* Rinse with Hot Water: Run the board under hot water. Hot water helps to loosen food debris and kill some surface bacteria.
* Apply Mild Soap: Use a small amount of mild dish soap. Avoid harsh detergents or abrasive cleaners, as they can strip the wood’s natural oils and damage the surface.
* Scrub Gently: Use a soft-bristled brush or a non-abrasive sponge to gently scrub both sides of the board. Pay attention to any grooves or carved areas. Scrubbing helps to lift away food particles.
Step 2: Rinse Thoroughly
Once you’ve scrubbed, rinse the board thoroughly under hot running water. Make sure all soap residue is gone. Lingering soap can affect the taste of your next food preparation.
Step 3: Sanitize (Optional, but Recommended)
While regular washing removes food debris, a quick sanitization step can boost hygiene, especially after cutting raw meat or poultry.
Using White Vinegar
White vinegar is a natural disinfectant and deodorizer.
* Pour undiluted white vinegar directly onto the surface of the cutting board.
* Let it sit for about 5-10 minutes.
* Rinse thoroughly with hot water.
Using Hydrogen Peroxide (3%)
Hydrogen peroxide is another excellent sanitizer.
* Pour 3% hydrogen peroxide onto the board.
* Let it bubble and work for about 5-10 minutes.
* Rinse thoroughly with hot water.
*Tip:* You can also use a solution of equal parts water and white vinegar or water and hydrogen peroxide for a milder sanitizing effect if you prefer.
Step 4: Dry Thoroughly and Properly
This is a critical step that many people overlook. Improper drying is a major cause of wood damage.
* Wipe Down: Use a clean towel to pat down the board, removing as much surface water as possible.
* Air Dry: Stand the cutting board upright on its edge. This allows air to circulate around all sides, ensuring it dries evenly and completely. Avoid laying it flat, as this traps moisture and can lead to warping.
* Location: Place it in a well-ventilated area, away from direct heat sources like ovens or radiators, which can dry out the wood too quickly and cause cracking.
Deep Cleaning and Conditioning: The Secret to Longevity
Visual guide about Best Way to Clean a Wooden Cutting Board
Image source: thespruce.com
Daily cleaning is essential, but to truly protect and maintain your wooden cutting board, you need to incorporate regular deep cleaning and conditioning into your routine. This process replenishes the wood’s natural oils, preventing it from drying out, cracking, and becoming prone to staining.
How Often to Condition?
Aim to condition your cutting board at least once a month, or more frequently if it starts to look dull, dry, or you notice it absorbing water more easily. If you use your board very heavily, you might even need to condition it every few weeks.
Step 1: Prepare for Conditioning
Ensure your cutting board is clean and completely dry before you begin the conditioning process. If it’s not dry, the oil won’t penetrate properly.
Step 2: Choose Your Conditioning Agent
The best choices are food-grade mineral oil or a beeswax-based wood conditioner.
Food-Grade Mineral Oil
* This is readily available at pharmacies or hardware stores.
* It’s colorless, odorless, and tasteless, making it safe for use on food-contact surfaces.
* It penetrates the wood deeply to moisturize and protect.
Beeswax-Based Conditioners
* These often contain mineral oil mixed with beeswax.
* They create a protective barrier on the surface of the wood, offering a bit more water resistance and a nice sheen.
* You can even make your own by melting beeswax and mixing it with mineral oil. A common ratio is 1 part beeswax to 4 parts mineral oil.
What to Avoid:
* Vegetable Oils (e.g., Olive Oil, Canola Oil): These can go rancid over time, leaving a sticky residue and an unpleasant smell on your board.
* Cutting Board Oils Specifically Marketed for Butcher Blocks: While these are great, they are often just mineral oil with added fragrances or colorants. Stick to plain, food-grade mineral oil unless you specifically want those additions.
Step 3: Apply the Conditioner
This is the fun part!
* **Liberally Apply:** Pour a generous amount of mineral oil (or your chosen conditioner) directly onto the surface of the cutting board.
* Work It In: Use a clean, lint-free cloth or paper towel to spread the oil evenly across the entire surface, including the edges and ends. Don’t be shy with the oil; the wood will absorb what it needs.
* Let It Soak: Allow the oil to soak into the wood for at least 30 minutes, or preferably, overnight. You’ll notice some areas absorbing more oil than others – that’s perfectly normal.
Step 4: Remove Excess Oil
After the soaking period, take a clean cloth and wipe off any excess oil that hasn’t been absorbed. The board should feel smooth and slightly glossy, not greasy.
Step 5: Repeat for Best Results (Especially for New Boards)
For new wooden cutting boards, or those that are particularly dry, you might need to repeat the oiling process several times until the wood stops absorbing the oil so readily. This ensures the wood is thoroughly hydrated.
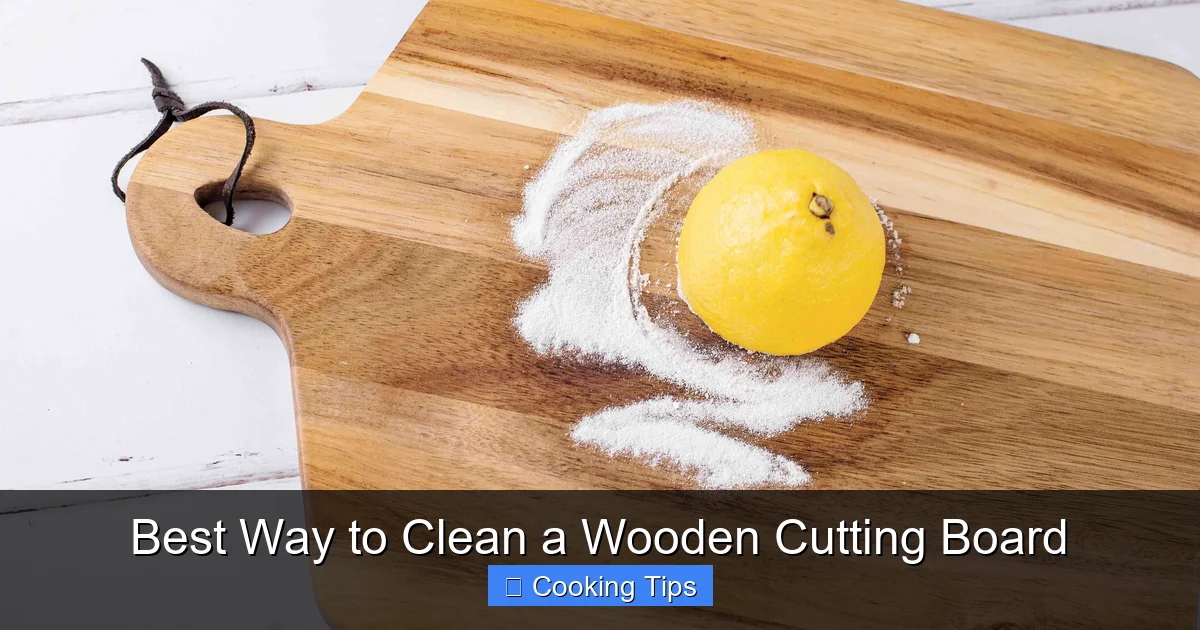
Tackling Stains and Odors Naturally

Visual guide about Best Way to Clean a Wooden Cutting Board
Image source: thespruce.com
Even with diligent cleaning, your wooden cutting board can sometimes develop stubborn stains or lingering odors. Fortunately, you don’t need harsh chemicals to deal with them.
Removing Stains: The Power of Lemon and Salt
This is a classic and highly effective method for lifting both stains and mild odors.
* **Sprinkle with Salt:** Generously sprinkle coarse salt (like kosher salt) over the surface of the cutting board. The salt acts as a mild abrasive.
* **Add Lemon:** Cut a lemon in half. Use the cut side of the lemon half to scrub the salt into the board. The acidity of the lemon helps to break down stains and neutralize odors.
* Scrub and Let Sit: Scrub vigorously with the lemon, working the salt and lemon juice into any stained areas. Let the mixture sit on the board for about 5-10 minutes.
* Rinse and Dry: Rinse the board thoroughly with hot water and dry as usual.
Dealing with Tough Odors
If the lemon and salt method doesn’t fully tackle a strong odor (like garlic or onion), try these options:
White Vinegar Soak
* As mentioned in the daily cleaning section, a quick soak with undiluted white vinegar can be very effective.
Baking Soda Paste
* Make a paste by mixing baking soda with a little water.
* Apply the paste to the stained or odor-prone areas.
* Let it sit for about 10-15 minutes.
* Scrub gently with a soft brush, then rinse thoroughly and dry.
*Important Note:* Always test these methods on an inconspicuous area of your cutting board first, especially if it has a special finish.
Troubleshooting Common Cutting Board Issues
Let’s address some common problems you might encounter with your wooden cutting board and how to fix them.
My Cutting Board is Warped. What Can I Do?
* **Minor Warping:** If the warping is slight, sometimes simply drying the board thoroughly on its edge and allowing it to acclimatize can help. Avoid extreme temperature changes.
* **Significant Warping:** For more severe warping, it’s often difficult to fully correct. However, if the board is still functional, you can try placing heavy, flat objects on it while it’s completely dry. You might also try a very light sanding (see below) to even out the surface. In some cases, severe warping means the board may need to be replaced.
My Cutting Board Has Deep Scratches and Grooves.
Scratches are inevitable with regular use. They can harbor bacteria if they are too deep.
* **Sanding:** You can gently sand your cutting board to remove deep scratches and rejuvenate the surface.
* Start with a medium-grit sandpaper (around 100-120 grit).
* Sand the entire surface evenly, following the grain of the wood.
* Progress to a finer grit sandpaper (around 220 grit) for a smoother finish.
* After sanding, clean the board thoroughly to remove all dust, then re-condition it with mineral oil.
* **Frequency:** Don’t over-sand, as this can thin the board over time. Only sand when necessary.
My Wooden Cutting Board Feels Rough and Dry.
This is a clear sign that your board needs conditioning. Follow the deep cleaning and conditioning steps outlined above.
When to Consider Replacing Your Wooden Cutting Board
While wooden cutting boards are durable, they aren’t immortal. There comes a time when replacement is the best option for hygiene and safety.
* **Deep Cracks and Splits:** If your board has large, deep cracks that cannot be sanded out, they can trap food particles and bacteria.
* **Severe Warping:** If the board is so warped that it’s unstable and difficult to use, it’s time for a new one.
* **Mold or Mildew:** If you discover mold or mildew that you cannot remove through thorough cleaning and sanitizing, replace the board immediately. This is a serious health hazard.
* **Excessive Damage:** If the board is heavily scored, deeply grooved, and has undergone many sanding treatments, it might be too thin to safely use.
Conclusion
Caring for your wooden cutting board is a simple yet essential part of being a responsible home cook. By incorporating these daily cleaning rituals and regular deep conditioning treatments, you’re not just maintaining your kitchen tools; you’re investing in their longevity, ensuring their hygienic performance, and preserving the natural beauty that wood brings to your kitchen.
Remember the golden rules: clean immediately after use, avoid soaking, dry thoroughly, and condition regularly. With a little consistent effort, your wooden cutting board will continue to be a reliable and cherished workhorse for countless meals to come. So, embrace the process, and enjoy the rewarding experience of cooking with a beautifully maintained wooden cutting board!