
Discover the best blender for smoothies that are easy to clean. This guide walks you through identifying key features like detachable blades, dishwasher-safe parts, and self-cleaning functions. Learn how to make delicious, perfectly blended smoothies and spend less time scrubbing. Get ready for effortless cleanup and more enjoyment!
Best Blender for Smoothies Easy to Clean
Are you tired of spending more time scrubbing your blender than you do enjoying your delicious, healthy smoothie? You’re not alone! Finding the perfect blender for smoothies that also makes cleanup a breeze can feel like a quest for the holy grail. But fear not! This comprehensive guide is here to help you navigate the world of blenders and pinpoint the ideal model that delivers silky-smooth results without the cleaning headache.
We’ll cover everything you need to know, from understanding what makes a blender easy to clean to identifying specific features to look for. By the end of this guide, you’ll be equipped to choose a blender that makes your smoothie-making routine not just enjoyable, but also wonderfully simple to maintain. Get ready to blend more and scrub less!
Key Takeaways
- Prioritize Detachable Blades: Blenders with blades that can be removed make deep cleaning significantly easier and more effective.
- Look for Dishwasher-Safe Components: Many blender jars, lids, and blade assemblies are designed to be safely washed in a dishwasher, saving you manual effort.
- Consider Self-Cleaning Functions: Some high-end blenders offer a “self-clean” cycle that uses water and a drop of soap to rinse the blender jar.
- Material Matters for Cleaning: Glass and stainless steel jars are generally easier to clean than some plastics and are less prone to staining or odor retention.
- Design Simplicity is Key: Fewer nooks and crannies in the blender base and jar mean less chance for ingredients to get stuck and harder to reach.
- Check User Reviews for Cleaning Insights: Real-world feedback from other users often reveals how easy or difficult a blender is to clean in practice.
- Regular Maintenance Prevents Stubborn Messes: Promptly rinsing your blender after each use is the single best way to ensure easy cleaning for any model.
Understanding What Makes a Blender “Easy to Clean”
The term “easy to clean” can mean different things to different people. For blenders, it generally boils down to a few key aspects:
* Minimal Parts: Fewer components mean fewer things to wash and reassemble.
* Accessible Surfaces: Smooth surfaces and designs without many nooks and crannies are easier to wipe down.
* Removable Parts: Components that detach easily allow for thorough washing.
* Dishwasher Safe: The ability to toss parts into the dishwasher is a huge time-saver.
* Stain and Odor Resistance: Materials that don’t hold onto colors or smells from your ingredients are a plus.
Let’s dive into the specific features that contribute to an easy-to-clean blender.
Key Features to Look for in an Easy-to-Clean Smoothie Blender
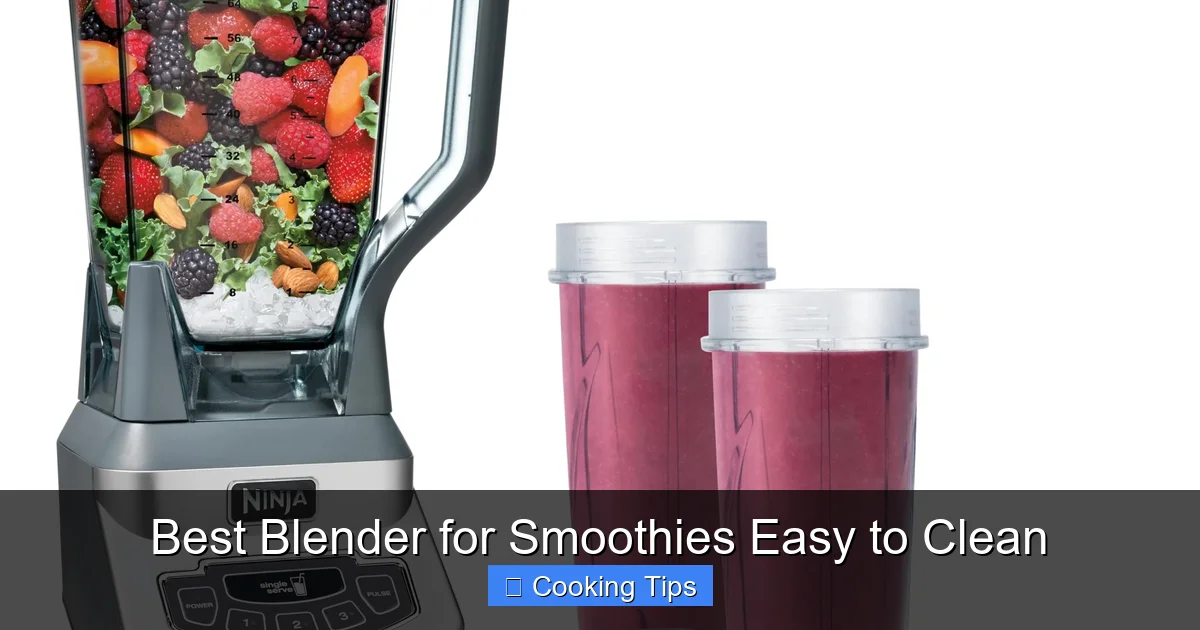
Visual guide about Best Blender for Smoothies Easy to Clean
Image source: m.media-amazon.com
When you’re shopping for your next blender, keep these essential features in mind. They are the hallmarks of a blender that prioritizes your time and sanity.
Detachable Blades
This is arguably the most important feature for easy blender cleaning. Many older or very basic blenders have blades that are permanently fixed to the blender jar. This makes it incredibly difficult to get to all the nooks and crannies where food particles can hide.
* How it helps: Blenders with detachable blade assemblies allow you to unscrew the blade mechanism from the bottom of the jar. This gives you direct access to the blades for thorough washing by hand or, often, makes them dishwasher safe. You can also get to the inside of the jar and the lid more effectively.
* What to look for: Check product descriptions or look for images that show the blade assembly being removed from the jar. Some blenders have a twist-off mechanism, while others might have a locking ring.
Dishwasher-Safe Components
The ultimate convenience for many is being able to simply place the blender jar, lid, and any other removable parts into the dishwasher.
* How it helps: This completely eliminates the need for manual washing, saving you significant time and effort. It ensures a hygienic clean for all parts.
* What to look for: Always confirm that the manufacturer explicitly states that the jar, lid, and blade assembly are dishwasher safe. Usually, they will specify if they are top-rack dishwasher safe. Be cautious of blenders with electronic components or heating elements in the jar, as these are rarely dishwasher safe.
Self-Cleaning Functionality
Some high-end blenders come equipped with a “self-clean” or “pulse clean” setting.
* How it helps: You simply add a bit of water and a drop of dish soap to the blender jar, put on the lid, and run the self-clean cycle for 30-60 seconds. The powerful vortex created by the blender helps to dislodge most food particles. It’s a fantastic way to give your blender a quick rinse after making a smoothie.
* What to look for: This feature is usually found on more powerful blenders. It will be clearly marked as a button or setting on the blender’s control panel. While this is a great feature, it’s important to note that for dried-on or very sticky ingredients, you may still need to do a quick manual scrub.
Jar Material
The material of your blender jar can impact how easy it is to clean and how well it holds up over time.
* Glass Jars:
* Pros: Non-porous, doesn’t stain or absorb odors, easy to see when clean, generally dishwasher safe.
* Cons: Heavier than plastic, can break if dropped.
* Tritan Plastic Jars:
* Pros: Lightweight, durable, BPA-free, often dishwasher safe.
* Cons: Can be prone to scratching over time, might retain odors or stains from intensely colored ingredients (like turmeric or berries) if not cleaned promptly.
* Stainless Steel Jars:
* Pros: Very durable, opaque (hides stains), often good at keeping contents cold.
* Cons: You can’t see the blending progress, can be expensive, usually not dishwasher safe for the jar itself (though blades might be).
For ease of cleaning, glass and high-quality Tritan plastic are generally excellent choices.
Simple Base Design
The blender base, where the motor is housed, should ideally have a smooth, wipeable surface.
* How it helps: Complex designs with many vents, buttons, or crevices can trap spilled liquids or food crumbs, making them difficult to clean. A streamlined base can be wiped down quickly with a damp cloth.
* What to look for: Opt for blenders with minimal buttons or touch controls that are sealed. Avoid blenders where the jar sits very low over the base, allowing for easy spillage onto the motor housing.
Lid Design
A well-designed lid is crucial.
* How it helps: Lids that are easy to remove and have a simple, one-piece construction are better. Lids with removable caps for adding ingredients are also convenient, but ensure the cap itself is easy to clean. Some lids have rubber seals that can be tricky to detach and clean thoroughly.
* What to look for: A snug-fitting lid that pops on and off easily. If there’s a measuring cap, make sure it removes cleanly and doesn’t have deep grooves.
Step-by-Step Guide: Cleaning Your Smoothie Blender for Maximum Ease
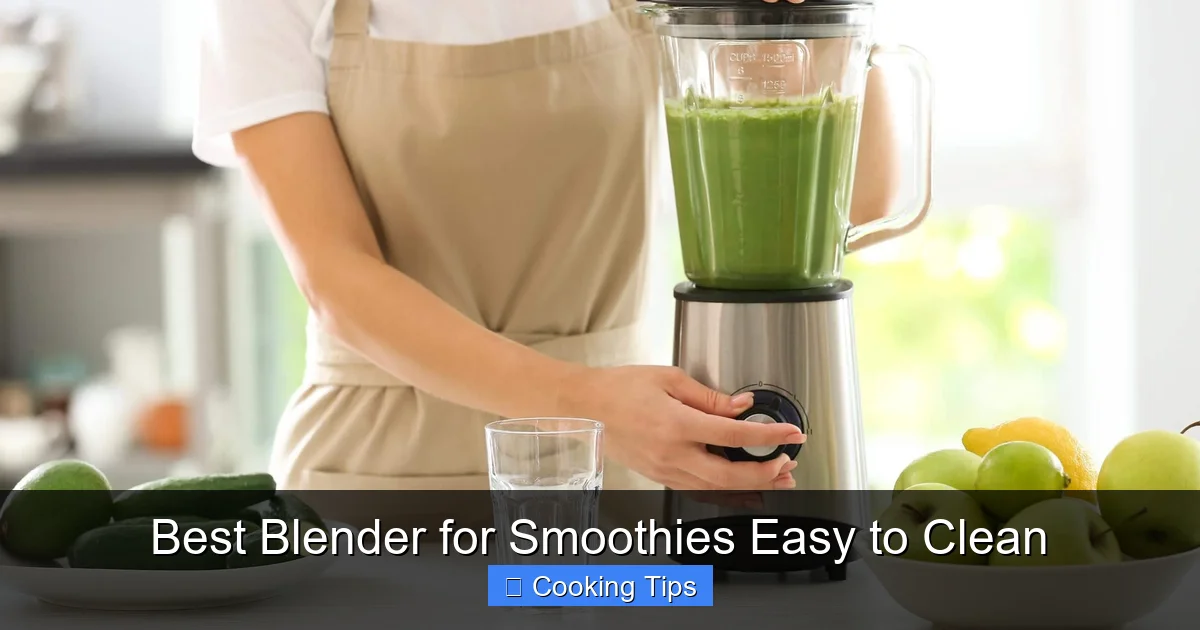
Visual guide about Best Blender for Smoothies Easy to Clean
Image source: cleangreensimple.com
Even with the best, easiest-to-clean blender, a little technique can go a long way. Here’s how to make cleaning your smoothie blender a quick and painless process.
Step 1: Rinse Immediately After Use
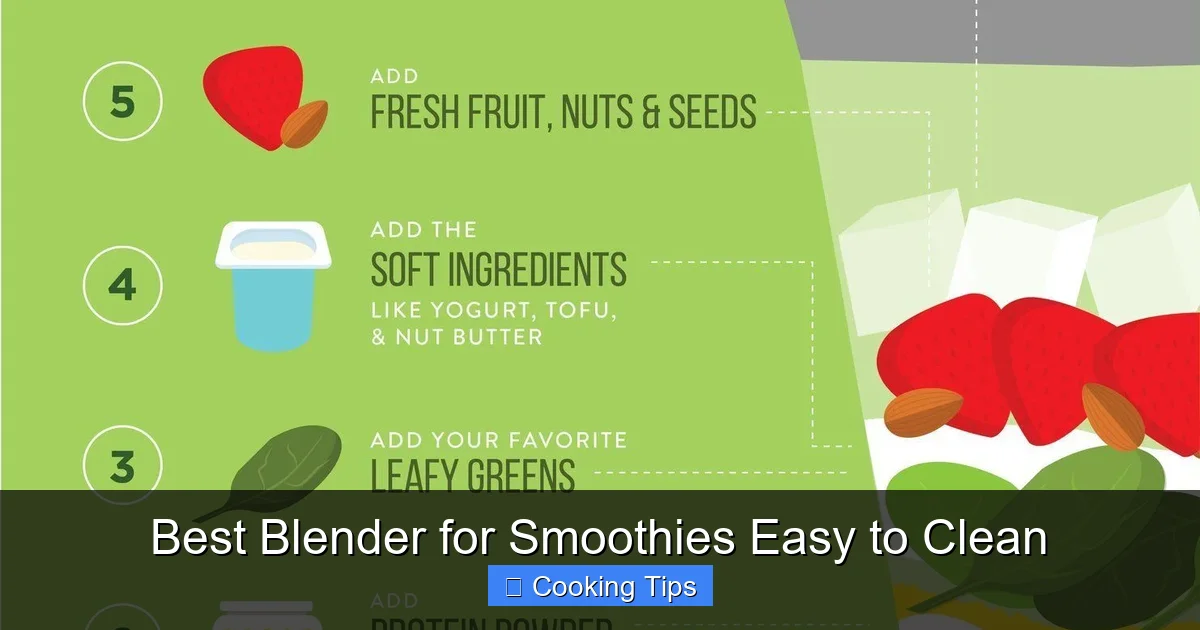
Visual guide about Best Blender for Smoothies Easy to Clean
Image source: i.pinimg.com
This is the golden rule of easy blender cleaning. Don’t let smoothie residue dry and harden in the jar.
* H3: The Quick Rinse Method
1. As soon as you’ve poured out your smoothie, fill the blender jar about halfway with warm water.
2. Add a drop of dish soap.
3. Secure the lid.
4. Place the jar back on the base.
5. Run the blender on a low setting (or use the pulse function) for 30-60 seconds.
6. Pour out the soapy water.
7. Rinse the jar thoroughly with clean water until all soap is gone.
This immediate rinse will remove most of the smoothie ingredients before they have a chance to stick.
Step 2: Address Stubborn Residue (If Necessary)
Sometimes, especially with thicker smoothies, seeds, or sticky ingredients like dates, you might have a bit of residue left after the quick rinse.
* H3: The Scrubbing Technique
1. If the rinse didn’t get everything, you might need to use a bottle brush or a soft sponge.
2. If your blender has detachable blades, remove them now. Use the brush or sponge to gently scrub the inside of the jar, paying attention to any lingering bits.
3. Carefully wash the blades. If they are detachable, wash them under running water with a sponge or brush. Be extremely careful of the sharp edges.
4. Wash the lid and any removable parts of the lid.
Step 3: Utilize the Dishwasher (If Applicable)
If your blender components are dishwasher safe, this is where you save the most time.
* H3: Loading the Dishwasher
1. Disassemble the blender as much as possible: jar, lid, and detachable blade assembly (if applicable).
2. Place the jar and lid on the top rack of your dishwasher.
3. If the blade assembly is dishwasher safe, place it carefully on the top rack as well, ensuring it’s secure and won’t damage other items. Some recommend placing it in the utensil basket to be extra safe.
4. Run your dishwasher as usual.
Step 4: Clean the Blender Base
The blender base usually doesn’t get dirty directly from the ingredients, but it can accumulate dust or get splashed.
* H3: Wiping Down the Base
1. Ensure the blender is unplugged for safety.
2. Use a damp, soft cloth to wipe down the exterior of the base.
3. For any stubborn spots, you can use a mild, non-abrasive cleaner on the cloth, but avoid spraying liquid directly onto the base.
4. Make sure to dry the base thoroughly.
Step 5: Drying and Reassembly
Proper drying prevents mold and ensures your blender is ready for its next use.
* H3: Air Dry or Towel Dry
1. Allow all washed components (jar, lid, blade assembly) to air dry completely before reassembling. You can place them upside down on a drying rack.
2. Alternatively, you can towel dry them with a clean, lint-free cloth.
3. Once everything is dry, reassemble your blender. If you have detachable blades, ensure they are screwed back in securely.
Choosing the Right Blender: Popular Types and Their Cleaning Ease
Not all blenders are created equal when it comes to cleaning. Here’s a look at common types:
* **Personal Blenders (Single-Serve):**
* Often the easiest to clean. You blend directly into a cup that then becomes the jar.
* Many have detachable blade assemblies that screw onto the cup.
* The cups and lids are usually top-rack dishwasher safe.
* Example: NutriBullet, Ninja Personal Blender.
* Cleaning Ease: High.
* **Countertop Blenders (Mid-Range):**
* These are the most common blenders with a separate jar and base.
* Look for models with detachable blades and dishwasher-safe jars.
* Some may have more complex lid designs or fixed blades, making cleaning harder.
* Example: Cuisinart, Hamilton Beach models.
* Cleaning Ease: Medium to High, depending on the specific model.
* **High-Performance Blenders (High-End):**
* These blenders are powerful and excel at creating ultra-smooth textures.
* Many feature self-cleaning cycles and high-quality, durable materials.
* Detachable blades are standard.
* However, their sheer power and specialized blade designs can sometimes make manual cleaning a bit more involved if the self-clean cycle isn’t enough.
* Example: Vitamix, Blendtec.
* Cleaning Ease: High, especially with the self-cleaning function, but can require more effort for very tough jobs.
Practical Tips for Keeping Your Blender Pristine
Beyond the basic cleaning steps, here are some extra tips to ensure your blender stays in top condition and is always easy to clean:
* Don’t Overfill: Overfilling your blender can lead to spills over the lid or down the sides, creating more mess to clean.
* Cut Ingredients Appropriately: While powerful blenders can handle large chunks, smaller pieces are easier to blend thoroughly and less likely to get stuck in blades or crevices.
* Use the Tamper (If Provided): If your blender comes with a tamper, use it to push ingredients down towards the blades. This reduces the need to stop and scrape the sides, minimizing mess.
* Invest in a Good Brush: A sturdy bottle brush with flexible bristles is invaluable for reaching the bottom of jars and cleaning around blades.
* Avoid Abrasive Cleaners: Harsh scrubbers or abrasive cleaners can scratch or dull the surfaces of your blender jar and base. Stick to soft cloths and sponges.
* Inspect Regularly: Periodically check the gasket or seal around the blade assembly (if detachable) for any built-up residue.
* Store Properly: Store your blender with the lid slightly ajar or upside down to allow air circulation and prevent moisture build-up.
Troubleshooting Common Blender Cleaning Issues
Even with the best intentions, you might encounter a few common cleaning challenges.
* Issue: Blades are dull or hard to clean because they’re stuck.
* Solution: Ensure you are detaching the blade assembly properly according to your blender’s manual. If they are still difficult to clean, try soaking them briefly in warm, soapy water before scrubbing gently with a brush. Be extremely cautious of the sharp edges.
* **Issue: Odors are lingering in the blender jar.**
* Solution: For glass jars, a paste of baking soda and water left to sit for a few hours can help neutralize odors. For plastic jars, ensure you are cleaning them promptly. You can also try blending lemon juice and water, or running a cycle with diluted white vinegar.
* **Issue: Stains from berries or turmeric.**
* Solution: For non-glass jars, this can be tricky. Prompt cleaning is key. If stains persist, you can try exposing the jar to direct sunlight for a few hours (if it’s a clear plastic) as UV rays can help break down some stains. A soak in a diluted bleach solution (for glass jars only, and rinse thoroughly afterwards) might also work for very stubborn stains, but always check your blender manual for manufacturer recommendations regarding cleaning agents.
* **Issue: Water leaks around the blade assembly.**
* Solution: Check that the blade assembly is properly screwed into the jar and that any gaskets or seals are clean and intact. If the seal is worn or damaged, you may need to order a replacement part.
Conclusion
Choosing the best blender for smoothies that’s easy to clean doesn’t have to be complicated. By prioritizing features like detachable blades, dishwasher-safe components, and simple designs, you can find a model that streamlines your healthy lifestyle. Remember, the most effective cleaning strategy is a quick rinse immediately after use. Combine this habit with the smart features of a well-chosen blender, and you’ll spend far less time at the sink and more time savoring your perfectly blended creations. Happy blending, and even happier cleaning!