
Discover the ultimate guide to selecting and using the best 12-inch non-stick frying pan. This versatile kitchen essential offers a generous cooking surface and effortless food release, making it perfect for everything from delicate eggs to searing meats. We’ll walk you through choosing the right pan for your needs, mastering its use, and ensuring its longevity through proper care and maintenance. Get ready to elevate your home cooking with this indispensable tool!
Welcome to your ultimate guide to the best 12-inch non-stick frying pan! If you’re looking to make your cooking experience smoother, easier, and more enjoyable, you’ve come to the right place. A 12-inch non-stick frying pan is a true kitchen workhorse. Its generous size means you can cook for a family or whip up a feast for friends. And the non-stick surface? It’s a game-changer. Say goodbye to frustrating stuck-on food and hello to perfectly cooked meals, every time.
In this comprehensive guide, we’ll cover everything you need to know. We’ll help you understand what makes a great non-stick pan, how to choose the perfect one for your kitchen, and most importantly, how to use it like a pro. We’ll also dive into the crucial aspects of care and maintenance, ensuring your investment lasts for years to come. So, let’s get started on unlocking the full potential of your 12-inch non-stick frying pan!
Key Takeaways
- Choosing the Right Pan: Consider material (aluminum, stainless steel), coating type (PTFE, ceramic, hybrid), handle comfort, and oven-safety when selecting your 12-inch non-stick frying pan.
- Prepping Your Pan: Always season a new non-stick pan according to manufacturer instructions to enhance its non-stick properties and durability.
- Proper Cooking Techniques: Use low to medium heat, avoid metal utensils, and add a little oil or butter for optimal results and to protect the non-stick surface.
- Cleaning and Maintenance: Hand wash gently with a soft sponge and mild detergent; never use abrasive scrubbers or put it in the dishwasher.
- Extending Pan Lifespan: Store it carefully to prevent scratches, avoid extreme temperature changes, and replace it when the non-stick coating shows signs of wear.
- Versatile Applications: A 12-inch non-stick frying pan is ideal for cooking eggs, pancakes, fish, vegetables, searing chicken, and even making sauces.
Why Choose a 12-Inch Non-Stick Frying Pan?
Before we jump into the “how-to,” let’s quickly touch on why this particular pan is such a popular and valuable addition to any kitchen.
Size Matters: The 12-inch diameter offers ample cooking space. You can easily sauté a pound of vegetables, cook 3-4 chicken breasts, or make a large batch of scrambled eggs without overcrowding the pan. This means food cooks more evenly and you get better browning. Smaller pans can lead to steaming rather than searing, which isn’t ideal for many dishes.
The Magic of Non-Stick: The primary benefit is, of course, the non-stick surface. This makes cooking incredibly forgiving. Delicate items like fish and eggs glide right off the pan. You’ll need less oil or butter, making your meals healthier. Cleanup is also a breeze, saving you precious time and effort after cooking.
Versatility: From breakfast favorites like pancakes and omelets to weeknight dinners like stir-fries and pan-seared chicken, a 12-inch non-stick pan can handle it all. It’s also great for thickening sauces or gently warming leftovers.
Choosing the Best 12-Inch Non-Stick Frying Pan
With so many options on the market, selecting the right 12-inch non-stick frying pan can feel a bit overwhelming. Here’s what to consider to make an informed decision.
1. Understand Non-Stick Coating Types
The non-stick coating is the heart of your pan. Different types offer varying levels of durability, heat tolerance, and safety.
- PTFE-Based Coatings: These are the most common and traditionally known as Teflon. They offer excellent non-stick performance and are generally safe for everyday use at recommended temperatures. Look for PFOA-free options, as PFOA was a chemical previously used in manufacturing that has health concerns.
- Ceramic Coatings: These are often touted as a greener alternative. They are made from natural materials and are free from PTFE and PFOA. Ceramic coatings offer good non-stick properties, especially when new, and can often withstand higher temperatures than traditional PTFE. However, their non-stick ability can degrade over time, sometimes faster than high-quality PTFE.
- Hybrid Coatings: Some pans combine different technologies, like a reinforced non-stick surface with textured patterns or a combination of ceramic and PTFE. These aim to offer the best of both worlds: durability and excellent non-stick performance.
2. Consider Pan Construction Material
The material your pan is made from affects its heat conductivity, weight, and overall durability.
- Aluminum: Lightweight and an excellent heat conductor, aluminum pans heat up quickly and evenly. This is great for precise cooking. Many non-stick pans have an aluminum core. Look for hard-anodized aluminum for added durability and scratch resistance.
- Stainless Steel: While stainless steel itself is not non-stick, it’s often used as the base for non-stick pans, particularly for its durability and ability to hold heat. A stainless steel exterior can also make the pan oven-safe and more robust.
- Cast Iron: While cast iron can be seasoned to become naturally non-stick, it’s rarely found with a factory non-stick coating. If you’re looking for a classic cast iron experience, you’ll season and care for it differently.
3. Handle Comfort and Oven Safety
The handle is where you interact with the pan constantly.
- Ergonomics: Choose a pan with a handle that feels comfortable and secure in your grip. Some have riveted handles for maximum durability, while others are cast or welded for a smoother finish. Ensure the handle doesn’t get too hot during cooking.
- Oven-Safe Temperature: Check the manufacturer’s specifications for the maximum oven temperature the pan can withstand. This is crucial if you plan to finish dishes in the oven, like searing a steak and then baking it. Most non-stick pans have a limit, typically around 350-500°F (175-260°C). Pans with plastic or silicone handles are usually not oven-safe.
4. Weight and Balance
A good 12-inch frying pan should feel substantial but not overly heavy. You should be able to maneuver it easily, especially when tossing food or pouring. The weight should also be balanced, so the pan doesn’t feel like it’s tipping forward or backward.
Mastering Your 12-Inch Non-Stick Frying Pan: Usage Guide
Once you have your perfect pan, it’s time to learn how to use it effectively. These tips will help you achieve great results and protect your pan.
1. Seasoning Your New Pan
Many manufacturers recommend seasoning your non-stick pan before its first use. This process helps to enhance the non-stick properties and build a protective layer.
Steps for Seasoning:
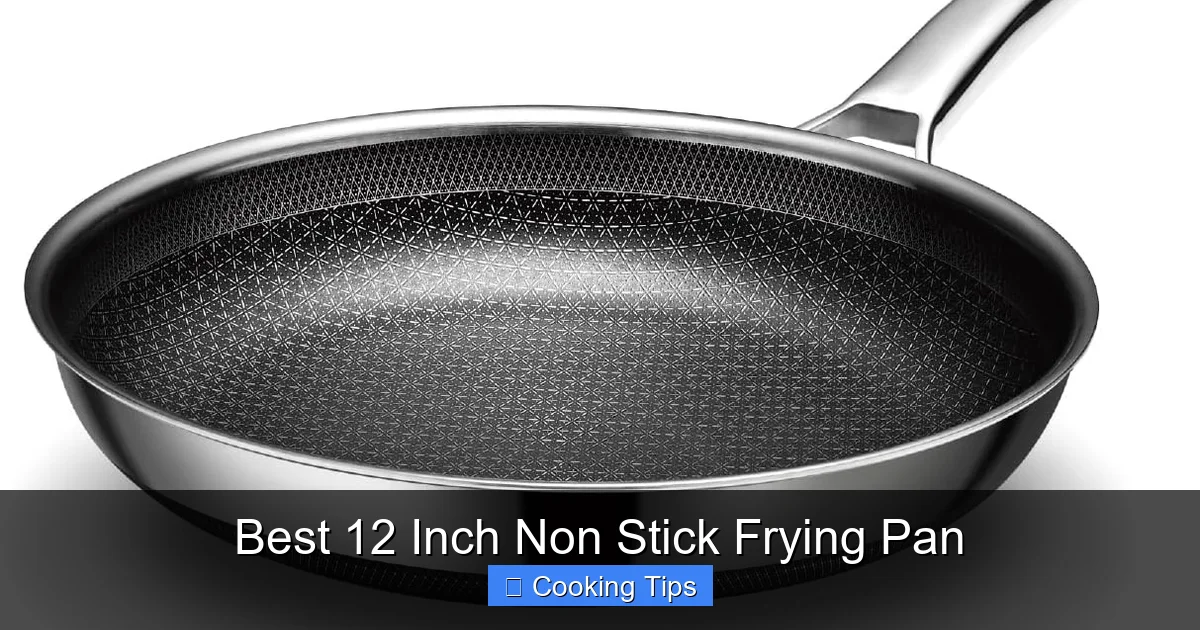
Visual guide about Best 12 Inch Non Stick Frying Pan
Image source: m.media-amazon.com
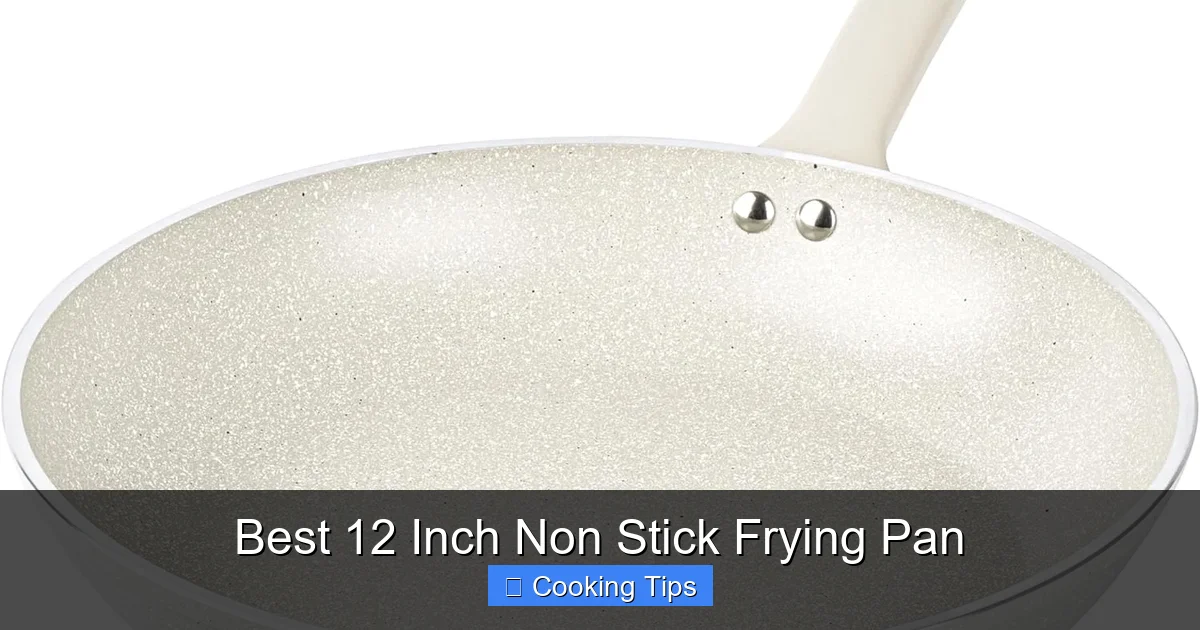
Visual guide about Best 12 Inch Non Stick Frying Pan
Image source: m.media-amazon.com
- Wash the pan with warm, soapy water and a soft sponge. Rinse and dry thoroughly.
- Apply a thin layer of cooking oil (like vegetable or canola oil) all over the interior surface of the pan using a paper towel.
- Place the pan on the stovetop over low heat for about 1-2 minutes, or until it just begins to smoke slightly.
- Let the pan cool completely.
- Wipe out any excess oil with a clean paper towel.
Always refer to your specific pan’s manufacturer instructions, as some may have slightly different recommendations.
2. Heating Your Pan Correctly
One of the biggest mistakes people make with non-stick pans is overheating them. High heat can degrade the non-stick coating and release fumes (especially from older PTFE coatings).
- Use Low to Medium Heat: For most cooking tasks, especially with delicate foods like eggs and fish, low to medium heat is all you need. Non-stick pans heat up quickly and retain heat well, so you often don’t need high temperatures.
- Preheat Gradually: Allow the pan to heat up slowly over medium heat for a few minutes before adding food. This ensures even cooking.
- Avoid Empty Heating: Never leave an empty non-stick pan on a hot burner for an extended period, as this can cause permanent damage.
3. Adding Oil or Butter
While non-stick pans are designed to prevent sticking, a small amount of fat can still enhance flavor, aid in browning, and further protect the surface.
- Use Sparingly: You only need a teaspoon or two of oil or butter for most recipes.
- Choose Appropriate Fats: Opt for oils with a medium to high smoke point, such as vegetable oil, canola oil, or grapeseed oil, for medium heat cooking. For lower heat, butter or olive oil can be used, but be mindful of butter’s lower smoke point.
- Coat the Surface: Swirl the fat around the pan to lightly coat the cooking surface before adding your ingredients.
4. Using the Right Utensils
This is crucial for preserving the integrity of your non-stick coating.
- Avoid Metal Utensils: Never use metal spatulas, whisks, forks, or knives in your non-stick pan. These can scratch and damage the coating, reducing its effectiveness and lifespan.
- Opt for Wood, Silicone, or Nylon: Wooden spoons, silicone spatulas, and nylon utensils are your best friends. They are gentle on the non-stick surface and will not cause damage.
- Be Gentle: Even with appropriate utensils, avoid aggressive scraping or stirring.
5. Cooking Techniques for Success
Flipping and Turning: For foods like pancakes or eggs, a gentle lift with a silicone spatula is usually sufficient. For items that might stick initially, like chicken breasts, give them time to release naturally rather than forcing them. Once a good sear has developed, they will usually detach easily.
Searing Meats: While non-stick pans excel at preventing sticking, they might not achieve the same deep, crusty sear as a cast iron or stainless steel pan. For best results when searing, ensure the pan is properly preheated and use a bit of oil. Don’t overcrowd the pan, as this will lower the temperature and lead to steaming.
Deglazing and Sauces: Be cautious when deglazing with acidic liquids like wine or vinegar, as prolonged exposure to acids can potentially affect some non-stick coatings over time. If you are making a sauce directly in the pan, use a silicone or wooden spoon to incorporate any browned bits, and consider transferring the sauce to a different pot if it requires extended simmering or high acidity.
Caring for Your 12-Inch Non-Stick Frying Pan: Longevity Tips
Proper care is essential to keep your non-stick pan performing at its best for as long as possible.
1. Cleaning is Key
The way you clean your pan has a huge impact on its lifespan.
- Hand Wash Only: This is the golden rule. Dishwashers use harsh detergents and high heat that can strip away the non-stick coating and damage the pan over time. Always hand wash your non-stick frying pan.
- Use Soft Materials: Employ a soft sponge, microfiber cloth, or a non-abrasive scrubbing pad.
- Mild Detergent: Use a gentle dish soap. Avoid abrasive cleaners or scouring pads, as these will scratch the surface.
- Wash When Cool: Never plunge a hot pan into cold water. This thermal shock can warp the pan and damage the non-stick coating. Let it cool down to a safe temperature before washing.
- Stubborn Bits: If you have slightly stubborn food residue, fill the pan with warm water and a little dish soap, let it soak for 10-15 minutes, then wash gently. For very tough spots, you can simmer a mixture of water and baking soda in the pan for a few minutes (check manufacturer instructions first), then let it cool and wash.
2. Drying and Storing
Proper drying and storage prevent scratches and maintain the pan’s condition.
- Dry Thoroughly: After washing, dry the pan immediately and completely with a soft towel. Moisture left on the pan can lead to water spots or corrosion over time, especially around rivets.
- Prevent Scratches: Store your non-stick pans carefully. Avoid stacking other heavy pots or pans directly inside them. If you must stack, place a pan protector (like a felt liner or a paper towel) between the pans to prevent the non-stick surface from getting scratched.
3. Avoiding Extreme Heat and Temperature Changes
As mentioned earlier, high heat is detrimental. Also, be mindful of rapid temperature shifts.
- Don’t Overheat: Stick to low to medium heat. Avoid using the pan on the highest burner setting for extended periods.
- No Broiler Use (Usually): Unless specifically stated as broiler-safe by the manufacturer, avoid using your non-stick pan under the broiler. The intense direct heat is often too much.
- Gradual Cooling: Always let the pan cool down gradually before washing or storing.
4. When to Replace Your Pan
Even with the best care, non-stick coatings are not indestructible.
- Signs of Wear: If you notice the non-stick surface is no longer releasing food easily, has visible scratches, is peeling, or is discolored, it’s time for a replacement. A worn-out non-stick pan is not only ineffective but can also be a health concern if the coating is flaking off.
- Lifespan: A good quality non-stick pan, with proper care, can last several years. However, they generally have a shorter lifespan than stainless steel or cast iron cookware.
Troubleshooting Common Non-Stick Pan Issues
Let’s address some common problems you might encounter.
Food Sticking Despite Non-Stick Claims
Possible Causes & Solutions:
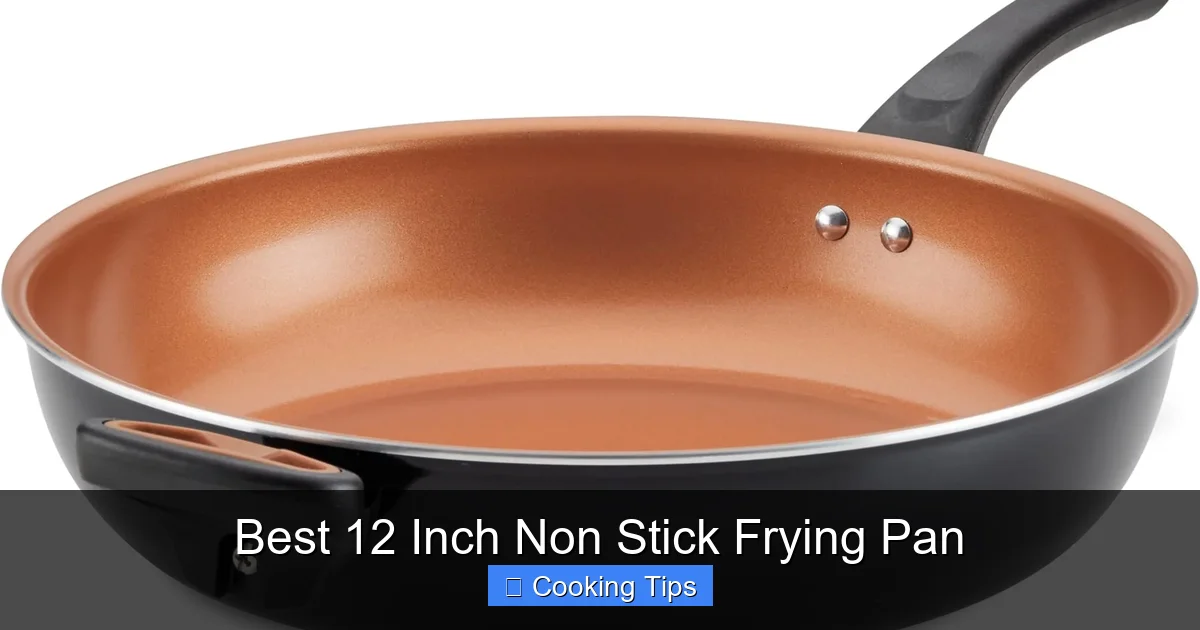
Visual guide about Best 12 Inch Non Stick Frying Pan
Image source: m.media-amazon.com
- Pan Not Hot Enough: Food needs sufficient heat to cook and release. Preheat your pan properly on medium heat.
- Overcrowding the Pan: Too much food lowers the pan’s temperature, leading to steaming and sticking. Cook in batches if necessary.
- Using Metal Utensils: This is a sure way to damage the coating and cause sticking. Stick to silicone or wood.
- Worn-Out Coating: If your pan is old and the coating is degraded, it’s time for a replacement.
- Improper Seasoning: If you skipped or did an incomplete seasoning process, the non-stick properties might be compromised.
Scratches on the Non-Stick Surface
Possible Causes & Solutions:
- Using Metal Utensils: The most common culprit. Always use wood, silicone, or nylon.
- Improper Storage: Stacking pans without protectors can lead to scratches. Use pan protectors or store them separately.
- Abrasive Cleaning: Using steel wool or harsh scrubbers will damage the surface.
Minor scratches might not render the pan unusable immediately, but they are a sign of wear and can eventually compromise the non-stick performance. If scratches are deep or widespread, consider replacing the pan.
Discoloration of the Non-Stick Surface
Possible Causes & Solutions:
- Overheating: High temperatures can cause discoloration, especially with PTFE coatings. Stick to medium heat.
- Residue Buildup: Certain cooking oils or food particles, especially when overheated, can leave a sticky residue that discolors the pan. Gentle cleaning with a baking soda paste can often help remove this.
- Hard Water Stains: In areas with hard water, mineral deposits can sometimes form. A mild vinegar and water solution can help remove these.
Conclusion: Embrace Your 12-Inch Non-Stick Frying Pan
Your 12-inch non-stick frying pan is an incredibly versatile and user-friendly kitchen tool. By understanding how to choose the right one, mastering its proper use, and diligently caring for it, you’ll unlock a world of culinary possibilities. From perfectly fluffy omelets to beautifully seared chicken, this pan will become your go-to for countless delicious meals. Remember to always use low to medium heat, gentle utensils, and hand wash it with care. With these practices, you can enjoy your best 12-inch non-stick frying pan for many happy cooking adventures to come!