
Unlock the potential of your air fryer with this ultimate how-to guide! Learn how to set up, prepare, and cook a variety of foods to crispy perfection using less oil. We cover everything from basic operation to advanced tips and common troubleshooting, ensuring you get the most out of this popular kitchen appliance. Get ready for healthier, faster, and tastier meals with your air fryer!
Key Takeaways
- Air Fryers Mimic Deep Frying with Hot Air: They use rapid air circulation to cook food, creating a crispy exterior similar to deep frying but with significantly less oil.
- Preheating is Key for Best Results: Just like a conventional oven, preheating your air fryer ensures even cooking and optimal crispiness for your food.
- Don’t Overcrowd the Basket: Allow hot air to circulate freely around your food for maximum crispiness. Cook in batches if necessary.
- Use a Little Oil for Extra Crispiness: While not always necessary, a light spray or toss with oil can enhance the texture and flavor of many air-fried foods.
- Shake or Flip Food Midway: Most recipes benefit from a mid-cook shake or flip to ensure even browning and crisping on all sides.
- Clean Your Air Fryer Regularly: Proper cleaning prolongs the life of your appliance and prevents leftover residue from affecting the taste of future meals.
How Do You Use an Air Fryer?
Welcome to the wonderful world of air frying! If you’ve recently invested in one of these popular kitchen gadgets, or you’re just curious about what all the fuss is about, you’ve come to the right place. This guide is designed to take you from air fryer novice to a confident home chef, ready to whip up deliciously crispy and healthier versions of your favorite foods. Forget the guilt of greasy fries and fried chicken; the air fryer offers a fantastic alternative that uses a fraction of the oil.
In this comprehensive guide, we’ll cover everything you need to know to get the most out of your air fryer. We’ll walk you through the initial setup, explain the basic operation, provide step-by-step instructions for cooking various foods, share essential tips for achieving that perfect crispy texture, and even delve into troubleshooting common issues. So, grab your air fryer and let’s get cooking!
Understanding How Your Air Fryer Works
Before we dive into the “how-to,” let’s briefly touch on the “why.” An air fryer isn’t actually frying in the traditional sense. Instead, it’s a compact convection oven that circulates super-heated air around your food at high speeds. This rapid air movement is what creates a crispy, golden-brown exterior, mimicking the effect of deep frying. The result is food that’s delicious and satisfying, but with significantly less fat and calories.

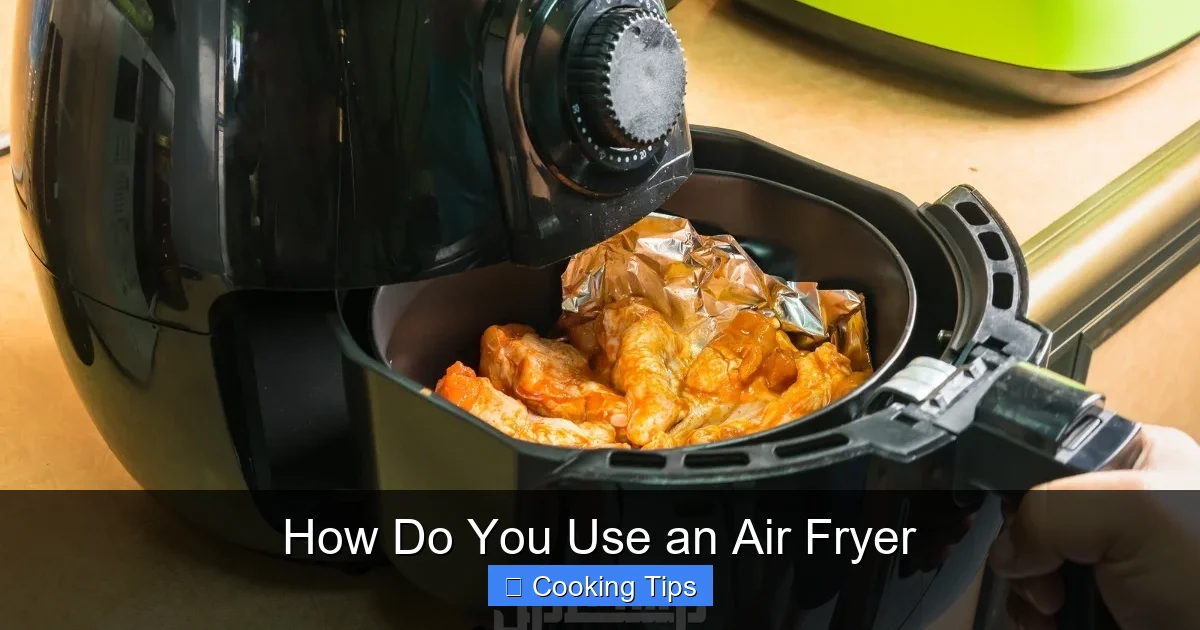
Visual guide about How Do You Use an Air Fryer
Image source: i.ytimg.com
Getting Started: Your First Air Fryer Experience
Using an air fryer is surprisingly simple. Most models are designed for intuitive operation, making them accessible for everyone. Here’s a breakdown of what you need to do before you even start cooking.
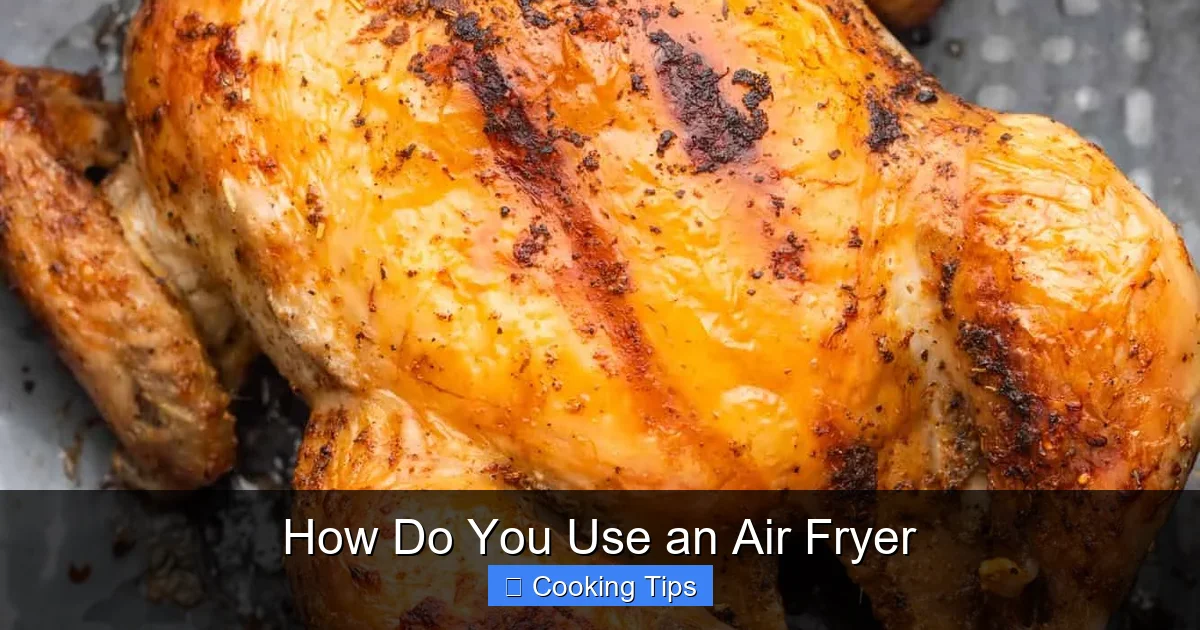
Visual guide about How Do You Use an Air Fryer
Image source: img.mstaml.com
Unboxing and Initial Setup
- Read Your Manual: Every air fryer is a little different. Before anything else, take a few minutes to read the manufacturer’s instructions that came with your specific model. This will familiarize you with its unique features, safety guidelines, and recommended cleaning procedures.
- Wash Removable Parts: Most air fryers have a removable basket or drawer. Wash these parts with warm, soapy water and dry them thoroughly before the first use. This removes any manufacturing residues.
- Find a Suitable Location: Place your air fryer on a stable, heat-resistant surface, such as a countertop. Ensure there’s adequate ventilation around the appliance, as it will get hot during operation. Avoid placing it directly under cabinets or too close to walls.
- Run an Initial Test (Optional but Recommended): Some manufacturers recommend running the air fryer empty for a few minutes on a medium heat setting (around 350°F or 175°C) before its first cooking session. This helps to burn off any potential manufacturing odors. Do this in a well-ventilated area.
Familiarizing Yourself with Controls
Most air fryers have a control panel with a combination of digital displays and physical knobs or buttons. Common controls include:
- Power Button: To turn the unit on and off.
- Temperature Control: Allows you to set the cooking temperature, typically ranging from 170°F (75°C) to 400°F (200°C).
- Time Control: Lets you set the cooking duration. Some models have a countdown timer that will beep when done.
- Preheat Function: Many models have a dedicated preheat button or setting.
- Cooking Presets: Some advanced models come with presets for common foods like fries, chicken, fish, and vegetables.
The Step-by-Step Guide to Air Frying
Now that your air fryer is ready, let’s get to the fun part: cooking! Follow these steps for consistently delicious results.
Visual guide about How Do You Use an Air Fryer
Image source: littlesunnykitchen.com
Step 1: Prepare Your Food
The way you prepare your food will significantly impact the outcome. Here are some general guidelines:
- Pat Food Dry: For maximum crispiness, especially with ingredients like chicken or potatoes, pat them thoroughly dry with paper towels. Moisture is the enemy of crispiness.
- Season Generously: Season your food as you normally would. Salt, pepper, herbs, spices – they all work well in an air fryer.
- Add a Little Oil (Optional): While you can air fry many foods without any added oil, a light coating of oil can enhance crispiness and flavor. Use an oil mister or toss your food in a bowl with a tablespoon or two of oil. Olive oil, avocado oil, or vegetable oil are good choices. Avoid using cooking sprays in aerosol cans, as they can damage the non-stick coating of your air fryer basket.
- Cut Food Uniformly: For even cooking, cut your ingredients into similar-sized pieces. This ensures that everything cooks at the same rate.
Step 2: Preheat Your Air Fryer
Preheating is crucial for achieving evenly cooked and crispy food. It ensures that the air fryer is at the optimal temperature from the moment your food goes in.
- Set the Temperature and Time: Consult your recipe or the general guidelines for the food you’re cooking. Set your air fryer to the desired temperature and let it run for 3-5 minutes.
- Use the Preheat Function: If your air fryer has a dedicated preheat function, use it. It will usually indicate when it’s ready.
Step 3: Arrange Food in the Basket
This is where the “don’t overcrowd” rule comes into play.
- Single Layer is Best: For the crispiest results, arrange your food in a single layer in the air fryer basket. This allows the hot air to circulate freely around each piece.
- Avoid Overlapping: If your food pieces are touching or overlapping, they will steam instead of crisping up.
- Cook in Batches: If you’re cooking for a crowd or have a large amount of food, it’s better to cook in multiple batches than to overcrowd the basket. You can keep the first batch warm in a low oven while you cook the second.
Step 4: Cook Your Food
Once the air fryer is preheated and your food is in the basket, it’s time to cook!
- Insert the Basket: Carefully slide the air fryer basket into the appliance.
- Set the Cooking Time: Set the cooking time according to your recipe or the recommended cooking time for your food. It’s often better to start with a slightly shorter cooking time and add more if needed.
- Shake or Flip Midway: About halfway through the cooking time, it’s essential to shake the basket or flip the food with tongs. This ensures that all sides of the food are exposed to the hot air, leading to even browning and crispiness.
Step 5: Check for Doneness
Once the timer goes off, it’s time to check if your food is cooked through and crispy enough.
- Visually Inspect: Look for a golden-brown color and a crispy texture.
- Use a Food Thermometer: For meats, poultry, and fish, a food thermometer is the most reliable way to ensure they are cooked to a safe internal temperature.
- Continue Cooking if Needed: If your food isn’t quite ready, simply slide the basket back in and cook for a few more minutes, checking frequently.
Step 6: Serve and Enjoy
Once your food is cooked to perfection, carefully remove the basket, tip the food onto a plate or serving dish, and enjoy your delicious, healthy creation!
Tips and Tricks for Air Fryer Success
Beyond the basic steps, here are some expert tips to elevate your air frying game:
- Experiment with Different Oils: While a light mist is often enough, consider tossing vegetables in a little oil seasoned with herbs or spices for extra flavor.
- Don’t Forget About Parchment Paper or Liners: Perforated parchment paper or silicone liners designed for air fryers can make cleanup a breeze. Ensure they don’t block airflow.
- Thaw Frozen Foods First (Mostly): For best results, it’s usually better to thaw frozen foods before air frying. However, some items like fries or chicken nuggets can be cooked directly from frozen, though they might take longer and require a shake.
- Reheating is a Breeze: Your air fryer is fantastic for reheating leftovers, especially crispy items like pizza or fried chicken. It brings back that fresh-from-the-oven crispiness that microwaves can’t replicate.
- Consider the “Crumb Catcher”: Many air fryers have a small tray or “crumb catcher” at the bottom. Make sure to empty this regularly to prevent smoke and odors.
- Get Creative with Marinades: Marinated foods work well in the air fryer. Just be mindful of excess marinade, which can drip and burn.
- Baking in an Air Fryer: Yes, you can bake! Use a small cake pan or ramekin that fits inside your air fryer basket. You might need to adjust cooking times and temperatures.
What Can You Cook in an Air Fryer?
The versatility of an air fryer is one of its biggest selling points. Here’s a glimpse of what you can make:
- Vegetables: Broccoli, Brussels sprouts, asparagus, potatoes (fries, wedges), sweet potatoes, onions, bell peppers.
- Proteins: Chicken wings, chicken tenders, chicken breasts, fish fillets, shrimp, salmon, burgers, sausages.
- Snacks: French fries, sweet potato fries, onion rings, mozzarella sticks, spring rolls, potato chips.
- Baked Goods: Small cakes, muffins, cookies (in appropriate pans), roasted nuts.
- Other: Reheating pizza, warming tortillas.
Cleaning and Maintenance
Keeping your air fryer clean is essential for performance and longevity.
- Unplug and Cool Down: Always unplug your air fryer and let it cool down completely before cleaning.
- Clean the Basket and Pan: Most removable baskets and pans are dishwasher safe. If not, wash them by hand with warm, soapy water and a non-abrasive sponge.
- Wipe Down the Interior: Use a damp cloth to wipe down the inside of the air fryer. For stubborn grease, you can use a mild dish soap solution.
- Clean the Exterior: Wipe the outside of the air fryer with a damp cloth.
- Check the Heating Element: Occasionally, you might need to gently wipe the heating element (usually at the top) with a soft brush or damp cloth to remove any stuck-on debris. Be careful not to damage it.
- Empty the Crumb Tray: Regularly empty the crumb tray located at the bottom of the unit.
Troubleshooting Common Air Fryer Issues
Even with the best intentions, you might encounter a few hiccups. Here’s how to address them:
- Food Isn’t Crispy:
- Cause: Overcrowding the basket, not preheating, not using enough oil (if desired), food is too wet.
- Solution: Cook in smaller batches, ensure adequate preheating, pat food dry, use a light oil mist if necessary.
- Food is Burning on One Side:
- Cause: Uneven cooking, heating element too close to food.
- Solution: Shake the basket or flip food more frequently, ensure food is in a single layer.
- Smoke Coming from the Air Fryer:
- Cause: Greasy residue from previous cooking, oil dripping onto the heating element.
- Solution: Ensure your air fryer is clean, especially the crumb tray. If using oil, use it sparingly and avoid aerosol sprays.
- Air Fryer Not Turning On:
- Cause: Power cord not plugged in, unit is not assembled correctly, safety feature engaged.
- Solution: Check power connection, ensure basket is properly inserted, refer to your manual for specific safety interlocks.
Conclusion
Congratulations! You’re now equipped with the knowledge to confidently use your air fryer to create a wide array of delicious and healthier meals. From crispy fries to perfectly cooked chicken wings, the possibilities are nearly endless. Remember to experiment, have fun, and don’t be afraid to try new recipes. With a little practice, your air fryer will become an indispensable tool in your kitchen, helping you whip up quick, tasty, and guilt-free dishes for yourself and your loved ones. Happy air frying!