
This guide explores the advantages of grinders with built-in safety lock features, offering a comprehensive look at how these innovations enhance kitchen safety. You’ll learn how to select the right grinder, understand its safety mechanisms, and master its operation for both everyday and specialized grinding tasks. Embrace enhanced kitchen safety with these essential tips.
Grinders with Built-in Safety Lock Features
Welcome to our comprehensive guide on grinders with built-in safety lock features! In today’s kitchens, safety is paramount. When it comes to appliances that involve blades and powerful motors, like grinders, having robust safety measures isn’t just a bonus; it’s essential. This guide will equip you with the knowledge to understand, choose, and use grinders that incorporate these vital safety lock features. We’ll delve into what makes them different, how they protect you, and practical tips for making the most of these innovative kitchen tools. Get ready to grind with confidence!
Key Takeaways
- Understand the Importance of Safety Locks: Built-in safety locks on grinders significantly reduce the risk of accidental activation, protecting users from injury.
- Types of Safety Lock Mechanisms: Familiarize yourself with common safety lock types, such as interlock switches, dual-button activation, and child-lock features, to make an informed choice.
- Choosing the Right Grinder: Consider your specific needs, the types of ingredients you’ll grind, and the importance of safety features when selecting a grinder.
- Safe Operation Procedures: Always follow manufacturer instructions, ensure the grinder is assembled correctly, and never bypass safety features during operation.
- Maintenance for Longevity and Safety: Regular cleaning and proper maintenance of your grinder, including checking safety lock functionality, ensure both optimal performance and continued safety.
- Troubleshooting Common Issues: Learn to identify and resolve minor problems related to safety locks, such as accidental engagement or non-activation, for uninterrupted use.
What are Grinders with Built-in Safety Lock Features?
At its core, a grinder is a kitchen appliance designed to break down solid food items into smaller pieces or powders. This can include everything from coffee beans and spices to meats and vegetables. Traditional grinders, while effective, can sometimes pose a risk if accidentally switched on, especially if a user isn’t fully aware or if children are present. This is where grinders with built-in safety lock features come into play.
These advanced grinders incorporate mechanisms that prevent them from operating unless certain safety conditions are met. Think of them as smart guards that ensure the grinder only spins when it’s supposed to. These safety features are designed to protect users from unexpected blade movement, preventing injuries. They are becoming increasingly common and are a testament to manufacturers’ commitment to user safety in the modern kitchen.
Why Choose a Grinder with a Safety Lock?
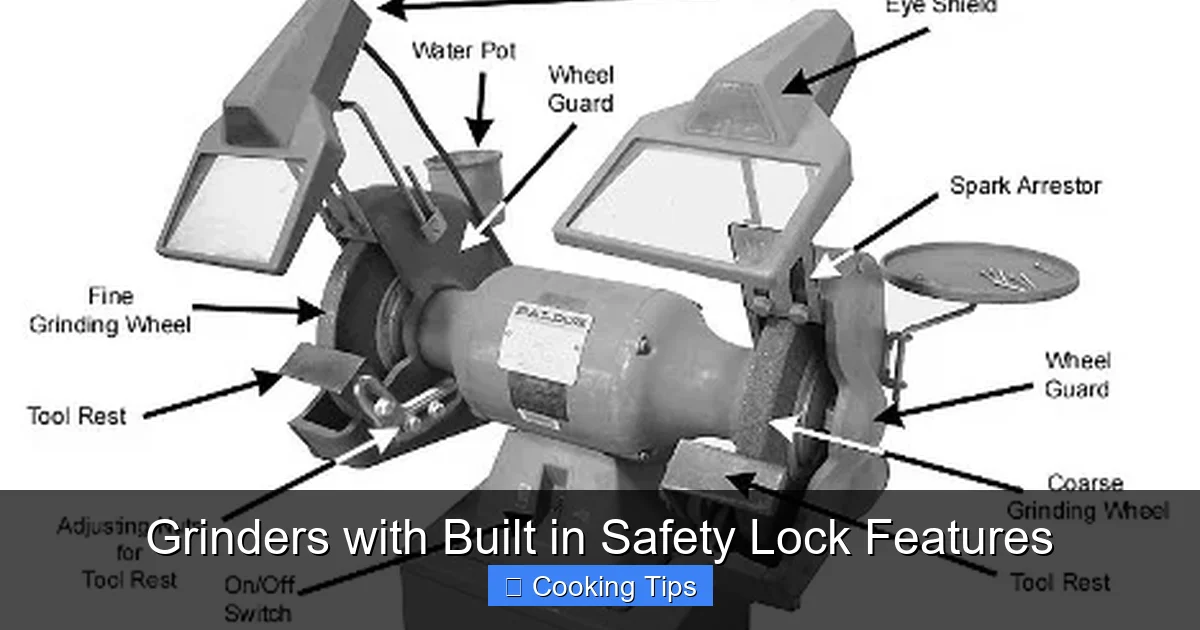
Visual guide about Grinders with Built in Safety Lock Features
Image source: valentgroup.com
The benefits of choosing a grinder with a built-in safety lock are numerous and impactful. Foremost among them is **enhanced user safety**. This is especially crucial in households with children or pets, where accidental button presses can lead to serious harm.
Preventing Accidental Activation
Many safety locks work by requiring two separate actions to start the grinder. This could be pressing two buttons simultaneously or ensuring a lid is securely in place before the motor engages. This dual-action approach significantly reduces the likelihood of the grinder starting unintentionally, such as when it’s being cleaned, stored, or if someone bumps into the controls.
Peace of Mind for Users
Knowing that your grinder has these protective measures in place provides invaluable peace of mind. You can operate the appliance with greater confidence, focusing on achieving the perfect grind without constantly worrying about potential hazards. This is particularly important for busy home cooks who may be multitasking in the kitchen.
Compliance with Safety Standards
Grinders with built-in safety locks often meet stringent safety regulations and certifications. This means they have undergone rigorous testing to ensure they are as safe as possible for consumer use.
Types of Safety Lock Mechanisms

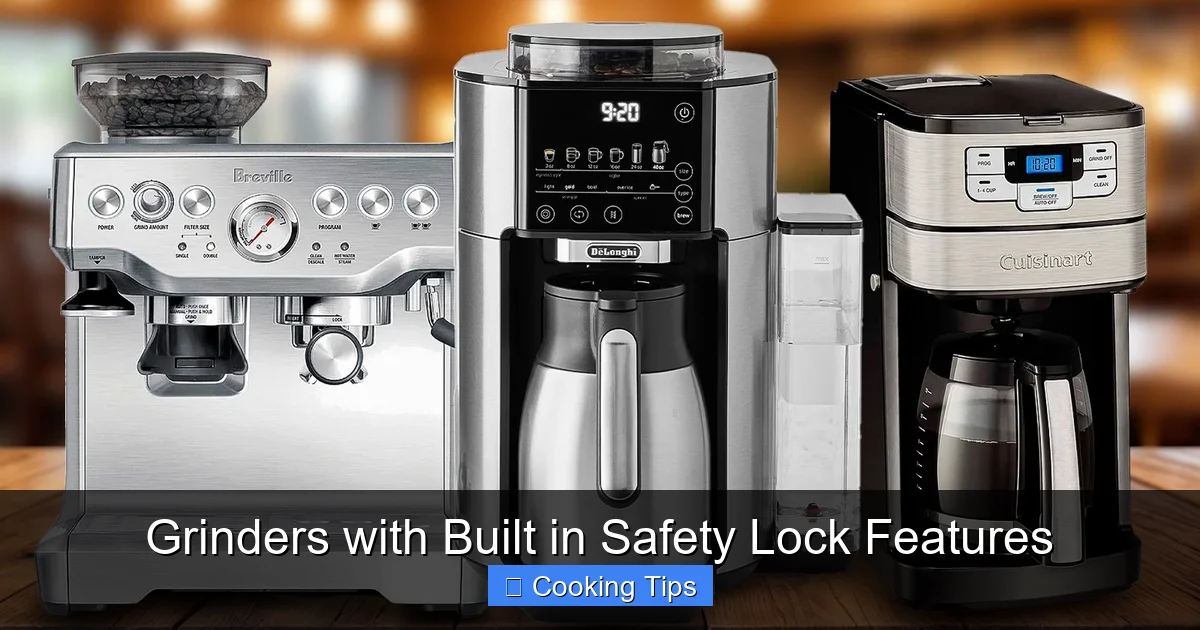
Visual guide about Grinders with Built in Safety Lock Features
Image source: imgcdn.stablediffusionweb.com
Grinders utilize various types of safety lock features, each designed to prevent accidental operation. Understanding these mechanisms will help you choose a grinder that best suits your needs and comfort level.
Interlock Switches
This is one of the most common safety features. An interlock switch ensures that the grinder will not operate unless all components, such as the lid or the grinding cup, are correctly assembled and locked into place. If the lid is loose or not properly secured, the interlock switch prevents the motor from starting.
* How it works: The switch is typically positioned so that it’s only engaged when the lid is fully closed and locked.
* Example: Many coffee grinders and food processors use this system. You’ll often hear or feel a click when the lid is properly secured, indicating the interlock is engaged.
Dual-Button Activation / Two-Handed Operation
This mechanism requires the user to press and hold two separate buttons simultaneously to activate the grinder. This design inherently requires two hands, making it very difficult to accidentally start the grinder with just one hand while performing another task.
* How it works: Both buttons must be pressed at the same time for the motor to run. Releasing either button stops the grinder.
* Example: Some powerful blenders and heavy-duty grinders employ this feature for added safety.
Child-Lock Features
These are often integrated into the control panel or the overall design of the grinder. Child locks are specifically designed to prevent young children from operating the appliance.
* How it works: This might involve a combination of button presses, a separate switch, or a sequence that is not intuitive for a child to discover. Some units may have a “child lock” button that, when pressed for a few seconds, disables the main controls.
* Example: High-end blenders and some food processors might include a dedicated child-lock function on their digital displays.
Safety Lid Latching Systems
Similar to interlock switches, these systems focus on the secure closure of the lid. However, they often involve a more robust latching mechanism that provides a clear visual or tactile confirmation of a secure fit.
* How it works: The lid needs to be twisted or clicked into place, and the grinder won’t activate until this latch is fully engaged.
* Example: Many personal blenders and some spice grinders feature strong lid latches that must be turned to a “lock” position.
Choosing the Right Grinder with a Safety Lock
Visual guide about Grinders with Built in Safety Lock Features
Image source: tastingtable.com
Selecting the ideal grinder with a built-in safety lock involves considering your specific culinary needs and understanding the nuances of different safety features.
Step 1: Assess Your Grinding Needs
Before you even look at specific models, think about what you’ll be grinding most often.
* Coffee Beans: For coffee, you’ll want a grinder that offers consistent particle size and can handle the hardness of beans. Safety features here prevent accidental grinding when filling or emptying.
* Spices: If you’re grinding whole spices for fresh flavor, look for a grinder that can handle tough textures without overheating. Safety locks are important for preventing accidental activation when you’re measuring or transferring spices.
* Grains/Flours: For grinding grains into flour, you’ll need a powerful, durable grinder. Safety mechanisms are crucial due to the potentially high speeds and forces involved.
* Herbs/Other Ingredients: For softer items like dried herbs or even some small food preparation tasks, a less powerful but still safe grinder might suffice.
Step 2: Evaluate the Safety Lock Mechanism
Consider which type of safety lock would be most practical and reassuring for your household.
* **For Households with Young Children:** Prioritize grinders with prominent child-lock features or robust two-handed activation systems. Interlock switches are also good, but ensure they are sensitive enough to prevent operation if the lid isn’t perfectly sealed.
* **For Ease of Use:** If simplicity is key, an interlock switch that clearly indicates when the lid is secure might be the best choice. Two-button activation can sometimes be a bit fiddly for everyday use, but it offers maximum safety.
* **For Powerful Grinding:** When dealing with tough ingredients, stronger safety mechanisms like interlock switches and dual-button activation are often found on more powerful, professional-grade units.
Step 3: Consider Other Features
Beyond safety locks, think about:
* **Motor Power:** Higher wattage generally means more power for tougher jobs.
* **Capacity:** How much can it grind at once?
* **Materials:** Stainless steel blades and durable housing are generally preferred.
* **Ease of Cleaning:** Removable parts that are dishwasher-safe can be a lifesaver.
* **Noise Level:** Some grinders are much louder than others.
How to Safely Operate Your Grinder with Built-in Safety Locks
Even with advanced safety features, proper operation is key to ensuring both your safety and the longevity of your grinder. Always refer to your manufacturer’s manual for specific instructions relevant to your model.
Step 1: Read the Manual
This is the most crucial step. Every grinder is slightly different, and the manual will detail its specific safety features and operating procedures.
Step 2: Assemble the Grinder Correctly
Ensure all parts are properly seated and locked into place.
* Check Lid Security: For grinders with interlock switches, this means ensuring the lid is firmly attached and latched. You might hear a click or see an indicator light.
* Verify Component Placement: Make sure the grinding chamber or cup is correctly inserted and aligned.
Step 3: Add Your Ingredients
Only add ingredients when the grinder is fully assembled and ready for operation. Do not overfill the grinder, as this can strain the motor and potentially affect the safety mechanisms.
Step 4: Activate the Grinder Safely
Follow the specific activation steps for your grinder.
* For Interlock Switches: Once the lid is secured, you can typically press a single “on” or “pulse” button.
* For Dual-Button Activation: Press and hold both designated buttons simultaneously.
* For Child Locks: If you’ve enabled a child lock, ensure it’s disengaged before attempting to operate the grinder for normal use, or follow the specific instructions for activation while the child lock is engaged (if applicable for certain functions).
Step 5: Monitor Operation
Keep an eye on the grinder while it’s in use. Listen for any unusual noises and stop the operation immediately if something seems wrong.
Step 6: Stop and Unplug
Once you’ve achieved the desired grind, release the power button(s) or stop the pulsing action. Always unplug the grinder from the electrical outlet before attempting to remove the lid or the ground ingredients. This is a vital safety step, even with safety locks, as it completely de-energizes the unit.
Step 7: Clean After Use
Promptly clean your grinder after each use. This not only keeps it hygienic but also prevents residue buildup that could potentially interfere with the safety mechanisms over time.
Practical Tips for Using Your Grinder
Making the most of your grinder involves a few smart practices that go beyond basic operation.
* Start with Smaller Batches: Especially when using a new grinder or grinding a new ingredient, start with smaller amounts. This allows you to gauge the grinder’s performance and ensure it’s operating smoothly.
* Pulse for Control: For many ingredients, especially when aiming for a specific texture (like coarse coffee grounds or finely chopped herbs), using the “pulse” function is highly recommended. This gives you more control over the grind size and prevents over-processing.
* Don’t Grind for Too Long Continuously: Most grinders are designed for intermittent use. Grinding for extended periods can overheat the motor, leading to damage or a shortened lifespan. Allow the motor to cool down between uses if necessary.
* **Know Your Grind Sizes:** Different recipes call for different grind sizes. Experiment with your grinder to understand how pulse duration and button presses translate to specific textures. For example, a quick pulse for coarse coffee, longer holds for finer grinds.
* **Storage is Key:** Store your grinder in a clean, dry place. Ensure the lid is on securely or parts are stored together to avoid losing any components, especially those related to the safety lock.
Maintaining Your Grinder for Safety and Longevity
Regular maintenance is crucial for ensuring your grinder continues to operate safely and efficiently for years to come.
Step 1: Cleaning After Every Use
* Unplug First: Always unplug the grinder before cleaning.
* Disassemble Carefully: If parts are removable, take them apart according to the manual’s instructions.
* Wash Removable Parts: Most grinding cups and lids can be washed with warm, soapy water. Check if they are dishwasher-safe.
* Wipe Down the Base: Use a damp cloth to wipe down the motor base and control panel. Never immerse the base in water.
* **Dry Thoroughly:** Ensure all parts are completely dry before reassembling or storing.
Step 2: Inspecting the Safety Lock Mechanism
Periodically check that the safety lock features are functioning as intended.
* **Lid Interlock: Try to run the grinder with the lid slightly ajar or not fully locked. It should not start. Ensure that when the lid is properly secured, the grinder activates as expected.
* Button Functionality: For dual-button systems, ensure both buttons register and operate the grinder. For child locks, test that they effectively disable the controls when engaged.
Step 3: Checking Blades and Seals
* **Blade Sharpness:** Dull blades can strain the motor. If your blades are not performing well, consider if replacement is needed (though most consumer grinders have non-replaceable blades).
* Seals and Gaskets: Ensure any rubber seals or gaskets are intact and creating a tight fit. Damaged seals can lead to leaks and potential issues with electrical components.
Step 4: Addressing Minor Wear and Tear
* Loose Parts: If you notice any loose screws or components, tighten them carefully.
* Cable Condition: Inspect the power cord for any fraying or damage. If damaged, discontinue use and contact the manufacturer.
Troubleshooting Common Grinder Safety Lock Issues
Even with the best intentions, you might encounter minor issues with your grinder’s safety lock. Here are some common problems and how to address them.
Problem 1: Grinder Won’t Turn On
* Possible Cause: The safety lock is preventing activation.
* Solution:
* Check Lid/Component Assembly: Ensure the lid, cup, or any other removable part is fully seated and locked into place. Listen for clicks or check indicator lights.
* Verify Button Presses (Dual-Button): Make sure you are pressing both buttons simultaneously and holding them down.
* **Child Lock Engaged:** If your grinder has a child lock, ensure it is disengaged. Refer to your manual for instructions on how to disable it.
* **Clean Contacts: Sometimes, a small amount of debris can interfere with interlock switches. Gently clean the contact points with a dry cloth.
Problem 2: Grinder Activates When Lid is Not Fully Secured (Interlock Switch Issue)
* Possible Cause: The interlock switch might be faulty or the lid alignment is slightly off.
* **Solution:**
* **Inspect for Damage:** Check the lid and the grinder housing for any signs of damage that might be preventing a proper fit.
* **Clean Interlock Area:** Ensure the area where the interlock switch makes contact is clean and free of debris.
* **Contact Manufacturer:** If the issue persists, the interlock switch may be malfunctioning, and you should contact the manufacturer for support or repair options.
Problem 3: Grinder Stops Abruptly During Operation
* Possible Cause: Overheating or a safety cutout feature.
* **Solution:**
* Let it Cool Down: Most grinders have thermal cutouts to prevent overheating. Unplug the grinder and let it cool for 10-15 minutes before trying again.
* Check for Blockage: Ensure the blades are not jammed with ingredients. If they are, unplug the grinder, carefully clear the blockage, and reassemble.
* **Reduce Load:** You might be trying to grind too much at once or an ingredient that is too tough for the grinder. Try smaller batches or less dense ingredients.
Conclusion
Grinders with built-in safety lock features represent a significant step forward in kitchen appliance safety. By understanding the various types of safety mechanisms, choosing a grinder that aligns with your needs, and adhering to safe operating and maintenance practices, you can enjoy the convenience and freshness that grinding your own ingredients provides, all while minimizing the risk of accidents. Embrace these advanced safety features, and make your kitchen a safer place for everyone. Happy grinding!