
Learn to create vibrant and flavorful mint chutney for your favorite snacks with ease, using just your mixer grinder! This comprehensive guide covers everything from selecting fresh ingredients to achieving the perfect consistency. Discover essential tips, variations, and troubleshooting advice to ensure your mint chutney is always a delicious success. Get ready to elevate your snacking experience with this versatile condiment!
Key Takeaways
- Effortless Preparation: Using a mixer grinder significantly simplifies the chutney-making process, reducing prep time and manual effort.
- Freshness is Key: The quality of your mint leaves directly impacts the chutney’s flavor; always opt for fresh, vibrant green leaves.
- Balancing Flavors: Achieving a well-rounded taste involves balancing the coolness of mint with the tang of lemon or lime, heat from chilies, and a hint of sweetness.
- Texture Control: The mixer grinder allows for precise control over the chutney’s consistency, from coarse to smooth, depending on your preference.
- Versatile Ingredient: Mint chutney is not just for snacks; it complements a wide range of Indian appetizers, main courses, and even sandwiches.
- Storage Savvy: Proper storage ensures your homemade mint chutney stays fresh and flavorful for longer periods.
- Customization Potential: This recipe is a fantastic base for experimentation, allowing you to add other herbs, spices, or ingredients to create unique flavor profiles.
Mint Chutney for Snacks Using Mixer Grinder
Welcome, fellow food enthusiasts! Are you tired of bland snacks? Do you crave that burst of fresh, zesty flavor that transforms ordinary bites into extraordinary culinary experiences? Then you’ve come to the right place! Today, we’re diving deep into the world of **mint chutney**, a beloved condiment in many cuisines, especially Indian. And the best part? We’re going to show you how to make it incredibly easily using your trusty mixer grinder.
Forget laborious pounding and chopping. Your mixer grinder is about to become your best friend in the kitchen, helping you whip up a fresh batch of this delightful green goodness in minutes. Whether you’re serving samosas, pakoras, sandwiches, or even just some crispy crackers, this mint chutney is the perfect accompaniment. It’s cool, it’s tangy, it’s a little spicy, and it’s incredibly refreshing.
In this guide, you’ll learn:
* The essential ingredients for a perfectly balanced mint chutney.
* The step-by-step process of using your mixer grinder to achieve the ideal consistency.
* Practical tips for selecting the best mint and other produce.
* Creative variations to customize your chutney.
* How to store your chutney for maximum freshness.
* And much more!
So, grab your apron, and let’s get ready to create some magic!
The Foundation: Essential Ingredients
Before we even think about turning on the mixer grinder, let’s talk about what goes into making truly exceptional mint chutney. The quality of your ingredients is paramount. For a classic, vibrant mint chutney, you’ll need:
- Fresh Mint Leaves: This is the star of the show! Use only fresh, bright green mint leaves. Avoid any yellowing or wilted leaves. The more fragrant, the better.
- Fresh Coriander (Cilantro) Leaves: A healthy bunch of coriander adds another layer of herbaceousness and depth. Some people prefer more mint, others more coriander. We’ll talk about ratios later!
- Green Chilies: For that essential kick! The number you use depends on your spice tolerance. You can use mild green chilies or spicier ones. Removing the seeds can reduce the heat.
- Ginger: A small piece of fresh ginger adds a warming, pungent note that complements the mint beautifully.
- Garlic (Optional): Some recipes include garlic, while others omit it to let the mint shine. A small clove can add a nice savory depth.
- Lemon or Lime Juice: This is crucial for tanginess and brightness. It also helps preserve the chutney’s vibrant green color.
- Salt: To enhance all the flavors.
- Water (as needed): Just a tablespoon or two to help the ingredients blend smoothly.
Choosing Your Produce: A Quick Guide
* Mint: Look for crisp, upright leaves. If they feel loose or droopy, they’re past their prime. Gently rub a leaf between your fingers to release its aroma – it should be strong and pleasant.
* Coriander: Similar to mint, aim for fresh, vibrant green leaves and firm stems.
* Green Chilies: Choose firm, unblemished chilies. The smaller ones are often spicier.
* Ginger: Select plump, firm ginger with smooth skin. Avoid wrinkled or dry pieces.
Step-by-Step: Making Mint Chutney with Your Mixer Grinder
Now for the exciting part! Using your mixer grinder makes this process incredibly simple. The key is to add ingredients in stages and use the pulse function to control the texture.
Step 1: Preparation is Key
Before you start blending, you need to prepare your ingredients. This might seem like an extra step, but it ensures everything grinds evenly and smoothly.
Wash and Dry the Herbs
- Thoroughly wash your mint and coriander leaves under cold running water.
- Gently pat them dry with a clean kitchen towel or use a salad spinner. Excess water can make your chutney watery.
Prepare Other Ingredients
- Peel the ginger.
- If using garlic, peel the clove.
- Remove the stems from the green chilies. If you want a milder chutney, slit them lengthwise and remove the seeds.
Step 2: The First Blend – Herbs and Aromatics
This is where the magic begins. We’ll start by grinding the bulk of the ingredients.
Load the Mixer Grinder Jar
- Add the washed and dried mint leaves and coriander leaves to the mixer grinder jar. A good starting ratio is about 1:1 or 2:1 mint to coriander, depending on your preference.
- Add the green chilies, peeled ginger, and garlic (if using).
Pulse and Grind
- Start by pulsing the ingredients for a few seconds. This helps break them down.
- Continue to grind, stopping occasionally to scrape down the sides of the jar with a spatula.
- Grind until the mixture is roughly chopped and has a coarse consistency. Avoid over-grinding at this stage.
Step 3: Adding the Liquids and Seasoning
Now we’ll introduce the elements that bring out the flavor and achieve the desired consistency.
Add Lemon Juice and Salt
- Add the fresh lemon or lime juice to the jar. Start with about 1 tablespoon and add more later if needed.
- Add salt to taste. Start with about half a teaspoon.
Achieve the Perfect Consistency
- Add just a tablespoon of cold water. The goal is to help the ingredients blend smoothly without making the chutney too thin.
- Close the lid and grind again.
- Use the pulse function repeatedly. This gives you more control over the texture. Pulse, stop, check, and scrape down the sides as needed.
- Continue grinding until you reach your desired consistency. Some people prefer a slightly chunky chutney, while others like it perfectly smooth.
Step 4: Taste and Adjust
This is a crucial step for flavor perfection!
- Once blended, transfer a small amount of chutney to a spoon.
- Taste it and adjust the seasoning. Does it need more salt? More tang from lemon juice? More heat from a tiny bit more chili?
- If you’re adding more of any ingredient, add it to the jar and pulse a few more times to incorporate.
Tips for the Perfect Mint Chutney
* Don’t Overload the Jar: Grinding too many ingredients at once can lead to uneven blending and can also overheat the mixer grinder. Grind in batches if necessary.
* Use Cold Water: If you need to add water, use ice-cold water. This helps keep the chutney cool and preserves its vibrant green color.
* Control the Heat: If you’re sensitive to spice, start with just one green chili and remove the seeds. You can always add more chili powder or a pinch of cayenne later if you want more heat.
* Freshness Matters: The fresher your herbs, the brighter and more flavorful your chutney will be.
* The Power of Pulse: The pulse function is your best friend. It allows you to control the texture and prevents the chutney from becoming a paste if you don’t want it to be.
* Scrape Down Sides: Don’t forget to scrape down the sides of the mixer grinder jar periodically. This ensures all ingredients are incorporated and blend evenly.
Troubleshooting Common Chutney Issues
Even with the best intentions, sometimes things don’t go perfectly. Here are a few common issues and how to fix them:
Issue: Chutney is too watery.
Solution: This usually happens if too much water was added or the herbs weren’t dried properly. To thicken it, you can try adding a few ice cubes and blending again (they will melt and not dilute the flavor). Another option is to add a tablespoon of roasted gram flour (besan) or a small piece of cooked potato and blend. Store in the refrigerator; it will thicken as it chills.
Visual guide about Mint Chutney for Snacks Using Mixer Grinder
Image source: 5.imimg.com
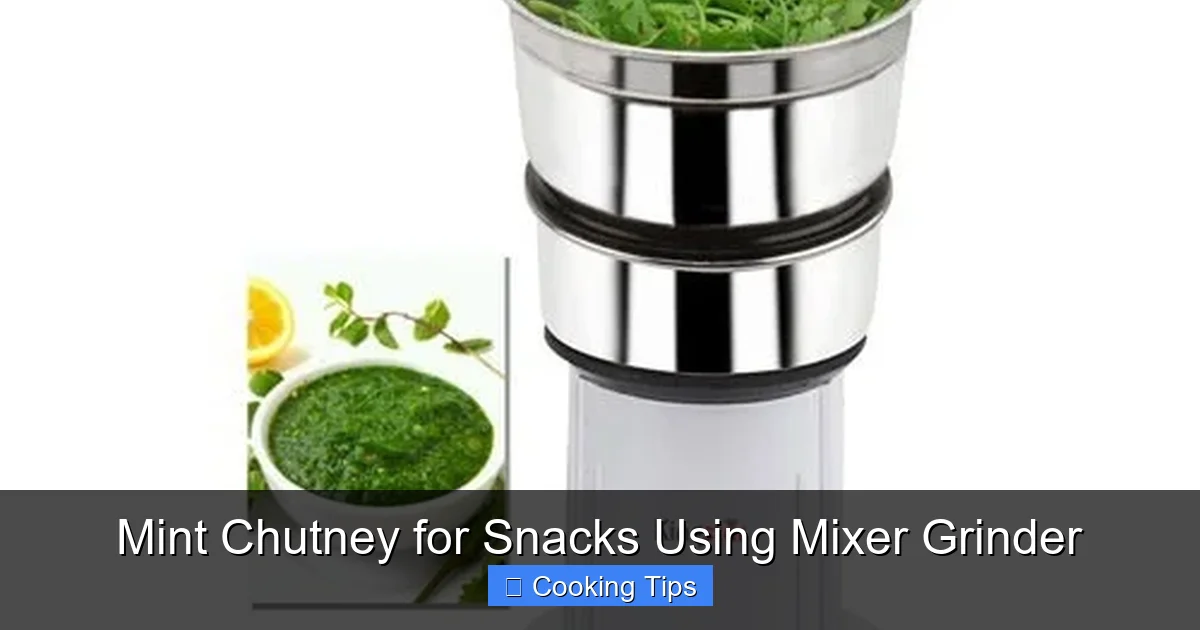
Visual guide about Mint Chutney for Snacks Using Mixer Grinder
Image source: 4.imimg.com
Visual guide about Mint Chutney for Snacks Using Mixer Grinder
Image source: 5.imimg.com
Issue: Chutney is not green enough or has turned brown.
Solution: The green color fades due to oxidation. Ensure you used very fresh herbs. Adding a good amount of lemon or lime juice helps preserve the color. Blending quickly and not over-grinding also helps. If it has already turned brown, adding a tiny pinch of turmeric or a drop of green food coloring (though not ideal for purists) can sometimes revive the color, but the flavor might be slightly altered. The best defense is a good offense – use fresh ingredients and lemon juice!
Issue: Chutney is too bitter.
Solution: Sometimes, the stems of coriander or mint can be a bit bitter. Ensure you’re using tender stems and mainly the leaves. If it’s still bitter, try adding a pinch of sugar or a little more lemon juice to balance the flavors. A small piece of raw mango (if in season) can also add a nice tartness that masks bitterness.
Issue: Chutney is too bland.
Solution: This is an easy fix! Taste and adjust. Add more salt, a squeeze more lemon juice, or a pinch of roasted cumin powder for an earthy flavor. If it needs more zing, you can add a tiny piece of fresh ginger or a sliver of garlic and blend again.
Delicious Variations to Try
Once you’ve mastered the basic mint chutney, don’t be afraid to experiment! Here are some ideas to elevate your chutney game:
- Spicy & Tangy: Add a small piece of raw mango (kairi) along with the mint and coriander. This adds a wonderful tartness and depth.
- Garlic Lover’s Delight: Increase the amount of garlic to 2-3 cloves for a bolder flavor.
- Coconut Kick: Add a tablespoon of fresh grated coconut. This gives the chutney a richer, creamier texture and a subtle sweetness.
- Nutty Crunch: A tablespoon of roasted peanuts or cashews can add a lovely texture and nutty flavor.
- Onion Infusion: A small piece of red onion can add a sharp, pungent note. Be careful, as it can overpower the mint if too much is used.
- Sweet & Savory: Add a pinch of sugar or jaggery for a touch of sweetness that balances the heat and tang.
- Spice Boost: A pinch of roasted cumin powder, a dash of chaat masala, or a tiny bit of black salt (kala namak) can add complex layers of flavor.
Storage and Serving Suggestions
Proper storage is key to enjoying your delicious mint chutney for longer.
How to Store Mint Chutney
- Transfer the chutney to an airtight container.
- Store it in the refrigerator.
- Freshly made mint chutney is best consumed within 3-4 days. The vibrant green color will start to fade after that, though the flavor will still be good for a bit longer.
- You can freeze mint chutney in small portions (like ice cube trays) for longer storage, but the texture might change slightly upon thawing.
Serving Your Mint Chutney
The possibilities are endless! Mint chutney is incredibly versatile. Here are some popular ways to enjoy it:
- As a dip for **samosas, pakoras, bhajis, aloo tikki, vada pav, and other Indian snacks.**
- Spread on **sandwiches, wraps, and rolls.**
- As a condiment with **kebabs and tikkas.**
- Mixed into **dahi (yogurt) to make a raita or a cooling dip.**
- As a marinade for **chicken or fish.**
- Drizzled over **chaat items** like sev puri or bhel puri.
- Even as a dip for **pizza or pasta!**
Conclusion
And there you have it! Making fresh, flavorful mint chutney using your mixer grinder is a breeze. It’s a testament to how simple, fresh ingredients, combined with a bit of technique and the right kitchen tool, can create something truly magical. This vibrant green chutney is more than just a condiment; it’s a flavor enhancer, a taste of home for many, and a delightful addition to any meal or snack.
We encourage you to try this recipe, experiment with the variations, and make it your own. The next time you’re craving that burst of freshness, you’ll know exactly how to whip up a batch of the best mint chutney, all thanks to your trusty mixer grinder. Happy blending, and even happier snacking!