
Learn to create the perfect green masala for your biryani, a crucial step for its signature aroma and taste. This guide provides detailed, easy-to-follow instructions for a vibrant and flavorful paste, ensuring your biryani stands out. We cover ingredient selection, preparation techniques, and how to achieve the ideal consistency for an unforgettable culinary experience. Unlock the secret to aromatic biryani with this essential recipe.
How to Prepare Green Masala for Biryani
Biryani is a dish that speaks of celebrations, gatherings, and pure culinary delight. At its heart, a truly magnificent biryani possesses a depth of flavor and an intoxicating aroma that awakens the senses. While rice and meat (or vegetables) play significant roles, the unsung hero, the secret ingredient that elevates a good biryani to a great one, is its masala. Today, we’re diving deep into one of the most vital components: the green masala.
This isn’t just any spice paste. The green masala for biryani is a vibrant, aromatic concoction that forms the foundational layer of flavor for many regional biryani variations, particularly those from Hyderabad and Lucknow. Its fresh, herbaceous notes, combined with the punch of ginger, garlic, and chilies, create a complex and delightful taste that is simply irresistible.
In this comprehensive guide, you will learn everything you need to know to prepare a perfect green masala for your biryani. We’ll break down the essential ingredients, explore the best preparation methods, and share tips to ensure your masala is just right. By the end, you’ll have the confidence to create this flavorful paste that will undoubtedly impress your family and friends with your next biryani masterpiece.
Key Takeaways
- Understand the Core Ingredients: Fresh herbs like mint and cilantro are the stars, providing the signature green color and refreshing aroma essential for authentic biryani.
- Achieve the Right Balance of Spices: Carefully selecting and measuring green chilies, ginger, garlic, and other aromatics is key to a well-rounded flavor profile.
- Master the Grinding Technique: Whether using a traditional mortar and pestle or a modern blender, the method of grinding significantly impacts the paste’s texture and flavor release.
- Optimize Consistency for Biryani: The green masala should be a thick paste, not watery, to effectively marinate the meat or vegetables and infuse them with flavor.
- Storage and Usage Tips: Learn how to properly store the prepared green masala to maintain its freshness and discover various ways to use it in your biryani.
- Customization is Encouraged: While there’s a classic base, feel free to adjust the heat and herb ratios to suit your personal taste preferences.
The Importance of Green Masala in Biryani
Before we get our hands dirty, let’s understand *why* this green paste is so crucial. The green masala is responsible for:
- Infusing Aroma: The fresh herbs, especially mint and cilantro, release incredible fragrances as they cook, permeating the entire dish.
- Adding Freshness: Unlike dry spice mixes, the fresh ingredients in green masala provide a bright, zesty counterpoint to the richness of the meat and spices.
- Creating a Flavor Base: It acts as a marinade for the protein or vegetables, tenderizing them and building a complex flavor profile from the very beginning.
- Contributing to Color: The vibrant green hue from the herbs adds visual appeal, making the biryani look as good as it tastes.
Essential Ingredients for Your Green Masala
The beauty of green masala lies in its simplicity and the quality of its fresh ingredients. Here’s what you’ll need:
- Fresh Cilantro (Coriander Leaves): This is a primary ingredient. Use a generous bunch, including some tender stems as they are also flavorful.
- Fresh Mint Leaves: Equally important as cilantro, mint adds a refreshing coolness that balances the heat and richness. Use a slightly smaller amount than cilantro, or adjust to your preference.
- Green Chilies: These provide the heat. The type and quantity depend on your spice tolerance. For a moderate heat, use milder green chilies. For a spicier kick, opt for hotter varieties like Serrano or Bird’s Eye chilies.
- Ginger: Fresh ginger root is essential for its pungent warmth and aroma.
- Garlic: Fresh garlic cloves add a savory depth and pungency.
- Optional Additions: Some recipes might include a small piece of onion, a pinch of cumin seeds, or a few black peppercorns for added complexity.
Choosing the Right Ingredients
* **Herbs:** Look for bright green, perky leaves. Avoid any that are wilted or have yellow spots. Wash them thoroughly to remove any dirt.
* **Chilies:** Select firm, unblemished chilies. If you’re sensitive to heat, remove the seeds and membranes from the green chilies before grinding, as this is where most of the capsaicin (the heat compound) resides.
* **Ginger and Garlic:** Choose firm, plump pieces of ginger and garlic. You can use pre-peeled garlic or ginger if you’re short on time, but fresh is always best.
Step-by-Step Preparation of Green Masala
There are two primary methods for preparing green masala: using a mortar and pestle (for the most authentic texture and flavor) and using a blender or food processor (for speed and convenience).
Method 1: Using a Mortar and Pestle (Traditional Method)
This method requires a bit more elbow grease, but many believe it yields a superior flavor and texture because the ingredients are bruised rather than pulverized.
Step 1: Prepare the Herbs
Rinse your cilantro and mint leaves thoroughly under cold running water. Gently pat them dry with a clean kitchen towel or allow them to air dry for a few minutes. Remove any thick, woody stems from the cilantro.
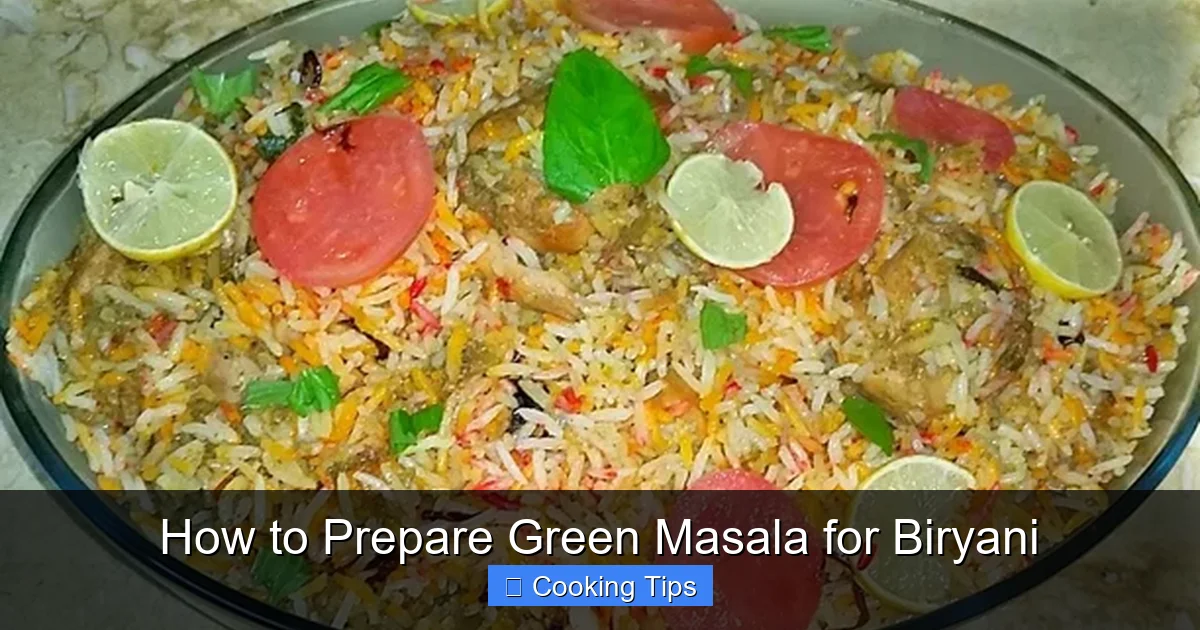
Visual guide about How to Prepare Green Masala for Biryani
Image source: kfoods.com

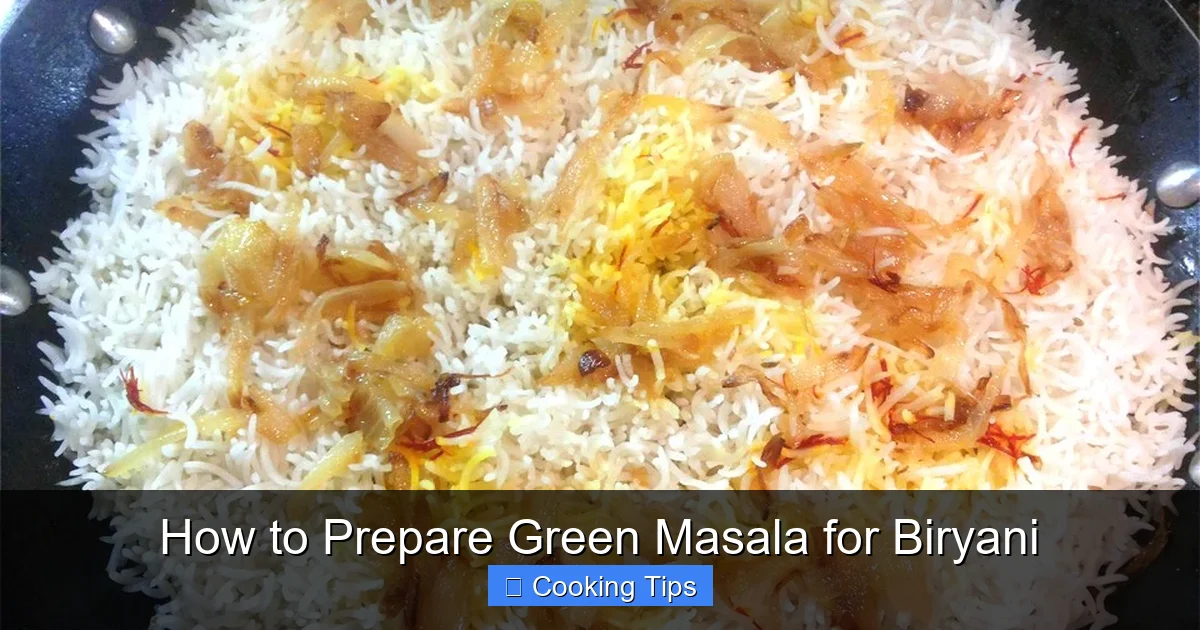
Visual guide about How to Prepare Green Masala for Biryani
Image source: maltimasala.com
Visual guide about How to Prepare Green Masala for Biryani
Image source: celebrationinmykitchen.com
Step 2: Prepare the Aromatics
Peel the ginger and garlic. Roughly chop the ginger into smaller pieces. You can leave the garlic cloves whole if they are small, or halve larger ones.
Step 3: Add Green Chilies
Wash your green chilies. If you prefer less heat, slice them open and scrape out the seeds and membranes. Roughly chop them into manageable pieces.
Step 4: Start Grinding
Begin by adding the green chilies to the mortar. Pound them with the pestle until they form a coarse paste. This helps to break them down first, making it easier to grind the other ingredients.
Step 5: Add Ginger and Garlic
Add the chopped ginger and garlic to the mortar. Continue to pound and grind them with the chilies until you have a relatively smooth, cohesive paste. You may need to scrape down the sides of the mortar occasionally.
Step 6: Add Herbs and Grind
Now, add the cilantro and mint leaves to the mortar. This is where patience comes in. Gradually grind the herbs with the pestle. The goal is to bruise and break down the leaves, releasing their essential oils and juices, rather than turning them into a fine powder. You’re aiming for a slightly coarse but well-combined paste.
Tip: You might need to grind in batches if your mortar is small. Also, if the paste seems too dry, you can add a tiny splash of water (literally a teaspoon at a time), but be very sparing, as you want a thick paste.
Step 7: Achieve the Right Consistency
Continue grinding until you achieve a thick, vibrant green paste. It shouldn’t be watery but should be spreadable and well-mixed. The texture should be slightly rustic, with discernible pieces of herbs and aromatics.
Method 2: Using a Blender or Food Processor (Quick Method)
This method is significantly faster and requires less physical effort. While the texture might be finer than the traditional method, the flavor is still excellent.
Step 1: Prepare Ingredients
Wash and dry the cilantro and mint leaves. Peel and roughly chop the ginger. Peel the garlic cloves. Wash the green chilies and deseed them if you prefer less heat. Roughly chop the chilies.
Step 2: Add Ingredients to Blender/Processor
Add the green chilies, ginger, and garlic to the blender jar or food processor bowl. Pulse a few times to break them down.
Step 3: Add Herbs
Add the cilantro and mint leaves to the blender jar. It’s best to add them in batches if your blender is small or if you have a large quantity. Don’t overfill it.
Step 4: Blend to a Paste
Start blending. Use the pulse function initially to help break down the ingredients. Then, blend continuously. You may need to stop the blender a few times to scrape down the sides with a spatula to ensure everything is incorporated evenly.
Tip: If the mixture is too dry and the blender blades are struggling, add a *very* small amount of water, no more than a tablespoon at a time. You are aiming for a thick, paste-like consistency, not a liquid smoothie.
Step 5: Achieve Desired Consistency
Blend until you achieve a thick, smooth, yet not watery paste. The consistency should be such that it can easily coat the back of a spoon and marinate meat or vegetables without becoming liquidy.
Tips for Perfect Green Masala
* Freshness is Key: Always use the freshest herbs and aromatics you can find. Stale ingredients will result in a dull-tasting masala.
* Spice Level Control: Taste a tiny bit of your raw masala (if you dare!) or the green chilies themselves to gauge their heat. Adjust the number of chilies accordingly. Remember, you can always add more heat later if needed, but you can’t take it away.
* Don’t Over-Blend: For the blender method, avoid over-processing. You want a paste with a bit of body, not a fine puree.
* Optional Additions for Depth: If you’re feeling adventurous, you can add a small knob of raw mango (if in season) for a tangy twist, or a few cashew nuts for richness and to help bind the paste. A small piece of raw onion can also add another layer of flavor.
* Balance of Herbs: The ratio of cilantro to mint is a matter of preference. A common starting point is 2 parts cilantro to 1 part mint, but feel free to adjust. Some people prefer an equal ratio.
Storage and Usage
Once your green masala is prepared, you’ll want to use it promptly for the best flavor. However, if you have leftovers or want to prepare it in advance:
How to Store Green Masala
* Refrigeration: Transfer the green masala to an airtight container. It can be stored in the refrigerator for 2-3 days. The color might darken slightly, but the flavor will remain good.
* Freezing: For longer storage, freeze the green masala. You can portion it into ice cube trays or small airtight containers. Once frozen, transfer the cubes to a freezer bag. Frozen green masala can last for up to 2-3 months. Thaw it in the refrigerator before use.
How to Use Green Masala in Biryani
The green masala is typically used in the marination stage for the biryani.
1. **Marination:** Mix the green masala paste with your chosen protein (chicken, lamb, mutton) or vegetables. Add other biryani spices, yogurt, and salt. Marinate for at least 30 minutes, or preferably for several hours or overnight in the refrigerator for maximum flavor infusion.
2. **Layering:** In some biryani recipes, a portion of the green masala might be added directly to the layers of rice and marinated meat during the dum cooking process to enhance its aroma.
Troubleshooting Common Issues
* **Masala is too watery:**
* Cause: Too much water was added during grinding, or the herbs were not dried properly.
* Solution: If using a blender, try to cook out some moisture by gently heating the paste in a pan for a few minutes on low heat until it thickens. Be careful not to burn it. If using a mortar and pestle, this is less likely to happen unless too much water was added. Ensure you’ve wrung out excess water from herbs if they were washed just before grinding.
* **Masala is not flavorful enough:**
* Cause: Ingredients were not fresh, or not enough of the aromatics (ginger, garlic, chilies) were used.
* Solution: Make a fresh batch with better quality, fresher ingredients. Ensure you’re using enough ginger, garlic, and chilies for the quantity of herbs.
* **Masala has turned brown:**
* Cause: Oxidation, especially if it’s been exposed to air for too long or is a few days old.
* Solution: While it might not look as vibrant, the flavor is usually still good. Use it as soon as possible. If you’re storing it, use an airtight container and minimize exposure to air. Freezing helps preserve the color better than refrigeration.
Conclusion
Preparing green masala for biryani is a rewarding culinary journey. It’s a process that allows you to infuse your dish with freshness, aroma, and a unique flavor profile that is distinct and memorable. By understanding the ingredients, mastering the grinding techniques, and following these simple steps, you’re well on your way to creating biryanis that are not just meals, but experiences.
Don’t be afraid to experiment with the ratios of herbs and chilies to find your perfect balance. This versatile green masala is a cornerstone of many delicious biryani recipes, and its preparation is a skill worth honing for any aspiring home chef. So gather your fresh ingredients, get your mortar and pestle or blender ready, and prepare to unlock the vibrant heart of your next biryani! Happy cooking!