
A loose jar fitting in your mixer grinder can be a safety hazard and affect performance. This guide provides comprehensive steps to fix a loose jar fitting, from simple tightening to minor repairs. Learn to identify the problem, gather necessary tools, and follow our easy-to-understand instructions to restore your mixer grinder to its optimal working condition. Enjoy hassle-free blending and grinding again!
Fixing Loose Jar Fitting in Mixer Grinders
Is your mixer grinder jar wobbling precariously? A loose jar fitting is more than just an annoyance; it can be a serious safety concern and can also lead to inefficient grinding and potential damage to your appliance. Don’t worry if you’re experiencing this problem! This comprehensive guide will walk you through everything you need to know about fixing a loose jar fitting in your mixer grinder. We’ll cover how to identify the issue, the tools you’ll need, step-by-step repair methods, and even some preventative maintenance tips. By the end of this guide, you’ll be equipped to get your mixer grinder back in top shape, ensuring safe and effective operation for all your culinary adventures.
- Identify the Source of Looseness: Determine if the issue is with the jar’s base, the coupler, or the main unit’s locking mechanism.
- Gather Essential Tools: Most fixes require basic household tools like screwdrivers, pliers, and sometimes adhesive.
- Tighten Jar Coupler Securely: Learn the proper method for tightening the threaded coupler on the bottom of the mixer jar.
- Inspect and Repair Jar Base Damage: If the jar’s base is cracked or damaged, you might need to use strong adhesives or consider replacement.
- Check the Main Unit’s Locking Mechanism: Ensure the slots or hooks on the mixer grinder base that secure the jar are not bent or damaged.
- Perform Regular Maintenance: Discover simple preventative measures to keep your mixer grinder jar fittings tight and functional.
- When to Seek Professional Help or Replacement: Understand the signs that indicate a problem beyond DIY repair and when it’s time to contact a professional or buy a new unit.
Understanding the Problem: Why is My Mixer Grinder Jar Loose?
Before we dive into the fixes, it’s important to understand where the looseness might be coming from. Mixer grinder jars typically attach to the main motor unit via a coupler at the bottom of the jar, which then engages with a drive shaft on the motor base. Looseness can originate from a few key areas:
- The Jar’s Coupler: This is the part at the bottom of the jar that screws onto the motor shaft. It can become loose over time due to wear and tear, improper tightening, or damage.
- The Jar Base Itself: Sometimes, the plastic or metal base where the coupler is attached can crack or become damaged, leading to a wobbly fit.
- The Main Unit’s Locking Mechanism: The slots or hooks on the mixer grinder base that the jar coupler locks into might be worn, bent, or damaged.
- Wear and Tear on Gaskets or Seals: While less common for outright looseness, worn gaskets can sometimes contribute to a less secure fit.
Identifying the exact source of the looseness will help you choose the right solution.
Gathering Your Tools and Materials
Fortunately, fixing a loose jar fitting in most mixer grinders doesn’t require specialized equipment. You’ll likely have most of what you need in your home toolbox. Here’s a list of common items you might need:
- Screwdriver Set: Both Phillips head and flathead screwdrivers will be useful for disassembling and reassembling parts if necessary.
- Pliers: Needle-nose pliers or standard pliers can help grip small parts or adjust components.
- Adjustable Wrench or Pliers: For gripping and tightening larger threaded parts.
- Strong Adhesive: A good quality, heat-resistant, and food-safe adhesive (like epoxy putty or a strong super glue) might be needed for minor repairs to the jar base. Always check the product’s suitability for kitchen use.
- Cleaning Cloths: To clean parts before reassembly or adhesive application.
- Lubricant (Optional): A food-grade lubricant might be useful for certain moving parts, though this is rarely needed for coupler issues.
- Replacement Parts (If necessary): In some cases, you might need to purchase a new coupler or even a new jar.
Step-by-Step Guide to Fixing a Loose Jar Fitting
Let’s get down to business! Follow these steps carefully to diagnose and fix your loose mixer grinder jar.
Step 1: Safety First! Disconnect the Power
This is the most crucial step. Always unplug your mixer grinder from the power outlet before you begin any inspection or repair. This prevents accidental activation of the motor, which could cause serious injury.
Visual guide about Fixing Loose Jar Fitting in Mixer Grinders
Image source: zakiasianfoods.de
Visual guide about Fixing Loose Jar Fitting in Mixer Grinders
Image source: homezene.com
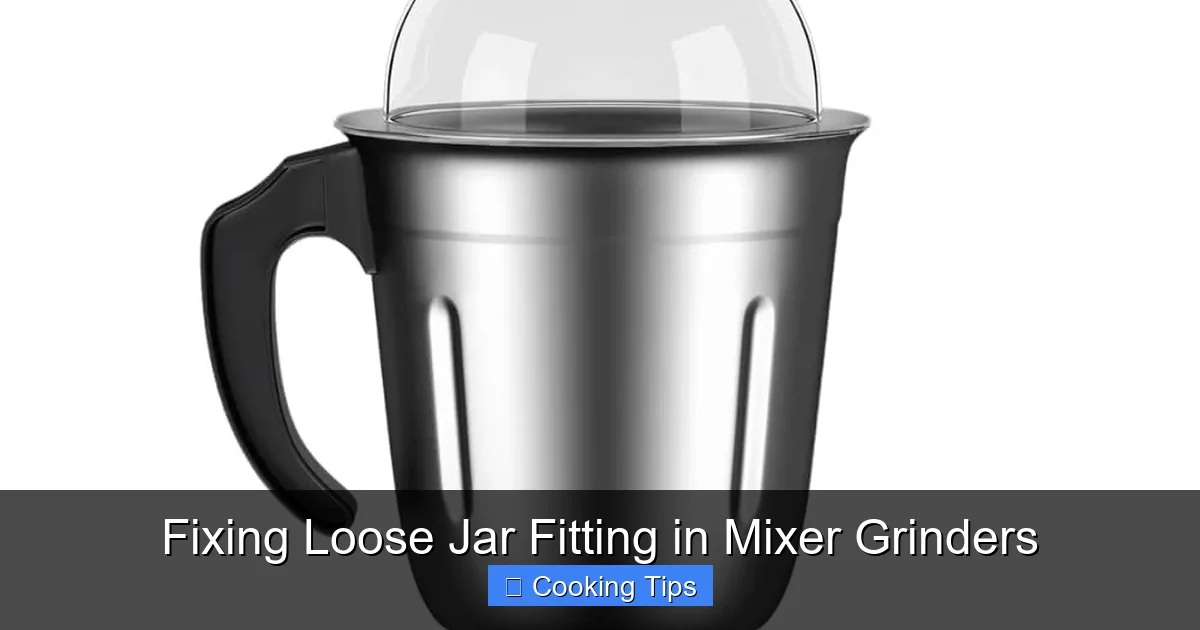
Visual guide about Fixing Loose Jar Fitting in Mixer Grinders
Image source: m.media-amazon.com
Step 2: Inspect the Jar and its Coupler
Carefully examine the bottom of your mixer grinder jar. This is where the coupler is located. The coupler is usually a plastic or rubber piece that has threads and is designed to engage with the motor’s drive shaft.
H3: Check for Visible Damage
Look for any cracks, chips, or signs of wear on the coupler itself. If the coupler is visibly broken or severely damaged, it will likely need to be replaced. You’ll also want to check if the coupler is properly attached to the jar base. Is it spinning freely on its own, or is it securely fastened?
H3: Test the Coupler’s Tightness
Try to manually twist the coupler. It should be firmly attached to the jar and not spin loosely. If you can easily rotate the coupler independently of the jar base, or if it feels loose, this is likely the source of your problem.
Step 3: Tighten a Loose Coupler
If the coupler itself seems intact but just feels loose, you can often tighten it. This is a common issue, especially with jars that have removable couplers.
H3: For Removable Couplers
Some mixer grinder jars have couplers that can be unscrewed or unscrewed. Inspect your jar; you might see a seam where the coupler meets the jar base.
- Grip the Coupler: Use a pair of pliers or an adjustable wrench to grip the coupler firmly.
- Twist Clockwise: Gently but firmly twist the coupler in a clockwise direction (the same direction you would normally screw a jar onto the base).
- Secure Firmly: Continue tightening until it feels snug and secure. Do not overtighten, as this can damage the threads or the coupler itself.
- Test the Fit: Re-attach the jar to the mixer grinder base and see if the wobble is gone.
H3: For Non-Removable Couplers (or if tightening doesn’t work)
If the coupler is integrated into the jar base or if simply twisting it doesn’t help, you might need to secure it more permanently.
- Clean the Area: Ensure the coupler and the surrounding jar base are clean and dry.
- Apply Adhesive: Apply a small amount of strong, food-safe, heat-resistant epoxy putty or a high-quality super glue around the edge where the coupler meets the jar base. Be precise and avoid getting too much adhesive on the threading of the coupler itself.
- Hold in Place: If using putty, knead it and firmly press it into the gap. If using liquid adhesive, you might need to hold the coupler in place for a few minutes as per the product instructions.
- Cure Properly: Allow the adhesive to cure completely according to the manufacturer’s instructions. This is crucial for a strong bond. This can take several hours or even overnight.
- Test After Curing: Once fully cured, test the coupler’s tightness again.
Important Note on Adhesives: Always use adhesives specifically designed for kitchenware or food contact if possible. If not, ensure the adhesive is cured fully and the jar is thoroughly washed before any food preparation.
Step 4: Inspect and Repair the Jar Base
If the looseness isn’t from a loose coupler but from a damaged jar base, the repair process might be a bit more involved.
H3: Checking for Cracks
Carefully inspect the plastic or metal base of the jar where the coupler is attached. If you find any cracks, these can compromise the integrity of the fit.
H3: Minor Cracks Repair
For very minor cracks, you might be able to use a strong, food-safe, heat-resistant epoxy putty to fill and seal the crack. Clean the area thoroughly, mix the putty according to instructions, and carefully apply it to the crack. Smooth it out and allow it to cure completely.
Caution: If the crack is significant or affects the structural integrity of the base, it might be too dangerous to repair. A compromised jar base can lead to leaks or the jar separating from the coupler during operation.
Step 5: Examine the Mixer Grinder’s Main Unit
Sometimes, the issue isn’t with the jar at all, but with the motor unit itself. The jar coupler engages with a drive shaft on the motor base. The way it engages can vary, but it typically involves slots or hooks on the base that the coupler fits into or locks onto.
H3: Check the Drive Shaft and Locking Mechanism
With the jar removed, inspect the motor base where the jar attaches. Look for any:
- Bent or Damaged Slots/Hooks: The metal or plastic parts that hold the jar should be intact and not bent out of shape.
- Debris or Obstructions: Ensure there’s no food debris or other material jamming the mechanism.
- Worn Parts: Over time, these parts can wear down.
H3: Minor Adjustments to the Main Unit
If you notice slightly bent slots, you might be able to gently bend them back into place using pliers. However, be very careful not to break them. If the locking mechanism is significantly damaged or worn, it might be impossible to repair yourself, and you may need to contact the manufacturer or consider a new unit.
Step 6: Reassemble and Test
Once you’ve completed your repairs or tightening:
H3: Clean All Parts
Before reassembling, ensure all parts you’ve worked on are clean. If you used adhesive, make sure it’s fully cured and the jar is washed thoroughly.
H3: Attach the Jar Securely
Place the jar onto the mixer grinder base. Twist it to ensure it locks securely into place. There should be no wobbling or looseness.
H3: Perform a Test Run (Without Load)
Plug in the mixer grinder and run it on a low setting for a few seconds without any ingredients. Listen for any unusual noises and watch to ensure the jar remains firmly in place. If everything seems stable, you can proceed with normal use.
Troubleshooting Common Issues
Even with careful repairs, you might encounter specific problems.
Q: My jar still wobbles even after tightening the coupler.
A: This often means the coupler is stripped, or the jar base itself is cracked. You might need to replace the coupler or the entire jar. If the main unit’s locking mechanism is worn, that could also be the culprit.
Q: The adhesive I used didn’t hold.
A: Ensure you used a high-quality, food-safe, heat-resistant adhesive. Surface preparation is key; the area must be perfectly clean and dry. If the damage is too severe, adhesive might not be a permanent solution.
Q: I can’t find a replacement coupler for my old mixer grinder.
A: For older or less common models, finding specific replacement parts can be difficult. You might need to search online marketplaces, specialty appliance parts stores, or consider if a universal coupler is available (though these are rare and might not fit perfectly). In many cases, a new jar or a new mixer grinder might be more cost-effective.
Preventative Maintenance for Mixer Grinder Jars
Preventing a loose jar fitting is always better than fixing one. Here are some tips to keep your mixer grinder in good condition:
- Always Attach and Detach Properly: When attaching the jar, align it correctly and twist until it locks firmly. When detaching, twist in the opposite direction to unlock it. Don’t force it.
- Avoid Overfilling: Overfilling the jar can put undue stress on the coupler and the motor.
- Clean Regularly: After each use, clean the jar and the coupler. Remove any food residue that could harden and make detachment or attachment difficult, potentially leading to wear.
- Inspect Periodically: Take a moment every few months to inspect the jar coupler and the motor unit’s locking mechanism for any signs of wear or damage.
- Don’t Use Excessive Force: If the jar is difficult to attach or detach, don’t force it. Check for obstructions or misalignments.
When to Call a Professional or Buy a New Mixer Grinder
While many loose jar fitting issues can be resolved with simple DIY methods, there are times when it’s best to seek professional help or consider a replacement:
- Major Damage to the Jar Base: If the jar base is significantly cracked or warped, it’s often safer and more economical to replace the jar.
- Damaged Motor Unit Components: If the locking mechanism on the motor base is severely broken, bent, or worn out, it can be difficult and potentially unsafe to repair.
- Electrical Issues: If the looseness is accompanied by strange electrical smells, sparks, or motor problems, stop using the appliance immediately and consult a qualified technician.
- Cost of Repair vs. Replacement: If you find yourself needing to replace multiple parts or if the repairs are extensive, it might be more cost-effective to invest in a new mixer grinder, especially if your current model is old.
Conclusion
A loose jar fitting in your mixer grinder can be a frustrating and potentially dangerous problem, but it’s often a fixable one. By carefully inspecting your jar and the mixer grinder unit, gathering the right tools, and following the step-by-step instructions, you can successfully tighten or repair a loose jar fitting. Remember to always prioritize safety by unplugging the appliance before you start. With a little care and attention, you can restore your mixer grinder to its full functionality, ensuring it remains a reliable tool in your kitchen for years to come. Happy grinding!