
Experiencing an unresponsive speed control knob on your mixer grinder can be frustrating. This comprehensive guide will walk you through understanding the common causes and provide step-by-step DIY solutions to get your mixer grinder back in working order. From simple cleaning to more involved component checks, we’ve got you covered, helping you avoid costly repairs.
Unresponsive Speed Control Knob on Mixer Grinder
Is your trusty mixer grinder letting you down? That seemingly simple speed control knob, the gateway to grinding, blending, and mixing perfection, has suddenly gone quiet. An unresponsive speed control knob on a mixer grinder is a common, albeit annoying, problem that can bring your kitchen tasks to a grinding halt. But don’t despair! Before you rush to buy a new appliance or call for expensive repairs, there’s a good chance you can fix this yourself.
This guide is designed to help you understand why your mixer grinder’s speed control knob might be acting up and, more importantly, provide you with clear, actionable steps to get it working again. We’ll cover everything from basic cleaning to more in-depth troubleshooting. So, grab your tools, take a deep breath, and let’s get your mixer grinder back in top shape!
Key Takeaways
- Understanding the Cause: An unresponsive speed control knob on your mixer grinder is often due to dirt, debris, electrical issues, or a worn-out component.
- Safety First: Always unplug the mixer grinder before attempting any cleaning or repair to prevent electric shock.
- Basic Cleaning is Key: Often, simply cleaning the knob and its surrounding area can resolve the issue.
- Internal Inspection: If basic cleaning doesn’t work, a more thorough internal inspection of the speed control mechanism might be necessary.
- Component Wear: The speed control knob or its internal switch can wear out over time, requiring replacement.
- Professional Help: For complex electrical problems or if you’re uncomfortable with disassembly, consider seeking professional repair.
Why Is My Mixer Grinder Speed Control Knob Unresponsive?
Before we dive into the fixes, it’s helpful to understand the potential culprits behind a stubborn speed control knob. Mixer grinders are subjected to the rigors of kitchen use – dust, food particles, moisture, and constant manipulation. These elements can affect the delicate electrical components responsible for regulating speed.
The most frequent reasons for an unresponsive knob include:
- Accumulated Grime and Debris: Over time, food particles, dust, and oil can build up around the knob and inside the control mechanism. This gunk can impede the movement of the knob or interfere with the electrical contacts.
- Loose Connections: Internal wiring connecting the speed control to the motor can become loose due to vibrations or improper handling.
- Worn-Out Potentiometer or Switch: The speed control often relies on a potentiometer (a variable resistor) or a multi-speed switch. These components have a finite lifespan and can wear out with frequent use, leading to erratic behavior or complete failure.
- Electrical Faults: Less commonly, there might be a more significant electrical issue within the mixer grinder’s circuitry.
- Physical Damage: In rare cases, the knob itself or the surrounding housing might have sustained physical damage that’s preventing it from functioning correctly.
Understanding these common issues will help you approach the troubleshooting process with a clearer picture.
Safety First: Essential Precautions
Before you even think about touching a screwdriver, the most crucial step is ensuring your safety. Working with electrical appliances, even when they appear to be off, carries inherent risks.
Always, always, always unplug your mixer grinder from the power outlet before attempting any cleaning, disassembly, or repair. Even if the knob isn’t working, there’s still a residual charge in some components. Unplugging it is non-negotiable.
Visual guide about Unresponsive Speed Control Knob on Mixer Grinder
Image source: rukmini1.flixcart.com
Additionally, if you’re not comfortable with basic DIY tasks or electrical components, it’s always best to seek professional help. Don’t force anything if it feels wrong.
Step-by-Step Guide to Fixing an Unresponsive Speed Control Knob
Let’s get down to business. We’ll start with the simplest solutions and move towards more involved ones.
Step 1: Basic Cleaning Around the Knob
This is the easiest and often most effective fix. Dirt and grime are the usual suspects.
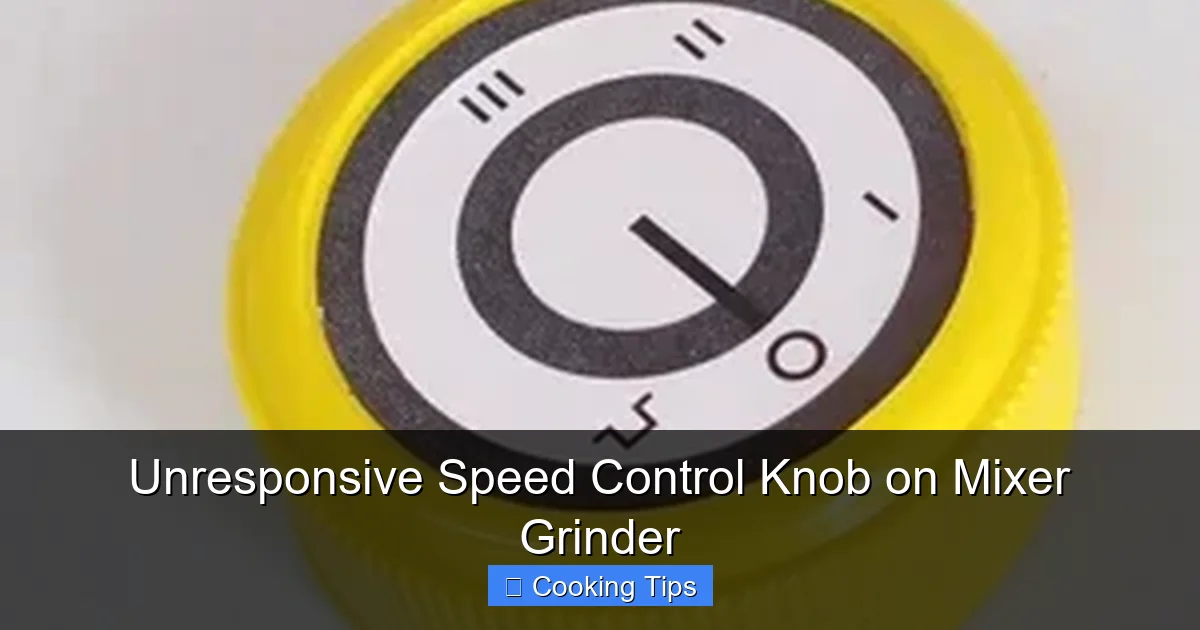
H3: Inspect the Knob and Surrounding Area
Take a close look at the speed control knob. Can you see any obvious debris lodged around its base or on the dial itself? Sometimes, a small piece of dried food or a speck of dust is all it takes to jam things up.

Visual guide about Unresponsive Speed Control Knob on Mixer Grinder
Image source: 5.imimg.com
Visual guide about Unresponsive Speed Control Knob on Mixer Grinder
Image source: 5.imimg.com
H3: Gentle Cleaning
What you’ll need:
- A soft, dry cloth (microfiber is ideal)
- A cotton swab
- Mild dish soap and water (optional, for stubborn grime)
- Compressed air (optional)
Instructions:
- Dry Wipe: Start by gently wiping the knob and the area around it with a dry, soft cloth. Try to rotate the knob as you wipe to dislodge any surface-level dirt.
- Cotton Swab Magic: Dip a cotton swab in a tiny amount of water (or a diluted mild dish soap solution if the grime is tough). Squeeze out excess liquid so the swab is just damp, not wet. Carefully clean around the edges of the knob and in any crevices. Work slowly and patiently.
- Dry Thoroughly: Ensure the area is completely dry before proceeding. You can use another dry cloth or allow it to air dry for a while.
- Compressed Air Blast (Optional): If you have compressed air, a short burst around the knob can help blow out any loose debris hidden within.
After cleaning, plug in the mixer grinder and test the speed control knob. If it works, congratulations! You’ve solved the problem with minimal effort.
Step 2: Addressing the Knob Itself (If Removable)
Some mixer grinder knobs are designed to be pulled off for easier cleaning.
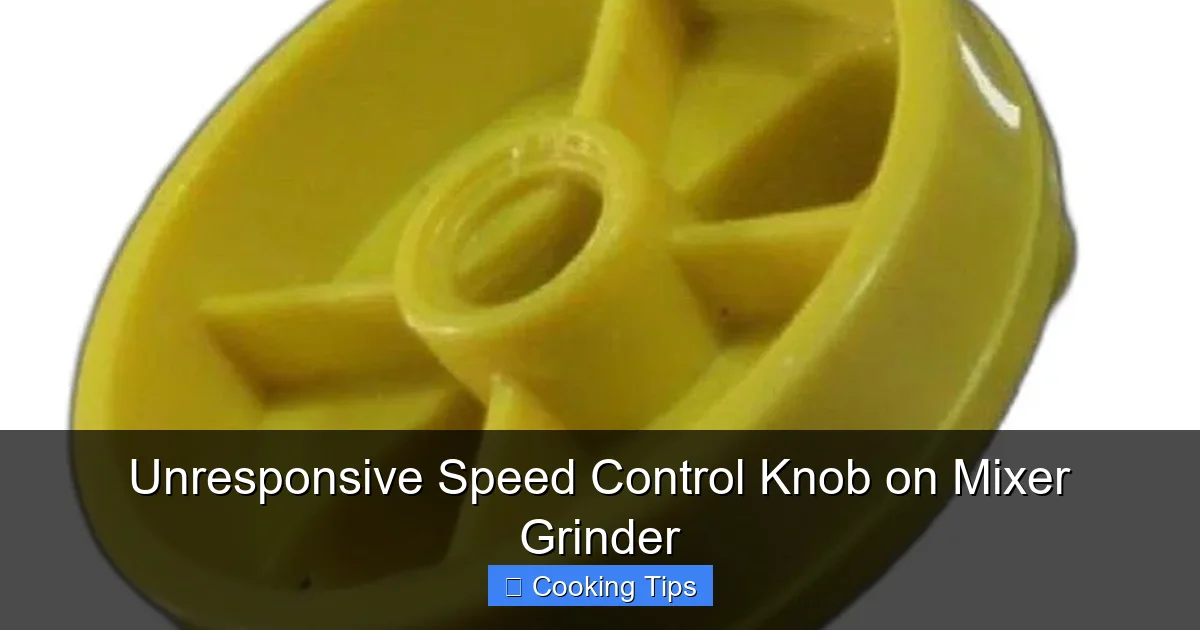
H3: Check if the Knob is Removable
Gently try to pull the speed control knob straight off its shaft. If it comes off easily, proceed with the next step. If it feels stuck or seems integral to the unit, do not force it. You might need to skip this step or consult your user manual.
H3: Clean the Knob and Shaft
What you’ll need:
- Same cleaning supplies as Step 1
- A small brush (like an old toothbrush)
Instructions:
- Clean the Knob Interior: Inspect the inside of the knob where it connects to the shaft. Clean out any dust or grime you find here with a cotton swab and perhaps a small brush.
- Clean the Shaft: Gently clean the metal or plastic shaft extending from the mixer grinder unit. Ensure it’s free of any obstructions.
- Dry Everything: Make sure both the knob and the shaft are completely dry.
- Reattach the Knob: Carefully push the knob back onto the shaft, ensuring it’s firmly seated.
Test the speed control again. If it’s still unresponsive, it’s time to look deeper.
Step 3: Internal Inspection and Cleaning (Disassembly Required)
This step involves opening up your mixer grinder. This is where you’ll need to be more cautious and organized.
H3: Gather Your Tools
What you’ll need:
- Screwdriver set (various sizes, likely Phillips head)
- Pliers (needle-nose might be helpful)
- Small bowl or container to hold screws
- Camera or smartphone for taking pictures of the disassembly process
- Contact cleaner spray (specifically designed for electronics)
- Rubbing alcohol (90% isopropyl or higher)
- Cotton swabs
- Soft cloths
H3: Prepare for Disassembly
Unplug the mixer grinder. Seriously, do it again. Place it on a clean, well-lit workspace.
H3: Access the Speed Control Mechanism
Take Pictures! This is your best friend during reassembly. Before you loosen any screws, take clear photos of the unit from different angles, especially around the control panel and where you plan to start unscrewing.
Typically, the speed control knob is part of a circuit board or a switch assembly located beneath the control panel. You’ll likely need to remove screws from the base or sides of the mixer grinder unit to detach the outer casing.
- Locate Screws: Look for screws on the bottom of the mixer grinder. Some may be hidden under rubber feet – you might need to gently pry these off.
- Remove Casing: Once all screws are removed, carefully try to separate the outer casing. It might be held in place by clips as well. Work gently to avoid breaking plastic.
- Identify the Control: Once the casing is off, you should be able to see the internal components. Locate the speed control knob and trace its connections. It will likely lead to a circuit board or a multi-speed rotary switch.
H3: Clean the Electrical Contacts
This is where the unresponsive speed control knob is most likely to be fixed if basic cleaning failed. Dust, oxidation, or residue can prevent the electrical contacts from making proper connections.
- Identify Contacts: If you have a rotary switch, look for the metal contacts that the knob’s mechanism slides across. If it’s a circuit board, you might see tracks and connection points.
- Apply Contact Cleaner: Spray a small amount of electronics contact cleaner directly onto the contacts. Let it sit for a minute as per the product instructions.
- Wipe Clean: Use a cotton swab to gently wipe away any loosened grime or residue. You might need to use a small brush to get into tight spots. For persistent grime, a cotton swab lightly dampened with rubbing alcohol can be effective, but ensure it evaporates completely.
- Test Movement: If it’s a rotary switch, gently try to move the mechanism that the knob connects to. Ensure it moves freely. If it’s stiff, a tiny drop of electrical lubricant (or even WD-40 used *very sparingly* and only on metal-on-metal contact points) might help, but be extremely cautious not to overspray or get it on other components.
H3: Check for Loose Wires
While you’re in there, it’s a good time to check for any loose wires connecting the speed control mechanism to the motor or power supply.
- Visual Inspection: Look for any wires that seem detached, frayed, or poorly crimped.
- Gently Tug: Carefully give each wire connected to the speed control assembly a gentle tug. If one comes loose easily, you might have found the problem.
- Re-secure Connections: If you find a loose wire, try to re-secure it. This might involve pushing a spade connector back on firmly or, if you have soldering experience, re-soldering a connection (though this is a more advanced repair). If a wire has come completely free from its terminal, you may need a specialized crimping tool or professional help to fix it permanently.
H3: Reassembly
Once you’re satisfied that the contacts are clean and connections are secure:
- Reverse the Process: Carefully reassemble the mixer grinder by following your photos in reverse order.
- Ensure Proper Fit: Make sure all wires are tucked away safely and not pinched by the casing.
- Screw Everything Back In: Reinstall all screws. If you removed rubber feet, reattach them.
Plug in your mixer grinder and test the speed control. Hopefully, it’s now responding as it should!
Step 4: Advanced Troubleshooting and Potential Component Replacement
If the above steps haven’t resolved the issue, the problem might lie with a specific component that has failed.
H3: Faulty Potentiometer or Rotary Switch
Speed controls often use a potentiometer (for variable speed) or a multi-position rotary switch (for fixed speeds). If these components are worn out internally, cleaning might not help. Replacing them involves:
- Identifying the exact model number of the potentiometer or switch.
- Sourcing a compatible replacement part (this can be challenging, sometimes requiring contacting the manufacturer or searching specialized electronics stores).
- Desoldering the old component from the circuit board.
- Soldering the new component in its place.
This is a more advanced repair that requires soldering skills and the right tools. If you’re not comfortable with this, it’s definitely time to consider professional help.
H3: Motor Control Board Issues
Some modern mixer grinders have a more complex electronic motor control board that manages speed. If this board has failed, it’s usually not a DIY repair for the average user. Replacement boards can be expensive and difficult to find.
When to Call a Professional
There are certain situations where attempting a DIY repair is not recommended:
- If you’re uncomfortable with electrical components or disassembly.
- If you suspect a major electrical fault (e.g., burning smell, visible damage to the motor).
- If you cannot find or identify replacement parts for worn components.
- If the mixer grinder is still under warranty. Attempting repairs yourself could void the warranty.
A qualified appliance repair technician will have the expertise and tools to diagnose and fix complex issues safely and effectively.
Conclusion
An unresponsive speed control knob on your mixer grinder doesn’t have to spell the end of its useful life. By following this guide, you’ve hopefully learned that many common issues can be resolved with simple cleaning and a bit of careful internal maintenance. Remember to always prioritize safety by unplugging your appliance before you begin.
Whether it was just a bit of grime or a loose connection, getting your mixer grinder back in working order means you can get back to enjoying your culinary adventures without interruption. If the problem persists after your DIY attempts, don’t hesitate to seek professional assistance. Happy blending, grinding, and mixing!