
Unlock your air fryer’s full potential with regular care! This guide offers comprehensive steps to ensure consistent, crispy results for years to come. Learn how to properly clean, maintain, and troubleshoot your air fryer, making it a reliable kitchen workhorse. Regular maintenance is key to extending its lifespan and enjoying perfect meals every time.
Key Takeaways
- Thorough Cleaning is Crucial: Regularly cleaning the basket, tray, and interior prevents food buildup that can affect cooking and create smoke.
- Dishwasher vs. Hand Washing: Understand which parts are dishwasher-safe and when hand washing is the better option to protect delicate components.
- Preventative Measures Matter: Using parchment paper or liners, and preheating your air fryer, contribute to easier cleaning and better performance.
- Don’t Forget the Exterior: Wiping down the outside of your air fryer maintains its appearance and prevents grease accumulation.
- Check and Clean the Heating Element: This often-overlooked area is vital for even cooking and requires careful cleaning to prevent issues.
- Regular Inspections Save Trouble: Periodically checking for damage or wear can prevent bigger problems down the line.
Maintaining Air Fryer Performance with Regular Care
Welcome to the ultimate guide on keeping your air fryer performing like a champ! In the bustling kitchens of 2026, air fryers have become indispensable for their speed, versatility, and ability to deliver that coveted crispy texture without excessive oil. But like any beloved kitchen appliance, your air fryer needs a little love to keep it running smoothly and producing those perfect golden fries and chicken wings. Neglecting its care can lead to uneven cooking, smoky interiors, and a shorter lifespan. This guide will walk you through everything you need to know, from daily wipe-downs to deep cleaning sessions, ensuring your air fryer remains your go-to for delicious, healthy meals.
We’ll cover the essential steps to clean every part of your air fryer, offer preventative tips to make the process easier, and even touch upon troubleshooting common issues. By the end of this guide, you’ll be equipped with the knowledge to maintain your air fryer’s performance, extend its life, and continue enjoying perfectly cooked food for years to come.
Understanding Your Air Fryer’s Needs
Before diving into the cleaning process, it’s helpful to understand why regular maintenance is so important. Food residue, especially from breaded items or high-fat foods, can accumulate in the air fryer. This residue can:
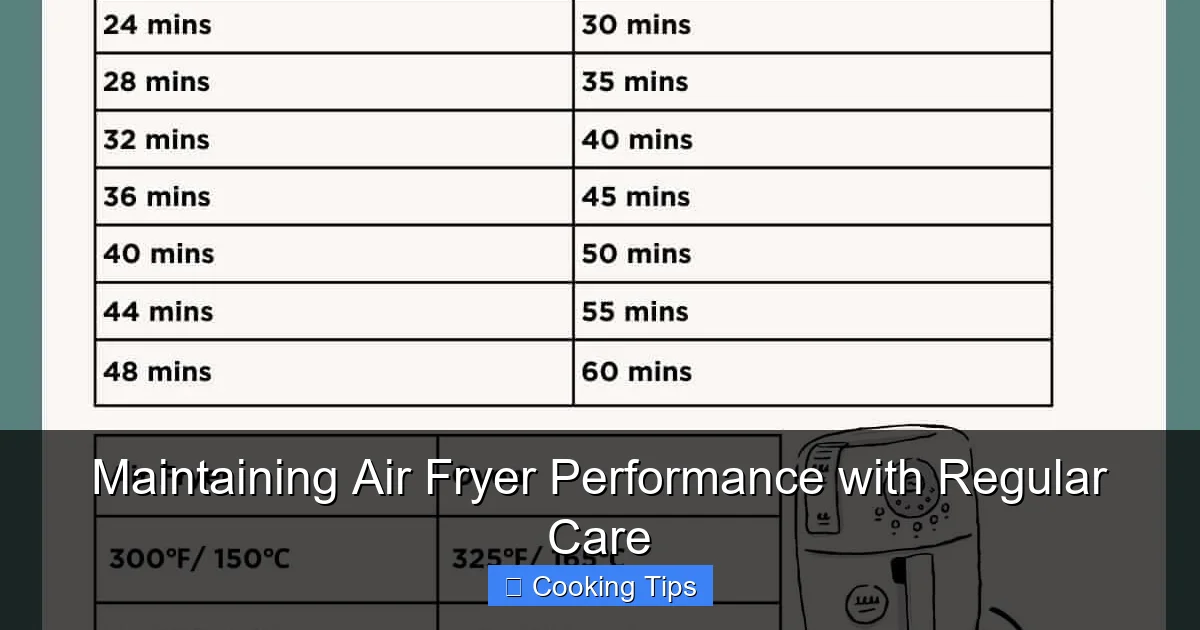
Visual guide about Maintaining Air Fryer Performance with Regular Care
Image source: realfoodwithsarah.com
- Cause Smoking: When old food particles heat up, they burn, leading to smoke and an unpleasant odor.
- Affect Taste: Lingering flavors from previous meals can transfer to your new dishes.
- Lead to Uneven Cooking: Clogged vents or a dirty heating element can disrupt airflow, resulting in unevenly cooked food.
- Shorten Lifespan: Persistent grease and grime can corrode parts and strain the appliance’s components.
Fortunately, most air fryer maintenance is straightforward and doesn’t require special tools or expertise. Let’s get started!
Daily Quick Clean: The First Line of Defense
After each use, a quick clean is your best friend. This simple routine prevents most major buildup and keeps your air fryer ready for its next adventure.
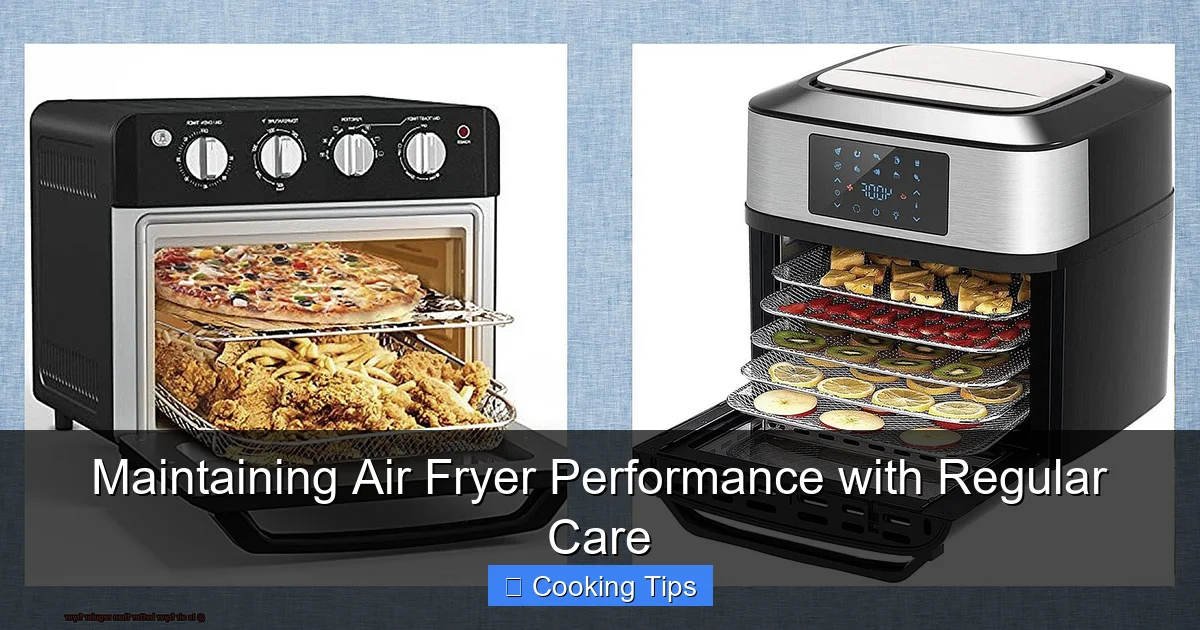
Visual guide about Maintaining Air Fryer Performance with Regular Care
Image source: pastimebarandgrill.com
After Every Use:
- Unplug and Let Cool: Always unplug your air fryer and let it cool down completely before cleaning. This is crucial for safety.
- Remove and Inspect: Take out the basket and tray. Check for any loose food particles or obvious grease.
- Wipe Down the Basket and Tray: Most air fryer baskets and trays are non-stick. A quick wipe with a damp, soft cloth or sponge is usually sufficient. If there are stuck-on bits, use warm, soapy water and a non-abrasive sponge.
- Dry Thoroughly: Make sure the basket and tray are completely dry before reassembling or storing. Moisture can lead to rust or odors.
- Wipe the Interior (If Needed): If you notice any minor splatters inside the main cavity, a quick wipe with a damp cloth is all that’s needed. Be gentle and avoid getting water on electrical components.
- Wipe the Exterior: A quick wipe of the outside with a damp cloth can remove fingerprints and minor spills.
This quick clean takes only a couple of minutes but makes a world of difference in the long run.
Weekly Deep Clean: Tackling the Tough Stuff
Once a week, or more often if you use your air fryer frequently or cook particularly messy foods, it’s time for a more thorough cleaning.
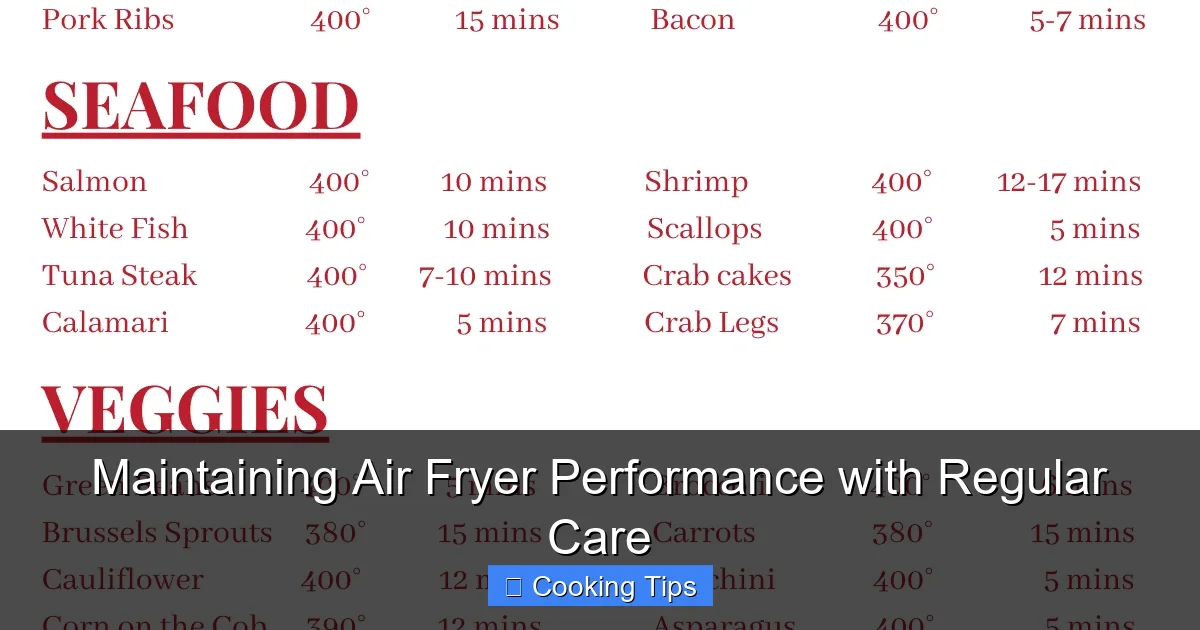
Visual guide about Maintaining Air Fryer Performance with Regular Care
Image source: taketwotapas.com
Step 1: Disassemble Your Air Fryer
Carefully remove the basket and any insert trays or racks. Some air fryers have removable heating element covers or drip trays that can also be taken out. Consult your owner’s manual if you’re unsure about disassembly.
Step 2: Clean the Basket and Tray
This is where most of the cooking mess accumulates. If your basket and tray are dishwasher-safe, this is the easiest option. Check your manual or look for symbols on the parts themselves. If you’re unsure or prefer to hand wash:
- Soak Stubborn Bits: For stubborn, stuck-on food, fill a sink or basin with warm water and a few drops of dish soap. Let the basket and tray soak for 15-30 minutes.
- Scrub Gently: Use a soft sponge or a non-abrasive brush to scrub away food particles. For burnt-on residue, you can try a paste of baking soda and water. Apply it, let it sit for a while, then gently scrub.
- Rinse and Dry: Rinse thoroughly with clean water and dry completely with a soft cloth.
Step 3: Clean the Interior Cavity
The inside of your air fryer needs attention too. Over time, grease and food particles can build up on the walls and bottom.
- Wipe with a Damp Cloth: Use a damp, soft cloth to wipe down the interior walls, bottom, and the inside of the door (if applicable). Again, avoid getting electrical components wet.
- Address Stuck-on Grease: For tougher grease spots, you can use a mild degreaser or a mixture of equal parts white vinegar and water on your cloth. Wipe, then follow up with a damp cloth to remove any residue.
- Clean the Drip Tray (if applicable): If your air fryer has a removable drip tray, clean it thoroughly with warm, soapy water. This tray catches grease, so it can get quite messy.
Step 4: Clean the Heating Element
The heating element is crucial for consistent cooking. It’s usually located at the top of the air fryer, often behind a protective mesh or cover.
- Ensure It’s Cool: Make sure the air fryer is completely cool and unplugged.
- Gentle Wiping: Use a soft, dry or slightly damp cloth to gently wipe away any loose debris or food particles. Never use abrasive cleaners or excessive water on the heating element.
- Check for Buildup: If there’s significant buildup, you might need to carefully remove a protective cover (refer to your manual). Once removed, gently brush away debris with a soft brush or wipe with a slightly damp cloth. Ensure it’s completely dry before reassembly.
Important: Be extremely careful when cleaning the heating element. It’s a delicate part, and damaging it can severely impact your air fryer’s performance.
Step 5: Clean the Exterior
Don’t forget the outside of your appliance. A clean exterior not only looks better but also prevents dust and grease from accumulating where it shouldn’t.
- Wipe with a Damp Cloth: Use a soft cloth dampened with warm, soapy water to wipe down the exterior.
- For Stainless Steel: If your air fryer has stainless steel accents, use a cleaner specifically designed for stainless steel to avoid streaks and maintain its shine. Always wipe with the grain.
- Clean the Control Panel: Be gentle with the control panel. Use a lightly dampened cloth. Avoid spraying cleaner directly onto it.
- Dry Thoroughly: Buff dry with a clean, soft cloth.
Monthly or As-Needed Deep Clean: For the Toughest Jobs
Some air fryers might require a more intensive clean occasionally, especially if you frequently cook items that tend to create a lot of grease or debris.
Baking Soda Paste for Burnt-On Food:
For those really tough, burnt-on spots in the basket or on the interior, a baking soda paste can be a lifesaver. Mix baking soda with a little water to form a paste. Apply it to the affected areas and let it sit for at least 30 minutes (or longer for very stubborn stains). Then, gently scrub with a non-abrasive sponge or cloth. Rinse thoroughly and dry completely.
Vinegar Soak for Odors and Grease:
If your air fryer is developing an unpleasant odor or has stubborn grease buildup, a vinegar cleaning cycle can help. Place about a cup of water and a cup of white vinegar in the air fryer basket. Run the air fryer at a moderate temperature (around 350°F or 175°C) for about 10-15 minutes. Allow it to cool, then wipe down the interior with a damp cloth. This helps to loosen grease and neutralize odors.
Preventative Maintenance: Making Cleaning Easier
The best way to maintain your air fryer is to make cleaning as easy as possible. Here are some tips:
- Use Parchment Paper or Liners: Perforated parchment paper liners or silicone air fryer liners can catch drips and prevent food from sticking directly to the basket. Make sure to use liners that are appropriate for your air fryer model and don’t cover the vents.
- Preheat Your Air Fryer: Preheating helps food cook more evenly and can prevent some items from sticking.
- Don’t Overcrowd: Overcrowding the air fryer basket leads to steaming rather than crisping, and it can cause more grease and food particles to splatter. Cook in batches if necessary.
- Shake the Basket: Mid-cook, shaking the basket helps ensure even crisping and can prevent excessive splattering in one area.
- Use a Little Oil (When Appropriate): While air frying is low-oil, a light spray of oil on certain foods can prevent sticking and enhance crispiness, sometimes making cleanup easier than dealing with burnt-on residue.
Troubleshooting Common Air Fryer Issues
Even with regular care, you might encounter a few common problems. Here’s how to address them:
Problem: Air Fryer is Smoking
Cause: Food debris or grease buildup in the basket, tray, or on the heating element.
Solution: Unplug the air fryer and let it cool. Perform a thorough cleaning of the basket, tray, interior, and heating element. Ensure no food particles are left behind. For persistent smoking, check if any plastic packaging was left on accessories and remove it.
Problem: Food Isn’t Crispy
Cause: Overcrowding the basket, cooking at too low a temperature, or a dirty heating element/ventilation system blocking airflow.
Solution: Cook in smaller batches. Ensure you are using the recommended cooking temperature and time. Clean the heating element and ensure all vents are clear. Shaking the basket midway can also help.
Problem: Food is Sticking to the Basket
Cause: The non-stick coating is worn, or you’re not using enough oil for certain foods.
Solution: If the non-stick coating is significantly damaged, it might be time to consider replacing the basket or the air fryer. For foods prone to sticking, a light spray of cooking oil before cooking can help. Ensure you’re using non-stick-safe utensils.
Problem: Strange Odors
Cause: Lingering food residue or burnt-on grease.
Solution: Perform a deep clean, paying extra attention to the heating element and interior. A vinegar and water cleaning cycle (as described above) is also effective for odor removal.
Conclusion
Maintaining your air fryer’s performance with regular care is not just about keeping it looking good; it’s about ensuring delicious, healthy meals every time you use it. By incorporating daily quick cleans and weekly deep cleans into your routine, you prevent buildup, extend the life of your appliance, and avoid common issues like smoking and uneven cooking. Remember to always prioritize safety by unplugging and cooling the unit before cleaning, and consult your owner’s manual for specific instructions related to your model. With a little effort, your air fryer will continue to be a reliable and efficient cooking companion for many years to come, consistently delivering that perfect crispy texture you love.