
Overcooking small ingredients is a common kitchen pitfall. This guide teaches you how to recognize when small items need less cooking time than their larger counterparts and provides practical strategies for adjusting cooking times to achieve perfect results every time. Master the art of precision cooking and elevate your dishes.
Overcooking Small Items by Not Adjusting Time
Are you tired of finding your minced garlic burnt before the rest of your sauce is even heated? Do your delicate herbs turn into bitter ash halfway through the cooking process? This is a familiar frustration for many home cooks, and it often stems from a single, fundamental oversight: **not adjusting cooking times for small items.**
In the culinary world, size matters. And when it comes to cooking, smaller ingredients tend to cook significantly faster than their larger counterparts. This isn’t a matter of preference; it’s a principle of physics. Understanding this concept and implementing a few simple adjustments can transform your cooking from occasionally frustrating to consistently delicious. In this guide, we’ll explore why small items overcook, how to recognize the signs, and the practical strategies you can use to ensure everything on your plate is cooked to perfection. By the end of this article, you’ll be equipped to handle everything from tiny diced onions to fragile shrimp with confidence, avoiding the dreaded overcooked pitfall.
Key Takeaways
- Understand the Surface Area to Volume Ratio: Smaller items cook faster because they have a larger surface area relative to their volume, allowing heat to penetrate more quickly.
- Visual Cues are Crucial: Learn to identify doneness in small items through color changes, texture shifts, and aroma rather than relying solely on timer settings.
- Staggered Addition is Your Friend: Add ingredients with shorter cooking times at later stages of the cooking process to prevent them from becoming overcooked.
- Embrace the “Test a Piece” Method: For recipes where precise timing is tricky, regularly tasting a small piece of the ingredient is the most reliable way to ensure it’s perfectly cooked.
- Consider the Cooking Method: Different methods (frying, roasting, simmering) affect how quickly small items cook, and adjustments should be made accordingly.
- Recipe Adjustments for Small Items: Learn to modify existing recipes by reducing cook times or incorporating smaller ingredients later in the cooking timeline.
Understanding the “Why”: Surface Area to Volume Ratio
The primary reason small food items cook much faster than large ones is their **surface area to volume ratio**. Imagine a single clove of garlic versus a whole head of garlic. The single clove has a much larger proportion of its mass exposed to heat (its surface area) for its overall size (its volume) compared to the whole head.
Heat transfer is a surface phenomenon. When you put food in a hot pan, oven, or pot, heat energy transfers from the surrounding environment to the food’s surface. From there, it gradually penetrates into the interior. For smaller items, this heat penetrates the entire volume much more quickly because the distance from the surface to the center is so short.
Consider these examples:
- A whole potato vs. diced potatoes: A whole potato, even if small, will take much longer to cook through than the same amount of potato cut into small cubes. The diced potatoes have vastly increased surface area exposed to the heat.
- A whole chicken breast vs. thinly sliced chicken breast: The sliced chicken will cook in a fraction of the time because each thin slice is quickly permeated by heat.
- A large broccoli floret vs. finely chopped broccoli: The chopped broccoli will steam or stir-fry rapidly, while a larger floret needs more time.
Recognizing this principle is the first step to mastering the art of adjusting cooking times. It means that when a recipe calls for a certain cooking time for a larger ingredient, you often need to drastically reduce that time for smaller versions of the same ingredient.
Identifying the Signs of Overcooking Small Items
One of the most effective ways to avoid overcooking small items is to develop a keen sense of observation. Don’t just rely on the clock; use your senses! Small ingredients often give distinct visual and aromatic cues that they are reaching their peak of doneness.
Visual Cues
Color Changes:
Visual guide about Overcooking Small Items by Not Adjusting Time
Image source: englishan.com
- Garlic and Onions: When sautéing minced garlic or finely diced onions, watch for a rapid shift from translucent to a light golden brown. If they turn dark brown or black, they are overcooked and will taste bitter. The goal for aromatics is usually a fragrant, softened state, not a deeply browned char.
- Herbs: Fresh herbs like parsley, cilantro, or basil are delicate. When added to hot dishes, they should wilt slightly and become fragrant. If they turn dark green, brittle, or black, they’ve been cooked too long and lost their fresh flavor and vibrant color.
- Small Proteins (Shrimp, Scallops): Shrimp turn opaque and pink when cooked. Overcooked shrimp become rubbery and curl into tight rings. Scallops go from translucent to opaque white. Overcooked scallops can become tough and dry.
- Vegetables: Small-cut vegetables like peas, corn, or finely diced peppers should retain some vibrancy in their color. Overcooking leads to dull, muted tones and a mushy texture.
Aromatic Cues
The Smell Test:
- Garlic and Onions: Freshly sautéed garlic and onions should have a sweet, savory aroma. Burnt garlic and onions smell acrid and unpleasant, a sure sign they’ve gone too far.
- Herbs: Fresh herbs release their oils and fragrance when gently heated. Overcooked herbs can lose their vibrant scent or develop a slightly burnt smell.
- Spices: While often cooked for longer periods, finely ground spices can also burn if exposed to high heat for too long. They will smell toasted but not scorched.
Texture Cues
The Feel and Bite:
- Vegetables: Small vegetables should be tender-crisp, meaning they have a slight bite to them, not mushy.
- Proteins: Shrimp should be tender and slightly springy. Overcooked shrimp are tough and chewy.
Regularly checking your food – peeking in the pan, smelling the aroma, and perhaps even tasting a tiny piece (if safe to do so) – is far more reliable than rigidly adhering to a timer set for a larger ingredient.
Practical Strategies for Adjusting Cooking Times
Now that you understand the “why” and “how to spot” overcooking, let’s dive into actionable strategies to prevent it. These techniques will help you control the cooking process and ensure your small ingredients shine.
Strategy 1: Staggered Addition
This is perhaps the most crucial technique for managing ingredients with varying cook times. Instead of adding everything to the pan at once, introduce ingredients in stages, starting with those that require the longest cooking time.
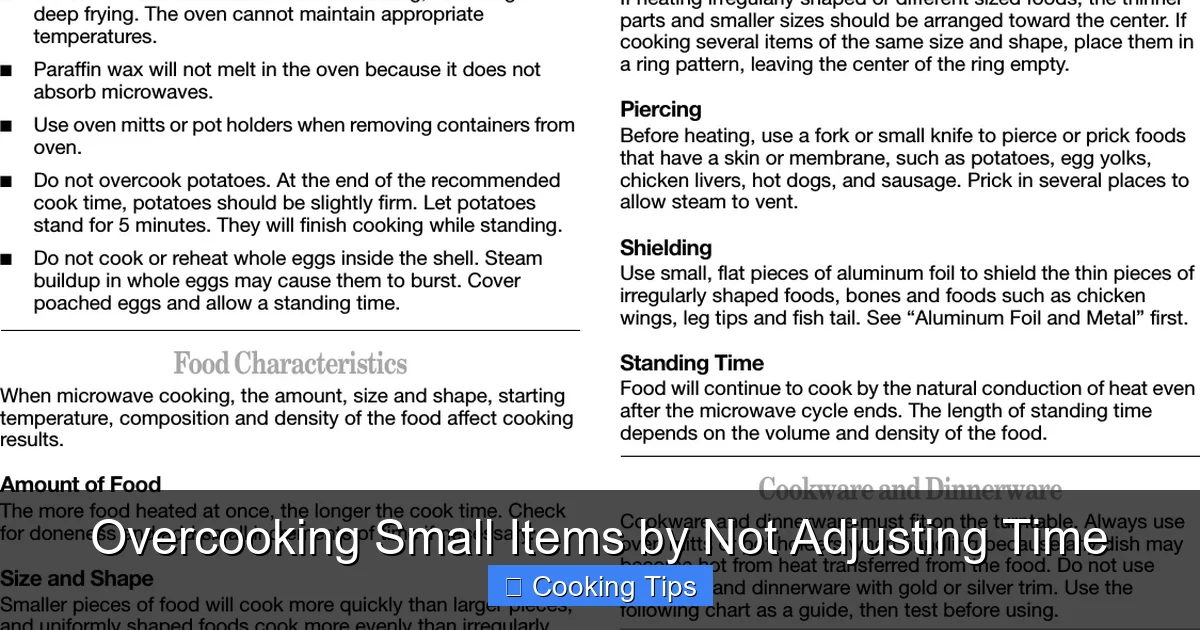
Visual guide about Overcooking Small Items by Not Adjusting Time
Image source: usermanual.wiki
How to do it:
- Start with aromatics that need more time: If you’re making a stir-fry, you might start with sliced carrots and then add bell peppers.
- Add minced garlic and onions later: These cook very quickly and can burn if added at the very beginning. Add them after the harder vegetables have softened slightly, usually for just 30-60 seconds until fragrant.
- Introduce delicate ingredients last: Fresh herbs, spinach, or small proteins like shrimp should be added in the final minutes, or even seconds, of cooking. For shrimp, they are done the moment they turn pink and opaque.
Example: Pasta Sauce
When making a tomato sauce, you’ll typically sauté onions and garlic. Instead of cooking them for 5-10 minutes with the raw tomatoes, consider this:
- Sauté the diced onions until softened (5-7 minutes).
- Add the minced garlic and sauté for just 30-60 seconds until fragrant.
- Immediately add the crushed tomatoes and other liquid ingredients.
This prevents the garlic from burning and becoming bitter while still allowing it to infuse its flavor into the sauce.
Strategy 2: Reduce Heat and Extend Time (When Appropriate)
While small items generally cook faster, sometimes a slightly lower heat and a bit more time can allow them to cook through without burning, especially for things like finely diced onions or shallots that you want to soften and sweeten without browning too quickly.
How to do it:
- Lower the heat: If your recipe suggests medium-high heat for sautéing aromatics, try medium or medium-low heat for smaller dice.
- Increase stirring: Even at lower heat, stir more frequently to ensure even cooking and prevent hot spots.
- Cook until tender: Aim for translucency and softness rather than rapid browning.
Example: Sautéed Mushrooms
When sautéing thinly sliced mushrooms, they release a lot of water. If the heat is too high, the edges can burn before the water evaporates and the mushrooms caramelize. Lowering the heat slightly and allowing them to cook gently will result in a better texture and flavor.
Strategy 3: The “Test a Piece” Method
For many dishes, especially when you’re experimenting or unsure about timing, the most foolproof method is to regularly test a small piece of the ingredient.
How to do it:
- Cook for a short period: Start with the minimum suggested time or even less for small items.
- Remove a small sample: Carefully take out one or two small pieces of the ingredient you’re concerned about.
- Cool and taste: Let the sample cool enough to taste safely. Assess its texture and flavor.
- Continue cooking if needed: If it’s not done, return the rest of the food to the heat and repeat the testing process after a short interval (e.g., 30 seconds to 1 minute).
This method is particularly useful for small proteins like shrimp or delicate vegetables in stir-fries.
Strategy 4: Adjusting Recipes for Small Items
When following recipes, especially those written for larger cuts or quantities, don’t be afraid to make educated adjustments for smaller components.
How to do it:
- Scan the ingredient list for small items: Pay attention to minced garlic, finely chopped herbs, diced chilies, or small vegetables.
- Estimate their cooking time: Think about how quickly these items typically cook. Minced garlic might only need 30 seconds in hot oil, while chopped onions could take 3-5 minutes to soften.
- Modify the recipe’s timing: If a recipe says to cook aromatics for 5 minutes, and it lists minced garlic, you might realistically only need 1 minute to achieve the desired fragrance without burning.
Example: Roasting Vegetables
A recipe might call for roasting broccoli florets for 20-25 minutes. If you’ve chopped your broccoli into very small pieces, they might be perfectly tender and slightly charred in just 10-15 minutes. Keep an eye on them and adjust accordingly.
Strategy 5: Consider the Cooking Method
The cooking method itself plays a significant role in how quickly small items cook.
- High-heat, fast cooking (Stir-frying, Sautéing): These methods require the most vigilance with small items, as they can go from undercooked to burnt very rapidly. Staggered addition and constant attention are key.
- Moist heat (Steaming, Simmering): Small items in moist heat environments also cook quickly, but there’s a slightly wider margin for error as they are less prone to burning. However, they can become waterlogged and mushy if overcooked.
- Dry heat (Roasting, Baking): Small items in the oven can brown and crisp up quickly. For things like small vegetables, roasting at a slightly lower temperature or for a shorter duration than a recipe for larger pieces might be necessary.
Troubleshooting Common Issues
Even with the best intentions, overcooking small items can still happen. Here’s how to troubleshoot common problems:
Problem: My minced garlic burned in the pan.
Solution: This is a classic. Next time, add the minced garlic later in the sautéing process, after the onions have softened. Use **medium-low heat** and stir constantly. It only needs about 30-60 seconds to become fragrant before adding liquids or other ingredients.
Visual guide about Overcooking Small Items by Not Adjusting Time
Image source: jessicagavin.com
Problem: My fresh herbs turned black and bitter.
Solution: Fresh herbs are best added at the **very end** of cooking, or even as a garnish. If you’re adding them to a hot dish, stir them in just before serving. They only need a minute or two to wilt and release their flavor.
Problem: My shrimp are rubbery and curled into tight balls.
Solution: Overcooked shrimp! Shrimp cook incredibly fast. For a pan-sear, add them to a hot pan and cook for only **1-2 minutes per side**, until they turn opaque pink. Remove them from the heat immediately, even if there’s still a bit of residual cooking happening in the pan.
Problem: My finely diced vegetables are mushy.
Solution: You likely cooked them for too long or at too high a heat. Try using **medium heat** and cooking them until they are tender-crisp, meaning they still have a slight bite. Stir-frying is often best done quickly over medium-high heat, but pay close attention and remove them as soon as they’re tender-crisp.
Conclusion: Embrace Precision in Your Cooking
Mastering the art of cooking small items by not adjusting their time is a journey of observation, practice, and understanding. It’s about shifting your mindset from following rigid timers to engaging with your food using your senses. Remember the surface area to volume ratio, look for visual and aromatic cues, and don’t hesitate to employ strategies like staggered addition and the “test a piece” method. By integrating these simple yet powerful techniques into your cooking routine, you’ll bid farewell to burnt garlic and rubbery shrimp, and welcome perfectly cooked, flavorful dishes every time. Happy cooking!