
Learn how to effectively clean your Hamilton Beach electric kettle to ensure optimal performance and extend its lifespan. This guide provides step-by-step instructions for removing mineral buildup and keeping your appliance sparkling. By following these simple tips, you’ll enjoy pure, great-tasting water for your favorite beverages.
Key Takeaways
- Regular Descaling Prevents Buildup: Frequent cleaning is crucial to prevent stubborn mineral deposits from forming, which can affect boiling time and water taste.
- Vinegar or Lemon Juice are Natural Descalers: A solution of white vinegar or lemon juice mixed with water is a safe and effective way to break down limescale.
- Gentle Cleaning is Key: Avoid abrasive scrubbers or harsh chemicals that can damage the kettle’s interior or exterior surfaces.
- Unplug Before Cleaning: Always ensure the kettle is unplugged and completely cool before you begin any cleaning process for safety.
- Clean the Exterior Thoroughly: Don’t forget the outside! A damp cloth with mild soap will keep the exterior looking pristine.
- Rinse Thoroughly After Descaling: Proper rinsing is essential to remove any lingering cleaning solution, ensuring your water tastes fresh.
How to Clean Hamilton Beach Electric Kettle
Welcome to your ultimate guide on keeping your Hamilton Beach electric kettle in tip-top shape! If you’re a fan of quick brews, morning coffee, or a soothing cup of tea, your electric kettle is likely a workhorse in your kitchen. But over time, like any appliance that heats water, it can accumulate mineral deposits, commonly known as limescale. This buildup isn’t just unsightly; it can affect how efficiently your kettle boils water and can even impart an unpleasant taste to your drinks.
Fear not! Cleaning your Hamilton Beach electric kettle is a straightforward process. In this guide, we’ll walk you through everything you need to know, from simple daily wiping to deep descaling. By the end, you’ll have the knowledge to maintain your kettle, ensuring it continues to deliver perfectly hot, clean water for years to come. Get ready to transform your kettle from grimy to gleaming!
Why Cleaning Your Hamilton Beach Electric Kettle Matters
Before we dive into the “how,” let’s briefly touch on the “why.” Several reasons make regular cleaning of your Hamilton Beach electric kettle essential:
- Improved Taste: Limescale can make your water taste chalky or metallic, impacting the flavor of your coffee, tea, and other hot beverages.
- Efficient Boiling: A kettle coated in mineral deposits has to work harder to heat the water. This means longer boiling times and increased energy consumption.
- Extended Lifespan: Regular maintenance prevents damage to the heating element and other internal components, prolonging the life of your appliance.
- Hygiene: Any buildup can potentially harbor bacteria, making cleaning a matter of good kitchen hygiene.
- Aesthetics: A clean kettle simply looks better on your countertop!
Understanding Limescale and Its Formation
Limescale is a hard, chalky deposit primarily made of calcium carbonate. It forms when hard water, which contains high levels of dissolved minerals like calcium and magnesium, is heated. As the water heats up, these minerals precipitate out of the solution and stick to the surfaces of the kettle, especially the heating element. The hotter the water gets and the more frequently you use your kettle, the faster limescale can build up.
When to Clean Your Hamilton Beach Electric Kettle
The frequency of cleaning depends on the hardness of your water and how often you use your kettle. As a general rule:
- Visible Buildup: If you start seeing white or cloudy deposits inside your kettle, it’s definitely time for a descaling.
- Slower Boiling: If your kettle seems to be taking longer than usual to boil water, limescale might be the culprit.
- Off Taste: A metallic or chalky taste in your water is a clear sign.
- Regular Maintenance: Aim to descale your kettle at least once a month, or more often if you have very hard water or use it multiple times a day.
- Exterior Wipe-Down: A quick wipe of the exterior can be done weekly or as needed.
Now, let’s get down to the cleaning process!
Step-by-Step Guide to Descaling Your Hamilton Beach Electric Kettle
This is the most important cleaning task for your Hamilton Beach electric kettle. We’ll cover the most common and effective methods.
Method 1: Using White Vinegar (The Classic)
White vinegar is a natural acid that effectively breaks down mineral deposits without being overly harsh.
1. Safety First: Unplug and Cool Down
Before you do anything, ensure your Hamilton Beach electric kettle is unplugged from the power outlet. Let it cool down completely. You don’t want to be working with a hot appliance, especially when using liquids!
Visual guide about How to Clean Hamilton Beach Electric Kettle
Image source: hamiltonbeach.com
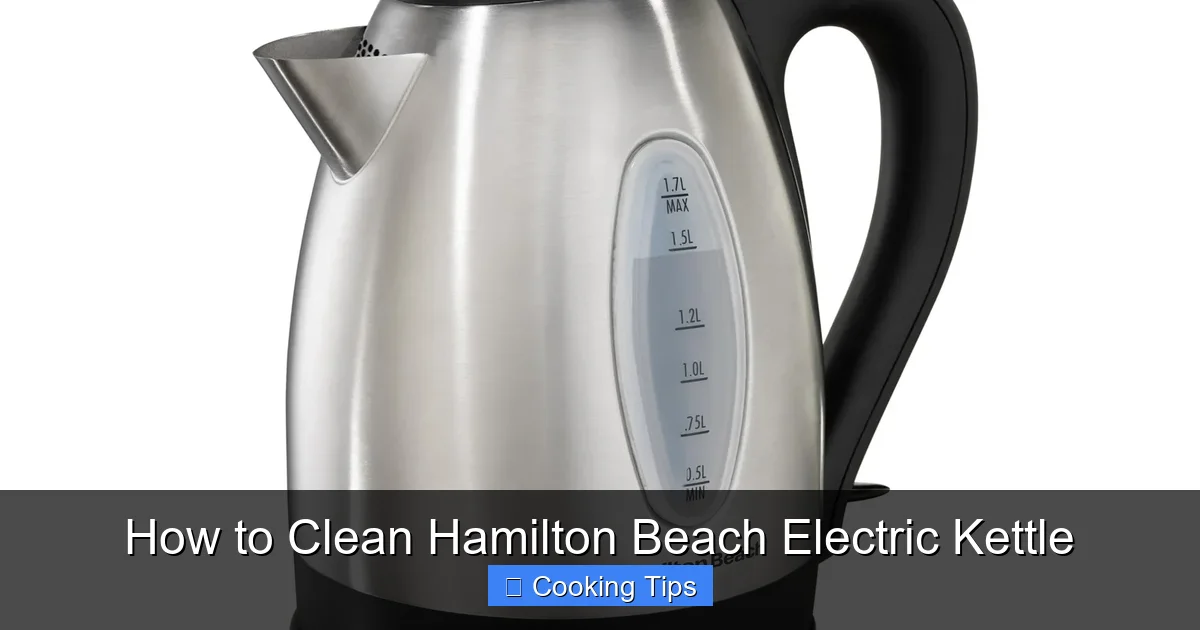
2. Prepare the Vinegar Solution
Mix equal parts white vinegar and water. For example, if your kettle has a 1.7-liter capacity, you might use about 2 cups of white vinegar and 2 cups of water. Pour this solution into the kettle, ensuring it covers the visible limescale deposits. If the limescale is concentrated, you can use a slightly higher ratio of vinegar, but always dilute it with water.
3. Let It Soak
Let the vinegar-water solution sit in the kettle for at least 30 minutes. For tougher buildup, you can let it soak for an hour or even longer. You might notice the limescale starting to soften or break away.
4. Boil the Solution (Optional but Recommended)
For more stubborn limescale, you can heat the vinegar-water solution. Bring the mixture to a boil inside the kettle, then immediately turn off the kettle and unplug it. Be cautious, as the steam can be hot. Let the boiled solution sit for another 15-30 minutes.
5. Empty and Scrub Gently
Carefully pour the vinegar-water solution down the drain. You might see pieces of limescale floating in it. Use a soft cloth, sponge, or a soft-bristled brush to gently scrub away any remaining loosened deposits. Avoid using steel wool, abrasive pads, or harsh scrubbers, as these can scratch the interior of your kettle.
6. Rinse, Rinse, and Rinse Again!
This is a crucial step to get rid of the vinegar smell and taste. Fill the kettle with fresh, clean water. Boil this water, then discard it. Repeat this rinsing process at least 2-3 times. Smell the water after the final rinse; if you detect any lingering vinegar odor, do another rinse cycle.
7. Final Wipe and Dry
Once you’re satisfied with the rinsing, give the inside of the kettle a final wipe with a clean, damp cloth. Then, leave the lid open and allow the kettle to air dry completely to prevent any moisture buildup.
Method 2: Using Lemon Juice (A Natural Alternative)
Lemon juice offers a pleasant scent and is also effective at tackling limescale.
1. Safety First: Unplug and Cool Down
As always, unplug your Hamilton Beach electric kettle and ensure it’s cool before you begin cleaning.
2. Prepare the Lemon Solution
Juice two to three fresh lemons. Pour the fresh lemon juice into the kettle. Add enough water to cover the limescale, similar to the vinegar method. A 50/50 mix of lemon juice and water is a good starting point. Alternatively, you can slice a lemon and place the slices in the kettle with water.
3. Let It Soak
Allow the lemon juice and water mixture to sit in the kettle for at least 30 minutes. You should observe the limescale starting to loosen.
4. Boil the Solution (Optional)
For tougher scale, bring the lemon-water solution to a boil inside the kettle. Turn off the kettle, unplug it, and let it sit for another 15-30 minutes.
5. Empty and Scrub Gently
Discard the lemon solution. Use a soft cloth or sponge to gently scrub away any softened mineral deposits. Again, steer clear of abrasive materials.
6. Rinse Thoroughly
Fill the kettle with fresh water and boil it. Discard the water. Repeat this rinsing process several times until all traces of lemon scent and taste are gone.
7. Dry Completely
Wipe the interior with a clean cloth and let the kettle air dry with the lid open.
Method 3: Using Commercial Descalers
If you prefer a specialized product, commercial descalers are available.
1. Read the Manufacturer’s Instructions
Always follow the specific instructions on the descaling product’s packaging. Hamilton Beach electric kettles are compatible with most common descaling solutions, but it’s best to check.
2. Prepare and Apply
Typically, you’ll mix the descaler with water in the kettle according to the product’s directions. Ensure the solution covers the limescale.
3. Let It Sit or Boil
Some descalers require a soaking period, while others might suggest boiling. Follow the product’s guide.
4. Empty, Scrub, and Rinse
Empty the solution, gently scrub if needed, and then rinse the kettle thoroughly, usually multiple times, as per the product’s instructions. Thorough rinsing is paramount with these products.
5. Dry
Dry the kettle as usual.
Cleaning the Exterior of Your Hamilton Beach Electric Kettle
Don’t forget the outside! A clean exterior not only looks good but also maintains the overall hygiene of your appliance.
1. Ensure It’s Unplugged and Cool
Safety first! Always make sure the kettle is unplugged and completely cool before cleaning the exterior.
Visual guide about How to Clean Hamilton Beach Electric Kettle
Image source: howtocleaneasily.com
2. Prepare a Mild Cleaning Solution
Mix a small amount of mild dish soap with warm water. You want a gentle solution, not something harsh.
3. Wipe Down the Exterior
Dip a soft cloth or sponge into the soapy water and wring it out well. You want the cloth to be damp, not dripping wet. Gently wipe down the exterior surfaces of your Hamilton Beach electric kettle. Pay attention to areas where you might see smudges or spills.
4. For Stainless Steel Models
If your kettle has a stainless steel finish, you can use a microfiber cloth. For stubborn marks or fingerprints, you might use a cleaner specifically designed for stainless steel, but always test in an inconspicuous area first. Wipe in the direction of the grain to avoid streaks.
5. Rinse the Cloth and Wipe Again
Rinse the cloth with clean water, wring it out, and wipe down the exterior again to remove any soap residue.
6. Dry the Exterior
Use a clean, dry, soft cloth to thoroughly dry the exterior. This will prevent water spots and leave a nice shine.
Cleaning the Lid and Spout
The lid and spout can also accumulate residue. Gently clean these areas with the same mild soapy water solution used for the exterior. Ensure you rinse them well and dry them completely.
Troubleshooting Common Cleaning Issues
Even with regular cleaning, you might encounter a few snags.
Problem: Lingering Vinegar or Lemon Smell
Solution: This is common. Continue with extra rinsing cycles. Boil plain water several times and discard it. You can also try boiling a pot of water with a few slices of fresh lemon or a teaspoon of baking soda (followed by thorough rinsing). Ensure the kettle is completely dry afterward, as residual moisture can trap odors.
Visual guide about How to Clean Hamilton Beach Electric Kettle
Image source: homemotivate.com
Problem: Stubborn Limescale Still Remains
Solution: You may need to repeat the descaling process. For extremely tough buildup, you might try a slightly more concentrated vinegar solution or a commercial descaler. Ensure you’re letting the solution soak for a sufficient amount of time. Gentle scrubbing with a soft brush can also help dislodge it, but always be careful not to scratch.
Problem: Scratches on the Interior
Solution: Unfortunately, scratches are usually permanent. This is why it’s so important to use only soft cloths, sponges, or soft-bristled brushes. Avoid any abrasive materials like steel wool, scouring pads, or even stiff nylon brushes. If the scratches are minor, they shouldn’t affect the functionality of your kettle.
Problem: The Kettle Smells Musty After Cleaning
Solution: This usually indicates that the kettle wasn’t dried properly. Always ensure the interior is completely dry before storing or closing the lid. Leaving the lid open to air dry for a while after cleaning is highly recommended.
Conclusion: Enjoy Your Sparkling Clean Hamilton Beach Electric Kettle!
You’ve now learned how to effectively clean and descale your Hamilton Beach electric kettle. By incorporating regular descaling and exterior cleaning into your routine, you’ll not only extend the life of your appliance but also ensure every cup of hot water you make is pure, fresh, and delicious. Remember, a little bit of effort goes a long way in maintaining the quality and performance of your kitchen gadgets. So, go ahead, brew your favorite beverage, and savor the clean taste that a well-maintained kettle provides! Happy brewing!