
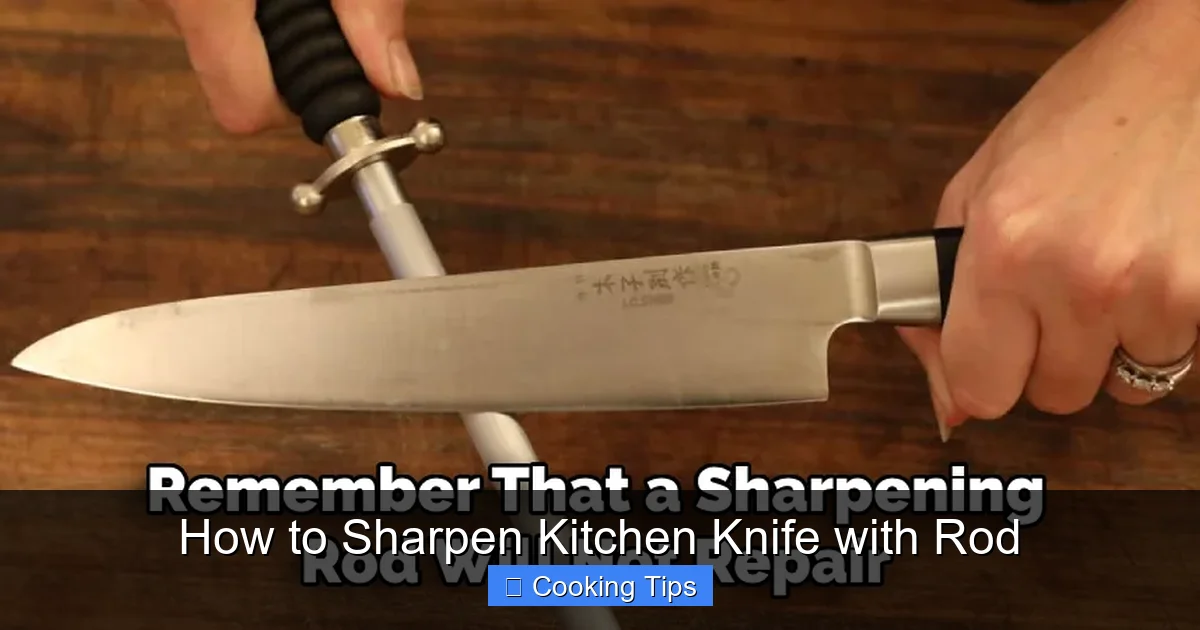
Learn the essential skill of sharpening your kitchen knives using a honing rod. This guide provides clear, step-by-step instructions to help you maintain a razor-sharp edge, making your cooking safer and more efficient. With proper technique, you’ll transform your dull knives into culinary powerhouses, improving your prep work and overall kitchen experience.
How to Sharpen Kitchen Knife with Rod
Welcome to your ultimate guide on transforming your dull kitchen knives into precision instruments! In today’s fast-paced culinary world, a sharp knife isn’t just a convenience; it’s a necessity for both safety and efficiency. Imagine effortlessly slicing through a ripe tomato or dicing onions without a struggle. That’s the power of a well-maintained blade! Many home cooks believe that sharpening a knife is a complicated or expensive process, often resorting to expensive electric sharpeners or expensive professional services. But what if we told you that with a simple, affordable tool – a honing rod – you can achieve professional-level sharpness right in your own kitchen?
In this comprehensive guide, we’ll demystify the art of knife sharpening using a honing rod. You’ll learn exactly what a honing rod is, why it’s different from a sharpening steel, how to choose the right one for your needs, and most importantly, the step-by-step technique to bring your knives back to life. By the end of this article, you’ll have the confidence and knowledge to keep your kitchen knives in pristine condition, making your cooking experience safer, more enjoyable, and significantly more effective. Let’s get started on this journey to a sharper kitchen!
Key Takeaways
- Understand the Difference: A honing rod realigns the knife’s edge, while sharpening actually removes metal to create a new edge. You’ll need both tools for optimal sharpness.
- Choose the Right Rod: Steel rods are common for daily maintenance, while ceramic and diamond rods offer more abrasive sharpening capabilities.
- Master the Angle: The correct angle (typically 15-20 degrees) is crucial for effective honing and avoiding damage to your knife’s edge.
- Consistent Strokes are Key: Using smooth, consistent strokes ensures an even realignment of the blade along the entire length of the rod.
- Safety First: Always maintain a stable grip on both the rod and the knife, and work on a non-slip surface to prevent accidents.
- Regular Maintenance Pays Off: Frequent honing, even for a minute or two after each use, significantly extends the time between full sharpening sessions.
What is a Honing Rod and Why Use One?
Before we dive into the “how-to,” let’s clarify what a honing rod actually does. It’s a common misconception that honing is the same as sharpening. While both processes aim to improve a knife’s edge, they work in fundamentally different ways.
Honing vs. Sharpening
* Honing: A honing rod is designed to realign the microscopic teeth along the edge of your knife. Over time, even the hardest steel will bend and warp slightly with regular use. This creates a dull, less effective edge. A honing rod gently straightens these tiny imperfections, bringing the edge back into alignment. It doesn’t remove significant amounts of metal. Think of it like brushing your hair – you’re smoothing out the tangles, not cutting it.
* Sharpening: Sharpening, on the other hand, involves removing a small amount of metal from the blade to create a new, sharp edge. This is typically done with sharpening stones (whetstones), electric sharpeners, or pull-through sharpeners. Sharpening is necessary when the knife’s edge has become truly dull or has nicks and chips that honing alone cannot fix.
Benefits of Regular Honing
Using a honing rod regularly offers several significant advantages:
* Maintains Sharpness: By realigning the edge, honing keeps your knife feeling sharp for much longer between actual sharpening sessions.
* Improves Safety: A sharp knife is a safe knife. Dull knives require more force to cut, increasing the risk of slippage and injury.
* Enhances Efficiency: Effortless slicing and dicing speed up your prep work, making cooking more enjoyable.
* Extends Knife Lifespan: Frequent honing reduces the need for aggressive sharpening, which can wear down your blades faster.
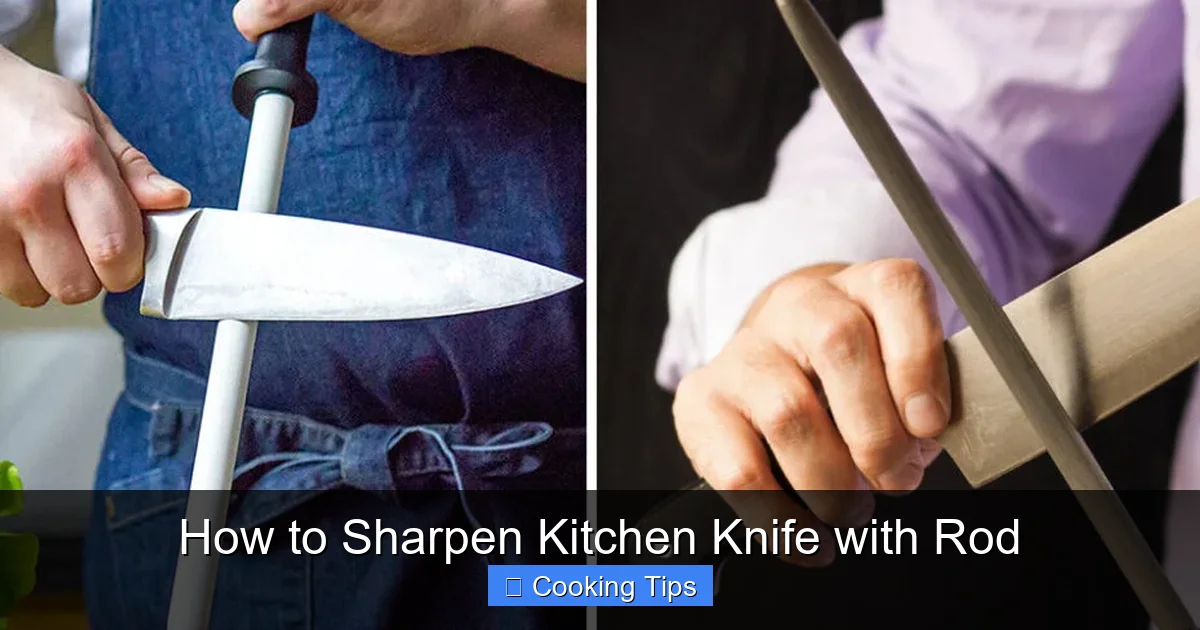
Choosing Your Honing Rod
Visual guide about How to Sharpen Kitchen Knife with Rod
Image source: thekitchenix.com
With various types of honing rods available in 2026, selecting the right one for your kitchen is key. The material of the rod will determine its abrasive power.
Types of Honing Rods
* Steel Rods: These are the most common and are excellent for daily or weekly maintenance. They are mildly abrasive and primarily focus on realigning the edge. If your knives are already fairly sharp and you want to keep them that way, a steel rod is a great choice.
* Ceramic Rods: Ceramic rods are more abrasive than steel. They can both realign and slightly sharpen a blade, making them a good intermediate option. If your knives are starting to feel a bit dull but aren’t completely blunted, a ceramic rod can bring them back to life effectively. They are ideal for knives that are used frequently.
* Diamond Rods: These are the most abrasive. The steel rod is coated with microscopic diamond particles. Diamond rods can effectively sharpen dull knives and are very efficient at removing metal. Use them with caution, as too much pressure or too frequent use can remove too much metal from your blade. They are best for knives that are significantly dulled or for those who prefer a very aggressive sharpening action.
What to Look For
When purchasing a honing rod, consider these factors:
* Length: The rod should be at least as long as your longest kitchen knife. This ensures you can hone the entire blade in one smooth stroke.
* Grip: A comfortable, non-slip handle is essential for safety and control. Many rods come with a guard to protect your hand.
* Material: As discussed above, choose based on your knives’ current condition and your desired level of maintenance.
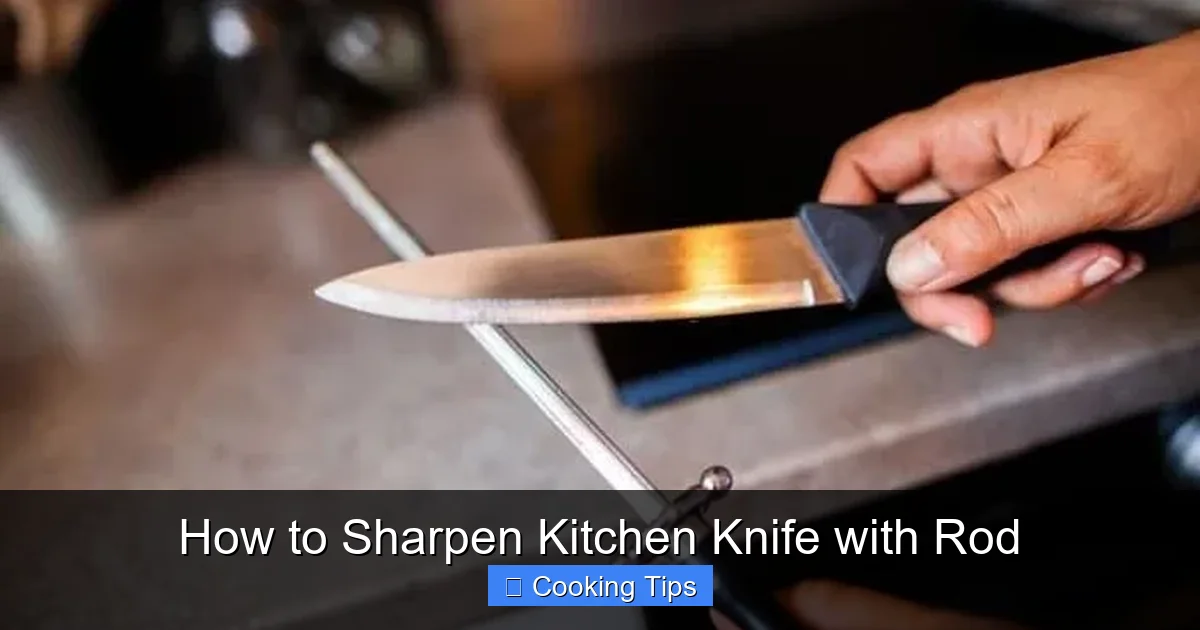
Step-by-Step Guide to Honing Your Knife
Visual guide about How to Sharpen Kitchen Knife with Rod
Image source: thekitchenix.com
Now for the main event! Follow these steps carefully to hone your kitchen knife effectively and safely. Remember, consistency and the correct angle are your best friends here.
Step 1: Prepare Your Workspace
Visual guide about How to Sharpen Kitchen Knife with Rod
Image source: kitchenrank.com
Safety is paramount when working with knives. Set up your sharpening station in a well-lit area with a stable, non-slip surface.
H3: Ensure Stability
* Place a damp cloth or a non-slip mat under your cutting board or the surface where you’ll be holding the honing rod. This prevents it from sliding around.
* Ensure there’s enough space around you to move freely without bumping into anything.
Step 2: Grip the Honing Rod
Properly holding the honing rod is crucial for control and safety.
H3: Secure Your Grip
* Hold the honing rod vertically in front of you, with the tip resting firmly on your stable surface (the cutting board or non-slip mat).
* Grip the handle securely with your non-dominant hand. Your fingers should be wrapped around the handle, and your thumb should be positioned for stability, perhaps against the guard if it has one.
Step 3: Position the Knife
Finding the correct angle is the most critical part of the honing process.
H3: Determine the Angle
* Most Western-style kitchen knives (like those from Wüsthof, Global, or Zwilling J.A. Henckels) have an edge angle of around 15-20 degrees per side. Japanese knives often have a sharper angle, around 10-15 degrees. If you’re unsure, a 17-degree angle is a good general starting point for most knives.
* To visualize this: Imagine holding your knife blade flat against the rod. Now, lift the spine (the dullest part of the blade) just enough so that the edge of the blade is approximately at a 15-20 degree angle to the rod. You can use an angle guide if you have one, or you can often find approximate guides online for different knife brands. Another common method is to hold the blade so that the spine is about the thickness of two dimes stacked together away from the rod, forming the correct angle.
* Ensure the heel of the blade (the part closest to the handle) is in contact with the top of the rod.
Step 4: Make the First Stroke
This is where the magic happens. The movement should be smooth and controlled.
H3: The Honing Motion
* With the knife positioned at the correct angle and the heel of the blade touching the top of the rod, gently draw the blade down the rod. Apply light, even pressure.
* As you draw the blade down, maintain the angle and allow the blade to slide along the rod until the tip of the knife reaches the bottom of the rod.
* Imagine you are trying to slice off a thin layer from the rod. The motion should be a fluid sweep, not a sawing action.
* Repeat this stroke on one side of the rod.
Step 5: Hone the Other Side
Now, you’ll do the same for the other side of the blade.
H3: Mirror the Motion
* Flip the knife over so the opposite side of the blade is now facing the rod.
* Maintain the same angle (15-20 degrees).
* Starting with the heel of the blade at the top, draw the blade down the rod in a smooth, controlled motion, just as you did on the first side.
* Again, apply light, consistent pressure.
Step 6: Repeat for Evenness
To ensure both sides of the edge are equally honed, you’ll repeat the process for a few strokes on each side.
H3: Alternating Strokes
* Alternate sides, making one stroke on the left, then one stroke on the right.
* Continue this alternating pattern for about 5-10 strokes on each side, depending on how dull your knife is.
* Always use light pressure. You are realigning, not grinding.
Step 7: Test the Sharpness
After a few alternating strokes, it’s time to check your progress.
H3: The Paper Test
* The most common and effective way to test your knife’s sharpness is the paper test.
* Hold a sheet of ordinary paper (like printer paper) vertically by its edge.
* Attempt to slice the paper with your knife, starting from the tip or middle of the blade.
* A properly honed knife will slice through the paper cleanly and effortlessly, without snagging or tearing. If it tears, you need to hone a few more strokes on each side.
Step 8: Clean Up
Once you’re satisfied with the sharpness, it’s time for a quick cleanup.
H3: Wipe and Store
* Gently wipe your knife blade with a clean, damp cloth to remove any residual metal particles.
* Dry the blade thoroughly with a clean, dry towel.
* Store your knife safely in a knife block, magnetic strip, or blade guard.
Practical Tips for Better Honing
Mastering knife honing takes a little practice, but these tips will help you refine your technique:
* Consistency is King: Strive for a consistent angle throughout each stroke. This is the most important factor for an even, sharp edge.
* Light Pressure, Always: Think of it as polishing the edge, not grinding it. Too much pressure can damage the edge or even the rod.
* Listen to Your Knife: You should feel a smooth, consistent glide of the blade against the rod. Any catching or scraping indicates an issue with your angle or pressure.
* Start with a Clean Rod: Before you begin, ensure your honing rod is clean. Wipe off any dust or debris.
* Hone After Each Use (or Regularly): For optimal results, hone your knives every time you use them, or at least weekly. This prevents the edge from becoming severely misaligned.
* Don’t Neglect Sharpening: Remember, honing realigns. If your knife is truly dull, chipped, or blunt, you will eventually need to sharpen it using a whetstone or other sharpening tool. Honing extends the time between sharpening sessions.
Troubleshooting Common Honing Issues
Even with the best intentions, you might run into a few snags. Here’s how to address them:
* The Knife Still Feels Dull After Honing:
* Cause: The angle might be incorrect, or the pressure was too light. The edge might be genuinely dull and requires sharpening, not just honing.
* Solution: Double-check your angle. Try a few more strokes with slightly more (but still light) pressure. If it still feels dull, it’s time to sharpen.
* The Knife Feels Rough or Jagged Instead of Smooth:
* Cause: Inconsistent angle, or the rod might be damaged or worn out.
* Solution: Focus on maintaining a steady angle. Inspect your rod for any visible damage. If it’s an older steel rod, it might be time for a new one.
* Slipping Knife or Rod:
* Cause: Unstable surface, or improper grip.
* Solution: Ensure your work surface is completely stable and use a damp cloth or non-slip mat. Re-evaluate your grip on both the rod and the knife for maximum control.
* Cutting Yourself:
* Cause: Lack of focus, improper grip, or a dull knife that requires more force.
* Solution: Always focus when handling knives. Maintain a firm, secure grip. Remember, a sharp knife is safer! If your knife is difficult to control, it needs attention.
When to Sharpen vs. When to Hone
A good rule of thumb is:
* **Hone frequently** (e.g., weekly or even daily for heavy users) to maintain sharpness.
* **Sharpen less frequently** (e.g., every few months, or when honing no longer restores a keen edge) to actually create a new edge.
If you can easily slice through a tomato or a piece of paper with minimal effort, your knife is likely sharp enough. If you find yourself pressing down hard, the knife is slipping, or it’s tearing through food, it’s time for attention.
Conclusion
Mastering the art of knife honing with a rod is an invaluable skill for any home cook. It’s a simple yet incredibly effective way to ensure your knives are always ready for action, making your time in the kitchen safer, more efficient, and more enjoyable. By understanding the difference between honing and sharpening, choosing the right rod, and practicing a consistent, careful technique, you can dramatically improve your culinary experience.
Don’t let dull knives hinder your cooking. Invest a few minutes of your time regularly, and you’ll be rewarded with the precise control and effortless cutting that only sharp knives can provide. So, grab your honing rod, find a stable surface, and get ready to experience the joy of cooking with truly sharp kitchen tools. Happy honing!