
Learn how to sharpen your kitchen knives effectively for safer and more enjoyable cooking. This comprehensive guide will walk you through various methods, from using a honing steel to the intricacies of whetstone sharpening. Mastering knife sharpening will transform your culinary experience, making prep work quicker and more precise.
Key Takeaways
- Understanding Knife Anatomy: Knowing the different parts of your knife helps you identify the correct angle for sharpening.
- Choosing the Right Sharpening Tool: Different tools like honing steels, whetstones, and electric sharpeners suit varying needs and skill levels.
- Mastering the Sharpening Angle: Maintaining a consistent angle (typically 15-20 degrees) is crucial for effective sharpening.
- Step-by-Step Sharpening Process: Following a structured approach ensures you achieve a sharp, durable edge.
- Honing vs. Sharpening: Differentiating between these two processes is key to maintaining your knife’s edge.
- Safety First: Always prioritize safety during the sharpening process to prevent injuries.
- Regular Maintenance: Consistent honing and occasional sharpening will keep your knives in top condition.
How Do You Sharpen a Kitchen Knife
Welcome, home chefs of 2026! Are you tired of wrestling with dull knives that mangle your tomatoes and make chopping onions a chore? You’ve come to the right place. In this guide, we’ll dive deep into the art of sharpening kitchen knives. By the end of this article, you’ll have the knowledge and confidence to bring your dull blades back to life, making your time in the kitchen more efficient, safer, and frankly, a lot more enjoyable.
A sharp knife isn’t just a luxury; it’s a fundamental tool for any cook. It glides through food with ease, requiring less force and reducing the risk of slips. Think of it as the difference between a gentle caress and a violent tear – your ingredients (and your fingers) will thank you. We’ll explore everything from the simple daily maintenance with a honing steel to the more involved, rewarding process of using whetstones. We’ll also touch upon electric sharpeners for those seeking a quick and easy solution. Let’s get your knives ready to perform like new!
Why Sharpen Your Kitchen Knives?
Before we grab our tools, let’s understand *why* this is so important. Over time, the microscopic edge of your knife gets bent, dulled, and even chipped. This isn’t a sign of a bad knife; it’s just the nature of using sharp metal against food. Sharpening realigns and refines this edge, restoring its cutting ability.
The Difference Between Honing and Sharpening
It’s vital to understand that honing and sharpening are two distinct, though related, processes.
- Honing: This is a maintenance task. A honing steel (often called a sharpening steel) *realigns* the microscopic teeth of the knife’s edge that have become bent during use. It doesn’t remove metal; it simply straightens the existing edge. You should hone your knives regularly, ideally before or after each use.
- Sharpening: This process actually *removes* a small amount of metal from the blade to create a new, sharp edge. This is necessary when honing is no longer sufficient to restore sharpness. Sharpening is done less frequently than honing.
Think of it like this: honing is like brushing your hair to make it smooth. Sharpening is like cutting your hair to get rid of split ends and reshape it. Both are essential for maintaining a good look and function!
Choosing Your Sharpening Method
There are several effective ways to sharpen your kitchen knives. The best method for you will depend on your budget, skill level, and the type of knives you own.
1. The Honing Steel
As mentioned, a honing steel is for realignment, not true sharpening. However, regular honing is the *first* step in keeping your knives sharp between actual sharpening sessions.
How to Use a Honing Steel
Most honing steels are made of steel, ceramic, or diamond-coated steel. Diamond-coated steels are more aggressive and can actually sharpen slightly, while ceramic and traditional steel are primarily for honing.
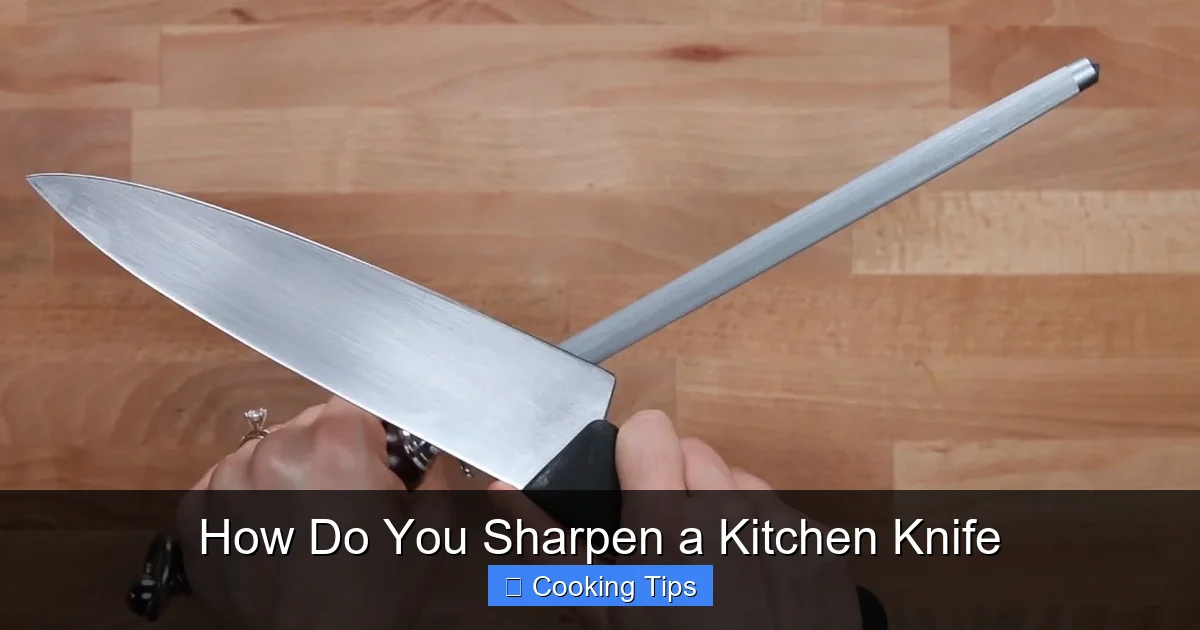
Visual guide about How Do You Sharpen a Kitchen Knife
Image source: i.ytimg.com
Here’s the basic technique:
- Secure the Handle: Hold the knife by the handle firmly.
- Find the Angle: The key is to maintain a consistent angle. For most Western-style knives, this is around 15-20 degrees per side. For Japanese knives, it’s typically closer to 10-15 degrees. If you’re unsure, look at the angle of the blade’s edge; it’s usually stamped into the metal or can be found in the manufacturer’s specs. You can also rest the steel on a cutting board, and place the blade against it, tilting it up until you reach your desired angle.
- The Strokes: Hold the honing steel vertically in front of you, tip down on a stable surface (like a cutting board or a folded towel to prevent slipping). Starting at the heel of the blade (the part closest to the handle), draw the knife down the steel in a single, smooth motion, maintaining your angle. Apply light to moderate pressure.
- Repeat on the Other Side: Once you’ve honed from heel to tip on one side, repeat the process on the other side of the blade.
- Alternate Sides: Do 5-10 strokes on each side, alternating between sides. This ensures an even edge.
- Test the Edge: Carefully test the sharpness on a piece of paper.
Tip: If your honing steel has a guard, use it to keep your fingers safe.
2. Whetstones (Sharpening Stones)
Whetstones are the traditional and arguably the most effective way to achieve a razor-sharp edge. They come in various grits, just like sandpaper.
- Coarse Grit (e.g., 200-600): For repairing chips and establishing a new edge on very dull knives.
- Medium Grit (e.g., 1000-3000): For general sharpening and bringing a moderately dull knife back to life. This is the most common grit for regular sharpening.
- Fine Grit (e.g., 4000-8000+): For refining the edge, polishing the blade, and achieving a truly razor-sharp finish.
Combination stones, which have two different grits (e.g., 1000/6000), are popular and cost-effective.
How to Sharpen with Whetstones
This method requires patience and practice, but the results are incredibly rewarding.
- Soak the Stone: Most oil stones and many water stones need to be soaked in water until they stop releasing air bubbles. This usually takes 5-10 minutes. Some synthetic stones are “splash and go” and only need a quick wetting. Always check the manufacturer’s instructions.
- Set Up Your Workspace: Place the soaked stone on a non-slip surface. A wet towel or a dedicated stone holder works well. Ensure the stone is stable.
- Find the Angle: Again, consistency is key. For Western knives, aim for 15-20 degrees per side. For Japanese knives, 10-15 degrees. You can use an angle guide, or for practice, place two pennies under the spine of the knife at the heel. This is roughly a 20-degree angle for many knives.
- Sharpening the First Side:
- Start with the heel of the blade on the stone at your chosen angle.
- Apply moderate, even pressure and draw the knife across the stone in a smooth, sweeping motion from heel to tip. Imagine you’re trying to shave off a thin layer of the stone.
- Work your way along the blade, ensuring the entire edge makes contact with the stone. You’ll feel a burr (a slight ridge of metal) form on the opposite side of the blade.
- Continue this until you’ve created a burr along the entire length of the edge.
- Sharpening the Second Side:
- Flip the knife over and repeat the process on the other side of the blade.
- Maintain the same angle.
- Sharpen until you feel a burr forming on the first side again.
- Refine the Edge (Optional but Recommended):
- Move to a finer grit stone if you have one.
- Repeat the sharpening process on both sides, but with lighter pressure. This polishes the edge and removes the burr.
- You can also use light, alternating strokes (one stroke per side) with progressively lighter pressure to “strop” the blade.
- Clean and Test: Rinse the stone and the knife thoroughly. Dry the knife carefully and test its sharpness on a piece of paper or a tomato.
Troubleshooting Whetstone Sharpening:
- Inconsistent Angle: This is the most common problem. Practice makes perfect. Use an angle guide if needed.
- Not Creating a Burr: You might not be sharpening long enough on each side, or your angle might be too shallow.
- Uneven Sharpening: Ensure you’re working from heel to tip and making contact with the entire edge.
3. Electric Knife Sharpeners
Electric sharpeners are the quickest and easiest option for many home cooks. They automate the angle and stone movement for you. However, they can be more aggressive and remove more metal than manual methods, so it’s important to use them correctly and not overdo it.
How to Use an Electric Knife Sharpener
Instructions vary by model, so always consult your sharpener’s manual. However, the general process is:
- Set Up: Place the sharpener on a stable surface. Ensure it’s plugged in and ready to go.
- Identify Slots: Most electric sharpeners have multiple slots, typically labeled by grit or stage (e.g., “Sharpen,” “Hone,” “Polish”).
- Sharpening:
- Start with the coarsest slot if your knife is very dull, or the “Sharpen” slot for general sharpening.
- Gently pull the knife through the slot at the recommended angle (often indicated by guides on the sharpener). Do NOT force the knife.
- Follow the manufacturer’s recommendation for the number of passes (e.g., 3-5 passes per side).
- Honing/Polishing: If your sharpener has these stages, move to the finer slots to refine and polish the edge.
- Clean: Wipe the blade clean of any metal shavings.
Important Considerations for Electric Sharpeners:
- Use Sparingly: Because they remove more metal, use them less frequently than whetstones.
- Don’t Overdo It: Stick to the recommended number of passes. Over-sharpening can significantly shorten the lifespan of your knife.
- Not for All Knives: Some high-end Japanese knives with very acute angles might not be suitable for all electric sharpeners.
4. Sharpening Rods/Steels (for maintenance)
These are similar to honing steels but are often made of ceramic or diamond-coated materials. They can do a bit more aggressive honing or light sharpening than a traditional steel.
How to Use a Sharpening Rod
The technique is almost identical to using a honing steel, but the materials are designed to be more effective at restoring a fine edge.
- Secure the Rod: Hold the rod vertically with the tip on a stable surface.
- Maintain the Angle: Use the recommended 15-20 degree angle (or 10-15 for Japanese knives).
- The Strokes: Draw the knife blade down the rod from heel to tip, alternating sides. Apply light to moderate pressure.
- Frequency: Use this as a regular maintenance tool, similar to a honing steel.
Maintaining Your Sharp Knives
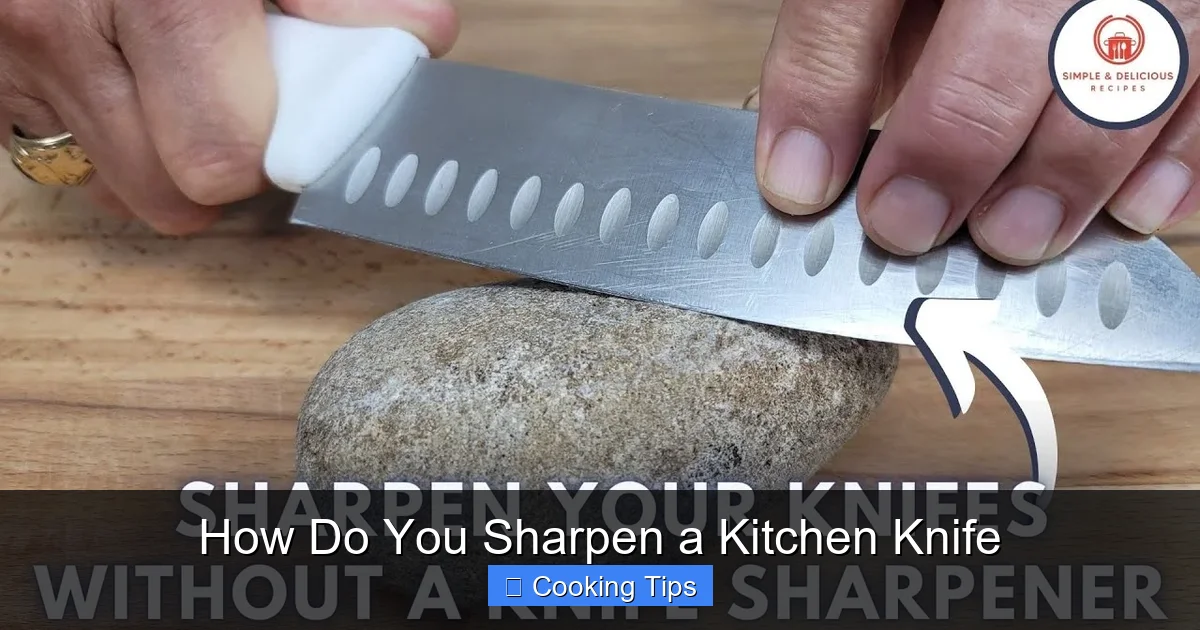
Visual guide about How Do You Sharpen a Kitchen Knife
Image source: i.ytimg.com
Sharpening is only part of the equation. Proper care will ensure your knives stay sharp longer.
- Use the Right Cutting Board: Soft materials like wood or high-quality plastic are best. Avoid glass, stone, or metal cutting boards, as they will dull your knife instantly.
- Hand Wash Your Knives: Dishwashers are brutal on knives. The harsh detergents, high heat, and constant banging against other items will dull and damage your blades. Wash them by hand with warm, soapy water and dry them immediately.
- Store Them Properly: Don’t just toss your knives into a drawer where they can bang against each other. Use a knife block, magnetic strip, or blade guards.
- Hone Regularly: As we discussed, honing is your daily defense against a dulling edge.
Troubleshooting Common Knife Sharpening Issues
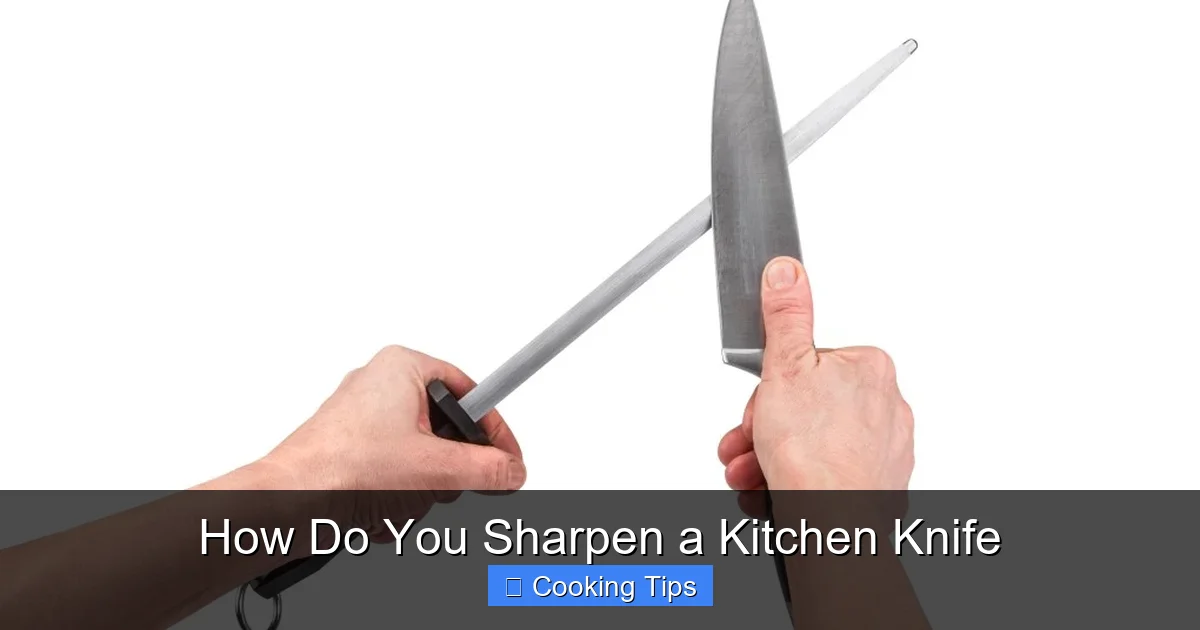
Visual guide about How Do You Sharpen a Kitchen Knife
Image source: noshingwiththenolands.com
Even with the best intentions, you might encounter some snags.
- My knife still feels dull after sharpening:
- Did you create a burr on both sides? If not, you may not have sharpened long enough or your angle was inconsistent.
- Did you move to a finer grit to remove the burr and polish the edge? A burr can make a knife feel rough and dull.
- Is your knife very old or damaged? It might need professional repair or a more aggressive sharpening.
- I’m getting an inconsistent angle:
- Practice is the best remedy. Use an angle guide or the coin trick mentioned earlier.
- Ensure the stone is stable and not wobbling.
- I cut myself! (Safety First!)
- Stop immediately! Assess the injury and seek appropriate first aid.
- When sharpening, always keep your fingers well away from the blade’s edge.
- Work slowly and deliberately, especially when you’re learning.
- Ensure your sharpening surface is stable and non-slip.
- Never attempt to catch a falling knife.
Conclusion
Sharpening your kitchen knives is a skill that will serve you well for years to come. It’s an investment in your tools and your cooking experience. Whether you choose the tactile satisfaction of whetstones, the convenience of an electric sharpener, or the daily maintenance of a honing steel, the key is consistency and a commitment to keeping your blades in top condition.
By following the steps outlined in this guide, you can transform dull, dangerous knives into precise cutting instruments. So, go ahead, give your knives some TLC, and get ready to experience the joy of effortless slicing. Happy cooking!