
This guide provides comprehensive instructions on how to clean your Cosori electric kettle. Learn how to tackle mineral buildup, remove stubborn stains, and perform regular maintenance to ensure your kettle operates efficiently and delivers pure-tasting water. Following these simple steps will extend the lifespan of your Cosori kettle and guarantee delicious hot beverages every time.
How to Clean Cosori Electric Kettle
An electric kettle is a kitchen essential, and your Cosori electric kettle is likely no exception. Whether you’re brewing your morning coffee, steeping a calming cup of tea, or preparing a quick meal, a clean kettle ensures pure-tasting water and optimal performance. Over time, mineral deposits from your tap water can build up inside the kettle, leading to a white, chalky residue known as limescale. This not only looks unsightly but can also affect the heating efficiency and even the taste of your beverages. This comprehensive guide will walk you through everything you need to know to clean your Cosori electric kettle effectively, from regular maintenance to tackling stubborn limescale.
We’ll cover the best cleaning methods, essential tools, and provide practical tips to keep your Cosori electric kettle in top condition. By the end of this guide, you’ll be equipped with the knowledge to perform a thorough cleaning, ensuring your kettle remains a reliable and hygienic appliance for years to come.
Key Takeaways
- Regular Cleaning Prevents Buildup: Wiping down the exterior and interior after each use helps prevent the accumulation of grime and water spots.
- Vinegar is Your Descaling Friend: White vinegar is a safe and effective natural descaler for removing mineral deposits from hard water.
- Baking Soda for Stubborn Stains: A paste of baking soda and water can help lift tougher stains from the kettle’s interior.
- Gentle is Best for Exterior: Use a soft, damp cloth and mild soap for cleaning the outside to avoid scratching the finish.
- Don’t Forget the Lid and Spout: These areas can harbor residue and should be cleaned thoroughly during the descaling process.
- Rinse Thoroughly: Always rinse the kettle completely after cleaning to remove any cleaning solution residue, ensuring pure-tasting water.
- Safety First: Always unplug your Cosori electric kettle and ensure it is completely cool before starting any cleaning procedure.
Why Cleaning Your Cosori Electric Kettle is Important
It’s easy to overlook cleaning an appliance that’s only used for heating water. However, neglecting your Cosori electric kettle can lead to several issues. Mineral deposits, or limescale, can form a layer on the heating element. This layer acts as an insulator, meaning your kettle has to work harder and longer to heat the water, consuming more energy. Over time, this can shorten the lifespan of the heating element. Furthermore, limescale can flake off into your water, potentially affecting the taste of your drinks. Beyond the functional aspects, a clean kettle is simply more pleasant to use and demonstrates good kitchen hygiene.
Understanding Limescale and Its Effects
Limescale is primarily composed of calcium and magnesium carbonates, minerals naturally present in hard water. When water is heated, these minerals precipitate out and form a hard, white deposit. In an electric kettle, this buildup commonly appears on the bottom of the interior and around the heating element. The more frequently you use your kettle and the harder your water supply, the faster limescale will accumulate. Recognizing the signs of limescale—a chalky residue, reduced heating speed, or a cloudy appearance in your water—is the first step towards addressing it.

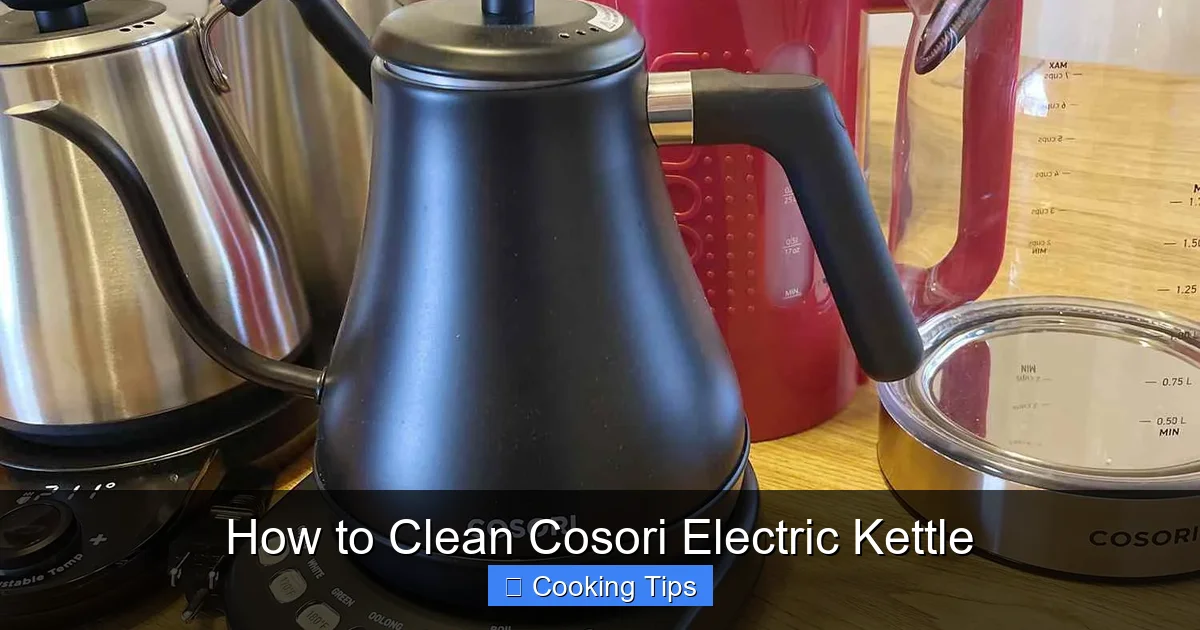
Visual guide about How to Clean Cosori Electric Kettle
Image source: kitchenadvising.com
Gathering Your Cleaning Supplies
Before you begin cleaning, it’s helpful to have all your supplies ready. This will make the process smoother and more efficient. For most cleaning tasks, you’ll need:
- White Vinegar: A natural and highly effective descaler.
- Water: For diluting vinegar and rinsing.
- Baking Soda (Optional): For tackling tougher stains.
- Dish Soap: For exterior cleaning.
- Soft Cloths or Sponges: Microfiber cloths are ideal.
- Mild Detergent (Optional): For stubborn exterior grime.
- Small Brush (Optional): For getting into nooks and crannies.
Always ensure your Cosori electric kettle is unplugged and completely cool before you start any cleaning process. Safety is paramount.
Regular Cleaning: Keeping Your Kettle Fresh
Consistent, minor cleaning is the best way to prevent major buildup. Aim to perform a quick clean of your Cosori electric kettle at least once a week, or more often if you notice any minor residue.
Visual guide about How to Clean Cosori Electric Kettle
Image source: simplyrecipes.com
Cleaning the Exterior
The outside of your Cosori electric kettle can accumulate fingerprints, splashes, and dust. Keeping it clean is simple and helps maintain its appearance.
- Step 1: Unplug and Cool. Ensure the kettle is unplugged and has cooled down completely.
- Step 2: Dampen a Cloth. Lightly dampen a soft, clean cloth with water. For stainless steel models, avoid abrasive scrubbers or harsh chemicals that could scratch the surface.
- Step 3: Wipe Down. Gently wipe the exterior surfaces of the kettle.
- Step 4: Use Mild Soap (If Needed). For tougher grime, add a drop of mild dish soap to your damp cloth. Be sure to wring out excess water to avoid getting moisture into any electrical components.
- Step 5: Rinse and Dry. Wipe the exterior again with a clean, damp cloth to remove any soap residue. Then, use a dry cloth to buff the kettle and prevent water spots.
Cleaning the Interior (Quick Clean)
Even with regular use, a quick interior wipe can make a difference.
- Step 1: Empty the Kettle. Ensure there is no water inside.
- Step 2: Wipe with a Damp Cloth. Use a clean, damp cloth to wipe the inside of the kettle. For most minor residues, this will be sufficient.
- Step 3: Air Dry. Leave the lid open and allow the interior to air dry completely before storing or using again.
Deep Cleaning and Descaling Your Cosori Electric Kettle
When you notice a more significant buildup of limescale, or if your kettle’s performance seems to have decreased, it’s time for a deeper clean or descaling. The most common and effective method uses white vinegar.
Method 1: Using White Vinegar for Descaling
White vinegar is an acidic solution that effectively breaks down mineral deposits. This method is safe for most stainless steel kettles.
- Step 1: Prepare the Solution. Mix equal parts white vinegar and water. For a standard 1.7-liter kettle, this might be about 2 cups of vinegar and 2 cups of water.
- Step 2: Fill the Kettle. Pour the vinegar and water mixture into your Cosori electric kettle. Ensure the solution covers the limescale deposits. Do not fill the kettle beyond its maximum fill line.
- Step 3: Let It Sit. Let the solution sit in the kettle for at least 30 minutes to an hour. For very stubborn buildup, you can let it sit longer, or even overnight.
- Step 4: Heat the Solution (Optional but Recommended). For more effective descaling, gently heat the vinegar-water solution. Turn on your kettle and bring it to a boil, then immediately turn it off and unplug it. Be cautious of the steam.
- Step 5: Let It Cool and Soak. Allow the heated solution to cool slightly, but don’t pour it out immediately. Let it sit for another 30 minutes to an hour after heating. This soaking time is crucial for the vinegar to work on the mineral deposits.
- Step 6: Empty and Scrub (If Necessary). Pour out the vinegar-water solution. You should see a significant reduction in limescale. If there are still some stubborn spots, you can use a soft cloth or a non-abrasive sponge to gently scrub them away. A bottle brush or a small, soft brush can be helpful for reaching the bottom and sides.
- Step 7: Rinse Thoroughly. This is a critical step. Rinse the kettle with clean water multiple times. Fill it with fresh water, boil it, and discard the water. Repeat this process at least two to three times to ensure all traces of vinegar and loosened mineral deposits are removed. Failing to rinse adequately can leave a vinegary taste in your water.
- Step 8: Final Wipe and Air Dry. Once thoroughly rinsed, wipe the interior with a clean cloth and leave the lid open to allow it to air dry completely.
Method 2: Using Baking Soda for Tough Stains
While vinegar is excellent for general descaling, baking soda can be a gentler abrasive for specific stubborn stains that may remain after vinegar treatment.
- Step 1: Create a Paste. Mix a few tablespoons of baking soda with a small amount of water to create a thick paste.
- Step 2: Apply the Paste. Apply the baking soda paste directly to any remaining stains or discolored areas on the interior of your kettle.
- Step 3: Let It Sit. Allow the paste to sit on the stains for about 15-20 minutes.
- Step 4: Gently Scrub. Use a soft cloth or sponge to gently scrub the stained areas. The baking soda will act as a mild abrasive.
- Step 5: Rinse Very Well. Rinse the kettle thoroughly with clean water. As with the vinegar method, multiple rinses are essential to remove all baking soda residue.
- Step 6: Boil and Discard Water. Fill the kettle with fresh water, bring it to a boil, and discard the water. Repeat this boiling and discarding process once more to be absolutely sure there’s no lingering taste.
Cleaning Specific Parts of Your Cosori Electric Kettle
While the main body of the kettle is the primary focus, don’t forget these often-overlooked parts.
The Spout
Mineral deposits can sometimes clog the spout. After descaling, check the spout. If you see any residue, you can try to gently dislodge it with a small brush or a cotton swab dipped in vinegar solution.
The Lid and Filter
Many Cosori electric kettles have a removable filter inside the lid to catch mineral deposits. Check your user manual to see if your model’s filter is removable.
- If Removable: Carefully remove the filter and rinse it under running water. You can gently scrub it with a soft brush and a mild soap solution if needed. Ensure it’s completely dry before reinserting.
- If Not Removable: During the descaling process, ensure the vinegar solution covers the area around the lid and spout to help clean these parts. You can also use a damp cloth or a small brush to clean the interior of the lid after the descaling solution has been poured out.
Troubleshooting Common Cleaning Issues
Even with the best efforts, you might encounter a few cleaning challenges. Here are some common issues and how to resolve them.
Issue: Limescale is still visible after cleaning.
Solution: You may need to repeat the descaling process. For very heavy buildup, try leaving the vinegar solution to soak for longer, or even overnight, before heating and scrubbing. Ensure you are using enough vinegar. For extremely stubborn limescale, a commercial descaling product specifically designed for kettles might be an option, but always follow the product’s instructions carefully and ensure it’s safe for your kettle’s material. Cosori often recommends using white vinegar.
Issue: The kettle still smells or tastes like vinegar.
Solution: This means the rinsing process wasn’t thorough enough. Fill the kettle with fresh water, bring it to a boil, and discard the water. Repeat this at least 3-5 times. You can also try boiling a solution of water and a tablespoon of baking soda (and then discarding and rinsing thoroughly) to help neutralize any lingering odors. Make sure the kettle is completely dry before the next use.
Issue: Water spots on the stainless steel exterior.
Solution: After cleaning and rinsing the exterior, dry it immediately with a soft, clean cloth. Buffing the surface gently can help prevent water spots and restore shine.
Maintaining Your Cosori Electric Kettle
Preventative measures are just as important as cleaning. By adopting a few simple habits, you can minimize the need for frequent deep cleaning.
- Empty After Each Use: Don’t leave standing water in the kettle. Pour out any leftover water after each use. This prevents mineral deposits from settling and drying onto the heating element.
- Use Filtered Water: If you have very hard water, consider using filtered or distilled water in your kettle. This significantly reduces the amount of minerals that can build up.
- Wipe Down Regularly: A quick wipe of the interior and exterior after each use can prevent minor buildup from becoming a major problem.
- Inspect Periodically: Take a moment to visually inspect the inside of your kettle every few weeks. This allows you to catch any early signs of mineral buildup before they become difficult to remove.
Conclusion
Cleaning your Cosori electric kettle is a straightforward process that ensures you enjoy pure-tasting water for your favorite beverages. By incorporating regular exterior and interior wiping, and performing a deeper descaling with white vinegar when needed, you can keep your kettle functioning optimally and looking its best. Remember to always prioritize safety by unplugging the appliance and ensuring it’s cool before cleaning. With these simple steps, your Cosori electric kettle will remain a reliable and hygienic companion in your kitchen for many years to come, delivering perfectly heated water every time you need it.