
Is your electric kettle switch acting up? This comprehensive guide will walk you through diagnosing and fixing common electric kettle switch problems. We’ll cover safety precautions, disassembly, common issues like stuck buttons or no power, and reassembly, helping you save money and extend the life of your appliance. Follow these easy steps to get your kettle back to boiling in no time!
How to Fix Electric Kettle Switch
There’s nothing quite like the convenience of an electric kettle. Whether you’re making a quick cup of tea, brewing coffee, or preparing a meal, it’s a kitchen essential. But what happens when the switch on your electric kettle decides to take a break? A faulty switch can leave you with a completely useless appliance. Before you rush out to buy a new one, consider this: many electric kettle switch problems are surprisingly simple to fix.
This guide is designed to help you get your electric kettle back in working order. We’ll cover everything from understanding why the switch might fail to the step-by-step process of diagnosing and repairing it. You’ll learn about safety precautions, how to safely disassemble your kettle, common issues you might encounter, and how to put it all back together. With a little patience and this guide, you can potentially save money and avoid contributing to unnecessary waste by fixing your electric kettle switch yourself.
Key Takeaways
- Safety First: Always unplug your electric kettle before attempting any repairs to prevent electric shock.
- Identify the Issue: Determine if the problem is with the switch itself, the power cord, or the internal wiring.
- Gentle Disassembly: Carefully take apart the kettle, noting the placement of screws and components to ensure proper reassembly.
- Cleaning and Lubrication: Often, a stuck switch is due to dust or grime; thorough cleaning and light lubrication can solve the problem.
- Component Check: Inspect for loose wires, corroded contacts, or damaged switch components that may need repair or replacement.
- Test Carefully: After reassembly, test the kettle cautiously to ensure the switch functions correctly and safely.
Understanding Why Electric Kettle Switches Fail
Electric kettle switches are mechanical components that, like any other part, can wear out over time. Several factors can lead to a switch malfunction:
- Wear and Tear: Frequent use means the internal mechanisms of the switch can become loose or damaged.
- Dirt and Debris: Dust, grime, and even spilled liquids can get into the switch, preventing it from making proper contact.
- Loose Connections: Internal wires connected to the switch can become loose due to vibrations or age.
- Corrosion: In humid environments or if exposed to moisture, electrical contacts can corrode, hindering conductivity.
- Manufacturing Defects: While less common, some switches may have inherent flaws from the manufacturing process.
Identifying the specific cause of your kettle’s switch problem is the first step towards a successful repair.
Safety First: Essential Precautions
Before you even think about touching a screwdriver, safety is paramount. Working with electrical appliances can be dangerous if not done correctly.
Always, always, always unplug your electric kettle from the power outlet before attempting any disassembly or repair. This is the single most important step to prevent electric shock.
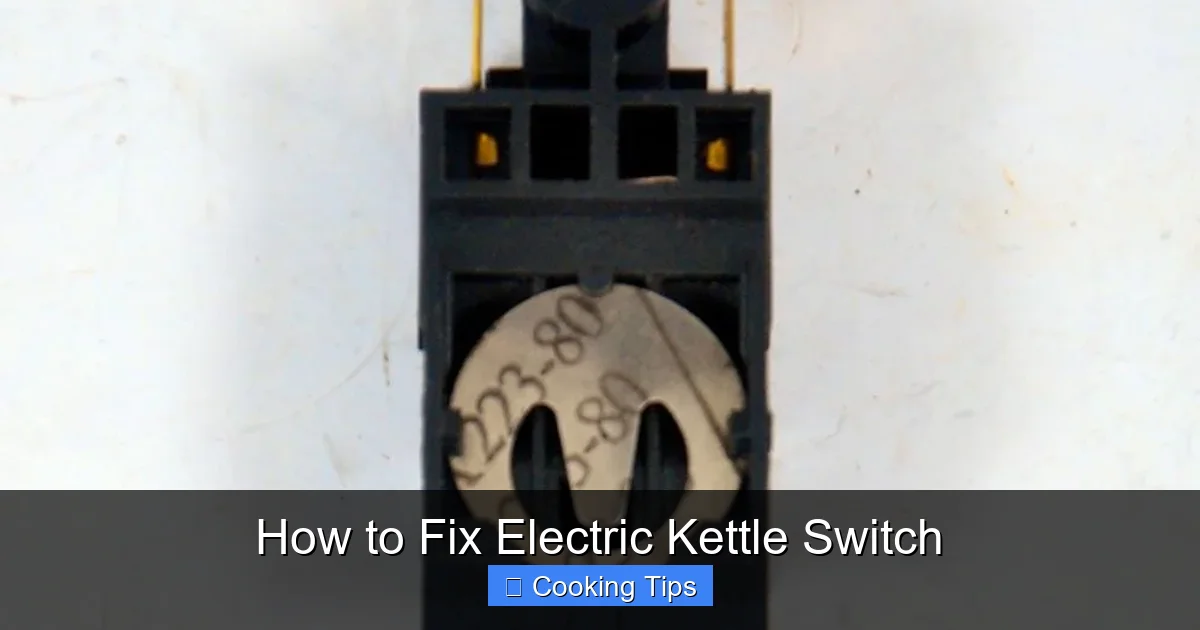
Visual guide about How to Fix Electric Kettle Switch
Image source: shop.testerelectricalservice.com
Here are some additional safety tips:
- Allow the kettle to cool completely: If the kettle has been used recently, let it cool down for at least 30 minutes before handling.
- Work in a well-lit area: This will help you see what you’re doing and prevent mistakes.
- Use appropriate tools: Make sure you have the right size screwdrivers and any other tools needed.
- Keep water away: Ensure your workspace is dry and that no water can come into contact with electrical components.
- If in doubt, don’t proceed: If you’re uncomfortable with any step or unsure about what you’re doing, it’s better to seek professional help or consider replacing the kettle.
Step-by-Step Guide to Fixing Your Electric Kettle Switch
Now that safety is covered, let’s get down to fixing that switch. This process involves carefully taking your kettle apart, diagnosing the issue, and reassembling it.
Step 1: Gather Your Tools and Materials
Having the right tools ready will make the process smoother. You’ll likely need:
- Screwdrivers: A set of small Phillips head and flathead screwdrivers. Some kettles might use Torx screws, so have those on hand if possible.
- Pliers: A small pair of needle-nose pliers can be helpful for gripping small wires or components.
- Cleaning Supplies: Cotton swabs, isopropyl alcohol (rubbing alcohol), and a dry, lint-free cloth.
- Lubricant (optional): A small amount of electrical contact cleaner or a very light application of silicone-based lubricant (ensure it’s safe for electronics).
- Small container: To keep screws and small parts organized.
- Camera or smartphone: To take pictures as you disassemble, which is incredibly useful for reassembly.
Step 2: Document the Disassembly Process
This is where your camera or smartphone becomes your best friend. Before you remove any screws, take a picture of the kettle’s exterior, paying attention to the switch and any visible seams. As you start to loosen screws, take photos of each step. This visual record will be invaluable when it’s time to put everything back together correctly.
Step 3: Accessing the Switch Mechanism
Most electric kettles have their switches located at the base or on the handle.
Accessing the Base
Many kettles have a plastic base that houses the heating element, power cord connection, and the switch. Look for screws around the bottom edge of the base. You might need to pry off a decorative cover or a rubber footing to reveal them.

Visual guide about How to Fix Electric Kettle Switch
Image source: d2j6dbq0eux0bg.cloudfront.net
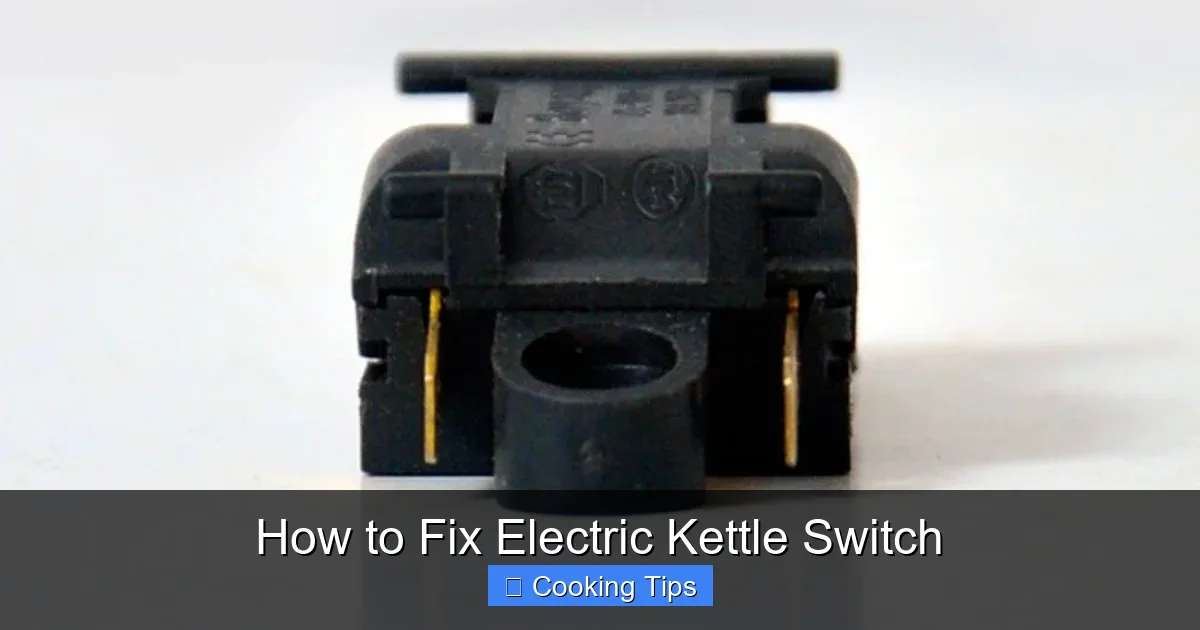
Visual guide about How to Fix Electric Kettle Switch
Image source: shop.testerelectricalservice.com
Tip: Sometimes, the base is secured by clips rather than screws. Gently try to wiggle and lift the base away from the main body of the kettle. Be patient; forcing it can break plastic parts.
Accessing the Handle/Body
Some switches are integrated into the handle or the main body of the kettle. These might be secured by screws hidden under decorative caps or labels. Carefully peel back any stickers or covers to find these screws.
Once you’ve located and removed the necessary screws, the base or main body should separate. You might need to gently twist or lift it. Be mindful of any wires connecting the base to the kettle body.
Step 4: Inspecting the Switch and Internal Components
With the kettle partially disassembled, you can now see the internal workings. Locate the switch. It’s usually connected to a few wires.
Check for Loose Wires
This is one of the most common issues. Gently tug on each wire connected to the switch. If any feel loose or have detached completely, carefully reattach them. If the wire has a terminal connector, ensure it’s firmly seated. If the wire is directly soldered, and you have soldering skills, you can re-solder it.
Examine the Switch Mechanism
Observe how the switch operates. Does it feel stiff, stuck, or loose? The problem might be with the physical movement of the switch.
Clean the Switch Contacts
If the switch feels grimy or sticky, it’s time for a clean. Use a cotton swab dipped in isopropyl alcohol to gently clean the visible contacts of the switch. If you can access the internal part of the switch (and it’s designed to be opened), carefully clean those contacts too. Make sure everything dries completely before proceeding.
Check for Damage
Look for any signs of burnt plastic, melted components, or obvious physical damage to the switch itself. If the switch is visibly broken or melted, it will likely need to be replaced.
Step 5: Troubleshooting Common Switch Problems
Let’s address specific issues you might encounter:
Problem: The Switch is Stuck
Cause: Often due to accumulated dirt, grime, or a slight misalignment of the moving parts.
Solution: Clean the switch mechanism thoroughly with isopropyl alcohol and a cotton swab. If it still feels stiff, a tiny amount of electrical contact cleaner or a light spray of silicone lubricant (applied carefully to the moving parts, not to electrical contacts) might help. Gently work the switch back and forth a few times to distribute the lubricant.
Problem: The Kettle Doesn’t Turn On (No Power)
Cause: This could be a loose wire connection to the switch, a faulty switch itself, or a problem with the power cord or the internal wiring leading to the heating element.
Solution: First, re-check all wire connections to the switch and other components. If all wires are secure, the switch itself might be faulty. You can test continuity with a multimeter if you have one and know how to use it (though this is more advanced). If the switch appears undamaged and connections are good, the issue might be further down the line, possibly the power cord or the internal wiring.
Problem: The Kettle Turns Off Randomly
Cause: A worn-out switch might not be making consistent contact, or an internal safety mechanism could be triggering prematurely. It could also be a loose connection that momentarily interrupts the power flow.
Solution: Again, check all wire connections first. If they are secure, the switch itself may be failing. Sometimes, the auto-shutoff mechanism related to the switch might be malfunctioning, but this is harder to fix without specific replacement parts.
Problem: The Switch Feels Loose or Wobbly
Cause: The mounting points for the switch might be loose, or the switch itself has become worn out internally.
Solution: Ensure the switch is properly seated in its housing. If it’s loose because of a broken plastic mount, it might be difficult to repair without specialized adhesive. If the switch itself feels internally loose, it may need replacement.
Step 6: Replacing a Faulty Switch (If Necessary)
If you’ve identified that the switch is indeed faulty and cleaning doesn’t help, you might need to replace it.
Finding a Replacement Switch
This can be the trickiest part. You’ll need to find a switch that is compatible with your kettle’s voltage and amperage requirements. Sometimes, you can find generic replacement switches online from electronics suppliers. You might need to search for the model number of your kettle and “replacement switch” or “parts.” Be aware that finding an exact match might be difficult for older or less common models. You might need to adapt a universal switch, which requires more technical skill.
Removing the Old Switch
The switch is usually held in place by a retaining clip, a screw, or it’s part of a larger assembly. Carefully disconnect the wires attached to the old switch. Take photos of which wire goes where.
Installing the New Switch
Connect the wires to the new switch in the same configuration as the old one. Secure the new switch into its housing. Ensure it’s firmly in place and operates correctly.
Step 7: Reassembly
This is where your photos from Step 2 are crucial.
Carefully reverse the disassembly process. Ensure all wires are tucked away neatly and are not pinched. Align any clips or notches before screwing components back together. Tighten screws until snug, but avoid overtightening, which can strip the threads or crack plastic.
Double-check that all screws are replaced and that the kettle looks and feels like it did before you started. Ensure there are no loose parts.
Step 8: Testing Your Repaired Kettle
Once everything is reassembled, it’s time for the moment of truth.
Important: Before plugging the kettle in, ensure the power cord is in good condition and securely attached to the kettle base if you had to disconnect it.
Plug the kettle into the power outlet. Fill it with water (but not to the maximum level for the first test, just in case). Press the switch. Does it engage? Does the indicator light (if present) turn on? Does the kettle start heating?
If it works, congratulations! You’ve successfully fixed your electric kettle switch. If it still doesn’t work, re-trace your steps and check all connections and components again. If you’re still having trouble, it might be time to consider if the issue is more complex than the switch itself, or if replacement is the best option.
When to Call a Professional or Replace Your Kettle
While many electric kettle switch issues are fixable, there are times when it’s best to seek professional help or simply buy a new kettle.
- Visible Damage: If you see any signs of melting, burning, or significant damage to internal wiring or components, it’s often safer to replace the unit.
- Lack of Confidence: If you’re not comfortable with the disassembly or reassembly process, or if you feel you might cause further damage, don’t proceed.
- Cost of Repair vs. Replacement: If you have to buy many specialized parts or if the repair is very time-consuming, the cost might approach that of a new, affordable kettle.
- Older Kettles: Very old kettles might have outdated safety features or be nearing the end of their lifespan anyway, making a replacement a more practical choice.
Conclusion
Fixing a faulty electric kettle switch can be a rewarding DIY project, saving you money and reducing waste. By following these steps, prioritizing safety, and carefully documenting your process, you can often restore your kettle to full working order. Remember to always unplug your kettle, work methodically, and take your time with reassembly. With a little effort, you’ll be enjoying hot beverages again in no time!