
Unleash the power of your Ninja Blender with this easy-to-follow guide. Learn how to assemble, operate, and clean your appliance for smoothies, sauces, soups, and more. We cover everything from basic blending to advanced techniques, ensuring you get the best results from your kitchen companion.
Key Takeaways
- Understand Your Model: Familiarize yourself with the specific Ninja Blender model you own, as features and assembly can vary.
- Proper Assembly is Crucial: Ensure all parts, especially the blade assembly and lid, are securely locked into place before operating for safety and effectiveness.
- Select the Right Speed/Program: Utilize the appropriate speed setting or pre-programmed function for your ingredients to achieve optimal texture and consistency.
- Don’t Overfill: Avoid filling the blender jar beyond the maximum fill line to prevent leaks and ensure even blending.
- Pulse for Control: Use the pulse function for ingredients that require more manual control, like chopping nuts or rough chopping vegetables.
- Safe Operation Practices: Always keep hands and utensils away from the blender while it’s running and ensure the lid is firmly in place.
- Easy Cleaning is Key: Clean your Ninja Blender promptly after each use to maintain its performance and hygiene.
How to Work a Ninja Blender
So, you’ve got a brand new Ninja Blender, or maybe you’ve had yours for a while but are still discovering its full potential. You’re in the right place! This guide will walk you through everything you need to know to confidently use your Ninja Blender to create delicious smoothies, perfectly pureed soups, smooth sauces, and so much more. Forget those lumpy smoothies or unevenly chopped veggies; by the end of this guide, you’ll be a Ninja Blender pro.
Ninja Blenders are renowned for their power and versatility. They’re designed to handle a wide range of ingredients, from ice and frozen fruit to tough vegetables and fibrous greens. Whether you have a basic personal blender or a more advanced model with multiple settings, the core principles of operation are similar. Let’s dive in and unlock the secrets to perfect blending.
Getting Started: Unpacking and Familiarization
Before you even think about blending, it’s essential to get acquainted with your Ninja Blender. Take everything out of the box and lay it out.
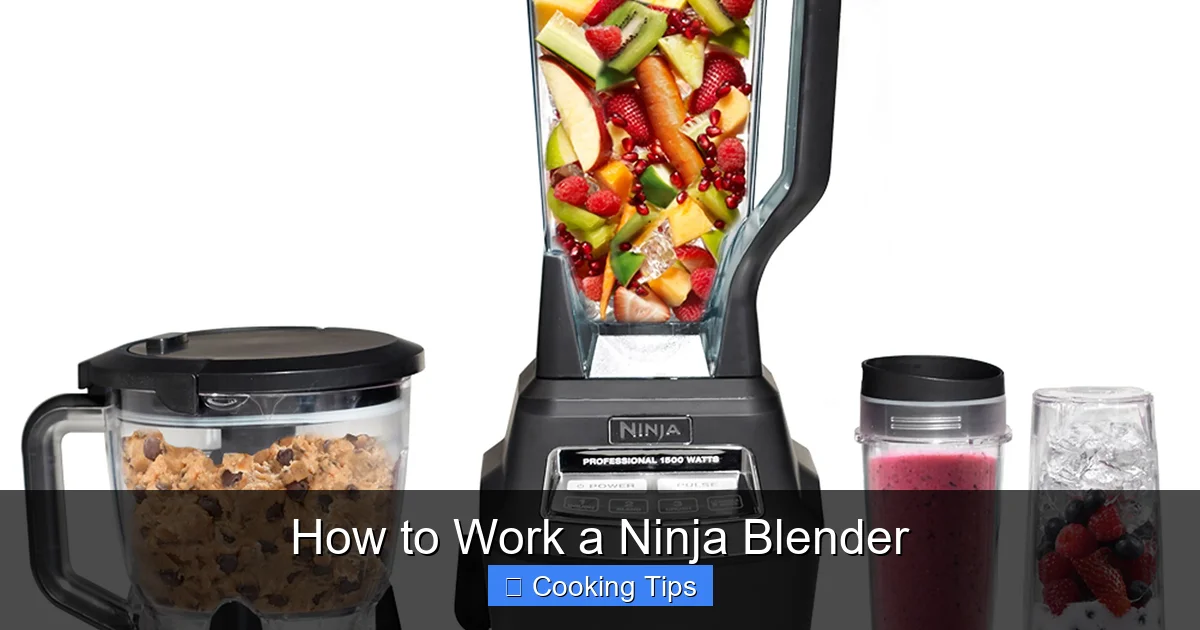
Visual guide about How to Work a Ninja Blender
Image source: m.media-amazon.com
What’s Usually Included?
- The Motor Base: This is the heart of your blender, housing the motor.
- The Blender Jar (Pitcher): This is where the magic happens. Models vary in size and design.
- Blade Assembly: Ninja blenders often feature unique stacked blade designs for powerful and consistent blending.
- Lid: Crucial for preventing spills and securing the ingredients. Some lids have a pouring spout or a removable center cap.
- Dough Blades (on some models): If your model includes dough blades, these are for making doughs and batters.
- Personal Cups and Sip Lids (on some models): For blending individual servings and taking them on the go.
Read Your Manual!
Seriously, this is the most important first step. Every Ninja Blender model is slightly different. Your user manual will detail the specific parts, their functions, and any unique assembly instructions for your particular model. It will also cover important safety information. Keep it in a safe place!
Assembling Your Ninja Blender
Correct assembly is key to both safety and performance. A improperly assembled blender can lead to leaks, poor blending, or even motor damage.
Step 1: Place the Motor Base
Place the motor base on a clean, dry, and stable surface, like your countertop. Ensure it’s not near the edge where it could be knocked off. Make sure the power cord is accessible but not in a position where it could be a tripping hazard.
Step 2: Attach the Blade Assembly
This is where you need to be careful, as the blades are extremely sharp. Place the blender jar or cup on a flat surface. Carefully align the blade assembly with the opening at the bottom of the jar or cup. For most Ninja blenders, you’ll simply press down firmly until you hear or feel it lock into place. Some models might require a slight twist.
Tip: Always handle the blade assembly by its plastic base to avoid accidental cuts.
Step 3: Secure the Jar or Cup to the Motor Base
Now, place the assembled jar or cup onto the motor base. Again, alignment is key. You’ll typically need to position the jar so that its handle is to the side, and then twist it clockwise until it locks securely onto the base. You should feel or hear a click when it’s properly seated.
Important: Do not attempt to run the blender if the jar is not locked in place. Most Ninja blenders have a safety feature that prevents them from operating in this state.
Step 4: Add Your Ingredients
Once the jar is securely on the base, you can add your ingredients. For best results, follow these guidelines:
- Liquids First: Start with your liquids (water, milk, juice, yogurt). This helps the blades move more freely and prevents ingredients from sticking to the bottom.
- Softer Ingredients Next: Add things like fresh fruit, leafy greens, or cooked vegetables.
- Frozen Ingredients and Ice Last: Place these on top. They will be pushed down into the blades as the blender works.
Don’t Overfill: Pay attention to the maximum fill line marked on your blender jar. Overfilling can cause leaks and strain the motor. Leave some space at the top for ingredients to move around.
Step 5: Attach the Lid
Place the lid firmly onto the blender jar. Ensure it’s sealed properly. If your lid has a removable center cap, make sure that’s securely in place as well before you start blending. This is a critical safety step.
Operating Your Ninja Blender
Now that your Ninja Blender is assembled and loaded, it’s time to blend! Ninja blenders typically offer a few different ways to operate, depending on your model.
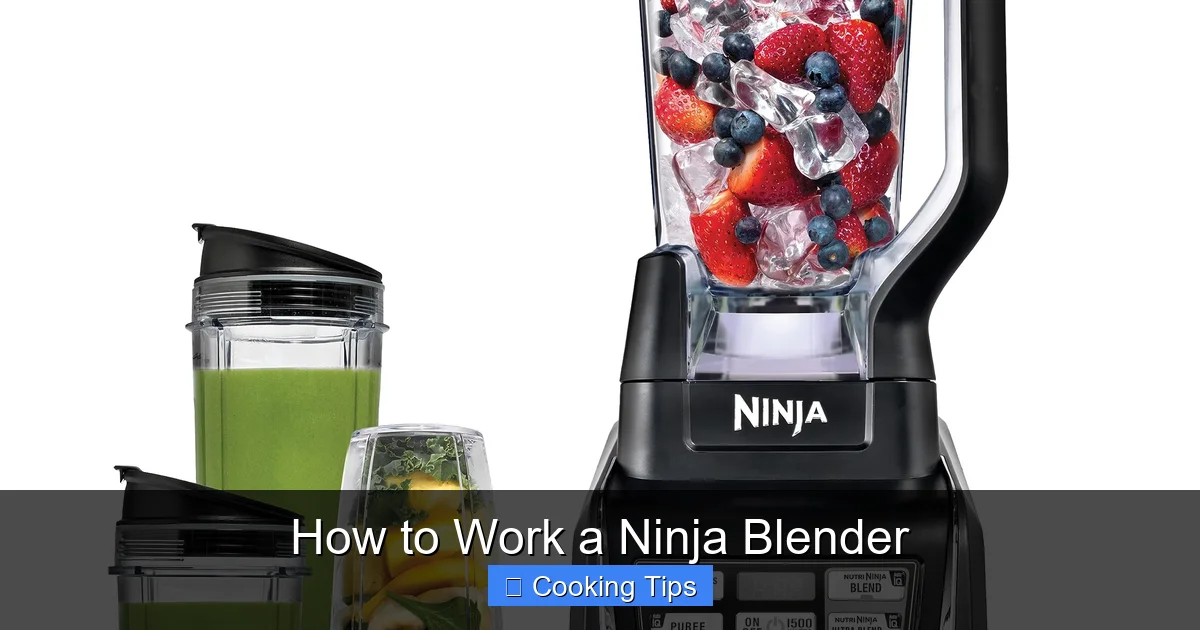
Visual guide about How to Work a Ninja Blender
Image source: m.media-amazon.com
Using Preset Programs (If Available)
Many Ninja blenders come with helpful pre-programmed settings for common tasks like smoothies, ice crushing, or purees. If your model has these:
- Select the appropriate program for what you’re making.
- Press the program button. The blender will run through a cycle, automatically adjusting speed and pulsing to achieve the desired result.
- The program will typically stop automatically when it’s done.
Benefit: Preset programs take the guesswork out of blending, giving you consistent results with minimal effort.
Using Manual Speed Settings
If your Ninja Blender has manual speed settings (usually numbered 1-3 or similar), you’ll have more control.
- Step 1: Select Your Speed.
- Low Speed (e.g., 1): Good for chopping, breaking down larger chunks, or making thicker mixtures like dough.
- Medium Speed (e.g., 2): Ideal for purees, sauces, and smoother mashes.
- High Speed (e.g., 3): Best for achieving very smooth consistencies, like silky smoothies or creamy soups.
- Step 2: Start Blending. Press the desired speed button.
- Step 3: Monitor Consistency. Watch your ingredients. You may need to increase or decrease the speed as you blend.
- Step 4: Stop Blending. Press the ‘Off’ or ‘Stop’ button when you reach your desired texture.
Using the Pulse Function
The pulse function is your best friend for controlled chopping and when you don’t want to fully liquefy ingredients.
- How it Works: Press and hold the ‘Pulse’ button to activate the blender in short bursts. Release the button, and the blender stops immediately.
- When to Use It:
- Chopping nuts or seeds.
- Roughly chopping vegetables for salsas or stir-fries.
- Breaking down large chunks of frozen fruit before using a higher speed.
- Getting ingredients moving in a thick mixture.
Tip: For controlled chopping, pulse in short, quick bursts and check the consistency frequently.
Using Personal Cups and Sip Lids (If Applicable)
If your Ninja Blender came with personal cups, the process is even simpler:
- Add your ingredients to the personal cup.
- Screw the blade assembly onto the cup until it’s tight.
- Invert the cup and place it on the motor base, twisting to lock it in.
- Select your desired speed or program and blend.
- Once blended, remove the cup from the base, unscrew the blade assembly, and screw on a sip lid.
This is perfect for single-serving smoothies and makes cleanup a breeze.
Tips for Optimal Blending Results
Here are some extra tips to help you get the most out of your Ninja Blender:
- Balance Your Ingredients: For smoothies, aim for a good balance of liquid, fruit, and any add-ins like protein powder or greens. Too much of one thing can lead to poor texture.
- Don’t Rush the Process: Let the blender do its work. For tougher ingredients, give it a little more time on a higher setting.
- Scrape Down the Sides: If ingredients are sticking to the sides of the jar, stop the blender, remove the lid, and use a spatula to push them down towards the blades. Then, re-secure the lid and continue blending.
- For Thicker Mixtures: If your blender seems to be struggling with a very thick mixture, try adding a little more liquid. You can also try pulsing it initially to break things up.
- Ice Crushing: For best results when crushing ice, use the dedicated ‘Ice Crush’ program if your model has one, or pulse in short bursts on a high setting. Ensure there’s enough liquid to help the ice circulate.
- Making Nut Butters: This takes patience! Start with dry, roasted nuts. Add them to the blender and begin pulsing. You’ll need to stop frequently, scrape down the sides, and let the motor cool down between longer blending sessions. It can take 5-15 minutes depending on your blender and the desired consistency.
Cleaning Your Ninja Blender
Cleaning your Ninja Blender promptly after each use is crucial for hygiene and longevity. Most parts are designed for easy cleaning.
Quick Rinse After Use
Immediately after you’re done blending, rinse the jar, lid, and blade assembly with warm water. This prevents food from drying and sticking, making a thorough clean much easier.
Dishwasher Safe Parts
Check your user manual, but most Ninja Blender jars, lids, and cups are top-rack dishwasher safe. The motor base should NEVER be submerged in water. You can wipe it down with a damp cloth.
Hand Washing
If you prefer to hand wash or if parts aren’t dishwasher safe:
- Disassemble all parts.
- Wash the jar, lid, and blade assembly in warm, soapy water. Use a brush to carefully clean around the blades if necessary.
- Rinse thoroughly.
- Allow all parts to air dry completely before reassembling or storing.
Cleaning the Motor Base
Unplug the blender. Wipe the exterior of the motor base with a damp cloth. If there’s any dried-on food residue, you can use a soft brush or an old toothbrush to gently remove it. Ensure no liquid enters the motor housing.
Troubleshooting Common Ninja Blender Issues
Even the best appliances can have occasional hiccups. Here are some common problems and how to solve them:
Problem: Blender won’t turn on.
Possible Solutions:
- Ensure the blender jar or cup is securely locked into the motor base.
- Make sure the lid is properly sealed.
- Check if the power cord is plugged in securely to a working outlet.
- Allow the motor to cool down if it has overheated. Some Ninja blenders have a thermal overload protector that will shut off the motor if it gets too hot.
Problem: Ingredients aren’t blending evenly or are sticking to the sides.
Possible Solutions:
- You may have overfilled the jar. Remove some ingredients.
- Add more liquid to help the ingredients circulate.
- Try pulsing the ingredients first to break them down before using a continuous speed.
- Stop the blender, remove the lid, and use a spatula to scrape down the sides of the jar.
- Ensure you’ve added ingredients in the correct order (liquids first, then softer items, then frozen items/ice).
Problem: Blender is leaking.
Possible Solutions:
- The blade assembly may not be screwed on tightly enough to the jar or cup.
- The lid might not be properly sealed.
- You may have overfilled the jar.
- Check the rubber gasket on the blade assembly for any damage or wear. If it’s damaged, you may need to replace the blade assembly.
Problem: Blender is making unusual noises.
Possible Solutions:
- Overfilling the jar or blending very tough ingredients can sometimes cause louder noises.
- Ensure all parts are properly assembled and locked.
- If the noise is a grinding or metallic sound, stop the blender immediately. There might be an issue with the motor or blade assembly. Contact customer support.
Conclusion
Working a Ninja Blender is straightforward once you understand the basic principles of assembly, operation, and cleaning. By following the steps outlined in this guide, paying attention to your specific model’s manual, and utilizing the practical tips, you’ll be well on your way to creating delicious and perfectly blended creations. Don’t be afraid to experiment with different recipes and settings. Your Ninja Blender is a powerful tool that can elevate your home cooking and healthy eating habits. Happy blending!