
A cracked or damaged food processor bowl can halt your culinary adventures. This comprehensive guide walks you through the simple process of replacing your food processor bowl, ensuring you can get back to blending, chopping, and pureeing. We cover everything from identifying the right replacement part to safely installing your new bowl. Don’t let a broken bowl stop your cooking – learn how to easily swap it out and keep your kitchen running smoothly.
How to Replace Food Processor Bowl
Welcome to our guide on replacing your food processor bowl! Is your trusty food processor sitting idle because its bowl has a crack, a broken handle, or a mysterious leak? Don’t worry, this is a common problem, and replacing the bowl is usually a straightforward fix that will have your appliance back in action in no time. In this guide, we’ll walk you through everything you need to know, from finding the right replacement part to safely installing it and getting your food processor ready for its next culinary challenge.
Key Takeaways
- Identify the Correct Replacement Bowl: Ensure compatibility by checking your food processor’s model number to order the exact bowl designed for your appliance.
- Gather Necessary Tools: Most replacements require no special tools, but having a damp cloth for cleaning and a stable surface is beneficial.
- Safety First: Always unplug your food processor before attempting any maintenance or replacement to prevent accidental activation.
- Gentle Removal and Installation: Carefully detach the old bowl and align the new one precisely with the base, listening for a secure click or lock.
- Test Thoroughly: Before full use, run the new bowl with a small amount of water to check for leaks and ensure it locks correctly.
- Troubleshoot Common Issues: Be prepared for potential problems like a bowl not locking, leaks, or the unit not powering on, and know how to address them.
Why Replace Your Food Processor Bowl?
Food processor bowls are designed for durability, but over time, they can sustain damage. The most common reasons for replacement include:
- Cracks or Chips: Dropping the bowl, or even just wear and tear, can lead to unsightly and potentially unsafe cracks or chips. These can harbor bacteria and make cleaning difficult.
- Broken Handles: Handles are often subjected to stress. If one breaks, it can make lifting and pouring from the bowl challenging and even dangerous.
- Leaking Issues: A compromised seal around the base of the bowl or a crack can lead to leaks, making it unsuitable for liquids or moist ingredients.
- Cloudy or Scratched Appearance: While less critical for function, a severely scratched or clouded bowl can be unsightly and may indicate a weakened material.
- Lost or Damaged Lids: While this guide focuses on the bowl, often when a bowl is damaged, its lid might be too. Ensure you have a compatible lid for your new bowl.
Replacing the bowl is often more cost-effective than buying an entirely new food processor, especially if the motor base is still in excellent condition.
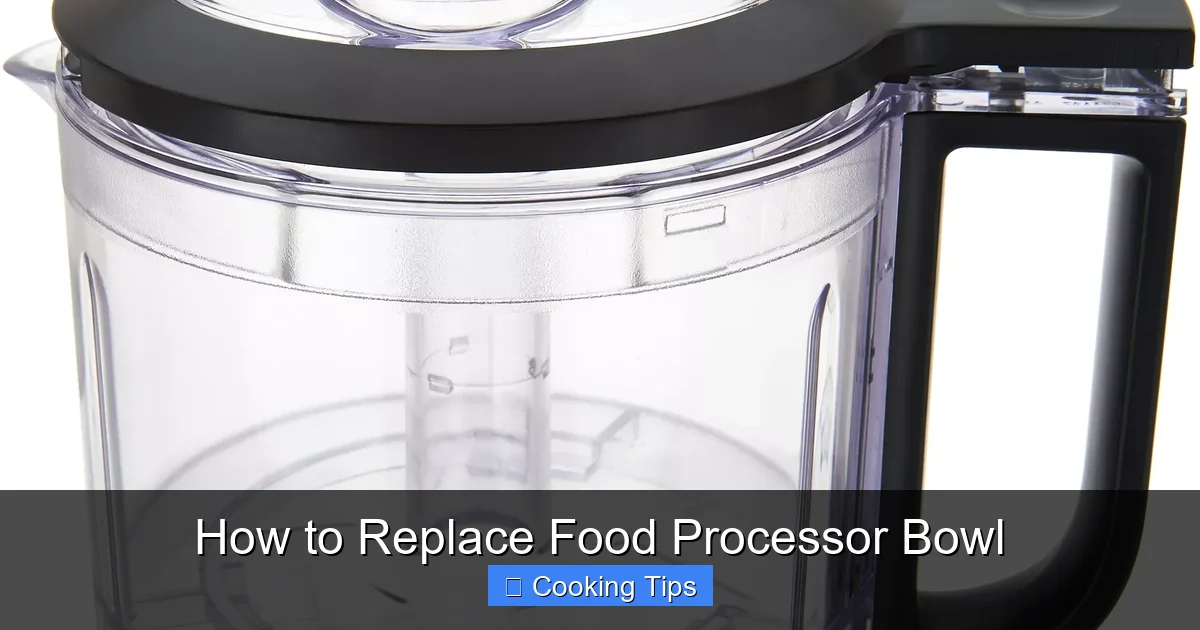
Step 1: Identify Your Food Processor Model

Visual guide about How to Replace Food Processor Bowl
Image source: hamiltonbeach.com
Before you can buy a replacement bowl, you need to know exactly which food processor you have. This is the most crucial step, as buying the wrong bowl will lead to frustration and wasted money.
Locate the Model Number
Almost all kitchen appliances have a manufacturer’s label with their model number. Look for this on:
- The bottom of the food processor base.
- The back of the food processor base.
- Sometimes, on the side of the unit.
The label will typically include the brand name (e.g., Cuisinart, KitchenAid, Hamilton Beach) and a model number (e.g., DLC-10, KFP750, 70725).
Note the Serial Number (Optional but Helpful)
While the model number is usually sufficient, sometimes manufacturers use slightly different bowls for variations within the same model number. The serial number can help pinpoint the exact version of your appliance.
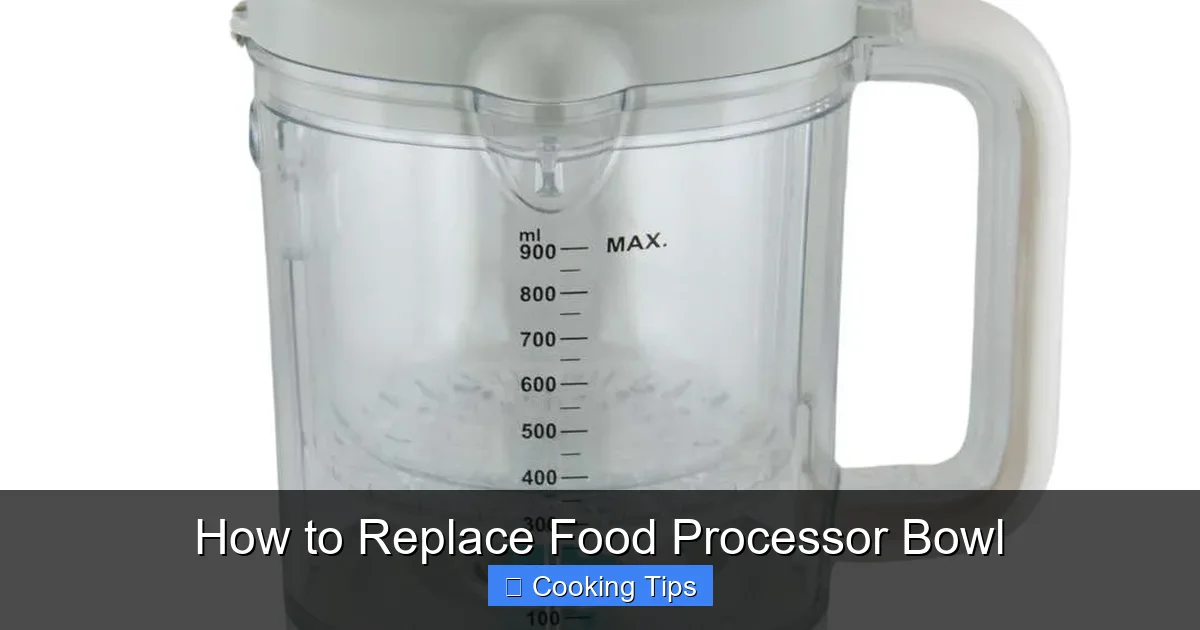
Step 2: Find the Correct Replacement Bowl
Visual guide about How to Replace Food Processor Bowl
Image source: qvc.scene7.com
Once you have your model and, if possible, serial number, it’s time to find a compatible replacement bowl.
Original Manufacturer Parts
The best and most reliable option is to purchase a replacement bowl directly from the manufacturer of your food processor.
Where to Buy
- Manufacturer’s Website: Most brands have a “parts” or “accessories” section on their official website. Enter your model number to find compatible items.
- Authorized Parts Retailers: Many online stores specialize in appliance parts. Search for your model number on reputable sites.
Pros of Original Parts
- Guaranteed fit and function.
- Often come with a warranty.
- Maintain the original quality and safety standards of your appliance.
Aftermarket or Compatible Parts
In some cases, you might find compatible bowls made by third-party manufacturers. These can sometimes be less expensive.
Where to Buy
- Online Marketplaces: Websites like Amazon or eBay may list compatible bowls. Be sure to read reviews and check seller reputations carefully.
- Specialty Appliance Part Stores: Some smaller shops might carry aftermarket parts.
Pros of Aftermarket Parts
- Potentially lower cost.
- May be available when original parts are discontinued.
Cons of Aftermarket Parts
- Risk of poor fit or quality.
- May not meet the exact safety or durability standards of the original.
- No manufacturer warranty.
Tip: When ordering, always double-check product descriptions and compatibility lists. If you’re unsure, contact the seller with your model number to confirm before purchasing.
Step 3: Prepare for Replacement
Visual guide about How to Replace Food Processor Bowl
Image source: bojungle.eu
With your new bowl in hand, it’s time to get ready for the swap.
Safety First: Unplug Your Appliance
This cannot be stressed enough. Before you touch anything, ensure your food processor is unplugged from the wall outlet. This prevents any accidental motor activation, which could cause serious injury.
Gather Your Supplies
While replacing a food processor bowl is generally tool-free, a few items will make the process smoother:
- Damp Cloth: For cleaning any dust or residue from the base or the new bowl.
- Stable Surface: A clean, flat countertop to work on.
- Your New Bowl and Lid: Make sure you have all the components ready.
Inspect Your New Bowl
Before you remove the old one, take a moment to inspect your new replacement bowl. Check for any visible cracks, defects, or damage that may have occurred during shipping. If you find any issues, contact the seller immediately.
Step 4: Remove the Old Food Processor Bowl
This is usually the easiest part. Most food processor bowls twist or lock into place on the base.
Detaching the Bowl
1. Grip the Bowl: Place one hand firmly on the base of the food processor to keep it steady.
2. Twist and Lift: With your other hand, grasp the old bowl. Most bowls have a mechanism where you twist them counter-clockwise to unlock them from the base.
3. Lift Straight Up: Once unlocked, lift the bowl straight up off the motor base.
4. Check the Locking Mechanism: Examine how the bowl attaches to the base. This will help you understand how the new one will fit.
Practical Tip: If the bowl feels stuck, don’t force it. Sometimes, a little jiggling or a slight twist in the opposite direction might free it. Ensure you’ve completed the unlock motion correctly.
Clean the Motor Base Area
Take your damp cloth and gently wipe around the area on the motor base where the bowl attaches. This will remove any food debris, dust, or old lubricant that might be present. A clean connection point ensures the new bowl will fit properly and securely.
Step 5: Install the New Food Processor Bowl
Now it’s time to put your new bowl into place.
Aligning the Bowl
1. **Orient the New Bowl:** Look at the base of the new bowl and the corresponding locking mechanism on the motor base. You’ll see notches or guides that need to align.
2. **Lower the Bowl:** Carefully lower the new bowl onto the motor base, making sure the alignment guides match up.
3. **Gentle Pressure:** Apply gentle, even pressure as you lower it.
Locking the Bowl into Place
1. **Twist to Lock:** Once aligned, twist the bowl clockwise. You should feel it settle into place and lock securely.
2. **Listen for a Click:** Many food processors will make a distinct “click” sound when the bowl is properly locked. This is a good indicator that it’s secure.
3. **Test the Fit:** Gently try to lift the bowl straight up. It should not come loose. Also, give it a slight twist in the unlock direction to ensure it’s properly engaged.
Important Note: If the bowl doesn’t seem to lock or feels loose, do not proceed. Remove it and try aligning it again. Forcing it can damage the locking mechanism on either the bowl or the base.
Step 6: Reattach the Lid and Test
With the new bowl securely in place, it’s time to test your work.
Attach the Lid
Place the lid onto the new bowl. Ensure it sits properly and any safety interlock mechanisms on the lid engage with the bowl and the motor base. Some lids also twist to lock.
Perform a Test Run
1. **Fill with Water:** Add about a cup of water to the new bowl.
2. **Secure the Lid:** Ensure the lid is firmly in place.
3. **Plug In:** Reconnect the food processor to the power outlet.
4. **Briefly Turn On:** Turn the food processor on for a few seconds (without any blade installed initially, if possible, to just test the bowl lock).
5. **Check for Leaks:** Carefully examine the base of the bowl and the motor for any signs of water leakage.
6. **Test with Blade (Optional but Recommended):** If no leaks are present, re-install the blade assembly and run the processor again with the water for a slightly longer duration to ensure everything is stable.
If there are no leaks and the unit powers on and operates smoothly, congratulations! Your food processor bowl has been successfully replaced.
Troubleshooting Common Issues
Even with careful attention, you might encounter a few hiccups. Here are some common problems and how to solve them:
New Bowl Won’t Lock into Place
* Cause: Misalignment of the locking tabs, debris in the locking groove, or a slightly different design if using an aftermarket part.
* Solution: Remove the bowl, clean both the bowl’s locking groove and the base’s receiving area with a damp cloth, and try again, ensuring the alignment guides are perfectly matched. If using an aftermarket part, double-check its compatibility.
Food Processor Doesn’t Turn On with New Bowl
* Cause: The safety interlock mechanism on the bowl or lid isn’t properly engaged, preventing the unit from powering on.
* Solution: Ensure the bowl is fully locked into the base and that the lid is correctly seated and locked. Some processors have a specific way the lid needs to be positioned for the safety switch to activate. Consult your appliance manual.
New Bowl Leaks
* Cause: A crack in the new bowl (rare but possible), improper seating of the bowl, or a faulty seal if your bowl has a separate sealing ring.
* Solution: First, ensure the bowl is perfectly locked. If it still leaks, inspect the new bowl for any defects. If the bowl has a separate sealing ring, check if it’s present, clean, and correctly seated. If the bowl itself is defective, contact the seller for a replacement.
The Lid Doesn’t Fit Securely
* Cause: The new bowl might be a slightly different size or shape than the original, or the lid might be damaged.
* Solution: If you purchased an official replacement bowl, this is unlikely. If you used an aftermarket bowl, it’s possible. If your old lid is damaged, you may need to order a new lid along with the bowl. Ensure you buy a bowl that comes with or is compatible with the lid you have or are purchasing.
Conclusion
Replacing a food processor bowl is a simple yet effective way to revive a valuable kitchen appliance. By carefully identifying your model, sourcing the correct replacement part, and following these straightforward steps, you can easily swap out a damaged bowl for a brand-new one. Remember to prioritize safety by unplugging your appliance and to always test your work before diving into complex recipes. Now go forth and blend, chop, and puree with confidence, knowing your food processor is back in top working condition!