
This guide provides a comprehensive, step-by-step process for replacing your food processor disk. You’ll learn how to safely disassemble, clean, and reassemble your appliance, ensuring a perfect fit for your new disk. Mastering this simple task will keep your food processor functioning efficiently and extend its lifespan, so you can continue to enjoy effortless meal preparation.
How to Replace Food Processor Disk
Your food processor is a kitchen workhorse, making chopping, slicing, and shredding a breeze. But like any tool, its parts can wear out or become damaged over time. One of the most common components needing replacement is the disk. Whether it’s a slicing disk, shredding disk, or grating disk, a worn-out or broken one can significantly impact your food processor’s performance. Don’t worry, replacing a food processor disk is a straightforward process that anyone can do with a little guidance. This guide will walk you through every step, from identifying the right replacement disk to safely installing it and getting your appliance back to its optimal working condition.
This tutorial is designed for anyone who wants to keep their food processor running smoothly. We’ll cover everything you need to know to successfully replace your food processor disk. You’ll learn about different types of disks, safety precautions, detailed disassembly and reassembly instructions, and even some troubleshooting tips. By the end of this guide, you’ll have the confidence and knowledge to tackle this common kitchen appliance repair yourself.
Key Takeaways
- Understanding Disk Types: Recognize the different food processor disks (slicing, shredding, grating) and why you might need to replace one due to wear, damage, or a desire for new capabilities.
- Safety First: Always unplug your food processor before attempting any maintenance or replacement to prevent accidental activation and injury.
- Proper Disassembly: Learn the correct way to unlock and remove the bowl, lid, and blade assembly to access the disk shaft.
- Inspection and Cleaning: Thoroughly inspect the old disk, the shaft, and the bowl for any damage or buildup, and clean these components before installing the new disk.
- Correct Disk Installation: Understand how to align and securely attach the new disk onto the central shaft, ensuring it spins freely and is properly seated.
- Reassembly and Testing: Follow the reverse steps for reassembly and perform a brief, empty test run to confirm the new disk is functioning correctly.
Why Replace Your Food Processor Disk?
Before we dive into the “how-to,” let’s quickly touch upon why you might need to replace your food processor disk. The most common reasons include:
- Wear and Tear: Over time, the blades on your disks can become dull, just like knife blades. This leads to less efficient processing, uneven cuts, and more effort required from your appliance.
- Damage: Disks can crack, chip, or bend if dropped, if hard ingredients are processed incorrectly, or due to manufacturing defects. A damaged disk can not only perform poorly but also pose a safety hazard.
- Obsolete or Lost Parts: Sometimes, you might lose a specific disk, or perhaps your model is older and finding replacement parts is challenging.
- Expanding Your Capabilities: You might want to purchase additional disks for your food processor that you didn’t originally have. For example, you might have a basic slicing disk and want to buy a julienne disk for making perfect vegetable noodles.
Understanding these reasons will help you appreciate the importance of a properly functioning disk and why timely replacement is a good idea.
Safety First: Essential Precautions
Safety is paramount when working with any kitchen appliance, especially one with sharp blades. Before you begin the process of replacing your food processor disk, please follow these essential safety precautions:
- Unplug the Appliance: This is the absolute most crucial step. Always disconnect the food processor from the power outlet before attempting any maintenance or part replacement. This prevents accidental activation, which could lead to serious injury.
- Handle with Care: Food processor disks, especially their blades, are extremely sharp. Always handle them with extreme caution. It’s a good idea to wear thick gloves, like work gloves or oven mitts, when handling the disks.
- Keep Away from Children and Pets: Ensure that children and pets are out of the immediate vicinity while you are working on the food processor to avoid any accidents.
- Work on a Stable Surface: Perform the replacement on a clean, dry, and stable surface, such as a countertop. This prevents the appliance from tipping over or parts from sliding off.
By adhering to these safety guidelines, you can ensure a smooth and injury-free experience.
Step 1: Identify Your Food Processor Model and Disk Type
Before you can replace a disk, you need to know exactly which model of food processor you have and the specific type of disk you need.
Identifying Your Food Processor Model
Most food processors have a label on the base of the unit that lists the brand name and model number. You might need to tilt the unit or look underneath it to find this information. If you can’t find it there, check the original packaging or manual if you still have them. Knowing your model number is critical for purchasing the correct replacement disk.
Understanding Disk Types
Food processors come with various disks, each designed for a specific task:
- Slicing Disk: Typically has a single, sharp blade for slicing vegetables, fruits, and even cheese.
- Shredding Disk: Features multiple holes or slots for shredding ingredients like cheese, carrots, or potatoes.
- Grating Disk: Similar to a shredding disk but with finer grating capabilities, suitable for parmesan cheese or zest.
- Dicing Disk: (Less common, often an accessory) Creates uniform cubes of ingredients.
- Julienne Disk: Creates thin, matchstick-like strips, ideal for salads or stir-fries.
The disk you need to replace will likely be one of the first three. If you’re unsure, refer to your food processor’s manual or search online using your model number and terms like “slicing disk” or “shredding disk.”
Step 2: Gather Your Tools and Replacement Part
Once you’ve identified your food processor model and the required disk, it’s time to gather what you’ll need.
Essential Items
You generally won’t need many specialized tools for this task. Here’s what you should have ready:
- Replacement Disk: Ensure it’s the correct disk for your specific food processor model.
- Thick Gloves: As mentioned, for handling the sharp blades.
- Soft Cloth or Paper Towels: For cleaning components.
- Mild Dish Soap and Water: For washing parts if necessary.
- Your Food Processor’s Manual (Optional but Recommended): This can be a helpful reference, especially for specific locking mechanisms or part names.
Having everything ready before you start will make the process much smoother.
Step 3: Disassemble the Food Processor
This is where you’ll carefully take apart your food processor to access the disk.
Unplug the Unit
Double-check that your food processor is unplugged from the power outlet.
Remove the Bowl and Lid
Most food processor bowls twist to lock into place on the base.
Sub-step: Twist and Lift the Bowl
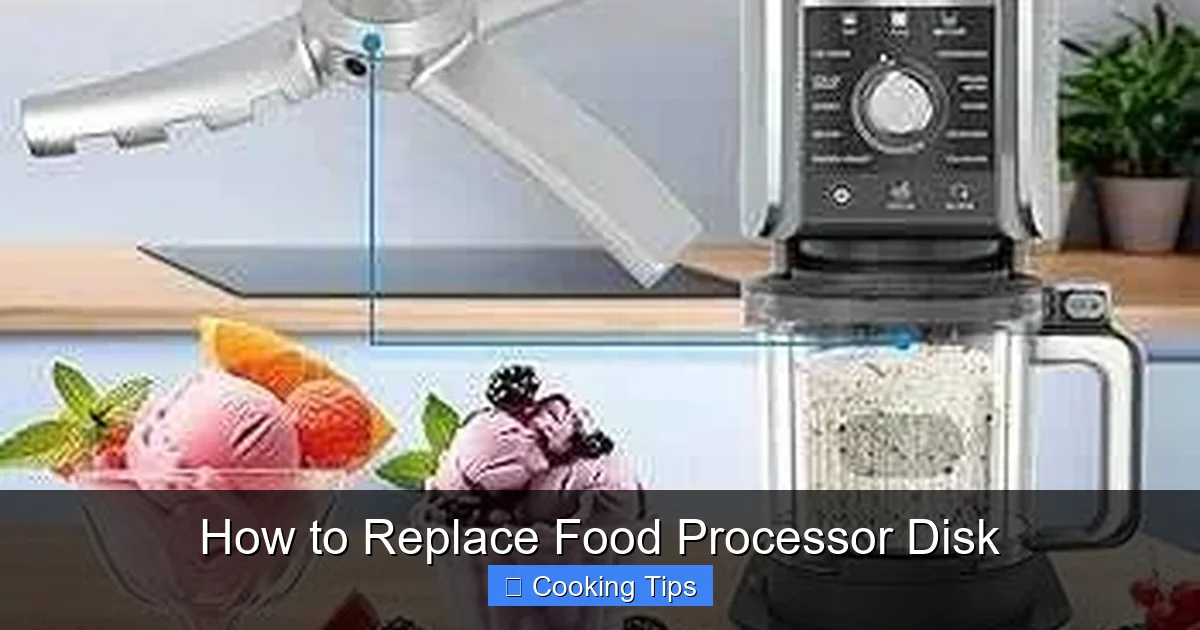
Visual guide about How to Replace Food Processor Disk
Image source: kitchenadvising.com
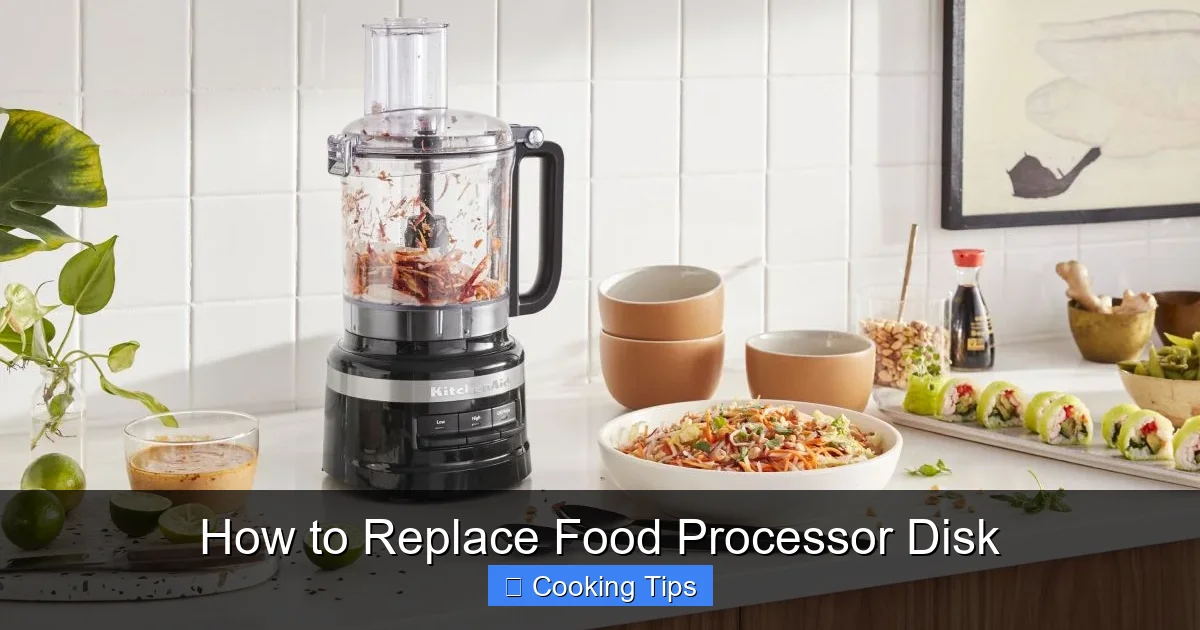
Visual guide about How to Replace Food Processor Disk
Image source: kitchenaid-h.assetsadobe.com
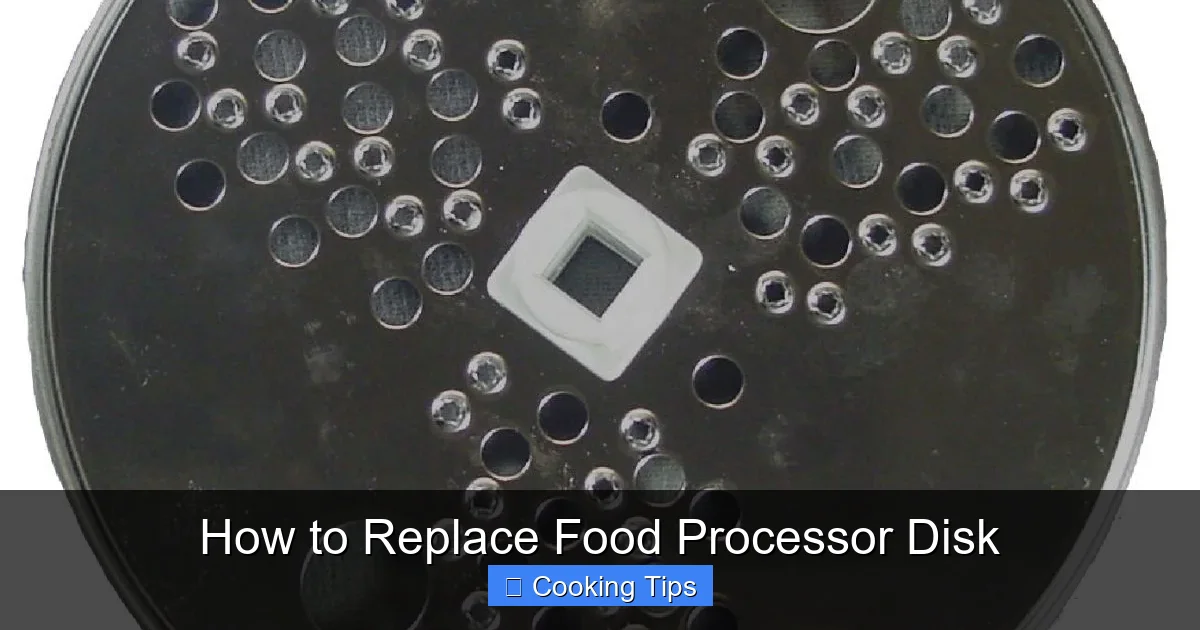
Visual guide about How to Replace Food Processor Disk
Image source: hamiltonbeach.com
Grasp the bowl firmly and twist it counter-clockwise to unlock it. Once unlocked, lift the bowl straight up off the motor base. Set the bowl aside on your stable work surface.
Sub-step: Remove the Lid and Work Bowl Insert
The lid usually has a locking mechanism, often a handle or a latch. Release this mechanism and lift the lid off the bowl. Inside the bowl, you’ll see the blade assembly (if it’s still in place) or the central shaft where the disk sits.
Remove the Blade Assembly (if applicable)
If your food processor has a separate blade assembly that sits above the disk, you’ll need to remove it first.
Sub-step: Lift Out the Blade Assembly
The blade assembly usually just lifts straight up off the central spindle. Be very careful as the blades are extremely sharp. If it feels stuck, gently try to wiggle it. Do not force it.
Remove the Old Disk
Now you’re ready to remove the old disk. The disk sits on a central spindle or shaft that extends from the bottom of the food processor bowl.
Sub-step: Lift Off the Disk
The disk should slide off the spindle. If it seems a bit tight, a gentle rock or twist might help. Be careful not to bend or force it. Once it’s free, lift it away from the spindle.
Step 4: Inspect and Clean Components
Before installing the new disk, it’s a good opportunity to inspect and clean the other parts.
Inspect the Disk Shaft
Check the central spindle or shaft where the disk sits. Look for any signs of damage, such as bends, rust, or significant wear. Also, ensure there’s no food residue or buildup that could prevent the new disk from seating properly.
Inspect the Bowl and Lid
Examine the inside of the food processor bowl and the lid for any cracks, chips, or damage. Check the sealing areas and any locking mechanisms. If you find any significant damage to the bowl or lid, it might be time to consider replacing those parts or the entire unit.
Clean the Components
If the bowl, lid, or shaft have any food residue, clean them thoroughly.
Sub-step: Wash Parts
Most bowls, lids, and sometimes even blade assemblies are top-rack dishwasher safe. However, always check your manual to be sure. If not dishwasher safe, wash them by hand with warm, soapy water and a soft sponge. Rinse them well and dry them completely with a clean towel.
Sub-step: Clean the Shaft Area
Use a damp cloth to wipe down the central shaft and the area around it to ensure it’s clean and free of debris. Ensure it’s completely dry before proceeding.
Step 5: Install the New Food Processor Disk
This is the main event – getting your new disk into place.
Align the Disk
Examine your new disk. It will have a central hole designed to fit over the food processor’s spindle. Some disks may have a specific orientation, but most will only fit one way.
Sub-step: Place the Disk onto the Spindle
Carefully pick up the new disk, wearing your gloves. Align the central hole of the disk with the spindle in the food processor bowl. Gently slide the disk down onto the spindle until it rests on the base of the spindle or the designated seating area.
Sub-step: Ensure Proper Seating
The disk should sit snugly and flush against the spindle. You may hear or feel a slight click as it settles into place. Give it a gentle spin to ensure it moves freely but is securely seated. It should not wobble or feel loose.
Step 6: Reassemble the Food Processor
Now, you’ll put everything back together in the reverse order of disassembly.
Replace the Blade Assembly (if applicable)
If you removed a blade assembly, it’s time to put it back.
Sub-step: Mount the Blade Assembly
Align the blade assembly over the spindle, making sure it sits properly. It should fit securely over the spindle and the new disk. Gently press it down until it’s fully seated. Again, be extremely careful of the sharp blades.
Attach the Lid
Sub-step: Position and Lock the Lid
Place the lid back onto the food processor bowl. Ensure it’s correctly aligned with the bowl’s locking tabs or grooves. Twist or slide the lid according to your model’s design until it locks securely into place. You should hear a click or feel it engage firmly.
Place the Bowl Back on the Base
Sub-step: Secure the Bowl to the Base
Carefully lift the assembled bowl and lid and place it onto the motor base. Align the notches or grooves on the bowl with those on the base. Twist the bowl clockwise until it locks into its operating position. It should feel stable and secure.
Step 7: Test the New Disk
The final step is to test your work to ensure everything is functioning correctly.
Perform an Empty Test Run
Sub-step: Plug In and Test
Ensure your hands and any utensils are clear of the food processor. Plug the unit back into the power outlet. Turn the food processor on for a few seconds. Listen for any unusual noises, and observe if the disk spins smoothly and evenly.
Sub-step: Check for Wobbling or Vibrations
Ideally, the disk should spin without excessive wobbling or vibrations. If you notice significant shaking, immediately turn off the unit and unplug it. This might indicate the disk isn’t seated correctly or there’s an issue with the spindle or motor.
If the test run is successful, congratulations! You’ve successfully replaced your food processor disk. You’re now ready to get back to preparing your favorite meals.
Troubleshooting Common Issues
Sometimes, things don’t go as smoothly as planned. Here are a few common issues and how to address them:
- Disk Won’t Fit: Ensure you have the correct replacement disk for your specific food processor model. Check for any debris or obstructions on the spindle or in the disk’s central hole.
- Excessive Noise or Vibration: This usually means the disk is not seated properly on the spindle. Unplug the unit, disassemble, and re-seat the disk, ensuring it’s flush and secure. It could also indicate a damaged spindle or motor, though this is less common.
- Food Not Processing Correctly: If the disk is installed correctly but performance is still poor, the new disk might be faulty, or your motor might be weakening. Re-check the disk’s sharpness and installation.
- Lid or Bowl Won’t Lock: Make sure no food debris is stuck in the locking mechanisms or on the rim of the bowl or lid. Ensure the parts are aligned correctly before attempting to lock them.
If you encounter persistent issues that you can’t resolve, consult your food processor’s manual or contact the manufacturer’s customer support.
Conclusion
Replacing a food processor disk is a simple yet important maintenance task that can significantly improve your appliance’s performance and longevity. By following this step-by-step guide, you can confidently tackle the replacement process, ensuring safety and proper installation. Remember to always prioritize safety by unplugging the unit and handling sharp blades with care. With your newly replaced disk, your food processor will be ready to slice, dice, and shred its way through your culinary creations once again. Happy cooking!