
Deciding between a food processor and a blender for sorbet can be tricky. This guide breaks down the strengths of each appliance, offering practical advice and step-by-step instructions. Learn how to achieve the perfect sorbet texture, whether you’re using a food processor or a blender, to impress your guests with delicious homemade frozen treats. We’ll cover everything from ingredient preparation to achieving the ideal consistency.
Food Processor Vs Blender for Sorbet: Your Ultimate Guide
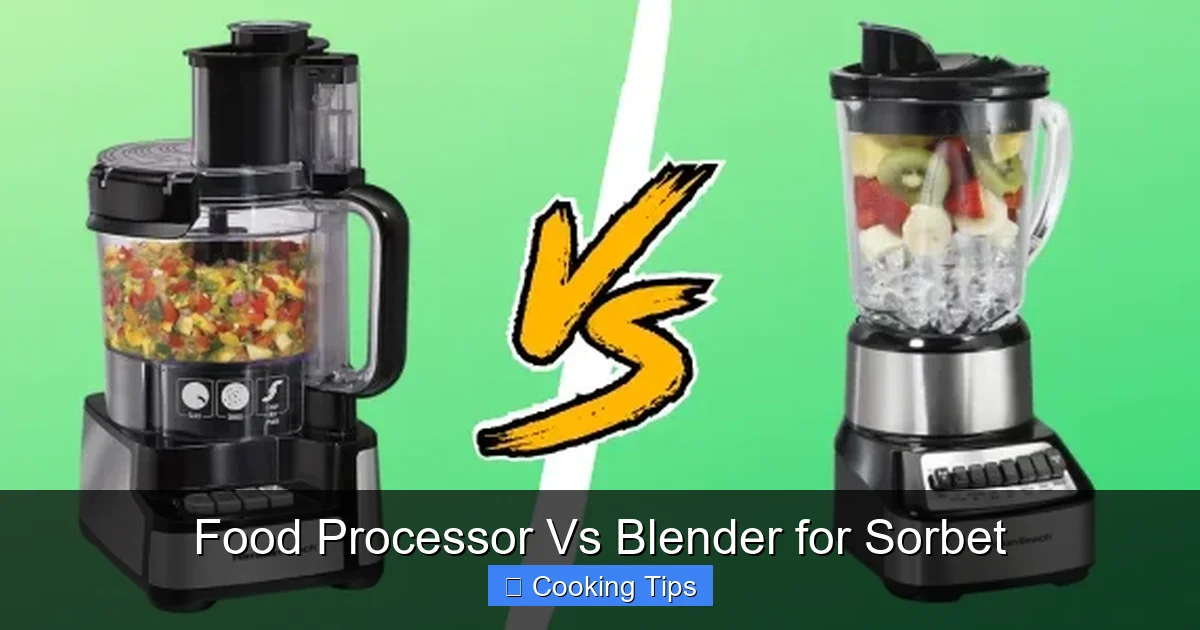
Craving a refreshing, homemade sorbet? You’ve likely got a kitchen appliance ready to help, but which one is best: a food processor or a blender? It’s a common question for home cooks looking to create these delightful frozen desserts. Both can work, but they produce slightly different results, and understanding their strengths can make all the difference in achieving your perfect sorbet.
In this comprehensive guide, we’ll dive deep into the food processor versus blender debate for sorbet making. You’ll learn what makes each appliance unique, how to prepare your ingredients for optimal results, and step-by-step instructions for making delicious sorbet with either tool. We’ll also share practical tips and troubleshooting advice to ensure your sorbet success. Get ready to unlock the secrets to effortless and delicious homemade sorbet!
Key Takeaways
- Appliance Choice Matters: Both food processors and blenders can make sorbet, but they excel in slightly different ways, impacting texture and ease of use.
- Food Processor Advantages: Offers more control over texture, allowing for a slightly icier, more traditional sorbet, and is generally better for larger batches.
- Blender Advantages: Excels at creating a smoother, creamier sorbet with less effort, especially with softer fruits or when a less icy texture is desired.
- Ingredient Preparation is Key: Freezing fruit properly is crucial for both appliances, ensuring a good texture and efficient processing.
- Liquid Ratio is Vital: The amount of liquid added will significantly impact the final consistency, regardless of the appliance used.
- Troubleshooting Common Issues: Understanding how to fix sorbet that’s too icy or too watery will help you achieve perfect results every time.
Understanding the Appliances: Food Processor vs. Blender
Before we get our hands dirty with fruit and sugar, let’s understand the core differences between a food processor and a blender and how these differences impact sorbet making.
Food Processor: The Texture Master
A food processor is designed for a wide range of tasks, including chopping, slicing, shredding, and pureeing. Its wider bowl and S-shaped blade are excellent for processing solid ingredients and creating textures that range from coarse to fine. When it comes to sorbet, a food processor tends to produce a slightly icier, more granular texture. This is because it’s more adept at breaking down frozen chunks of fruit into smaller pieces without liquefying them entirely.
Pros for Sorbet:
- More control over the final texture, allowing for a more traditional, icy sorbet.
- Can handle larger quantities of frozen fruit more efficiently.
- Less likely to overheat and melt the frozen fruit as quickly due to its design.
Cons for Sorbet:
- May require a bit more scraping down the sides to ensure even processing.
- The texture might be less smooth if you prefer a very creamy sorbet.
Blender: The Smooth Operator
A blender, on the other hand, is primarily built for liquefying and pureeing. Its tall, narrow jar and blade system are designed to create smooth, consistent mixtures. When making sorbet, a blender will often yield a creamier, smoother result. This is because the high-speed blades can quickly break down frozen fruit and incorporate liquid, leading to a less icy, more gelato-like consistency.
Pros for Sorbet:
- Creates a very smooth and creamy sorbet texture.
- Often faster for smaller batches.
- Less manual scraping might be needed.
Cons for Sorbet:
- Can overheat and melt the frozen fruit if run for too long, resulting in a watery consistency.
- May struggle with very hard frozen fruit, requiring more liquid or smaller chunks.
- Some lower-powered blenders might not have the strength for consistently frozen ingredients.
Making Sorbet with a Food Processor: Step-by-Step
If you’re aiming for a more traditional, slightly icier sorbet, or you’re making a larger batch, a food processor is an excellent choice. Here’s how to do it:
Visual guide about Food Processor Vs Blender for Sorbet
Image source: jucesip.com
Step 1: Prepare Your Fruit
This is the most critical step for sorbet, regardless of the appliance you use. You need well-frozen fruit for the best texture.
H3: Freezing Fresh Fruit
- Wash and dry your chosen fruit (berries, mango, peaches, bananas, etc.).
- Peel, core, or pit as needed.
- Cut larger fruits into manageable pieces (about 1-inch chunks).
- Spread the fruit in a single layer on a baking sheet lined with parchment paper. This prevents the fruit from clumping together into a solid block.
- Freeze for at least 4-6 hours, or until completely solid.
H3: Using Frozen Fruit Bags
- If you buy pre-frozen fruit, ensure it’s solid. You might want to let it thaw for about 5-10 minutes before processing if it’s rock hard, to avoid straining your machine.
Step 2: Sweeten and Flavor (Optional but Recommended)
A little sweetness and flavor enhancement can elevate your sorbet. This is best done before you start processing the frozen fruit.
- Simple Syrup: You can make a simple syrup by heating equal parts sugar and water until the sugar dissolves. Let it cool completely. A ratio of 1 cup sugar to 1 cup water is a good starting point.
- Other Sweeteners: Honey, agave nectar, or maple syrup can also be used. Adjust quantities based on sweetness.
- Flavorings: Lemon or lime juice adds brightness. Vanilla extract, mint, or a splash of liquor (like Grand Marnier for orange sorbet) can add complexity.
Tip: For a less icy sorbet, incorporating a liquid sweetener or a bit of liquid into your mix early on helps. However, for a more traditional sorbet, you’ll want to minimize added liquid.
Step 3: Process the Frozen Fruit
Now, let’s get to the good part!
H3: Adding Ingredients to the Food Processor
- Place about half of your frozen fruit into the food processor bowl.
- Add a small amount of your liquid sweetener or flavorings (start with 1-2 tablespoons). You can always add more later.
H3: Processing Technique
- Pulse the machine a few times to break up the larger chunks.
- Process continuously, stopping periodically to scrape down the sides of the bowl with a spatula. This ensures everything gets evenly processed.
- Continue processing until the mixture starts to resemble coarse sand and then begins to clump together, forming a soft-serve consistency. This may take anywhere from 2 to 10 minutes, depending on your food processor and the fruit.
- If the mixture is too dry or not coming together, add a tablespoon of liquid at a time and continue processing. Be careful not to add too much, or you’ll end up with a smoothie.
- If you have more frozen fruit, add it in batches, processing each batch until smooth before adding the next.
Tip: Don’t over-process! You want a frozen, but not melted, consistency. If the mixture starts to get too soft, stop immediately and proceed to the next step.
Step 4: Taste and Adjust
Once you have a good consistency, it’s time to check the flavor.
- Taste your sorbet. Does it need more sweetness? More tartness from lemon juice?
- Add any adjustments and pulse a few more times to incorporate them.
Step 5: Serve or Freeze for Later
You have two options:
- Serve Immediately: The sorbet will have a soft-serve consistency, perfect for immediate enjoyment.
- Freeze for Firmer Texture: Spoon the sorbet into an airtight container and freeze for at least 2-3 hours to firm it up to a scoopable consistency. If you freeze it, you might need to let it sit at room temperature for 5-10 minutes before scooping.
Making Sorbet with a Blender: Step-by-Step
If your goal is a super smooth, creamy sorbet with minimal effort, a blender can be your best friend. This method is particularly good for fruits that are naturally softer when frozen or if you prefer a less icy dessert.
Step 1: Prepare Your Fruit
The same rules apply here: well-frozen fruit is essential. Refer to “Step 1: Prepare Your Fruit” in the food processor section for detailed instructions.
Step 2: Sweeten and Flavor
Again, adding sweeteners and flavorings before blending helps create a smoother texture and ensures even distribution.
- Prepare your simple syrup or other liquid sweeteners.
- Have your flavorings (citrus juice, extracts) ready.
Step 3: Blend the Frozen Fruit
This is where the blender shines.
H3: Adding Ingredients to the Blender
- Add about half of your frozen fruit to the blender jar.
- Add about 2-4 tablespoons of your liquid sweetener and flavorings. Blenders often need a bit more liquid to get the blades moving, but start conservatively.
H3: Blending Technique
- Start the blender on a low speed, then gradually increase to high.
- Use the tamper (if your blender has one) to push the frozen fruit down towards the blades. This is crucial for achieving a smooth consistency without adding too much extra liquid.
- If you don’t have a tamper, stop the blender periodically and use a spatula to push down the fruit.
- Blend until the mixture is smooth and creamy, resembling soft-serve ice cream. This might take 1-3 minutes.
- If the blender is struggling, add more liquid, one tablespoon at a time, and blend again. Be cautious not to add too much liquid, as this will create a drinkable smoothie rather than sorbet.
- Add the remaining frozen fruit and continue blending until fully incorporated and smooth.
Tip: Avoid over-blending! The friction from the blades can melt the frozen fruit. Stop as soon as you reach a smooth consistency.
Step 4: Taste and Adjust
Just like with the food processor method, taste and adjust flavors as needed.
- Add more sweetener, citrus juice, or other flavorings.
- Blend briefly to incorporate.
Step 5: Serve or Freeze for Later
Your creamy sorbet is ready for immediate enjoyment or for firming up.
- Serve Immediately: Enjoy the smooth, soft-serve texture.
- Freeze for Firmer Texture: Transfer to an airtight container and freeze for 2-3 hours for a scoopable consistency. Allow to soften slightly before serving.
Practical Tips for Perfect Sorbet
Whether you choose a food processor or a blender, these tips will help you achieve sorbet perfection:
Visual guide about Food Processor Vs Blender for Sorbet
Image source: kimzhouse.com
- Use Ripe Fruit: Ripe fruit has more natural sweetness and flavor, meaning you’ll need less added sugar.
- Don’t Overload Your Machine: Process in batches if necessary. Overloading can strain your appliance and lead to uneven results.
- Be Patient with Freezing: Ensure your fruit is completely frozen solid. Partially frozen fruit will result in a slushy, watery mess.
- Experiment with Flavors: Don’t be afraid to mix fruits (e.g., strawberry-banana, mango-lime) or add herbs like mint or basil for a unique twist.
- Consider a Binder: For an even creamier texture that’s less prone to ice crystals, you can add a tablespoon of corn syrup or a splash of vodka (which lowers the freezing point).
- Storage is Key: Always store sorbet in an airtight container to prevent freezer burn and ice crystal formation.
Troubleshooting Common Sorbet Problems
Even with the best intentions, sometimes sorbet doesn’t turn out quite right. Here are some common issues and how to fix them:
Problem: My Sorbet is Too Icy
Cause: Not enough liquid or sugar, or the fruit wasn’t blended smoothly enough.
Solution:
- Food Processor: Return the sorbet to the food processor and add a tablespoon or two of liquid (water, juice, or simple syrup) at a time, processing until it loosens up.
- Blender: If using a blender, you might have to add a bit more liquid and blend again. Be careful not to make it too watery.
- General: If it’s very icy, you might consider re-processing it with a bit more sweetener and a tiny bit of corn syrup or alcohol.
Problem: My Sorbet is Too Watery/Melts Too Quickly
Cause: Too much liquid was added, or the fruit wasn’t frozen enough. Your appliance may also have overheated the mixture.
Solution:
- Transfer the mixture to a shallow freezer-safe container and freeze it for an hour or two.
- Try to re-process it. If it’s still too watery, you might need to add more frozen fruit or a thickener like a little more sugar.
- For blenders, ensure you’re not over-blending, which can melt the fruit.
Problem: My Appliance is Struggling
Cause: The fruit is too hard, or the machine is overloaded.
Solution:
- Stop the machine and let the frozen fruit thaw for 5-10 minutes.
- Cut harder fruits into smaller pieces before freezing.
- Process in smaller batches.
Conclusion: Which is Right for You?
So, food processor or blender for sorbet? The answer really depends on your desired texture and your kitchen setup.
For a more traditional, slightly icier sorbet, or if you’re making larger batches, the food processor often has the edge. It gives you a bit more control over the texture and is generally robust for handling frozen ingredients.
If you prioritize a supremely smooth, creamy, and almost ice-cream-like texture, and you prefer a quick, no-fuss approach for smaller batches, the blender is likely your best bet. Just be mindful of not over-blending to avoid melting your creation.
Ultimately, both appliances can create delicious homemade sorbet. Experiment with both methods and see which one yields the results you love most. Happy blending (or processing)!