

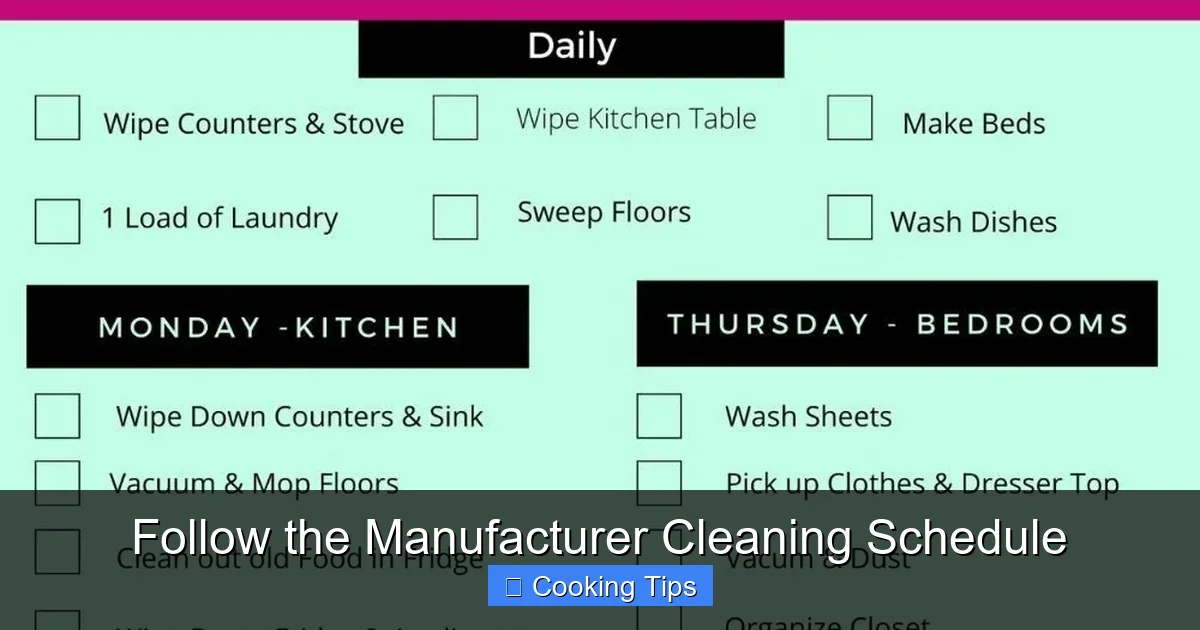
Keep your kitchen appliances running smoothly and extend their lifespan by following the manufacturer’s cleaning schedule. This guide will walk you through why this is crucial, where to find the information, and how to integrate it into your routine. You’ll learn simple steps to ensure your appliances are always clean, efficient, and safe, saving you money and hassle in the long run.
Are you tired of your kitchen appliances acting up? Do you find yourself calling for repairs more often than you’d like? The secret to happy, healthy, and long-lasting kitchen appliances might be simpler than you think. It’s all about following the manufacturer cleaning schedule.
Many of us treat our appliances as workhorses, expecting them to perform flawlessly without much attention. But just like any other tool or machine, they need regular care. When you neglect their cleaning and maintenance, they can become less efficient, more prone to breaking down, and even pose safety risks. This guide is your roadmap to understanding why adhering to the manufacturer’s cleaning recommendations is so important, how to find this vital information, and how to easily integrate it into your busy life. By the end of this guide, you’ll be equipped to keep your kitchen humming along beautifully, saving you time, money, and frustration.
Key Takeaways
- Understand the “Why”: Manufacturer cleaning schedules are designed to maintain optimal appliance performance, prevent costly breakdowns, and ensure safety.
- Locate the Manual: Your appliance’s user manual is the primary source for its specific cleaning and maintenance recommendations.
- Daily Quick Cleans: Incorporate brief, daily wiping down of high-use areas to prevent grime buildup.
- Weekly Deep Dives: Schedule more thorough cleaning tasks for the week to tackle tougher messes.
- Seasonal/Annual Checks: Certain appliances require less frequent but more intensive maintenance, like filter replacements or deep system cleans.
- Tailor to Your Usage: Adjust the frequency based on how heavily you use each appliance and your household’s specific needs.
Why Following the Manufacturer Cleaning Schedule Matters
You might be wondering why there’s a specific schedule for cleaning your appliances. It’s not just about aesthetics; it’s about functionality, efficiency, and safety.
Maintaining Optimal Performance
Appliances are designed to work best when they are clean. For instance, a clogged oven vent can lead to uneven cooking. A dirty refrigerator coil can make the unit work harder to stay cool. Regular cleaning ensures that all parts of your appliance can do their job without obstruction, leading to better results in your cooking and cooling.
Preventing Costly Breakdowns
Think of cleaning as preventative medicine for your appliances. Small issues, like grease buildup or food debris, can escalate into major problems if left unchecked. A small clog might lead to a motor burning out. Regular cleaning catches these minor issues before they become expensive repairs. Following the schedule helps avoid those dreaded repair bills and prolongs the life of your appliance.
Ensuring Safety
Some appliance malfunctions can be dangerous. For example, grease buildup in a toaster oven or on a stovetop can become a fire hazard. Clogged vents in dryers can lead to overheating and potential fires. Regular cleaning, as recommended by the manufacturer, significantly reduces these risks, keeping your kitchen a safe place for your family.
Improving Energy Efficiency
When appliances are dirty, they often have to work harder to perform their tasks. This increased workload means they consume more energy. A clean refrigerator, for example, runs more efficiently. A clean dishwasher doesn’t have to re-circulate dirty water as often. By following the cleaning schedule, you help your appliances use less energy, which can lead to lower utility bills.
Where to Find Your Appliance’s Cleaning Schedule
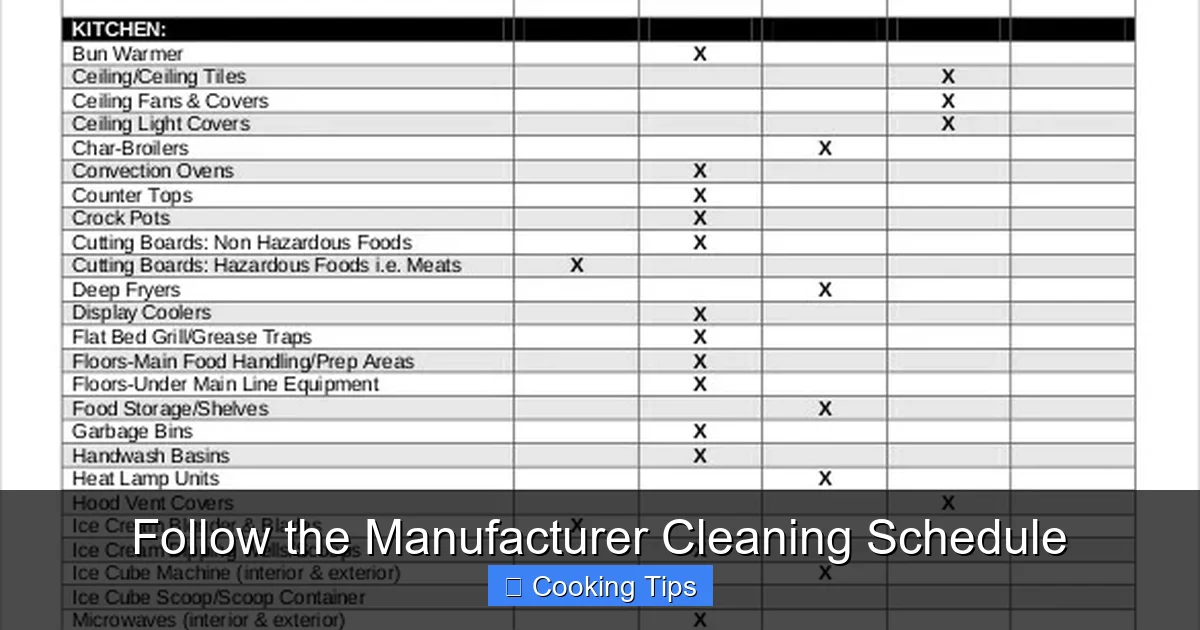
Visual guide about Follow the Manufacturer Cleaning Schedule
Image source: images.template.net
The most accurate and specific cleaning information for your appliances comes directly from the people who made them.
The User Manual is Your Best Friend
Every new appliance comes with a user manual, often tucked away in a drawer or lost shortly after purchase. This manual is a goldmine of information, including detailed cleaning instructions and recommended maintenance schedules. If you’ve lost your physical manual, don’t fret! Most manufacturers offer digital copies of their manuals on their websites. Simply search for your appliance’s brand and model number online.
Manufacturer Websites
If you can’t find the manual or prefer to search online, your appliance manufacturer’s website is another excellent resource. Look for a “Support,” “Product Care,” or “Owner’s Manuals” section. You can usually download a PDF version of your manual by entering your appliance’s model number. Some manufacturers also provide general cleaning tips and FAQs for their product lines.
Appliance Identification: Finding the Model Number
To find your manual or specific cleaning advice, you’ll need your appliance’s model number. This is usually located on a sticker or plate on the appliance itself.
- Refrigerators: Look inside the refrigerator compartment, often on a side wall or near the crisper drawers.
- Ovens/Ranges: Check the door frame, the kick plate below the oven door, or inside the storage drawer.
- Dishwashers: The sticker is typically on the inside of the door frame or on the tub edge.
- Microwaves: Often found on the back of the unit or inside the door.
- Washing Machines/Dryers: Usually located on the back, inside the door, or on the side of the machine.
Once you have the model number, you can easily search for your specific manual online.
Integrating Cleaning into Your Routine: A Step-by-Step Approach
Visual guide about Follow the Manufacturer Cleaning Schedule
Image source: typecalendar.com
Now that you know why it’s important and where to find the information, let’s talk about how to actually do it. The key is to break it down into manageable steps.
Step 1: Familiarize Yourself with Your Manual
Before you even grab a sponge, take some time to read through the relevant sections of your appliance’s manual. Pay close attention to:
- Recommended cleaning agents (what to use and what to avoid).
- Specific cleaning procedures for different parts.
- Frequency of cleaning for various tasks (e.g., daily, weekly, monthly).
- Safety precautions.
Understanding these details will prevent accidental damage and ensure you’re cleaning effectively.
Step 2: Create a Cleaning Calendar or Checklist
The easiest way to ensure you stick to the schedule is to make it visible.
- Digital Calendar: Set recurring reminders on your phone or computer for daily, weekly, and monthly cleaning tasks.
- Printable Checklist: Print out a cleaning schedule from your manual or create your own and post it on your refrigerator.
Having a visual reminder makes it harder to forget.
Step 3: Break Down Tasks by Frequency
Most manufacturer schedules will outline tasks for different timeframes.
Daily Quick Cleans
These are the little things that make a big difference.
- Stovetop: Wipe up spills and splatters immediately after cooking. This prevents them from baking on and becoming difficult to remove. Use a damp cloth and a gentle all-purpose cleaner.
- Countertops: Wipe down all kitchen counters after meal preparation and use.
- Sink: Rinse and wipe down the sink after each use to prevent food particles from drying and staining.
- Microwave Interior: Wipe down the interior of the microwave after cooking, especially after messy foods like sauces or soups. A damp cloth is usually sufficient.
These quick wipes take seconds but prevent a much bigger cleaning job later.
Weekly Deep Dives
These tasks require a bit more time but are essential for maintaining hygiene and performance.
- Refrigerator Interior: Do a quick scan and wipe down any spills. Remove old food items. Consider a deeper clean of shelves and drawers monthly.
- Oven Interior: If you have a self-cleaning oven, run the cycle according to the manual’s instructions. For conventional ovens, tackle any noticeable spills or baked-on messes with an appropriate oven cleaner.
- Dishwasher Interior: Run an empty cycle with a dishwasher cleaner or a cup of vinegar on the top rack to clean out residue and odors. Wipe down the door seal.
- Range Hood/Vent: Wipe down the exterior of your range hood. If your model has a removable filter, clean or replace it according to the manufacturer’s instructions. This is crucial for removing grease and preventing fire hazards.
- Small Appliances: Wipe down the exteriors of toaster, coffee maker, blender, etc. Check for any food debris in hard-to-reach places.
Dedicate a specific time each week, perhaps during your weekend chores, to tackle these tasks.
Monthly/Quarterly Tasks
Some cleaning needs are less frequent but still important.
- Refrigerator Coils: These are often located at the back or bottom of the fridge. Dust and debris can clog them, making the fridge work harder. Unplug the refrigerator, carefully vacuum or brush away the dust. Refer to your manual for exact location and procedure.
- Washing Machine Drum: Run an empty hot water cycle with a washing machine cleaner or a cup of bleach (check your manual first!) to kill bacteria and remove residue. Leave the door ajar after the cycle to allow it to air dry and prevent mold.
- Dryer Lint Trap and Vent: While you should clean the lint trap after every use, it’s a good idea to deep clean the dryer vent ducting every few months to prevent fire hazards. This may involve using a specialized vent brush or hiring a professional.
- Dishwasher Filter: Many dishwashers have a filter at the bottom that traps food particles. Remove and clean this filter regularly (monthly is a good starting point) to prevent clogs and ensure efficient drainage.
Schedule these less frequent but critical tasks into your monthly or quarterly calendar.
Annual or As-Needed Maintenance
Certain tasks are more involved and might be done annually or based on specific indicators.
- Oven Deep Clean: Even with self-cleaning cycles, a manual deep clean once a year can be beneficial.
- Freezer Defrosting: If you have a manual defrost freezer, this needs to be done periodically to prevent ice buildup.
- Appliance Inspection: An annual visual inspection of cords, seals, and any moving parts can help identify potential issues early.
Step 4: Use the Right Cleaning Products
The manufacturer’s manual will often specify the types of cleaners to use and which ones to avoid. Using the wrong product can damage the appliance’s finish or internal components.
- Gentle Cleaners: For most surfaces, a mild dish soap and water solution or a natural all-purpose cleaner is sufficient.
- Avoid Abrasives: Steel wool, harsh scrubbing pads, and abrasive cleaners can scratch and damage surfaces, especially stainless steel.
- Specialty Cleaners: For specific tasks like oven cleaning or descaling coffee makers, use products recommended by the manufacturer.
- Vinegar and Baking Soda: These natural cleaners are often safe and effective for many tasks, but always check your manual to be sure.
Step 5: Be Safe!
Always prioritize safety when cleaning appliances.
- Unplug Appliances: Before cleaning any electrical appliance, ensure it’s unplugged to prevent electric shock. This is especially important for ovens, microwaves, toasters, and blenders.
- Allow Cooling: If you’re cleaning an appliance that gets hot (like an oven or stovetop), let it cool down completely before you begin.
- Ventilation: When using cleaning products, especially stronger ones, ensure the area is well-ventilated. Open windows or turn on the kitchen fan.
- Wear Gloves: Protect your hands from harsh chemicals by wearing rubber gloves.
Troubleshooting Common Cleaning Issues
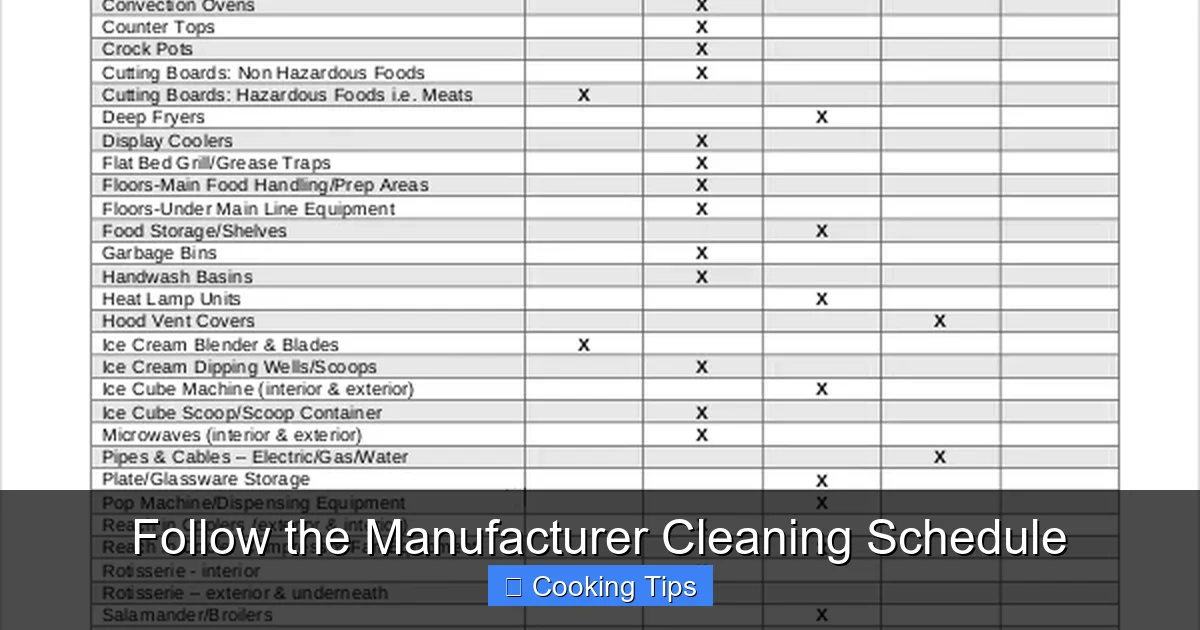
Visual guide about Follow the Manufacturer Cleaning Schedule
Image source: images.template.net
Even with a schedule, you might encounter specific cleaning challenges.
Stubborn Stains in the Oven
* Problem: Baked-on grease and food residue that won’t budge.
* Solution: If your oven is not self-cleaning, try a paste of baking soda and water. Apply it to the stains, let it sit for a few hours or overnight, then scrub gently with a non-abrasive sponge. For extremely tough stains, consider a commercial oven cleaner, but always follow the product and manual instructions carefully. Ensure good ventilation.
Discolored Stainless Steel
* Problem: Streaks, smudges, or dullness on stainless steel appliances.
* Solution: Always wipe in the direction of the grain. Use a microfiber cloth dampened with warm water and a small amount of mild dish soap. For tougher spots, a commercial stainless steel cleaner can be effective. Never use abrasive cleaners or pads.
Musty Odors in the Refrigerator
* Problem: Unpleasant smells lingering in the fridge.
* Solution: Thoroughly clean the interior, removing all food and wiping down shelves and walls. Place an open box of baking soda in the fridge and replace it monthly. Ensure the drip tray at the bottom of the fridge is clean (refer to manual for location and cleaning).
Clogged Dishwasher Filter
* Problem: Water not draining properly, or dishes not getting clean.
* Solution: Locate the filter at the bottom of your dishwasher tub (usually twists out). Remove any food debris and rinse it under running water. Reassemble and ensure it’s securely in place. Check your manual for specific instructions.
Conclusion
Following your appliance manufacturer’s cleaning schedule is not a chore; it’s an investment. It’s an investment in your appliances’ longevity, their efficiency, your kitchen’s safety, and your peace of mind. By taking a little time to understand your manual, integrate simple daily and weekly tasks into your routine, and tackle less frequent but crucial maintenance, you can ensure your kitchen works for you, not against you. So, dig out those manuals, set those reminders, and get cleaning! Your appliances (and your wallet) will thank you.
