

Unlock the full potential of your kitchen with a blender featuring multiple speed settings. This guide will teach you how to leverage its versatility for everything from silky smooth purées to chunky salsas. Learn to choose the right speed for different ingredients and achieve consistent, delicious results every time. With this knowledge, you’ll be whipping up culinary creations like a pro in no time, making your blender your most indispensable kitchen tool.
Blenders with Multiple Speed Settings
Welcome to the ultimate guide on mastering blenders with multiple speed settings! If you’ve ever looked at your blender and wondered about those different speed options, this guide is for you. Blenders are incredibly versatile kitchen tools, but one with multiple speed settings takes that versatility to a whole new level. You can go from making a chunky salsa to a silky smooth purée, all with the same appliance.
In this guide, we’ll demystyify those speed settings. We’ll break down what each speed is best for and how to use them effectively. You’ll learn how to tackle different ingredients, achieve the perfect texture for your recipes, and even get some tips on cleaning and maintenance. Get ready to transform your kitchen adventures with your multi-speed blender!
Key Takeaways
- Understand the Power of Multiple Speeds: Blenders with multiple speed settings offer far greater control and versatility than single-speed models, allowing for precise texture manipulation.
- Matching Speed to Ingredient and Desired Outcome: Different speeds are ideal for different tasks; lower speeds are for chopping and pulsing, while higher speeds are for liquefying and creating smooth textures.
- Mastering Pulse Functionality: The pulse button is crucial for controlled chopping and for avoiding over-processing ingredients, particularly for recipes requiring a specific chunky consistency.
- Gradual Speed Increases for Smoother Results: Starting on a lower speed and gradually increasing it helps ingredients blend more evenly and prevents the motor from becoming overloaded.
- Cleaning and Maintenance for Longevity: Proper cleaning after each use, and occasional deeper maintenance, ensures your multi-speed blender remains in optimal working condition for years.
- Troubleshooting Common Issues: Understanding common problems like uneven blending or motor strain and their solutions will help you get the most out of your appliance.
Why Multiple Speed Settings Matter
Before we dive into the how-to, let’s quickly touch on why having multiple speed settings is such a game-changer. A single-speed blender typically just goes at one speed, which is fine for basic blending. However, it lacks control. You might end up with a watery soup when you wanted a chunky one, or a smoothie that’s still a bit lumpy.
Blenders with multiple speed settings give you the power to fine-tune the blending process. This means you can achieve specific textures, from rough chops to ultra-smooth purées. It’s like having a professional chef’s precision at your fingertips. You can control how finely ingredients are cut, how much air is incorporated, and how smooth the final product becomes. This precision is key for a wide range of recipes.
Understanding Your Blender’s Controls
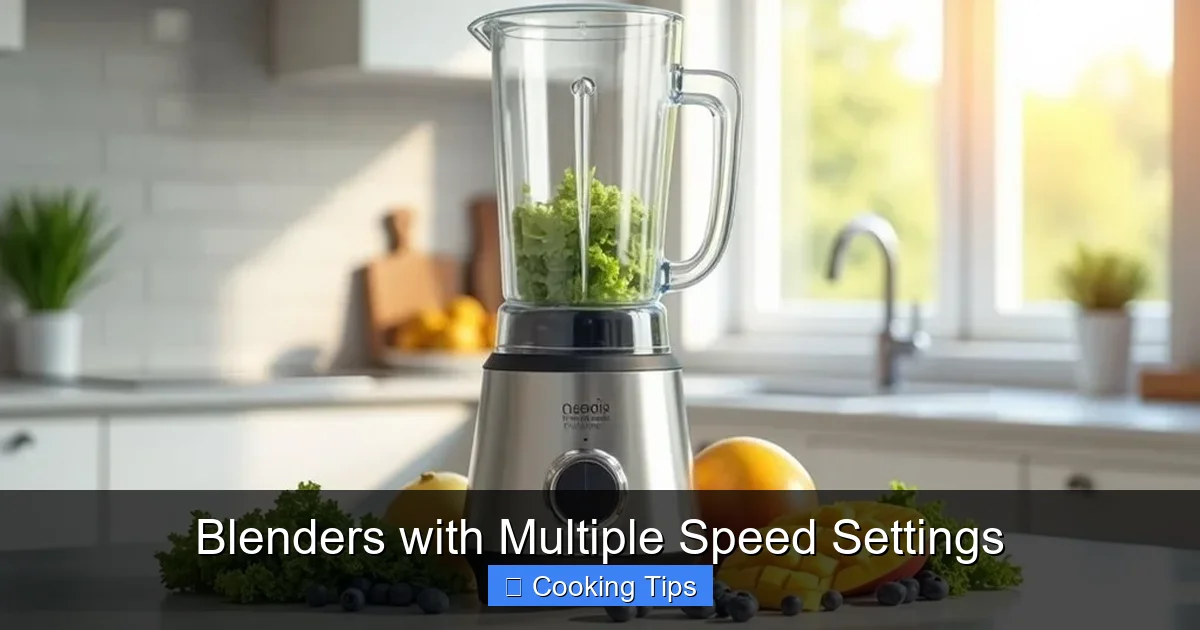
Visual guide about Blenders with Multiple Speed Settings
Image source: blenderjunkie.com
Most blenders with multiple speed settings have a dial or a series of buttons. You’ll typically see settings like:
* Low (1 or Low): Ideal for starting off, chopping, and when you want a coarser texture.
* Medium (2 or Med): Good for general blending, making thicker batters, and starting to liquefy ingredients.
* High (3 or High): Used for liquefying, making smooth purées, and when you need a very fine consistency.
* Pulse: This is a very important setting! It allows you to blend in short bursts.
Some blenders might have even more settings, often with specific labels like “smoothie,” “ice crush,” or “purée.” Always check your blender’s manual for specific details about its functions. But for the most part, the core principles remain the same across different models.
Step-by-Step Guide to Using Your Multi-Speed Blender
Visual guide about Blenders with Multiple Speed Settings
Image source: angelajuicers.com
Let’s get blending! Follow these steps to make the most of your blender’s speed settings.
Step 1: Prepare Your Ingredients

Visual guide about Blenders with Multiple Speed Settings
Image source: img.freepik.com
Before you even turn your blender on, proper preparation is key.
Chop Large Ingredients
* Cut larger fruits and vegetables into smaller, uniform pieces, about 1-2 inches in size. This helps them blend more evenly and puts less strain on your blender’s motor.
* For tough ingredients like carrots or ice, ensure they are cut even smaller.
Remove Pits and Seeds
* Always remove pits from fruits like cherries or peaches.
* Remove large seeds from fruits like melons or berries.
Add Liquids First
* For most recipes, it’s best to add your liquids (water, milk, juice, broth) to the blender jar first. This helps the blades move more freely and prevents ingredients from getting stuck at the bottom.
Step 2: Load Your Blender Correctly
How you load your blender can affect the blending process and the final texture.
Order of Ingredients
* Liquids: As mentioned, liquids go in first.
* Softer Ingredients: Next, add softer items like leafy greens, yogurt, or ripe fruits.
* Harder Ingredients: Then, add harder items like frozen fruits, ice, or raw vegetables.
* Dry Ingredients: If you’re adding powders like protein or flour, they can often go on top.
This layering helps to create a vortex that pulls ingredients down into the blades more effectively.
Step 3: Select the Right Speed Setting
This is where the magic of multiple speeds comes into play! The speed you choose depends entirely on what you’re trying to achieve.
For Chopping and Coarse Textures (e.g., Salsa, Pesto Base)
* Use the Pulse Setting: The pulse function is your best friend here. It gives you short bursts of power, allowing you to control the size of the ingredients.
* Start with Low Speed (if no pulse): If your blender doesn’t have a dedicated pulse button, start with the lowest speed setting.
* Pulse Briefly: Press and release the pulse button in short intervals (1-2 seconds).
* Check Consistency: Stop and check the texture frequently. You want to stop before ingredients become too finely chopped.
* Example: For a chunky salsa, you’ll pulse ingredients like tomatoes, onions, and peppers until they are coarsely chopped but still have distinct pieces.
For Smoother Blending and Thicker Mixtures (e.g., Sauces, Batters)
* Start on Low or Medium Speed: Begin with a lower speed setting to get the ingredients moving and incorporated.
* Gradually Increase Speed: Once the ingredients are flowing, gradually increase the speed to medium or high, depending on how smooth you need the mixture.
* Blend for Longer: Allow the blender to run for a bit longer to achieve the desired consistency.
* Example: For pancake batter, start on low to combine the dry and wet ingredients, then move to medium until the batter is smooth and lump-free.
For Liquefying and Ultra-Smooth Purées (e.g., Smoothies, Soups, Baby Food)
* Start on Medium Speed: Begin by processing the ingredients on a medium speed to break them down initially.
* Increase to High Speed: Once the initial chopping is done, switch to the highest speed setting.
* Blend Until Smooth: Let the blender run on high for 30 seconds to 1 minute, or until the mixture is completely smooth and creamy. You should see a vortex forming in the blender jar.
* Example: For a green smoothie, start on medium to break down kale and other greens, then ramp up to high to make it perfectly smooth and drinkable without any fibrous bits. For a creamy soup, blend on high until it reaches a velvety consistency.
Step 4: Monitor and Adjust
Blending is not always a “set it and forget it” process.
Listen to Your Blender
* A struggling or straining sound usually means the motor is working too hard. This can happen if you’ve overloaded the blender, added too many hard ingredients at once, or if the mixture is too thick.
* If you hear straining, stop the blender, remove the lid, and stir the contents with a spatula. You might need to add a little more liquid.
Check Consistency
* Stop the blender and scrape down the sides of the jar with a spatula if ingredients are sticking.
* If the mixture isn’t as smooth as you’d like, continue blending on the appropriate speed. If it’s too thick, add a little more liquid. If it’s too thin, you might need to add more solid ingredients (but be careful not to overload).
Step 5: Finishing Touches
Once you’ve achieved your desired consistency, it’s time to serve.
Pour Carefully
* Unplug the blender before removing the lid.
* Pour your creation into a bowl, glass, or serving dish.
Practical Tips for Using Your Multi-Speed Blender
Here are some extra tips to elevate your blending game:
* Don’t Overfill: Always respect the maximum fill line on your blender jar. Overfilling can lead to leaks and strain the motor.
* Add Ice Wisely: If you’re crushing ice or making a frozen drink, add ice last. Start on a lower speed to break it down, then gradually increase. Some blenders have a dedicated “ice crush” setting which is ideal.
* Hot Liquids Need Caution: When blending hot liquids, like soups, never fill the jar more than halfway. Remove the center cap from the lid and cover the opening with a folded kitchen towel, holding it firmly in place. This allows steam to escape and prevents dangerous pressure build-up. Start on the lowest speed and gradually increase.
* Emulsify with Lower Speeds: For making mayonnaise or certain dressings, starting on a lower speed and slowly drizzling in oil can help create a stable emulsion.
* Experiment! The best way to learn is by doing. Try different speed combinations for your favorite recipes and see what results you get.
Troubleshooting Common Blender Issues
Even with a multi-speed blender, you might encounter a few snags. Here’s how to fix them:
Problem: Ingredients Aren’t Blending Evenly
* Cause: Uneven ingredient size, not enough liquid, or improper loading.
* Solution: Stop the blender. Cut larger ingredients into smaller, uniform pieces. Ensure there’s enough liquid to help the ingredients circulate. Try rearranging the ingredients in the jar, with liquids at the bottom. Restart on a lower speed and gradually increase.
Problem: Blender Motor Seems to Be Straining or Overheating
* Cause: Overfilling, too many hard ingredients, not enough liquid, or blending for too long on a high speed without breaks.
* Solution: Stop the blender immediately. Remove some ingredients or add more liquid. If blending hot liquids, ensure steam can escape. Allow the motor to cool down for a few minutes before trying again. If the problem persists, check your blender’s manual for capacity limits.
Problem: Leaking from the Lid or Base
* Cause: Lid not properly secured, jar not properly seated on the base, or worn-out gasket.
* Solution: Ensure the lid is firmly locked in place. Make sure the blender jar is correctly aligned and twisted onto the motor base. If the gasket around the blade assembly looks damaged or worn, it may need to be replaced. Contact the manufacturer if you suspect a faulty part.
Problem: Blades Aren’t Moving Freely
* **Cause:** Too many solids in the jar, or something is caught.
* **Solution:** Stop the blender. Remove the lid and use a spatula to dislodge any ingredients jamming the blades. Add a bit more liquid if needed. Never try to force the blades with your fingers.
Cleaning and Maintenance
To keep your multi-speed blender in top condition, clean it after every use.
Quick Rinse and Wash
* Immediately After Use: Rinse the blender jar and lid with warm water.
* Soap and Water: Add a drop of dish soap and a little warm water to the jar. Secure the lid, place it on the base, and run it on a low speed for about 30 seconds. This is often called a “self-cleaning” function.
* Thorough Wash: After the quick clean, disassemble the jar, blade assembly (if removable), and lid. Wash all parts by hand with warm, soapy water. Use a brush to clean around the blades carefully. Rinse thoroughly and allow to air dry completely.
Deep Cleaning
* **Blade Assembly:** If your blade assembly is removable, soak it in warm, soapy water. Be very careful when handling the sharp blades.
* **Motor Base:** Never immerse the motor base in water. Wipe it down with a damp cloth. Ensure it’s completely dry before storing.
* **Gaskets and Seals:** Check the gasket around the blade assembly for any food debris or signs of wear. Clean it gently.
Storage
* Store your blender in a dry place. You can reassemble it or store the jar separately from the base.
Conclusion
Your blender with multiple speed settings is a powerful tool that can significantly enhance your cooking and food preparation. By understanding the different speed options and how to use them for various tasks – from precise chopping with the pulse function to creating velvety smooth purées on high – you can unlock its full potential. Remember to always prepare your ingredients, load your blender correctly, and listen to its sounds. With a little practice and by following these guidelines, you’ll be creating delicious smoothies, soups, sauces, and more with confidence and ease. Happy blending!
