


Cordless rechargeable blenders offer the ultimate convenience for travelers who want to enjoy fresh, healthy drinks on the go. This guide will walk you through everything you need to know, from selecting the best model to packing and maintaining your portable blending companion. Empower your travels with the ability to make delicious smoothies, shakes, and more, no matter where your adventures take you.
Key Takeaways
- Understanding the Benefits: Cordless rechargeable blenders offer unparalleled portability, allowing you to prepare fresh beverages without being tethered to a power outlet.
- Key Features to Consider: Look for battery life, blending power, capacity, ease of cleaning, safety features, and material quality when making your choice.
- Choosing the Right Blender: Match the blender’s capacity and power to your typical usage needs, whether it’s single-serve smoothies or light chopping.
- Maximizing Battery Life: Understand how to charge efficiently, avoid overcharging, and conserve power during use to ensure your blender is ready when you are.
- Packing and Travel Tips: Learn how to safely pack your blender, consider TSA regulations for carry-on luggage, and utilize it effectively during your trip.
- Maintenance and Cleaning: Proper cleaning techniques will extend the lifespan of your cordless blender and ensure hygienic operation.
- Troubleshooting Common Issues: Be prepared to address minor problems like charging difficulties or blending inconsistencies with simple solutions.
Cordless Rechargeable Blenders for Travel: Your Ultimate On-the-Go Blending Companion
Traveling doesn’t mean you have to sacrifice your healthy habits or your favorite blended beverages. Gone are the days of relying solely on hotel room coffee makers or convenience store snacks. With the advent of cordless rechargeable blenders, you can now enjoy fresh smoothies, protein shakes, and even light food prep right from your hotel room, campsite, or even a park bench. These portable powerhouses offer incredible freedom and convenience, making them a must-have for any modern traveler.
This comprehensive guide will equip you with all the knowledge you need to embrace the world of cordless rechargeable blenders for travel. We’ll delve into what makes them ideal for your journeys, how to select the perfect model for your needs, and practical tips for using, charging, packing, and maintaining your new favorite travel gadget.
Why Choose a Cordless Rechargeable Blender for Travel?
Visual guide about Cordless Rechargeable Blenders for Travel
Image source: coffeeunits.com
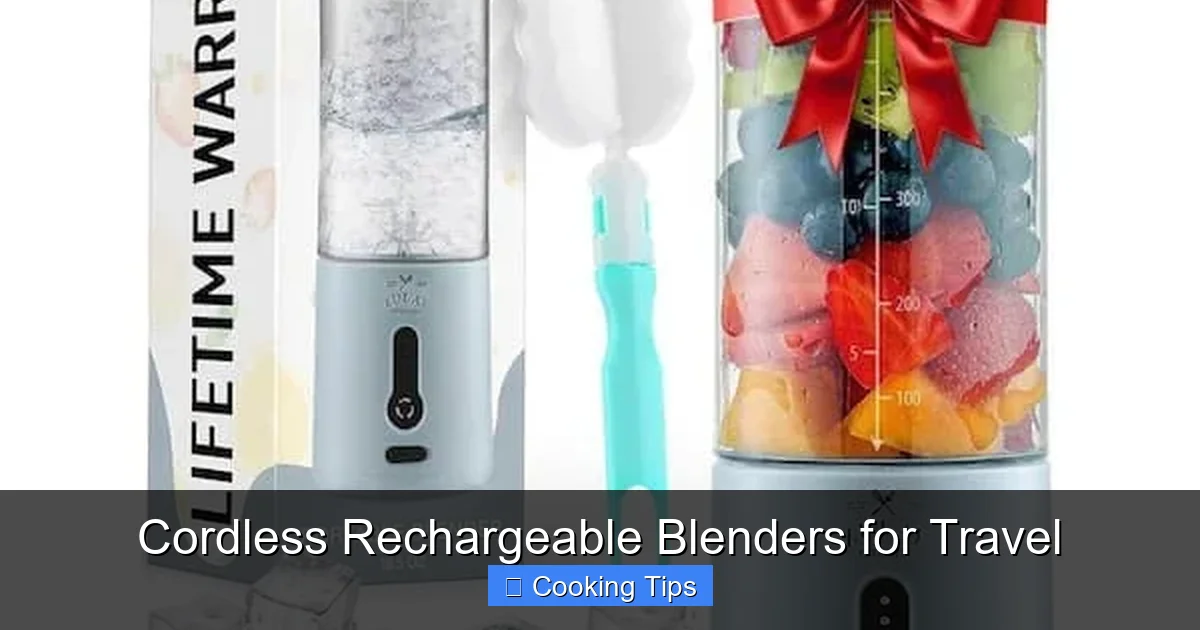
The primary allure of a cordless rechargeable blender for travel is its **unmatched portability and freedom**. Imagine this: you’re on a scenic hike, and you pull out your compact blender to whip up a refreshing fruit smoothie using fresh ingredients you picked up from a local market. No power outlet needed, no bulky base to haul around. It’s that simple.
Beyond convenience, these blenders also promote healthier eating while traveling. It can be challenging to find nutritious options on the road. With a portable blender, you can control exactly what goes into your drinks, avoiding hidden sugars and artificial ingredients often found in pre-made beverages.
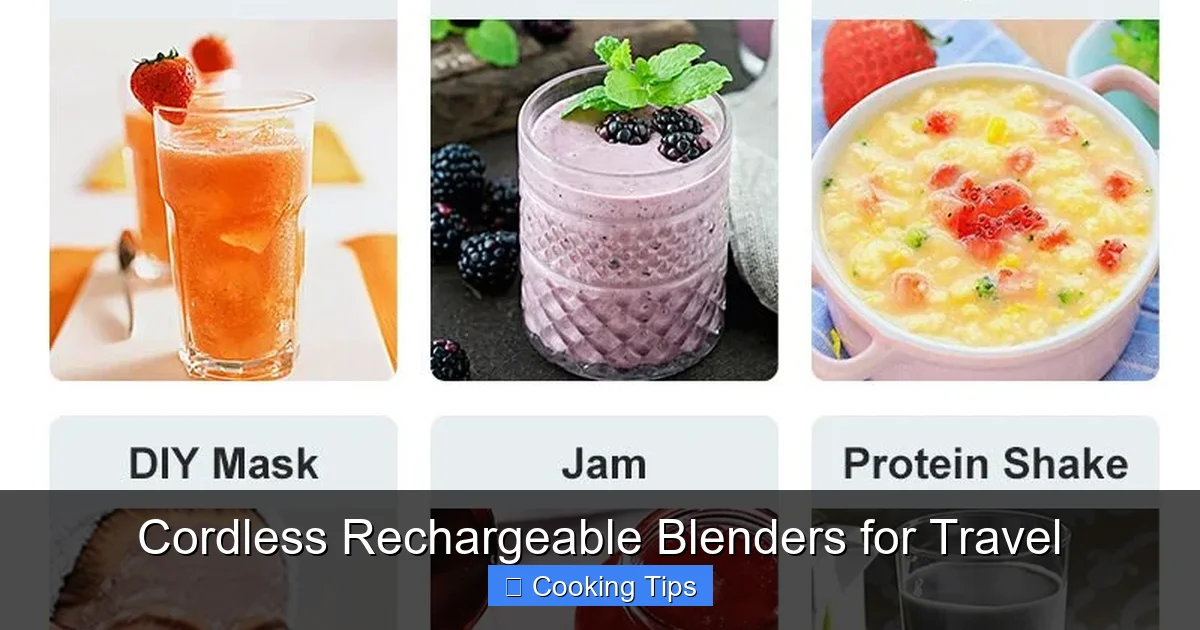
Furthermore, they can be surprisingly versatile. While primarily known for smoothies, some models can handle light chopping for dips or sauces, adding another layer of utility to your travel kitchen.
Choosing the Right Cordless Rechargeable Blender for Your Adventures
Visual guide about Cordless Rechargeable Blenders for Travel
Image source: portablegeneratorsolutions.com
With a growing market, selecting the right cordless rechargeable blender can feel overwhelming. Here’s a breakdown of the key features to consider to ensure you pick a model that fits your travel style:
Battery Life and Charging
This is arguably the most critical factor for a travel blender. You need a blender that can last for multiple uses on a single charge, or at least charge quickly when an outlet is available.
* Battery Capacity: Look for blenders with a decent mAh (milliampere-hour) rating. A higher mAh generally means longer battery life. Many travel blenders aim for 10-20 blending cycles on a full charge.
* Charging Method: Most travel blenders use USB charging (Type-A or Type-C). USB-C is often preferred as it’s becoming a universal standard and allows for faster charging. Consider if the blender comes with its own charging cable or if you can use a standard phone charger.
* Charging Time: How long does it take to fully charge the battery? If you’re often on the go, a quick charge feature can be a lifesaver.
Blending Power and Performance
A blender that can’t effectively blend your ingredients is useless.
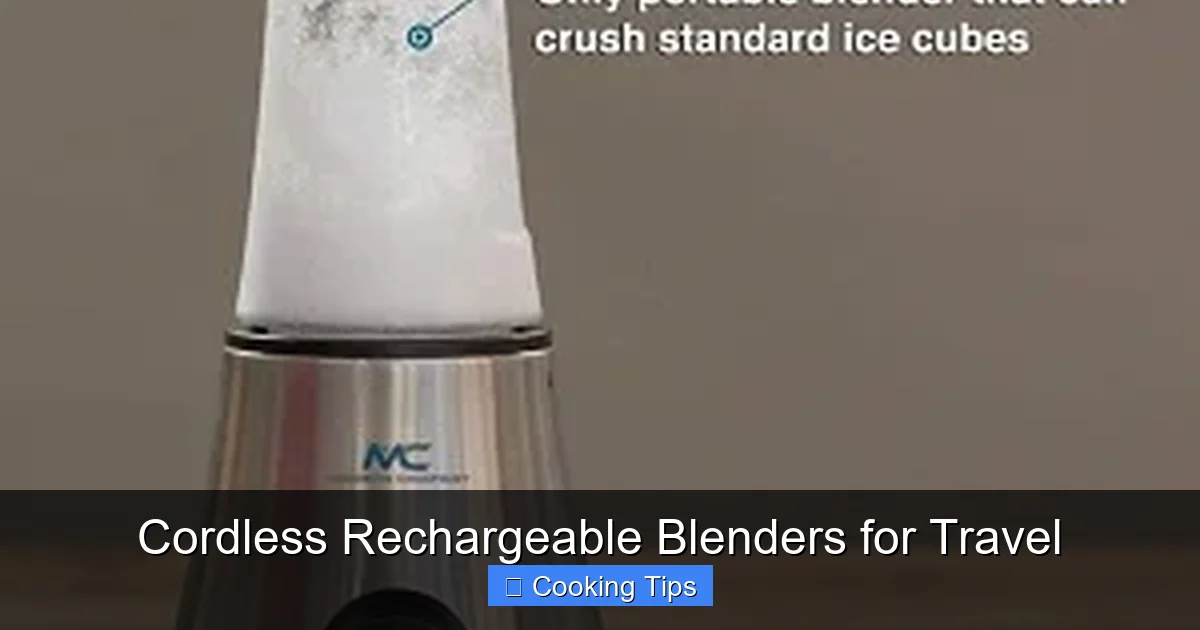
* Motor Power (Watts): While not always advertised as prominently as in home blenders, motor power influences how well it can handle tougher ingredients like frozen fruit or ice. For smoothies, aim for at least 150-200 watts.
* Blade Design: Multiple sharp blades, often angled, are crucial for efficient blending. Some models have detachable blades for easier cleaning.
* Capacity: How much can you blend at once? Travel blenders typically range from 10 to 20 ounces. Consider if you usually make single servings or slightly larger portions.
Ease of Use and Cleaning
Travel means simplicity and efficiency. Your blender should reflect this.
* One-Touch Operation: Most cordless blenders feature simple button operation. Some have multiple speed settings, while others have a single pulse or blend function.
* Cup/Jar Design: Look for a design where the blending cup doubles as a drinking cup. Many come with a lid for easy transport after blending.
* Dishwasher-Safe Parts: This is a huge convenience. Check if the jar, lid, and blades can be safely washed in a dishwasher.
* Self-Cleaning Function: Some blenders offer a simple self-cleaning cycle where you add water and a drop of soap and blend for a few seconds.
Safety Features
Safety is paramount, especially with a portable device.
* Safety Lock Mechanism: The blender should only operate when the cup is properly attached to the base. This prevents accidental activation.
* Overheat Protection: A good blender will have a mechanism to prevent the motor from overheating, especially during extended use.
* BPA-Free Materials: Ensure all plastic parts that come into contact with your food are free from Bisphenol A.
Durability and Build Quality
Your travel blender will likely endure some bumps and knocks.
* Materials: Stainless steel and durable BPA-free plastics are common. A sturdy base and a well-fitting lid are signs of good quality.
* Portability: Consider the overall size and weight. Most travel blenders are designed to be compact and lightweight.
Step-by-Step: Using Your Cordless Rechargeable Blender for Travel
Visual guide about Cordless Rechargeable Blenders for Travel
Image source: images.nexusapp.co
Once you’ve chosen your ideal travel blender, here’s how to make the most of it on your journeys.
1. Charge It Up Before You Leave
This might seem obvious, but it’s the most important first step. Ensure your blender is fully charged before you even pack it. This gives you maximum blending power from the start of your trip. If you have a USB-C port, you might be able to charge it in your car, from a power bank, or even some laptops.
2. Prepare Your Ingredients
The trick to successful blending, especially with a portable blender, is to prepare your ingredients correctly.
* Cut Ingredients into Smaller Pieces: For fruits and vegetables, cut them into 1-2 inch chunks. This makes it easier for the blades to process them smoothly.
* Add Liquids First: Pour your liquid (water, milk, juice) into the blender jar before adding solids. This helps the blades get started and prevents them from getting jammed.
* Don’t Overfill: Pay attention to the maximum fill line marked on your blender jar. Overfilling can lead to spills and inefficient blending.
* Frozen Fruit and Ice: If using frozen ingredients or ice, add them in moderation, especially if your blender has lower wattage. You might need to add a bit more liquid to help things along.
3. Blend with Confidence
Now for the fun part!
* Secure the Lid and Base: Ensure the blending cup is securely attached to the motor base. Most blenders have a safety lock that prevents operation if not properly connected.
* Press the Blend Button: Hold the button down or press it according to your blender’s instructions. You might need to pulse it a few times for tougher ingredients.
* Shake Gently (Optional): For very thick mixtures, a gentle shake while blending can help move ingredients towards the blades.
* Blend Until Smooth: Continue blending until you achieve your desired consistency. Avoid over-blending, which can warm up your smoothie.
4. Enjoy Your Creation
Once blended, carefully detach the blending cup from the motor base.
* **Drink Directly:** Many travel blenders are designed for you to drink directly from the blending cup. Just screw on the travel lid.
* **Pour into Another Container:** If you prefer, pour your blend into a separate cup or bottle.
5. Clean Promptly
The sooner you clean your blender, the easier it will be.
* **Rinse Immediately:** After emptying the contents, rinse the blending cup and lid with warm water.
* **Add Water and Soap:** For a more thorough clean, fill the cup halfway with warm water, add a drop of dish soap, and blend for 15-30 seconds.
* **Wash Blades (Carefully):** If your blades are detachable, wash them by hand with a sponge. Be very careful as they are sharp.
* **Wipe Down the Base: Never immerse the motor base in water. Use a damp cloth to wipe it clean.
* **Air Dry:** Allow all parts to air dry completely before reassembling or storing.
Maximizing Battery Life and Charging Strategies
To ensure your cordless blender is always ready for action, adopt these smart charging and usage habits:
* Charge Fully Before First Use: Always follow the manufacturer’s instructions for initial charging.
* **Avoid Overcharging: While most modern blenders have overcharge protection, it’s generally good practice not to leave them plugged in for days on end once fully charged.
* **Charge When Low:** Don’t wait for the battery to completely die. Charge it when you have access to power, especially if you know you’ll need it for multiple blends soon.
* **Use the Correct Charger: Only use the charger that came with your blender or a compatible one. Using the wrong charger could damage the battery.
* **Conserve Power: Blend in short bursts rather than continuously for very long periods if possible, especially for less dense ingredients.
Packing Your Cordless Rechargeable Blender for Travel
Proper packing ensures your blender arrives safely and is ready to use.
1. Disassemble and Clean
Ensure all parts are clean and completely dry. Disassemble the blender into its main components: the motor base, the blending jar, and the lid.
2. Protect the Blades
The blades are the sharpest part and can be a hazard if not protected.
* **Keep the Lid On:** If the lid can be secured over the blades when detached, do so.
* **Wrap Separately:** Some people choose to wrap the blade assembly separately in a towel or bubble wrap for extra protection.
3. Pack the Base Carefully
The motor base is the heaviest part and contains the battery.
* **Cushioning:** Place it in the center of your luggage, surrounded by soft items like clothes, to prevent it from being damaged.
* **Avoid Direct Impact:** Don’t place heavy items directly on top of the motor base.
4. TSA and Airline Regulations
While generally permitted, it’s wise to check current TSA (Transportation Security Administration) regulations for carry-on and checked luggage.
* **Lithium-Ion Batteries: Most cordless blenders use rechargeable lithium-ion batteries. These are generally allowed in carry-on luggage, but there might be limits on the number and size of batteries. Always check with your airline.
* **Carry-On vs. Checked: It’s often safer to pack electronics with batteries in your carry-on luggage in case of any issues with checked baggage.
5. Keep Chargers Handy
Make sure the charging cable is easily accessible, perhaps in your personal item or the top of your carry-on bag.
Troubleshooting Common Issues
Even the best travel gadgets can encounter minor hiccups. Here are solutions to some common problems:
Blender Won’t Turn On
* Check Battery: Is the battery charged? Try plugging it in to see if any indicator lights appear.
* **Secure Assembly: Ensure the blending cup is properly locked into the motor base. The safety mechanism might be preventing it from starting.
* **Overheat Protection: If the blender recently stopped working, it might have overheated. Let it cool down for 15-20 minutes before trying again.
Blending is Inconsistent or Slow
* Ingredient Size: Are your ingredients cut small enough?
* Liquid Ratio: Is there enough liquid? Add a little more.
* **Overfilling: Is the cup too full? Remove some ingredients.
* **Battery Level: A low battery can reduce blending power. Try charging it.
Blender Leaking
* Lid Seal: Is the lid tightened properly? Check the rubber gasket or seal for any damage or debris.
* **Jar Connection: Ensure the blending jar is screwed onto the motor base securely.
* **Overfilled Cup: If the cup is filled beyond the max line, liquids can be forced out.
Charging Issues
* **Cable Connection: Ensure the charging cable is firmly plugged into both the blender and the power source.
* **Power Source: Try a different USB port or wall adapter to rule out a faulty power source.
* **Clean Ports: Check if the charging port on the blender or cable has any lint or debris and clean it gently with a dry brush or compressed air.
Conclusion
A cordless rechargeable blender for travel is more than just a kitchen appliance; it’s a gateway to maintaining your lifestyle and well-being, no matter where you roam. By understanding the key features, using it correctly, and taking proper care of it, you can unlock a world of fresh, delicious, and healthy beverages on demand. So, pack your blender, embrace the convenience, and make every journey a flavorful adventure!
