

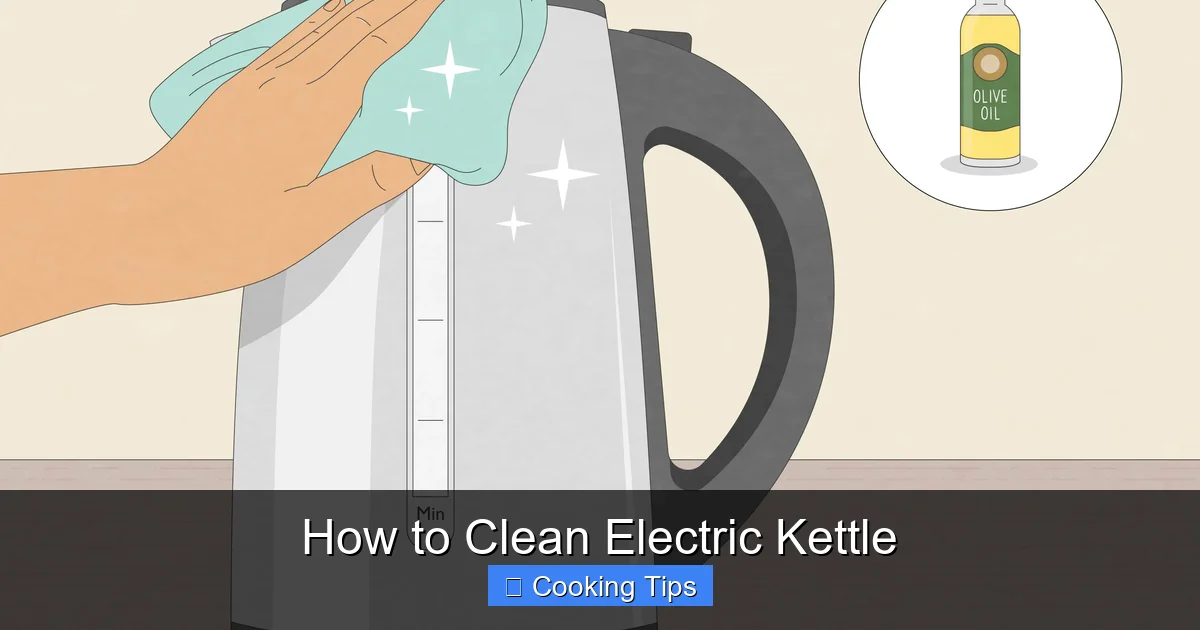
Regularly cleaning your electric kettle is essential for hygiene and taste. This guide provides step-by-step instructions on how to clean both the exterior and interior of your appliance, tackling stubborn limescale with natural solutions. Learn simple methods to ensure your electric kettle stays in top condition for perfectly brewed beverages every time.
Key Takeaways
- Regular Cleaning is Crucial: Maintaining a clean electric kettle prevents mineral buildup and ensures the purity of your water, leading to better-tasting beverages.
- Exterior Cleaning is Simple: A damp cloth and mild soap are usually all you need to keep the outside of your electric kettle looking its best.
- Descaling the Interior is Key: Limescale, or mineral deposits, can build up inside your kettle. Natural solutions like vinegar or citric acid are effective and safe for descaling.
- Gentle is Best: Avoid harsh abrasive cleaners or scrubbing pads on your electric kettle, as they can damage the surfaces.
- Safety First: Always unplug your electric kettle and ensure it is cool before attempting any cleaning.
- Rinsing is Essential: After descaling, thoroughly rinse the inside of the kettle multiple times to remove any residual cleaning solution and taste.
- Prevention is Better than Cure: Using filtered water can significantly reduce limescale buildup and the frequency of deep cleaning.
How to Clean Electric Kettle
Your electric kettle is a workhorse in the kitchen, providing hot water for your morning coffee, afternoon tea, or a quick cup of instant soup. But just like any other appliance, it needs regular cleaning to function at its best and ensure the water you use is pure and free from any unpleasant taste. Over time, mineral deposits from your tap water can build up inside the kettle, forming a white, chalky layer known as limescale. This buildup not only looks unsightly but can also affect the efficiency of your kettle and, more importantly, the taste of your hot drinks.
This comprehensive guide will walk you through everything you need to know about cleaning your electric kettle. We’ll cover how to tackle the exterior, deep clean the interior to remove stubborn limescale, and offer tips to keep your kettle in pristine condition. By following these simple steps, you can ensure your electric kettle remains a reliable and hygienic appliance for years to come.
Why is Cleaning Your Electric Kettle Important?
You might be wondering if cleaning your electric kettle is truly necessary. The answer is a resounding yes! Here’s why:
- Taste: Limescale can impart a chalky, unpleasant taste to your water, making your tea, coffee, or any other hot beverage taste off.
- Efficiency: A kettle clogged with limescale has to work harder to heat the water. This means it takes longer to boil and uses more electricity, costing you more in the long run.
- Hygiene: Stagnant water and mineral deposits can become a breeding ground for bacteria and other microorganisms, which is not something you want to be consuming.
- Longevity: Regular maintenance, including cleaning, can help extend the lifespan of your electric kettle.
Now that we understand the importance, let’s get down to the actual cleaning process.
Step-by-Step Guide to Cleaning Your Electric Kettle
Visual guide about How to Clean Electric Kettle
Image source: everythingbetter.in
Cleaning your electric kettle can be divided into two main parts: cleaning the exterior and cleaning the interior. Both are important for maintaining your appliance.
Part 1: Cleaning the Exterior
The outside of your electric kettle is usually easier to clean than the inside. It typically gets dusty or may have splashes from use.
Safety First!
Before you start cleaning the exterior, always ensure the following:
- Unplug the Kettle: Never clean an electric kettle while it is plugged into the power outlet. This is a crucial safety step to prevent electric shock.
- Let it Cool: Make sure the kettle is completely cool to the touch before you begin cleaning. Hot surfaces can cause burns.
Materials You’ll Need:
* Soft cloth or sponge
* Mild dish soap
* Warm water
* Dry, soft cloth
Cleaning Process:
1. **Prepare Your Cleaning Solution:** Mix a few drops of mild dish soap with warm water in a small bowl.
2. **Wipe Down the Exterior:** Dampen a soft cloth or sponge with the soapy water. Gently wipe down the entire exterior surface of the kettle, including the lid, handle, and base. For stubborn marks or grime, you might need to apply a little gentle pressure.
3. **Clean the Base (if applicable):** If your kettle has a separate base, wipe it down as well, being careful not to get any water into the electrical connection points.
4. **Rinse the Cloth and Wipe Again:** Rinse your cloth thoroughly with clean water and wipe down the exterior again to remove any soap residue.
5. **Dry the Kettle:** Use a clean, dry, soft cloth to thoroughly dry the entire exterior of the kettle. This will prevent water spots and leave your kettle looking shiny.
Tip: For kettles with stainless steel exteriors, you can use a cleaner specifically designed for stainless steel to remove fingerprints and restore shine. Always test in an inconspicuous area first.
Part 2: Cleaning the Interior and Descaling
This is where you’ll tackle the limescale buildup. The best approach depends on how much buildup you have and what cleaning agents you prefer. We’ll cover natural methods, which are generally safe and effective.
Understanding Limescale
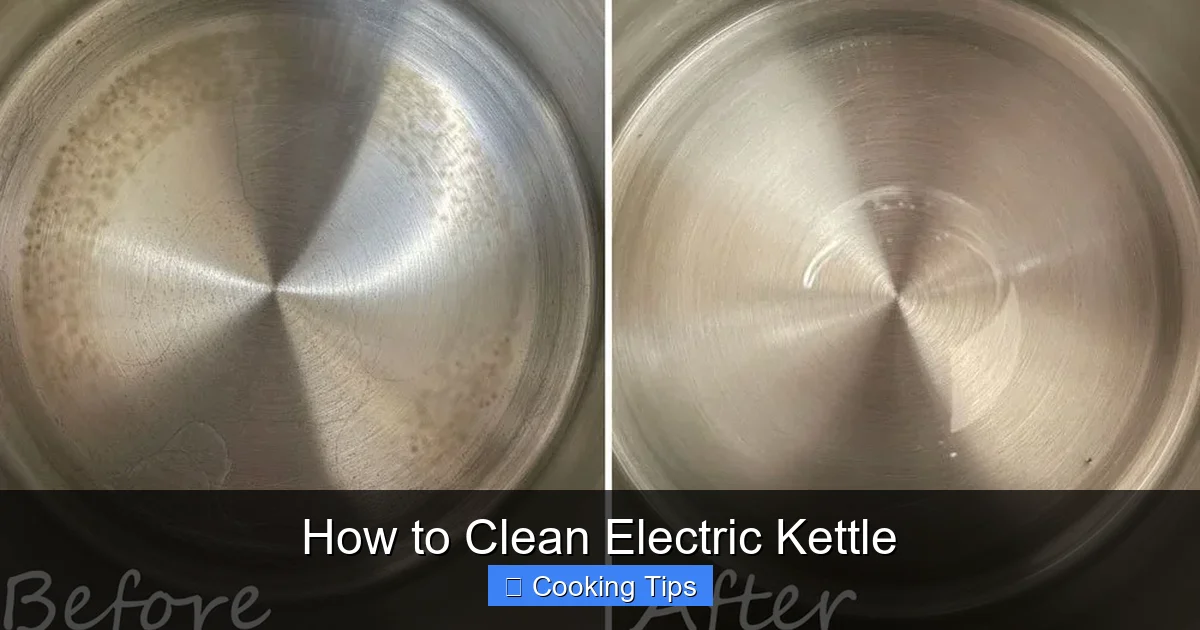
Limescale is primarily composed of calcium and magnesium carbonates, which are naturally present in most tap water. When water is heated, these minerals precipitate out and form a hard, white deposit on the heating element and the inner walls of the kettle.
Safety Precautions for Interior Cleaning:
* **Unplug and Cool:** As with exterior cleaning, always unplug the kettle and ensure it is completely cool.
* **Never Submerge the Base:** Do not immerse the kettle’s base or the entire appliance in water.
* **Adequate Ventilation:** When using vinegar, it can produce strong fumes. Ensure the area is well-ventilated.
Method 1: Using White Vinegar (The Classic Descaler)**
White vinegar is a household staple and a fantastic natural descaler due to its acidity.
Materials You’ll Need:
* White vinegar
* Water
* A soft cloth or sponge (for rinsing)
Descaling Process with Vinegar:
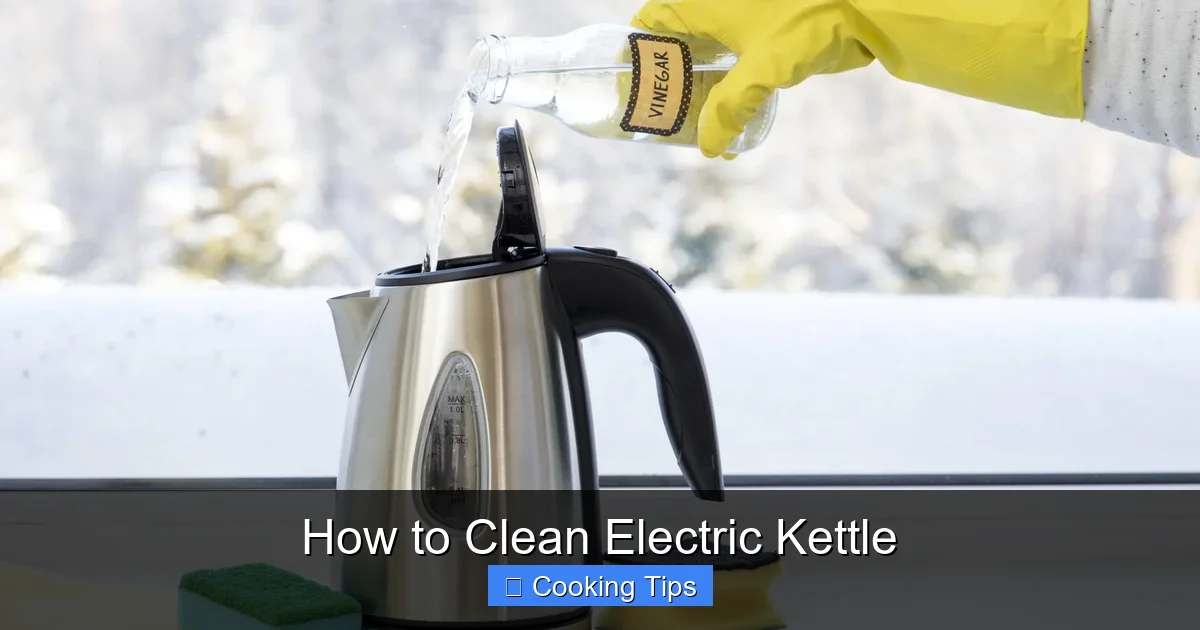
1. **Prepare the Vinegar Solution:** Fill your kettle with a 1:1 ratio of white vinegar and water. For example, if your kettle has a capacity of 1.7 liters, you would use about 850 ml of vinegar and 850 ml of water. Ensure the water level covers the limescale buildup, but do not fill it beyond the maximum fill line.
2. **Let it Soak:** Let the vinegar and water solution sit in the kettle for at least 30 minutes, or longer if the limescale is particularly stubborn. For very heavy buildup, you might even leave it overnight.
3. **Boil the Solution (Optional, but Recommended):** After the soaking period, you can choose to boil the vinegar-water solution. This can help loosen tough limescale. Bring the mixture to a boil and then let it sit for another 10-15 minutes.
4. **Discard the Solution:** Carefully pour the hot vinegar-water solution down the drain. Be cautious as it might smell strongly.
5. **Rinse Thoroughly:** This is a critical step to remove all traces of vinegar. Fill the kettle with fresh water and boil it. Discard the water. Repeat this rinsing and boiling process at least 2-3 more times, or until you can no longer smell any vinegar. You might need to rinse and boil more times depending on how potent the vinegar smell is.
6. **Wipe and Dry:** Once you’re confident there’s no vinegar residue, wipe the inside of the kettle with a soft cloth or sponge to remove any loosened bits of limescale. Then, dry the interior with a clean cloth.
Tip: If the smell of vinegar is too much for you, you can add a few drops of lemon juice to the vinegar solution before boiling. This can help mask the strong odor.
Method 2: Using Citric Acid (A Gentle Alternative)**
Citric acid is another effective natural descaler that is odorless and often gentler than vinegar. You can find citric acid powder in the baking aisle of most supermarkets or online.
Materials You’ll Need:
* Citric acid powder (usually about 1-2 tablespoons)
* Water
* A soft cloth or sponge (for rinsing)
Descaling Process with Citric Acid:
1. **Prepare the Citric Acid Solution:** Fill your kettle with water up to the maximum fill line. Add 1-2 tablespoons of citric acid powder to the water. Stir gently to help it dissolve.
2. **Boil the Solution:** Bring the water and citric acid mixture to a boil.
3. **Let it Sit:** Once boiled, turn off the kettle and let the solution sit inside for about 15-30 minutes. You should see the limescale starting to break down.
4. **Discard the Solution:** Carefully pour the solution down the drain.
5. **Rinse Thoroughly:** Fill the kettle with fresh water and boil it. Discard the water. Repeat this rinsing and boiling process at least 2-3 times to ensure all citric acid residue is removed.
6. **Wipe and Dry:** Wipe the inside of the kettle with a soft cloth to remove any remaining debris and then dry it.
Tip: If you don’t have citric acid powder, you can use the juice of one lemon. Add the lemon juice and the squeezed lemon halves to the kettle, fill with water, boil, let sit, and then rinse thoroughly.
Method 3: Commercial Descaling Solutions
If natural methods don’t seem to be working or you prefer a product specifically designed for descaling, there are many commercial descaling solutions available for kettles.
Materials You’ll Need:
* Commercial kettle descaler
* Water
* A soft cloth or sponge (for rinsing)
Descaling Process with Commercial Solution:
1. **Read the Instructions:** It is absolutely crucial to read and follow the manufacturer’s instructions on the packaging of the descaler. Each product may have different concentrations and soaking times.
2. **Prepare the Solution:** Typically, you’ll mix the descaler with water in the kettle according to the product’s directions.
3. **Boil or Soak (as per instructions):** Some descalers require boiling, while others suggest a soaking period.
4. **Discard the Solution:** Pour the used solution down the drain.
5. **Rinse Thoroughly:** This is paramount. Rinse the kettle with fresh water and boil it, discarding the water. Repeat this process multiple times (usually at least 3-4 times) to ensure no chemical residue remains.
6. **Wipe and Dry:** Wipe the interior clean and dry it.
Caution: Always use commercial descalers in a well-ventilated area. Avoid inhaling fumes. If you have sensitive skin, consider wearing gloves.
Troubleshooting Common Kettle Cleaning Issues
Visual guide about How to Clean Electric Kettle
Image source: thespruce.com
Sometimes, despite your best efforts, you might encounter a few challenges. Here are some common problems and their solutions:
Stubborn Limescale Won’t Budge
* **Increase Soaking Time:** For very hard water areas, you might need to let the vinegar or citric acid solution soak for several hours or even overnight.
* **Repeat the Process:** Don’t be afraid to repeat the descaling process two or three times.
* **Gentle Scrubbing (with caution):** If some residue remains after boiling and soaking, you can try to gently scrub the inside with a soft, non-abrasive sponge. Never use steel wool or abrasive pads, as they will scratch the kettle’s interior.
* **Consider a stronger commercial descaler:** If natural methods consistently fail, a dedicated commercial descaler might be more effective.
Bad Odors After Cleaning
* **Thorough Rinsing is Key:** The most common cause of lingering odors (like vinegar) is insufficient rinsing. Boil and discard fresh water multiple times until the odor is completely gone.
* **Baking Soda Rinse:** If the odor persists after multiple plain water rinses, try boiling a kettle full of water with 1-2 tablespoons of baking soda. Let it sit for 30 minutes, then discard and rinse again with plain water until the baking soda smell is gone.
* **Aeration:** Leave the kettle lid open to air out for a day or two.
Water Still Tastes Funny
* **Check the Heating Element:** Sometimes, even after cleaning, if there’s a hidden crack or defect in the heating element, it can affect water taste.
* **Internal Plastics:** If your kettle has a lot of internal plastic components, they might be aging or absorbing flavors.
* **Use Filtered Water:** The best way to prevent off-tastes and reduce limescale in the first place is to use filtered water.
Preventative Measures: Keeping Your Kettle Cleaner for Longer
Visual guide about How to Clean Electric Kettle
Image source: roastycoffee.com
The best way to deal with limescale is to prevent it from building up in the first place. Here are some tips:
* **Use Filtered or Bottled Water:** If you live in a hard water area, using filtered water or bottled water for your kettle can significantly reduce mineral deposits. A water filter jug is a great investment for this.
* **Empty Your Kettle After Each Use:** Don’t leave water standing in the kettle when it’s not in use. Empty it out completely after you’ve made your hot drink. This prevents new minerals from settling.
* **Wipe Down the Interior:** After emptying, give the inside of the kettle a quick wipe with a dry cloth. This removes any residual moisture and loose particles.
* **Regular Light Cleaning:** Aim to do a quick descaling (e.g., with a vinegar and water solution, no boiling) every 1-2 months, even if you don’t see much limescale. This prevents it from becoming severe.
Conclusion
Cleaning your electric kettle is a simple yet essential task that ensures you enjoy pure-tasting hot beverages and your appliance functions efficiently for longer. By following the steps outlined in this guide, you can easily tackle both exterior grime and stubborn interior limescale using safe and effective methods. Remember to prioritize safety by unplugging and cooling your kettle before cleaning, and always rinse thoroughly to remove any cleaning solution residue. With a little regular care, your electric kettle will remain a sparkling and reliable addition to your kitchen. So, grab your cleaning supplies and give your kettle the TLC it deserves!
